


These homemade cosmic brownies come down to three things done in the right order: a dense, fudgy brownie base, a chocolate ganache that firms up into a smooth topping, and colorful candy-coated chips pressed on while the ganache is still soft enough to hold them.
The timing matters. A warm brownie base can soften the ganache and prevent a distinct topping layer from forming, while candy chips added to hot ganache can develop a hazy finish.
This cosmic brownies recipe follows the tested ingredient proportions from Persnickety Plates, combining butter, oil, melted chocolate, cocoa powder, and extra egg yolks for a rich brownie base. A cream-based chocolate ganache and rainbow candy chips complete the Little Debbie-inspired treat.
The method also uses a short chilling step before adding the candy chips, following Preppy Kitchen's cosmic brownies technique to help preserve their glossy appearance.
This guide covers one complete 9x13-inch batch, start to finish, plus troubleshooting for common copycat mistakes. It's beginner-friendly and doesn't require a stand mixer.
Quick reference:
Yield: 12 to 18 brownies
Pan: 9x13-inch baking pan, preferably metal
Oven temperature: 350°F
Bake time: Approximately 30 to 35 minutes
Hands-on time: About 30 minutes
Total time: Approximately 2 hours 30 minutes to 3 hours, including cooling and chilling
What you'll need for homemade cosmic brownies
Brownie base (9x13-inch pan, 12 to 18 brownies):
8 tablespoons (1 stick) unsalted butter
½ cup vegetable oil
8 ounces (225 grams) semisweet chocolate chips
1 cup granulated sugar
1 cup packed light brown sugar
2 teaspoons vanilla extract
½ teaspoon salt
2 large eggs plus 2 large egg yolks
1¼ cups all-purpose flour
¼ cup unsweetened cocoa powder
No baking powder or baking soda
Combining butter and oil rather than relying on just one fat is deliberate. Butter contributes flavor, while oil helps produce a softer, moister brownie.
The extra egg yolks and brown sugar also help create the dense, chewy texture associated with cosmic brownies.
According to Popular Science's explanation of brownie chemistry, additional fat and egg yolks promote a fudgier texture, while brown sugar contributes moisture and chew. Using less flour and avoiding chemical leavening also helps prevent the brownies from becoming cakey.
Melted chocolate adds richness and contributes to the dense texture as its cocoa butter firms up during cooling. Cocoa powder provides additional chocolate flavor without requiring more melted chocolate.
Ganache:
½ cup heavy cream
1½ cups semisweet chocolate chips
Heavy cream gives ganache its smooth texture and helps it set as it cools.
The Toasty Kitchen's chocolate ganache guide explains that lower-fat dairy products such as milk or half-and-half don't behave the same way as heavy cream in a traditional ganache.
The proportions here follow Persnickety Plates' published cosmic brownies recipe.
For a smoother ganache, high-quality semisweet chocolate chips work well. Finely chopped baking chocolate is another option, although different chocolate products may require adjusting the cream-to-chocolate ratio.
Topping:
¼ cup rainbow candy-coated chocolate chips, sometimes sold as confetti chips or cosmic brownie sprinkles
Candy-coated chocolate chips provide the colorful, speckled appearance associated with the original Little Debbie treat.
Mini candy-coated chocolates are a reasonable alternative when rainbow chips aren't available.
Tools: A 9x13-inch baking pan, parchment paper, mixing bowls, microwave-safe bowl, whisk, rubber spatula, offset spatula or butter knife, and toothpick.
A metal pan heats relatively quickly and generally produces firmer edges. Glass and ceramic pans heat differently and retain heat longer, so baking times may vary.
For the most predictable results, use the full batch in the specified pan size.
Most of the elapsed time is hands-off: baking the brownies, allowing the base to cool completely, and chilling the ganache before slicing.
Step-by-step method
Preheat the oven to 350°F and prepare the pan. Line a 9x13-inch baking pan with parchment paper, leaving overhang on two sides so the finished brownies can be lifted out easily. Lightly grease any exposed areas of the pan.
Whisk the sugars, vanilla, salt, eggs, and egg yolks together. Combine the granulated sugar, brown sugar, vanilla extract, salt, two whole eggs, and two additional yolks in a large bowl. Whisk until the mixture is smooth and evenly combined.
Melt the butter and chocolate chips. Place the butter and 8 ounces of chocolate chips in a microwave-safe bowl. Heat in 30-second intervals, stirring between each, until smooth. Whisk in the vegetable oil after the butter and chocolate have melted. Allow the mixture to cool slightly so it's warm rather than hot.
Combine the wet mixtures and fold in the dry ingredients. Pour the melted chocolate mixture into the sugar and egg mixture, stirring until combined. Add the flour and cocoa powder, then fold gently with a spatula until no dry streaks remain. Avoid prolonged mixing, which can develop gluten and produce a tougher brownie.
Pour the batter into the pan and bake for 30 to 35 minutes. Spread it evenly and bake until the edges are set and a toothpick inserted near the center comes out without wet batter. A few moist crumbs are acceptable for a fudgier texture. Begin checking near the end of the recommended baking time rather than relying on the clock alone.
Cool the brownies completely in the pan. Allow approximately 1 hour or longer, depending on room temperature and pan material. The pan and brownie surface should no longer feel warm before the ganache is added.
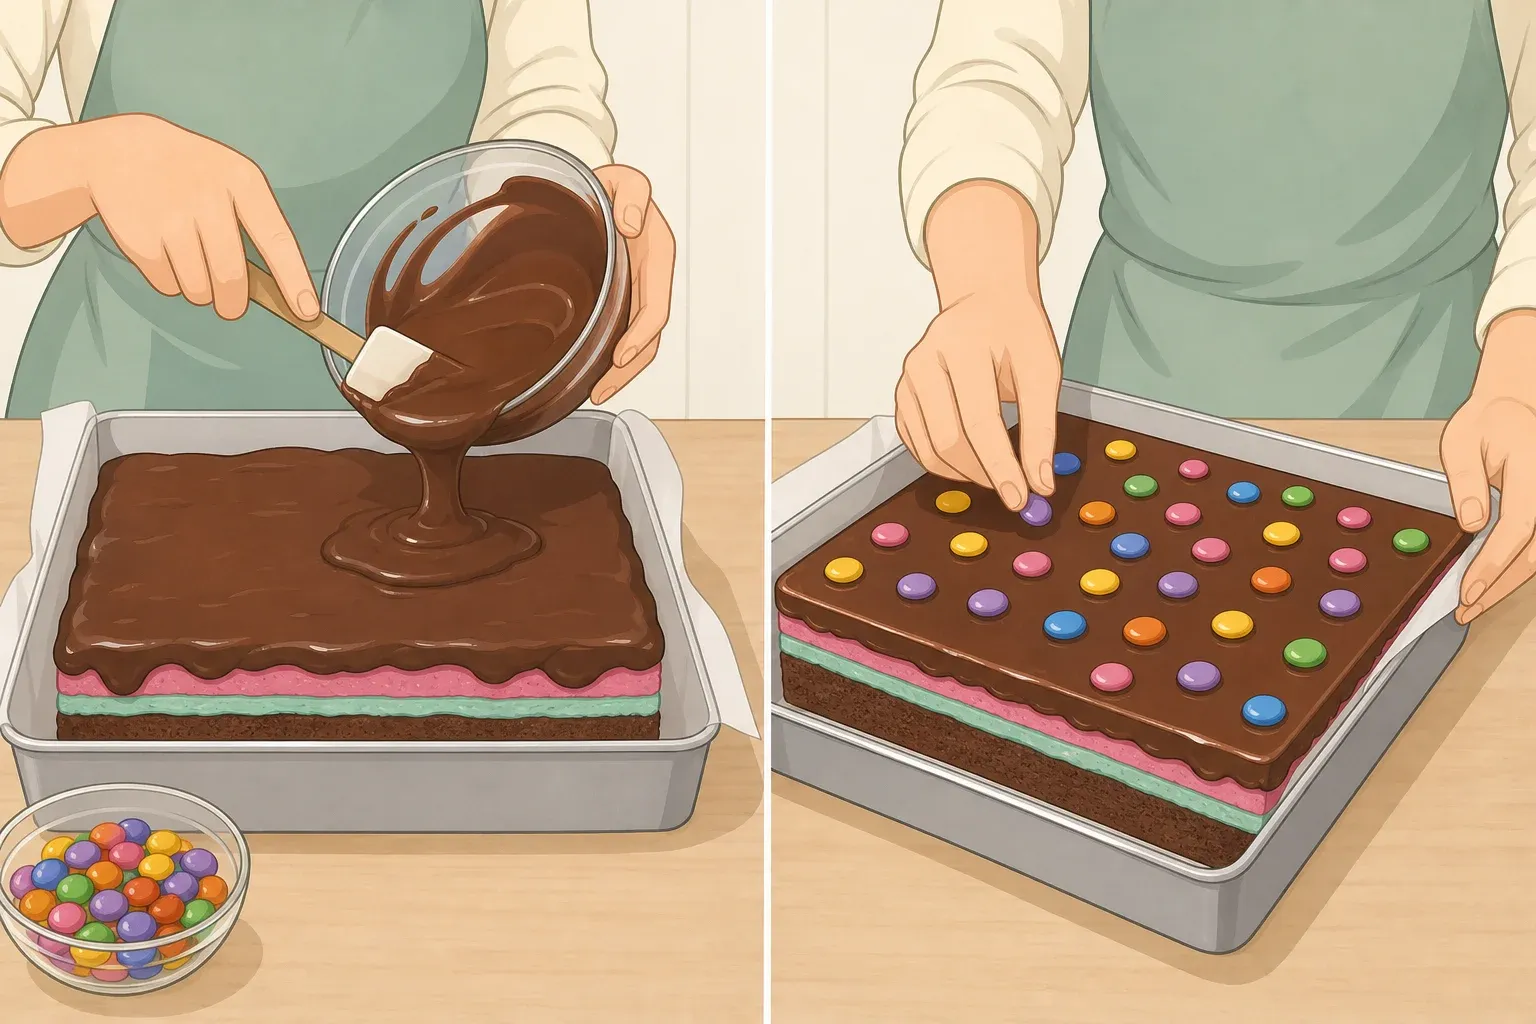
Make the ganache. Heat the heavy cream until steaming and just beginning to simmer, without bringing it to a rolling boil. Pour the hot cream over the chocolate chips and leave undisturbed for 2 to 5 minutes. Stir gently until the chocolate melts and the mixture becomes smooth and glossy.
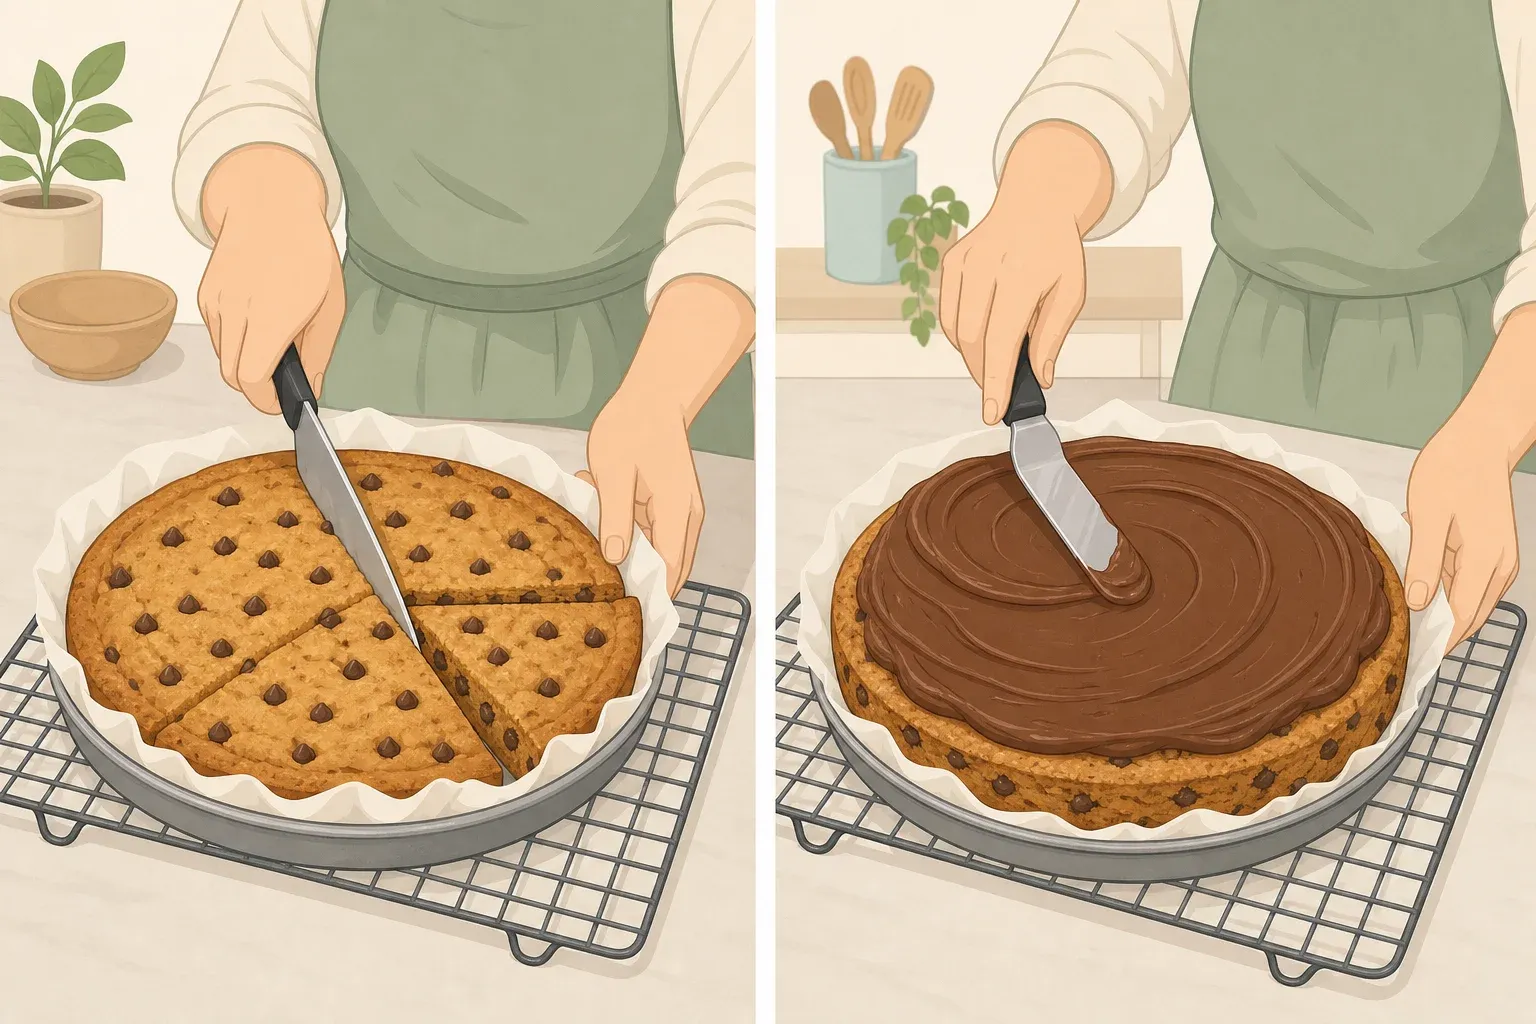
Spread the ganache over the cooled brownies. Pour it evenly over the surface and smooth it with an offset spatula. Refrigerate for approximately 20 minutes, until the topping begins to set but remains slightly soft.
Add the rainbow candy-coated chips. Scatter the chips evenly over the ganache and press them gently into the surface so they adhere. Adding the chips after the ganache has cooled slightly helps prevent their candy shells from developing a hazy appearance.
Chill until set, then slice. Refrigerate for another 10 minutes or longer if necessary, until the topping is firm enough to cut neatly. Lift the slab using the parchment overhang and slice into 12 to 18 squares or rectangles. Wipe the knife between cuts for cleaner edges.
The finished brownies should have a dense, moist base with a smooth chocolate topping and colorful candy-coated chips.
Troubleshooting homemade cosmic brownies
Brownies turned out cakey. Too much flour, excessive mixing after the flour is added, or baking longer than necessary can produce a firmer, cakier texture. Measure flour carefully and stop mixing once the dry ingredients are incorporated.
Brownies turned out greasy or overly soft. Double-check the butter, oil, and chocolate measurements. Too much fat relative to the other ingredients can affect the structure. Also allow the brownies to cool completely before deciding whether the texture is too soft. Chocolate-rich brownies firm up considerably as they cool.
Ganache is still pourable after 20 to 30 minutes of chilling. Give it more time first. Ganache firms up gradually, and the process can take longer depending on the chocolate, temperature, and thickness of the topping. If it remains unusually thin, the chocolate-to-cream ratio may be incorrect. Rewarming it gently and adding a little finely chopped chocolate can help thicken it, although that changes the original proportions.
Ganache looks grainy. Chocolate may not have melted fully or may have overheated. When making the topping, use hot cream rather than boiling cream and stir gently once the chocolate has softened. High-quality chocolate generally melts more smoothly than chips formulated specifically to retain their shape during baking.
Candy chips look hazy instead of glossy. They may have been added while the ganache was still too warm. Preppy Kitchen recommends allowing the topping to begin setting before adding the candy chips, reducing the risk of their coating becoming dull.
Candy chips won't stick. The ganache may have become too firm before the topping was added. Next time, sprinkle the chips while the surface still has a little give rather than waiting until fully hardened.
Can't find rainbow candy-coated chips. Use similarly sized mini candy-coated chocolates. Plain rainbow sprinkles can provide a colorful alternative, although they won't produce exactly the same texture or appearance.
Storing and serving homemade cosmic brownies
A finished batch should have a dense, cohesive brownie base beneath a smooth ganache layer.
Because the topping contains heavy cream, refrigeration is a practical storage choice.
Persnickety Plates recommends keeping its cream-ganache version covered in the refrigerator and eating the brownies within 4 days for the best quality.
Store the brownies in an airtight container to prevent the surface from drying out or absorbing odors from other foods.
If the ganache becomes too firm in the refrigerator, let individual brownies stand at room temperature briefly before serving. This softens the topping and makes the brownies easier to bite through.
Avoid microwaving them unnecessarily, since the ganache can melt unevenly and lose its smooth appearance.
For longer storage, wrap the brownies individually and freeze them in an airtight container or freezer-safe bag.
For the best texture, aim to use frozen brownies within 2 to 3 months. Thaw them in the refrigerator before serving, then allow them to soften slightly if preferred.
Freezing can alter the appearance of the candy coating or introduce condensation during thawing, but it offers a practical way to save part of a large batch.
For the neatest presentation, keep the brownies chilled until shortly before serving and cut them with a sharp knife, wiping the blade clean between slices.



Comments
Be the first, drop a comment!