




Best Beef for Chili: Chuck Roast, Ground Beef, or Brisket
Chili night shouldn't stall out because you're standing at the meat counter unsure what to buy. The short answer to what meat is best for chili is that it depends on how much time you've got and what's already in the kitchen: ground beef when time is short, beef chuck for chili when there's an afternoon free to let it simmer, and smoked brisket when a smoker's already on hand and a smokier bowl sounds worth the extra work. There isn't one best beef for chili so much as three practical routes, and this guide walks through the buying, seasoning, and cooking steps for each one.
Food Network chef Jeff Mauro names chuck roast his top pick for steak chili, saying the cut balances tenderness and flavor without turning the pot greasy, according to Tasting Table. On the smokier end, chefs Gina Sierra and Victor Navarro of Sierra Ranch Chili build their all-meat chili around hickory-smoked brisket instead of bacon, using a lean, Choice-grade brisket flat trimmed of excess fat, per KMPH Great Day. Neither chef is ranking every cut of beef against every other one; these are methods and recommendations from working cooks, treated here as solid starting points rather than the final word.
Best beef for chili: choosing by time and equipment
Match the cut to what's realistic for tonight. Here's how the three routes stack up:
- Ground beef: the fastest route, since there's no whole cut to sear before it simmers. Needs only a Dutch oven or other heavy pot.
- Chuck roast: needs a proper sear and a few hours of simmering before the marbling breaks down and the roast turns tender, per Tasting Table. Needs a Dutch oven and a free afternoon.
- Smoked brisket: needs a smoker, roughly 1.5 hours of smoking, and about two more hours of simmering once it's in the pot, according to KMPH Great Day. Treat that timing as a starting point rather than a fixed clock, since smoker size and brisket thickness change how long it actually takes.
Chuck roast and ground beef are approachable for most home cooks with basic kitchen tools. Brisket chili takes more experience, since success there depends on smoker access and temperature control, not just following steps in order.
What you'll need before you start
Sierra Ranch Chili scales its own recipe up to 12-gallon batches for events, according to KMPH Great Day. That's worth knowing if a crowd shows up, though this guide sticks to a single stovetop pot sized for a normal family dinner.
For chuck or ground beef, a Dutch oven or other heavy pot is all the equipment needed. Brisket requires an actual smoker, since the method depends on smoking the meat before it ever touches the chili pot. Beyond that, the shared shopping list looks like this:
- Salt, pepper, chili powder (ancho is Mauro's choice), and cumin for seasoning
- Onion, garlic, and jalapeños for the aromatic base
- Crushed tomatoes and beef stock for the simmering liquid
- A meat thermometer, especially useful for the ground beef route
Beef chuck for chili: the classic slow-simmered method
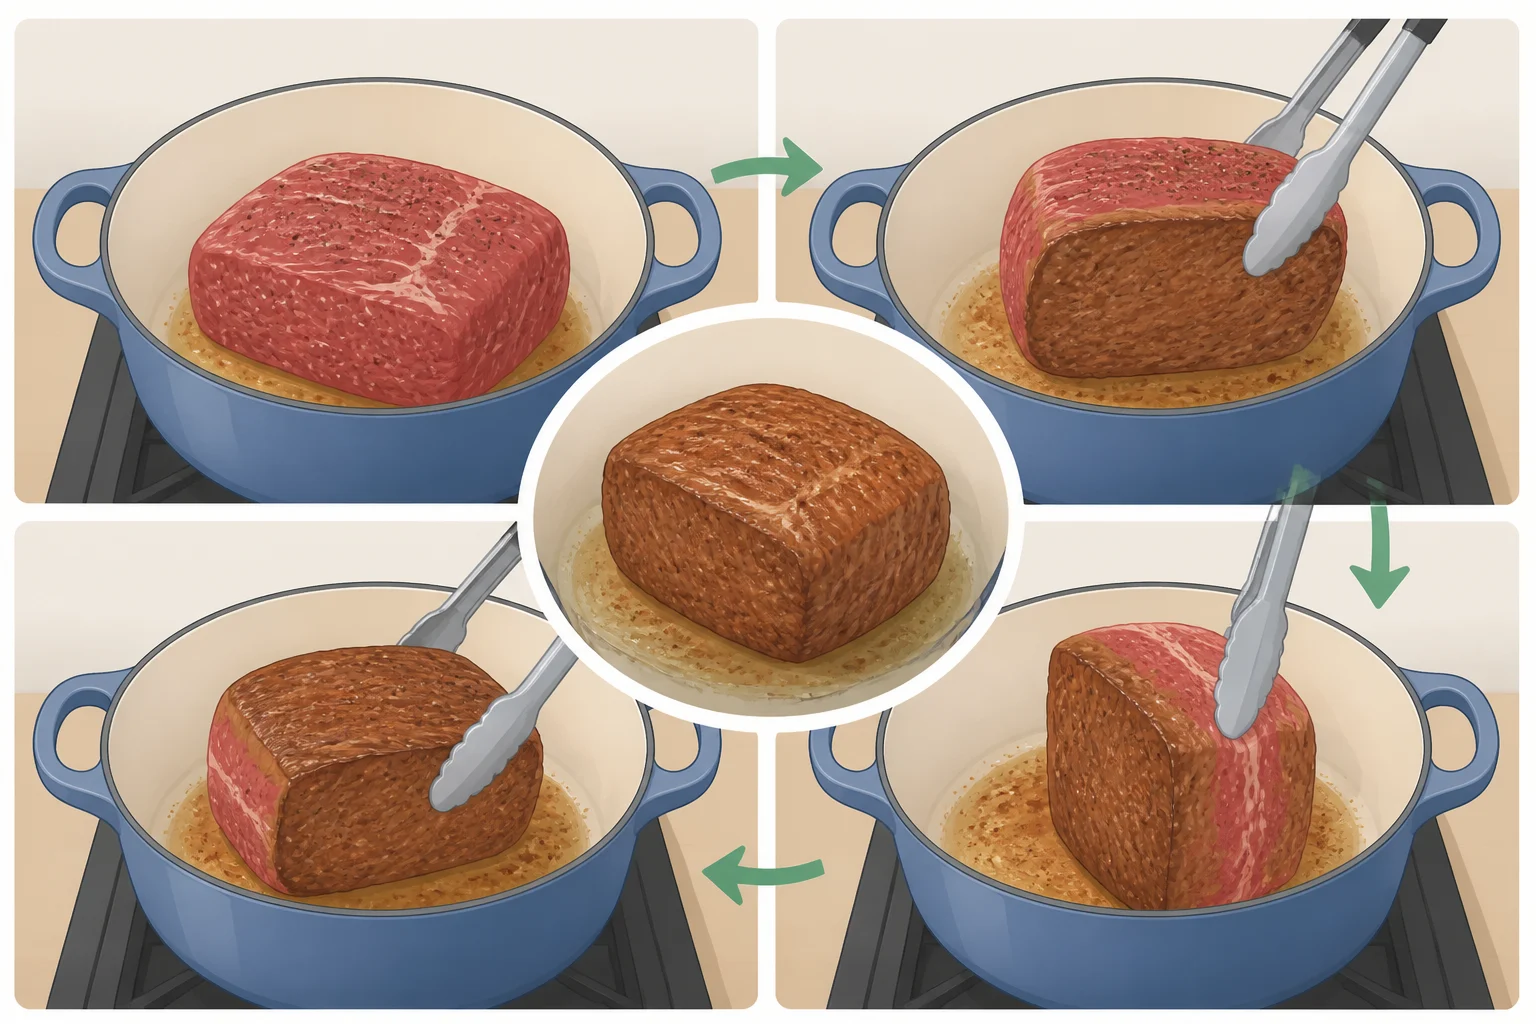
Get a whole chuck roast rather than pre-cut stew meat. Mauro's method sears the roast intact, then dices or shreds it after it's cooked, so buying it whole keeps both options open. Roast sizes at the meat counter vary; the sear-and-simmer method works the same regardless of the exact weight.
- Season and sear. Salt and pepper the whole roast, then sear it on all sides in a hot Dutch oven. This step triggers the Maillard reaction, the browning that builds a caramelized crust and deepens the chili's flavor, according to Tasting Table.
- Build the base. Remove the seared roast and bloom spices like ancho chile powder and cumin in the rendered fat left behind, then add onions, garlic, and jalapeños. This builds the flavor base before any liquid goes in.
- Return and simmer. Put the whole roast back in the pot with crushed tomatoes and beef stock, then simmer for a few hours until the marbling breaks down, per Tasting Table.
- Check for tenderness. Keep the roast at a gentle simmer until a fork slides in with little resistance. Simmering times run long or short depending on the roast and how hard the pot is going, so treat "a few hours" as a range to check against rather than a timer to set and walk away from.
- Decide the texture. Dice the roast for a chunkier chili or shred it for a fork-tender bowl. This is the point where texture actually gets decided, per Tasting Table.
Best ground beef for chili: the fast shortcut
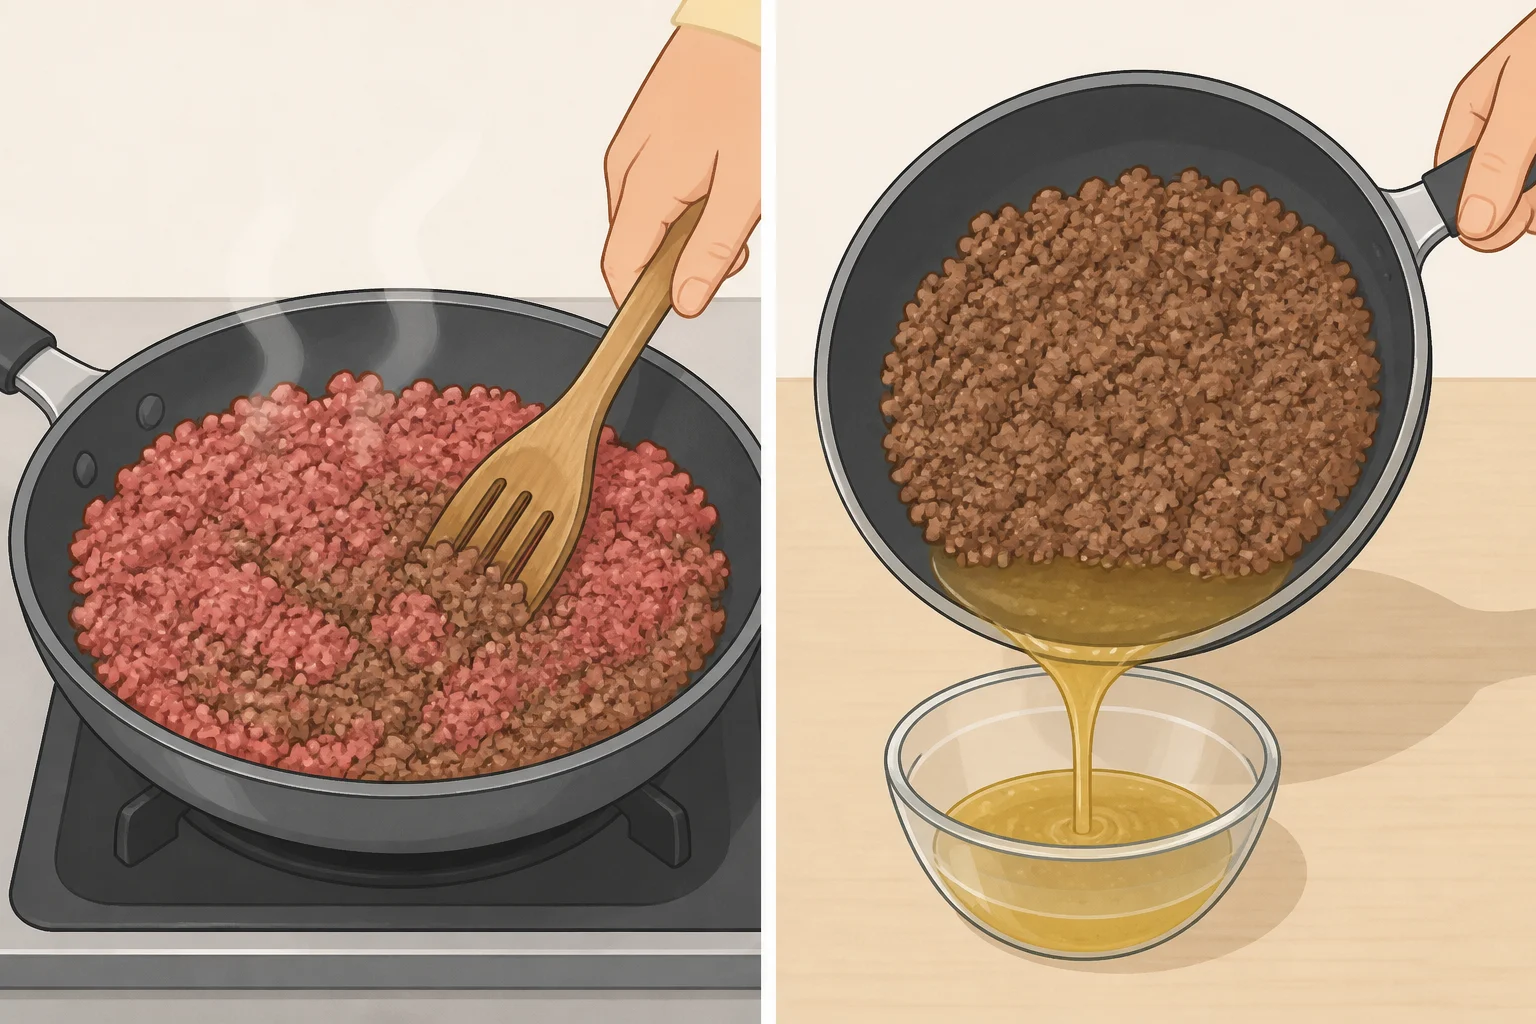
Reach for ground beef when there's no smoker in the picture and no hours to spare for a braise. It's the most direct of the three routes: one pot, no separate searing-and-simmering stage for a whole cut of meat. The steps below reflect general stovetop technique rather than a chef-published recipe, since neither source behind this guide details a dedicated ground-beef method.
- Brown the beef. Cook it in a Dutch oven, breaking it into small crumbles as it browns. If the pot is crowded, work in batches so the meat browns instead of steaming.
- Drain and build flavor. Pour off the pooled grease, then add chopped onion and garlic and cook until softened. Skipping the drain step is the most common reason ground beef chili turns greasy.
- Season and add liquid. Stir in chili powder and cumin, then crushed tomatoes and beef stock, enough to land somewhere between soupy and stew-thick.
- Simmer and adjust. Bring it to a boil, then drop to a low simmer, stirring occasionally, until the flavors come together and the chili thickens slightly. If it starts looking dry or catching on the bottom before it tastes done, stir in a splash more stock or water.
- Check doneness. Ground beef can look fully browned on the outside while the center is still underdone, especially in larger crumbles. A meat thermometer settles the question faster and more reliably than judging by color alone.
How to make brisket chili
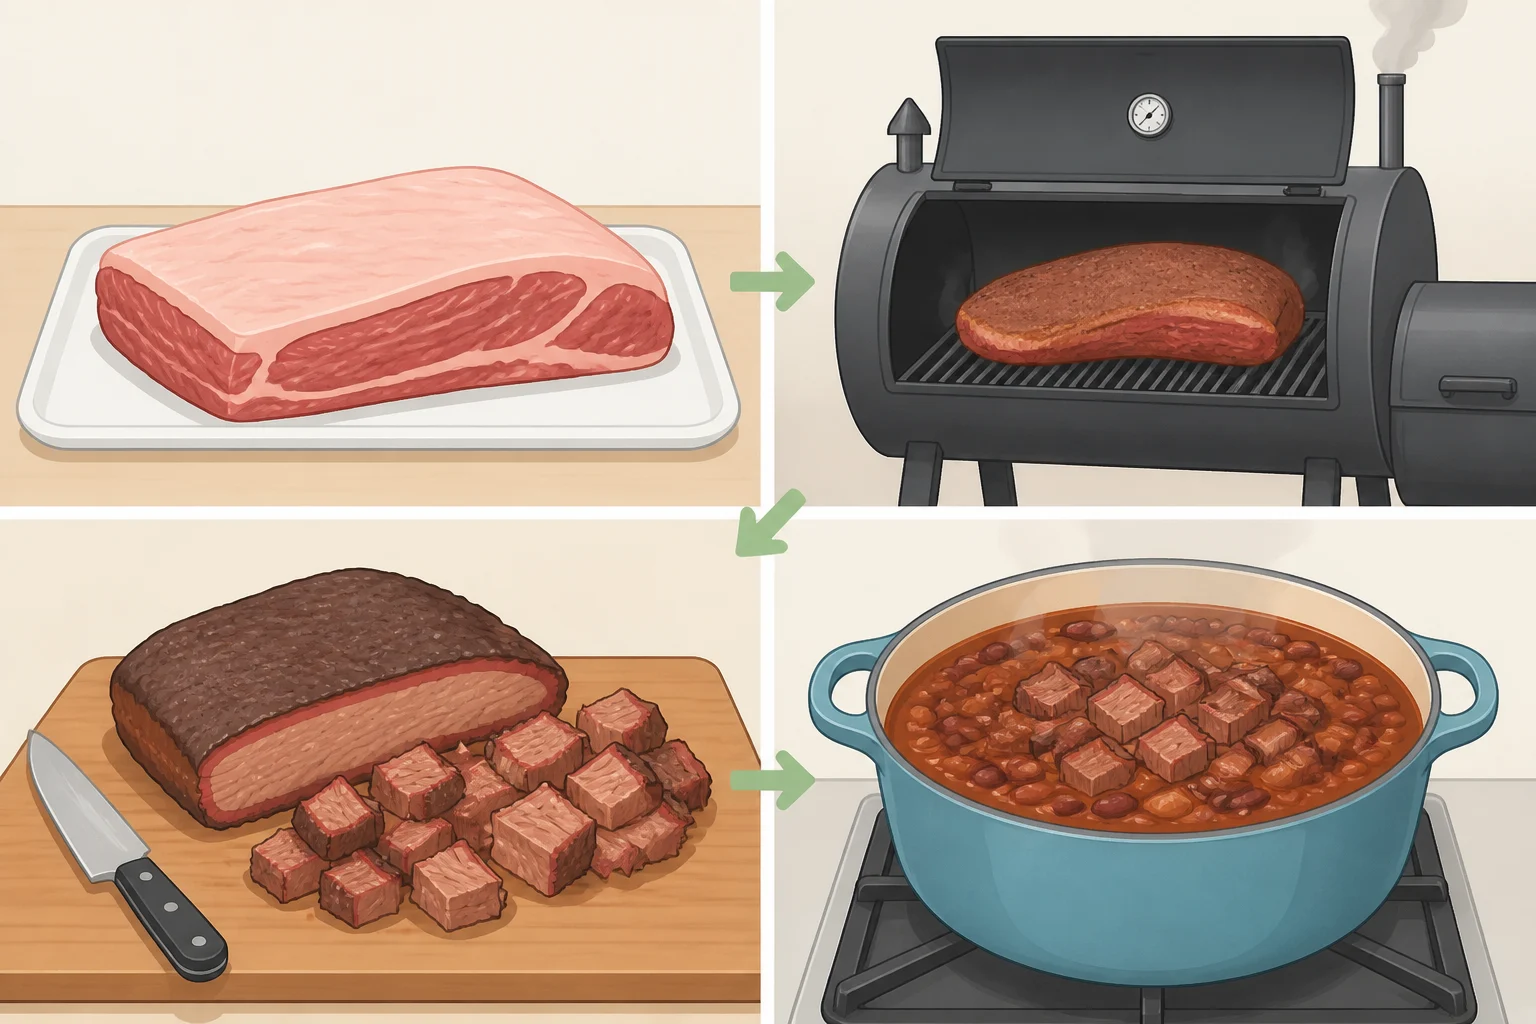
This route is for cooks who already have a smoker on hand, not a drop-in bacon substitute for a typical weeknight pot. It takes more equipment and more total time than the other two methods, and Sierra and Navarro built it specifically to push their chili in a smokier direction.
- Buy and trim. Choose a lean, Choice-grade brisket flat and trim it of excess surface fat before it goes anywhere near the smoker, per KMPH Great Day.
- Smoke it plain. Skip the salt, rubs, and spices entirely. Pre-seasoning the brisket can throw off the chili's flavor balance once it's combined with the pot's own seasoning, according to KMPH Great Day. Use the reported 1.5-hour smoking time as a starting point, then move on to dicing and simmering once it's ready.
- Dice it evenly. Once smoked, cut the brisket into consistent pieces. Even dicing helps the meat cook uniformly and gives every spoonful the same bite, per KMPH Great Day.
- Simmer it in. Add the diced brisket to the chili pot and simmer for about two more hours to reach the consistency you're after, according to KMPH Great Day.
For a middle-ground option, Sierra and Navarro say they prefer combining equal parts browned ground beef and diced smoked brisket over using either meat alone, according to KMPH Great Day. Brown the ground beef first, then stir in the diced brisket once it's off the smoker.
If a long simmer cooks out more liquid than wanted and the chili turns thick or dry, stir in a little water and bring it back to a simmer rather than adding more fat or starting over, per KMPH Great Day. The same adjustment is reasonable if chuck or ground beef chili dries out during its own simmer.
Finish line: doneness, serving, and storage
Ground beef chili has one non-negotiable check: confirm the meat is cooked through with a meat thermometer before serving, especially if the crumbles are large enough to brown on the outside while staying underdone in the middle. Color alone isn't a reliable test.
Chuck roast and brisket get judged differently, by texture rather than a single number. Keep simmering either one until a fork slides in with little resistance, whether that's diced or shredded chuck, or diced brisket.
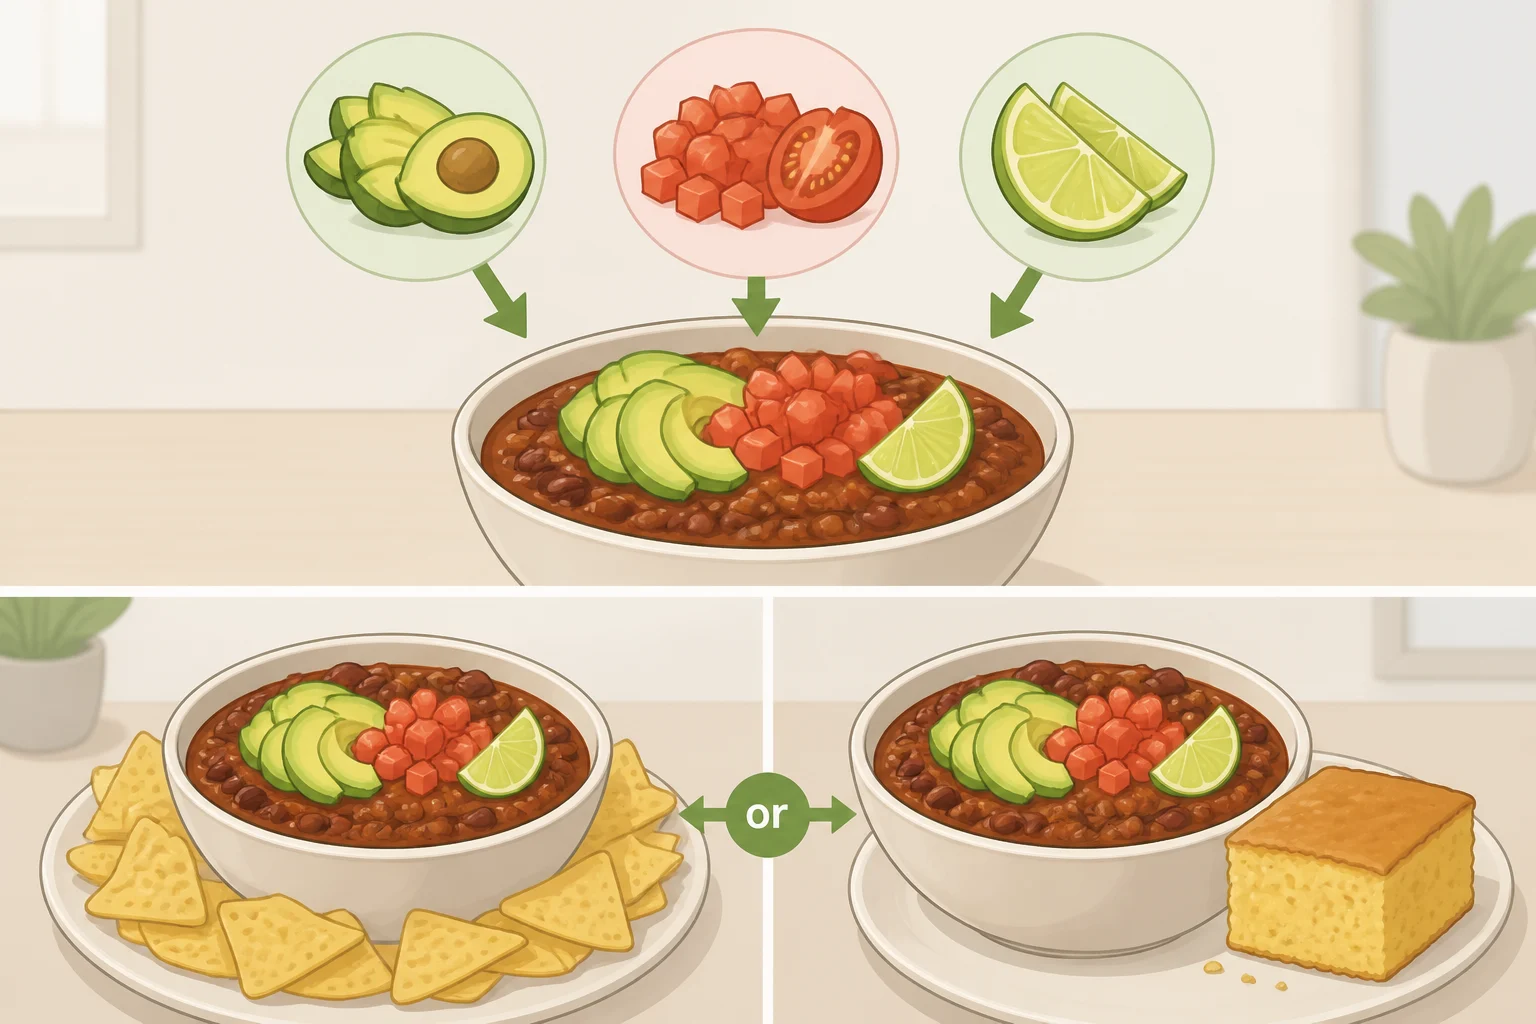
Whatever beef ends up in the pot, borrow Mauro's finishing touches: sliced avocado, diced tomato, and a squeeze of lime on top, with cornbread or tortilla chips alongside for scooping, according to Tasting Table. A dark beer or a fruity, bold red like Malbec rounds out the meal, per the same source.
Cool leftovers before moving them to the fridge, and don't let a pot sit out at room temperature for long once the meal's over. If chili has been out too long, or it looks or smells off by the time it comes back out of the fridge, skip the taste test and toss it.









Comments
Be the first, drop a comment!