




Two problems ruin most peach cobblers: a filling that turns into peach soup, and a biscuit topping that looks done on top but stays gluey underneath. A test kitchen has published a troubleshooting guide built specifically around these two failures, a sign they come down to method more than luck or a temperamental oven.
This easy peach cobbler recipe tackles both failures with two separate fixes, one for the filling, one for the topping. The filling fix isn't more cornstarch, at least not necessarily. It's concentrating most of the peach juice through a quick stovetop sauté before the fruit ever touches the baking pan, then folding in a smaller portion of raw peaches at the end for fresh texture and bite.
The topping fix is unrelated and just as specific: keep the dough dollops small, a scant tablespoon each, since bigger dollops won't cook through in the time the fruit needs.
What follows is a full fresh peach cobbler recipe built around those two techniques, using about 6 cups of prepared peaches in a 9x13-inch pan. The underlying logic, reducing liquid on the stovetop and dolloping the topping small, comes from the sources cited throughout; the specific quantities, temperature, and timing are this guide's own working recipe, calibrated to that logic rather than lifted from a single tested source.
Watch the visual cues at each step rather than the clock alone, since peach juiciness varies enough from batch to batch to shift the numbers slightly. Canned and frozen peaches carry more liquid and different sugar levels, so peach cobbler with canned peaches gets its own treatment elsewhere rather than a guessed substitution here.
Active prep runs about 20 minutes; the sauté and bake together add roughly 43 to 50 minutes, and the filling needs a 15-minute rest before serving, for a total of about an hour and twenty minutes, depending on the oven and how long the peaches take to reduce. It serves about 8.
Choosing and prepping the peaches
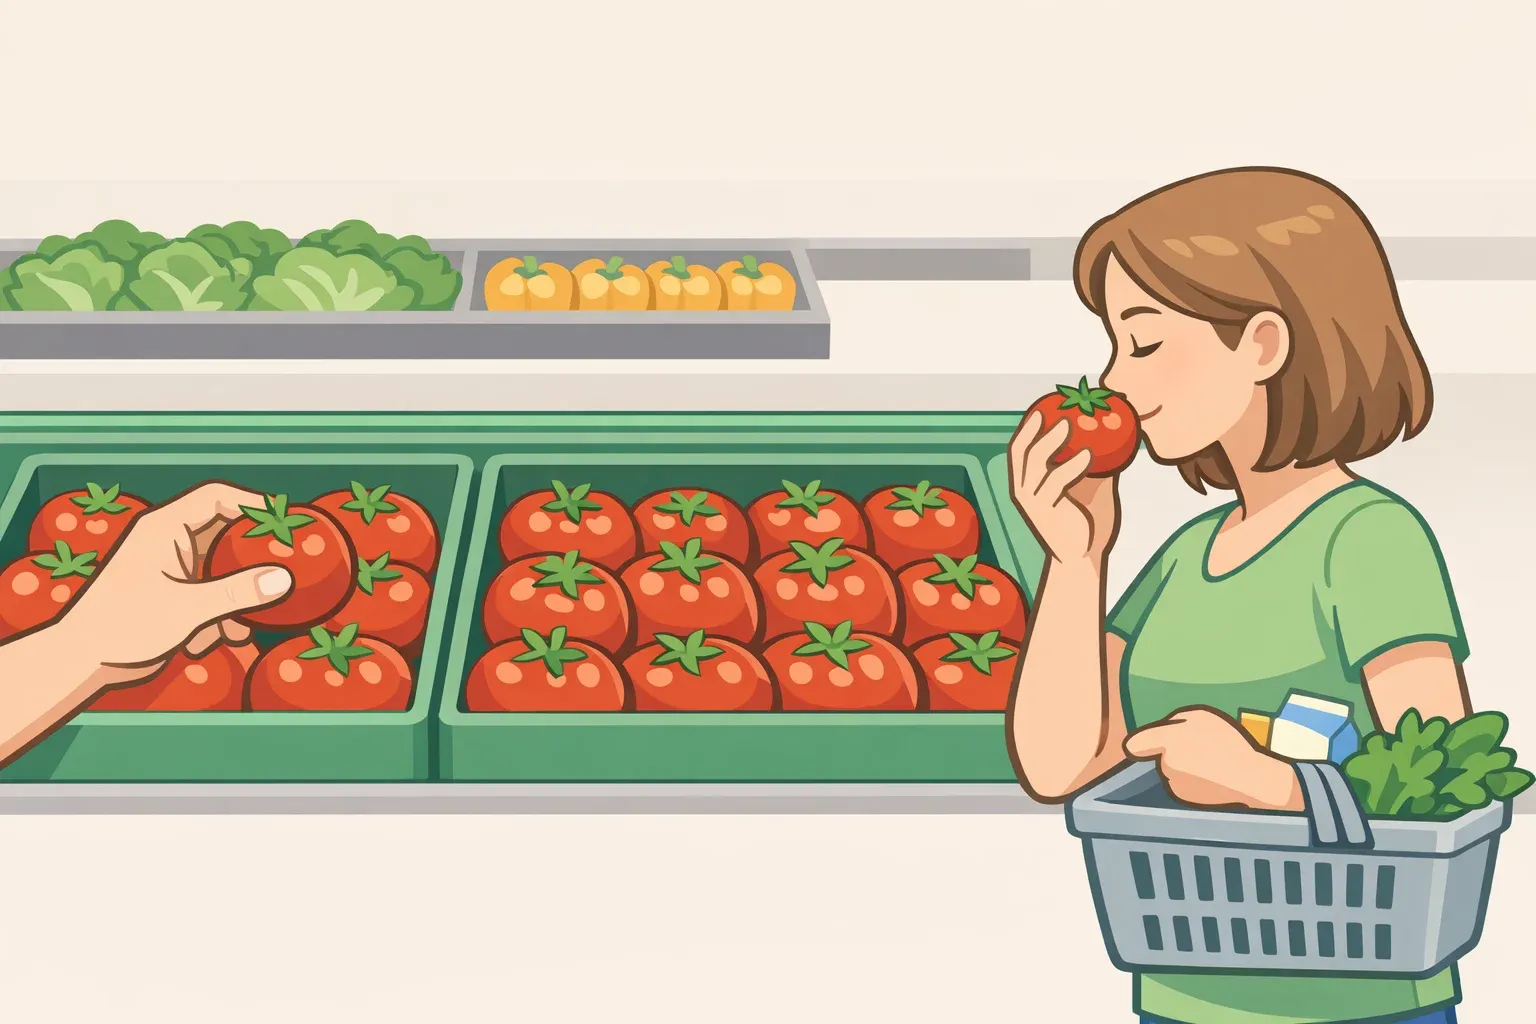
Smell is the best ripeness cue. Reach for peaches that smell distinctly, insistently like peaches.
Once the aroma checks out, handle the fruit gently. A ripe peach yields slightly to light pressure but shouldn't feel soft all the way through, and it's worth skipping anything with a green cast, since that usually means the peach was picked before it had a chance to ripen.
At a farmers market, ask for freestone varieties by name. Freestone peaches separate cleanly from the pit, which makes slicing noticeably faster than working around a clingstone.
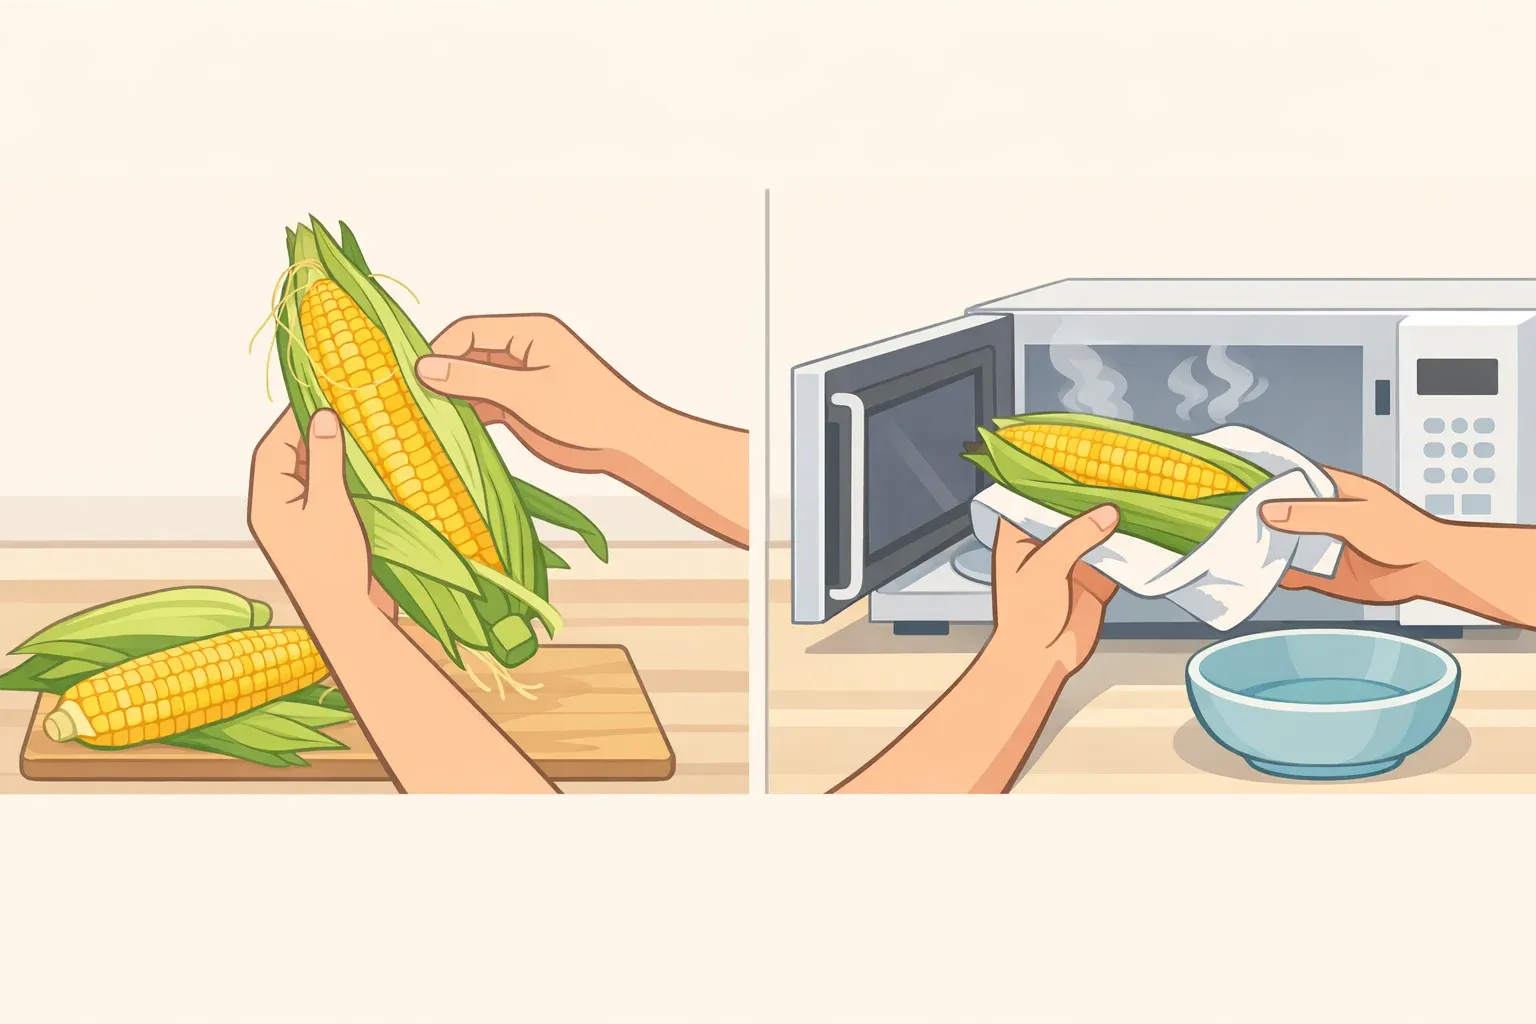
Peeling goes faster than most people expect. Dip the peaches briefly in boiling water, then plunge them straight into cold water; the skins slip off with barely any effort after that.
If the peaches are still firm when bought, leave them at room temperature until they give slightly and smell like peaches, then use them within a day or two, or refrigerate to buy a little more time. Very firm, underripe peaches release less juice on the stovetop, so if that's all the market had, give the sauté a couple of extra minutes until the syrup thickens the same way.
This recipe calls for about 6 cups of peeled, sliced fruit. Buy more whole peaches than that figure implies, since peeling and pitting always cost some volume, and it's easier to trim a slight excess than to come up short mid-recipe.
How this easy peach cobbler recipe avoids a watery filling
Ingredients: 6 cups peeled, sliced peaches; ½ cup granulated sugar; 2 Tbsp cornstarch; 1 Tbsp lemon juice; pinch of salt; 4 Tbsp unsalted butter (2 Tbsp for the skillet, 2 Tbsp for greasing the pan).
Toss everything first. In a large bowl, combine the peaches with the sugar, cornstarch, lemon juice, and salt. Toss gently until every slice is coated.
Split the batch. Measure out about 4 cups of the fruit into a skillet, and leave the remaining 2 cups in the bowl, uncooked. This follows the logic behind America's Test Kitchen's approach to juicy fruit: cook down most of it to control liquid, then fold in a smaller raw portion for fresh texture. The exact split is this guide's own working ratio, built around that principle rather than measured in a test kitchen.
Sauté and reduce. Melt 2 Tbsp butter in the skillet over medium heat, add the measured peaches, and cook, stirring occasionally, for around 8 to 10 minutes. Liquid pools around the fruit at first; keep going until that pool disappears and what's left is a thick syrup clinging to the peaches rather than collecting underneath them. The peaches darken slightly and start to look glazed rather than wet, which is the cue to pull the pan.
Cool briefly, then combine. Let the cooked peaches sit off heat for 5 minutes, then fold them into the bowl of raw, sugared peaches. The mixture should look glossy, with distinct raw fruit pieces still visible.
Pour into the pan. Grease a 9x13-inch pan with the remaining 2 Tbsp butter, then pour in the fruit mixture and spread it evenly. A light-colored glass or ceramic pan makes it easier to see bubbling around the edges later; dark metal browns the topping faster and can hide how the fruit underneath is actually doing.
Assembling and baking the topping
Preheat the oven to 375°F before mixing the topping, so it's ready by the time the dough goes on.
Ingredients: 1½ cups flour; ⅓ cup sugar; 2 tsp baking powder; ½ tsp salt; ½ cup chopped pecans or walnuts (optional); 1 egg; ¾ cup buttermilk; 4 Tbsp melted unsalted butter.
Mix the dry ingredients. Combine flour, sugar, baking powder, salt, and nuts, if using, in a large bowl.
Mix the wet ingredients. Whisk the egg and buttermilk together, then whisk in the melted butter.
Combine gently. Fold the wet mixture into the dry just until barely combined; a few flour streaks are fine.
Dollop with restraint. Drop the dough over the fruit in scant-tablespoon portions, spaced about an inch apart, so bigger pieces don't crowd each other and stay raw in the middle. Spacing matters almost as much as size here.
Bake for 35 to 40 minutes, until the topping turns deep golden brown and the fruit bubbles up around the edges. That falls within the 30-to-40-minute range for a golden, bubbling cobbler crust described by the Levine Museum of the New South. A skewer isn't much use on this topping since the dollops are thin; color and bubbling tell the real story.
If the top browns before the fruit bubbles, tent the pan loosely with foil and keep baking in short increments until bubbling shows up at the edges.
Rest for 15 minutes before serving. A hot filling looks thinner than it will once it cools, so judge the texture after resting rather than straight from the oven.
Troubleshooting edge cases
Fruit bubbles only at the edges, not the center. This can happen when the fruit sits unevenly in the pan before the topping goes on. Stirring it gently right before dolloping next time should help heat reach the center as well as the edges.
Topping looks pale and slightly wet even after the fruit is bubbling everywhere. Check dollop size and spacing first. Dough spread too thin can stay wet on top, while dough piled too thick may stay undercooked in the middle even after the outside looks done.
Filling still looks thin straight out of the oven. That's expected, not a failure. Give it the full 15-minute rest before deciding whether it actually needs more time in the pan.
Serving, storing, and what comes next
Serve this homemade peach cobbler warm, straight from its rest, while the topping still has some crispness at the edges. Leftovers keep covered in the refrigerator; a low oven brings the topping closer to its original texture than a microwave, which tends to leave it soft and a little damp.
Cobbler itself is older than any fix for a soupy filling. It dates to Colonial America, when open hearths made pie difficult to manage and cooks improvised instead, layering fruit in deep pots, covering it with biscuit dough, and baking it over hot coals, the rough ancestor of the old-fashioned peach cobbler recipes still handed down today.
Peaches arrived on a separate track entirely: Spanish colonists brought them to North America in 1539, and the fruit thrived especially well in Georgia, part of why peach cobbler still reads as a Southern peach cobbler staple even though the fruit itself originated in Asia.
Canned and frozen peaches deserve their own recipe rather than a substitution guess here, since neither behaves like fresh fruit on the stovetop. That's the natural next piece for whoever's working from the freezer or pantry instead of a produce stand.












Comments
Be the first, drop a comment!