



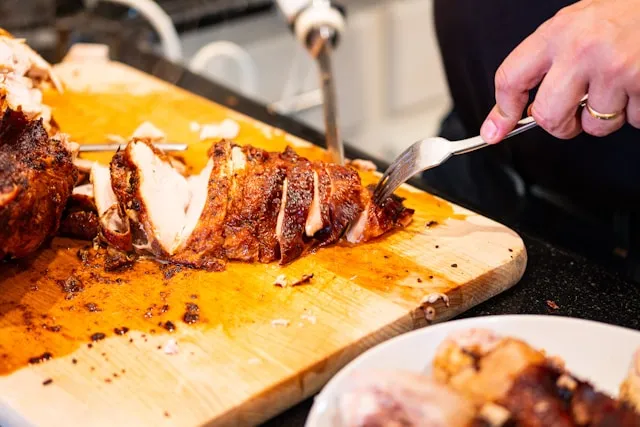
To season ground turkey so it actually tastes like something, mix a smoky, chili-forward spice blend and stir it in only after the meat has browned, not before. Ground turkey carries less fat and connective tissue than beef, and Simply Recipes points out that this leaves it with far less room to go from juicy to rubbery than a fattier grind of beef has. Season it too early, stir it too often, or crowd the pan, and the meat turns spongy no matter how good the spice blend is on its own. Brown it right first, and the blend actually clings to the meat instead of sitting on top of it like dust.
This guide is built for loose, crumbled turkey: taco filling, grain bowls, chili, sloppy joes. It isn't a burger, meatball, or meatloaf recipe, since those need different shaping and a gentler heat, and they get a short mention near the end instead of a full second method. Everything here is beginner-friendly. Mixing the blend takes about five minutes, and once the turkey hits a hot pan, the cooking itself moves fast.
What you'll need
1 pound ground turkey, ideally 93% lean/7% fat
1 tablespoon cooking oil
A large skillet, roomy enough to hold the meat in a single layer
A spatula or wooden spoon
An instant-read thermometer
The smoky spice blend below
Optional: baking soda, salt, and water for a texture-boosting slurry
Optional: grated onion, if you're stuck with ultra-lean turkey
Mix this smoky spice blend first
This ground turkey seasoning recipe combines nine pantry spices into one smoky, chili-forward blend:
3 tablespoons smoked paprika
2 tablespoons chili powder
1½ tablespoons ground cumin
1 tablespoon garlic powder
1 tablespoon onion powder
2 teaspoons dried oregano
1½ teaspoons brown sugar
1 teaspoon black pepper
½ teaspoon cayenne pepper
Whisk everything together in a small bowl and break up any clumps from the brown sugar so it distributes evenly. That comes out to about 10 tablespoons of blend by volume.
Leaving out salt here is an adaptation, not something Eat Healthy 365 recommends. Its original blend adds 1½ teaspoons of kosher salt and calls for 2 tablespoons of blend per pound of turkey. Since this version salts the turkey separately with the baking soda slurry in the next section, adding salt in both places risks oversalting. Start with 1½ tablespoons of the salt-free blend per pound instead, taste the cooked turkey, and adjust before scaling up to a bigger batch.
This is a strong pick for the best seasoning for ground turkey when the meal is savory and sauce-friendly: smoky, chili-forward, and mildly spicy from the cayenne, a good match for tacos, burrito bowls, chili, and sloppy joes. Save a different blend for Italian-style sauces or delicate skillet dishes, where a chili-heavy mix tends to compete with the other flavors instead of supporting them. Leave out the cayenne for a milder batch, or double it to a full teaspoon for more heat, before mixing everything together.
Store the finished blend in an airtight jar away from heat and light. Eat Healthy 365 notes it holds peak flavor for about 6 months and stays safe to use after that, just less potent.
How to season ground turkey in a skillet
Browning first and seasoning second is the method for cooking juicy, flavorful ground turkey. Work through the steps below in order, and check for the cue at the end of each one before moving to the next.
Choose the right turkey. Start with 93% lean/7% fat rather than 99% lean. The fat carries flavor and moisture; ultra-lean turkey turns dry and chalky fast, with much less room for error than a fattier grind offers.
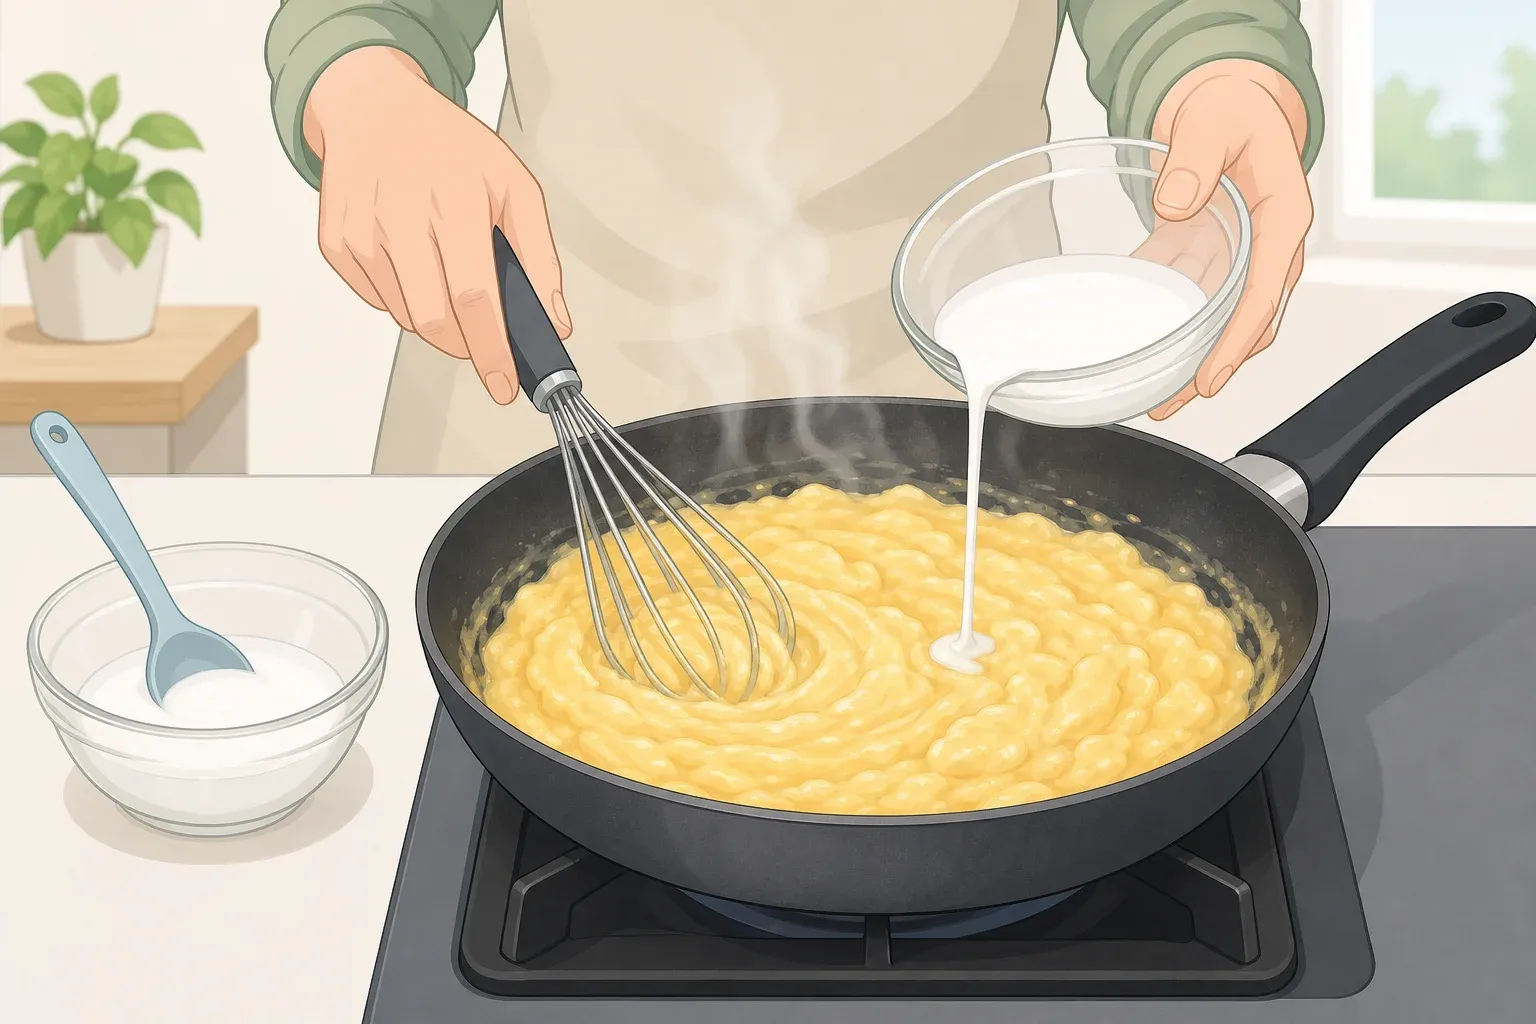
Mix in a baking soda slurry, if you want extra insurance against dryness. Dissolve ¼ teaspoon baking soda and ½ teaspoon salt in 1 tablespoon of water per pound of turkey, stir it into the raw meat, and let it sit for 15 to 20 minutes. Baking soda raises the meat's pH, which keeps the proteins from binding too tightly and squeezing out moisture, while also speeding up browning. Mix only until the slurry disappears; overmixing makes the turkey dense instead of loose.
Heat the pan until it's screaming hot. Warm a tablespoon of oil in the skillet over medium-high heat. Nowjournal builds the whole technique around a fully preheated pan and adding the turkey as one flat block instead of crumbling it in right away.
Sear the first side undisturbed. Nowjournal recommends leaving the block alone for 3 to 4 minutes so a crust can form. Stirring too early exposes more surface area to the heat, which forces out moisture and leaves the meat spongy instead of browned, according to Simply Recipes.
Flip in large chunks and brown the second side. Turn the block over in large pieces rather than breaking it up right away. The meat shouldn't get crumbled into smaller pieces until the second side has picked up its own golden-brown crust.
Let liquid cook off before you season. If the turkey releases a pool of liquid, spread it into a single layer and let it simmer away before adding anything else. If the pan looks crowded from the start, cook in two batches so the meat has room to brown instead of steam; see the troubleshooting section below for more on that.
Stir in the spice blend. Once both sides have color, break the meat into crumbles and mix in 1½ to 2 tablespoons of blend per pound. For a saucier taco filling, stir in 1 to 2 tablespoons of water or broth along with the spices; skip the liquid for drier crumbles in grain bowls or sloppy joes.
Confirm doneness with a thermometer. The USDA's safe minimum internal temperature for ground poultry is 165°F, so check the thickest crumbles before pulling the pan off the heat. Properly cooked turkey is opaque and still slightly glossy, not shrunken or grey, but treat that as a helper cue, not a substitute for the thermometer.
Taste before serving. If it still tastes flat, stir in a few drops of Worcestershire sauce or soy sauce instead of reaching for more salt. Nowjournal recommends these umami-rich liquids, along with a heavier hand of garlic powder, onion powder, and smoked paprika, to build the savory depth turkey lacks on its own.
That sequence is how to make ground turkey taste good, in order: brown it fully, season it after, and taste it before serving.
Troubleshooting the pan
Pan looks watery, and nothing is browning. The turkey is releasing liquid faster than it evaporates. Spread it into a single layer, raise the heat slightly, and wait for the liquid to cook off before doing anything else.
No crust forms even in a hot pan. The skillet is probably overcrowded. Split the turkey into two batches; a packed pan drops the surface temperature and steams the meat instead of searing it.
The turkey came out dry and rubbery. This usually traces back to 99% lean meat, or to stirring too soon and too often, which stops the sear and lets the meat cook in its own liquid instead of browning. Switch to 93/7 next time, or lean on the baking soda slurry from step 2.
The seasoning tastes too smoky or too spicy. Stir in a spoonful of plain yogurt, sour cream, or a squeeze of lime to mellow the batch already in the pan. Next time, cut the smoked paprika by a tablespoon, cut the cayenne in half, or leave it out entirely.
It still tastes flat after seasoning. Try the Worcestershire or soy sauce trick from step 9 before adding more salt. If the meat browned properly in steps 4 and 5, the missing piece is usually umami rather than salt.
Not sure if it's actually done. After the spices go in, the crumbles should look opaque, hold a slight sheen, and pull apart easily with a spoon. If any thick chunks still look pink or wet in the center, keep cooking and recheck with the thermometer.
If you're using 99% lean turkey, or making burgers instead
If 93/7 isn't available and it's 99% lean turkey or nothing, mix a few tablespoons of grated onion into the meat along with the baking soda slurry. Nowjournal lists grated onion, along with mushrooms or a splash of chicken broth, as ways to add back the moisture that fat would otherwise provide in meat this lean. Expect the pan to release more liquid than usual; let it cook off completely before expecting real browning, and budget a few extra minutes for it.
This flat-block sear is built for loose turkey, not shaped patties, so skip it for burgers, meatballs, or meatloaf. Those hold together better with a panade, which is just bread soaked in milk. Bread and milk interrupt the protein network as it tightens, while baking soda works by changing the meat's pH; different mechanisms, similar result, since both keep moisture in the meat instead of letting it squeeze out.
Simply Recipes recommends soaking one slice of bread in about two tablespoons of milk for five minutes per two pounds of turkey, mashing it into a paste, and mixing it in gently. Whatever shape you're cooking, don't pull it off the heat until an instant-read thermometer confirms 165°F, the USDA's safe minimum for ground poultry.
Serve it, then store what's left
Spoon the finished turkey into tacos, grain bowls, chili, or sloppy joes while it's still hot. It should have browned edges, loose and moist crumbles, and enough seasoning to hold its own against toppings, salsa, or sauce.
If there's extra, get it into the fridge promptly rather than letting it sit out on the counter; the USDA advises against leaving cooked meat at room temperature any longer than necessary, since bacteria multiply fastest in that middle temperature range. From there, Taste of Home says it keeps in an airtight container in the refrigerator for up to four days, or in the freezer for up to three months, a guideline it published over a year ago. Thaw frozen portions overnight in the fridge rather than on the counter.
To reheat, warm it in a skillet over medium heat or in the microwave, and add a splash of water or broth so the second pass doesn't dry it out further. If it tastes flat after reheating, the same Worcestershire splash or a squeeze of lime will perk it back up. No extra salt required.




Comments
Be the first, drop a comment!