



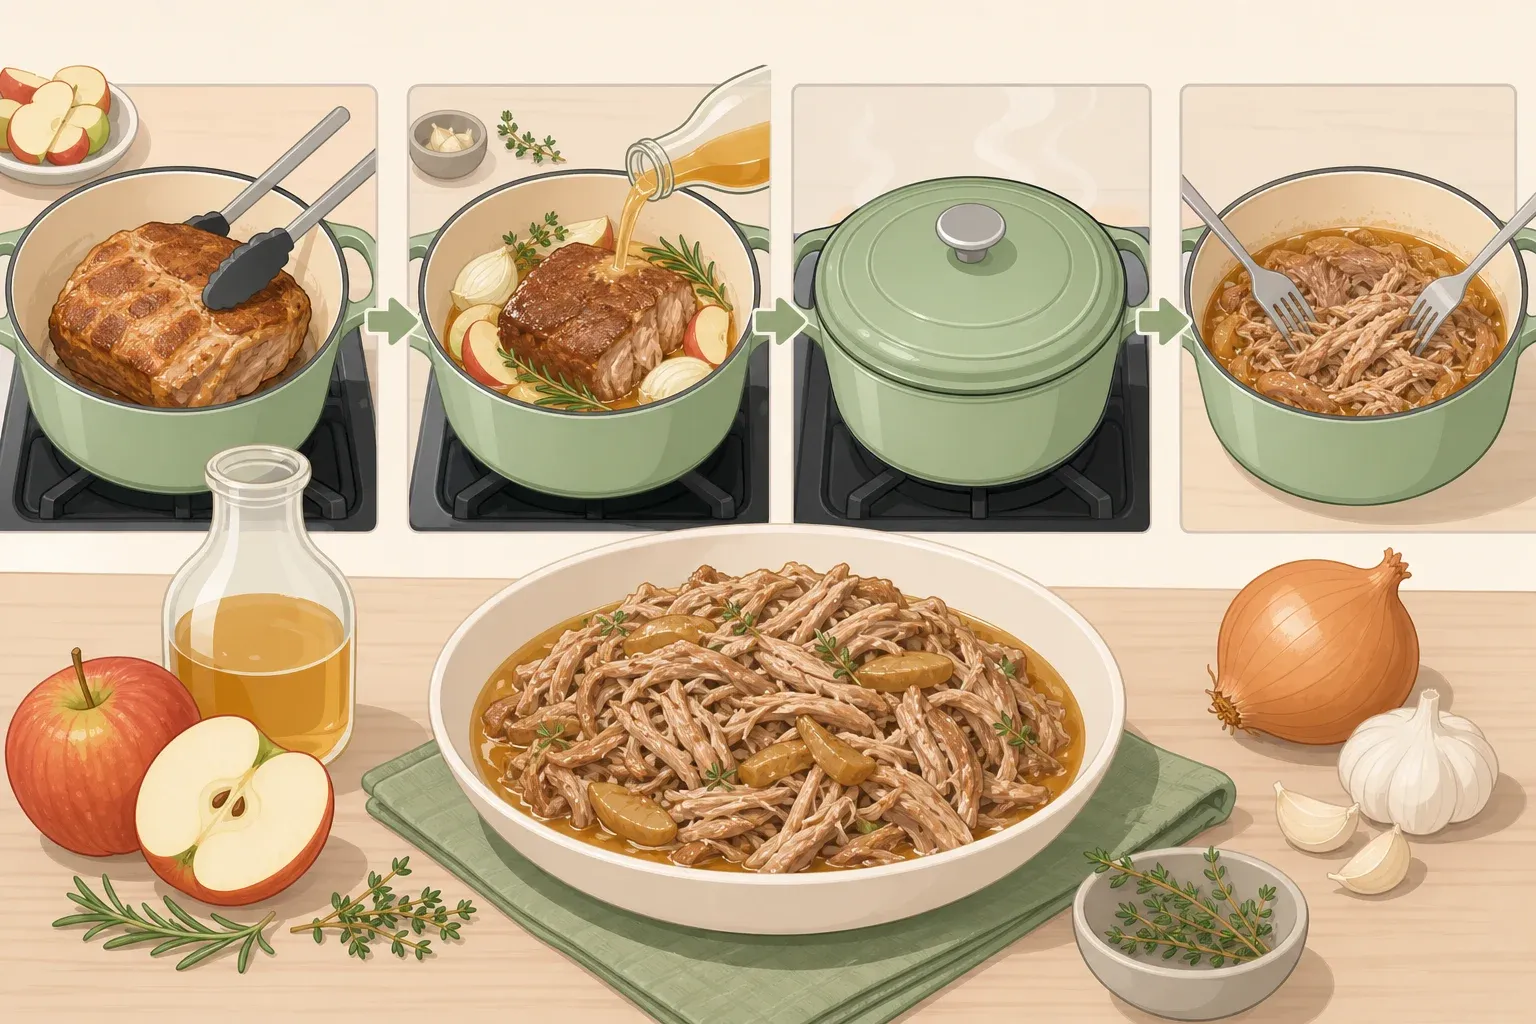
Apple Cider Braised Pork Shoulder: A Dutch Oven Guide
This guide walks through braising a bone-in pork shoulder in apple cider until it shreds with a fork, then turning the leftover braising liquid into a sauce that actually tastes like apples instead of sweet water. Apple cider braised pork shoulder is a low-effort Sunday project: brown the meat, add cider and aromatics, and let the oven do most of the work for several hours. The Seasoned Mom describes it as the kind of dinner that basically cooks itself.
One thing worth clearing up before starting: cider doesn't tenderize the pork on its own. Tenderness comes from cooking a fatty, connective-tissue-heavy cut long enough for that tissue to break down, which is exactly what happens to a Boston butt over a long braise, according to America's Test Kitchen. Cider still earns its place in the recipe, just not the way most people assume. Ask The Food Geek found that a longer, lower-temperature braise pushed noticeably more cider flavor into the meat than a hotter, faster one, though the biggest hit of apple flavor still comes from reducing the braising liquid into a sauce afterward. Plan on roughly 5 to 6 hours of mostly hands-off oven time for shreddable pork. A faster, sliceable version is covered further down as a variation, not the main event.
What you'll need
- The cut: a bone-in pork shoulder, usually labeled Boston butt. Its fat and connective tissue break down over a long braise into tender, silky meat, which is why this method depends on shoulder rather than a leaner cut, per America's Test Kitchen.
- The cider: fresh, cloudy, unsweetened apple cider with no added sugar or spices. The Seasoned Mom recommends this over clear apple juice, which is thinner and sweeter, and warns against substituting apple cider vinegar, hard cider, or sparkling cider.
- Fallback: apple juice works in a pinch, but Flavor House Journey suggests cutting back any added sugar elsewhere in the recipe since juice runs sweeter.
- Aromatics and pantry: a quartered onion, several garlic cloves, fresh thyme, a bay leaf, kosher salt, and cornstarch for finishing the sauce.
- Optional overnight cure: rubbing the roast with a brown sugar-salt mixture and refrigerating it for 18 to 24 hours seasons the meat and helps it hold onto moisture during the long cook, per America's Test Kitchen. Keep it covered in the fridge the whole time, the same way you would any raw meat. The cure itself is about flavor and moisture, not food safety.
- Equipment and skill level: a Dutch oven (or slow cooker, covered below) and a meat thermometer. Beginner-friendly. The only real techniques are browning meat and checking doneness.
Set your target: shreddable or sliceable
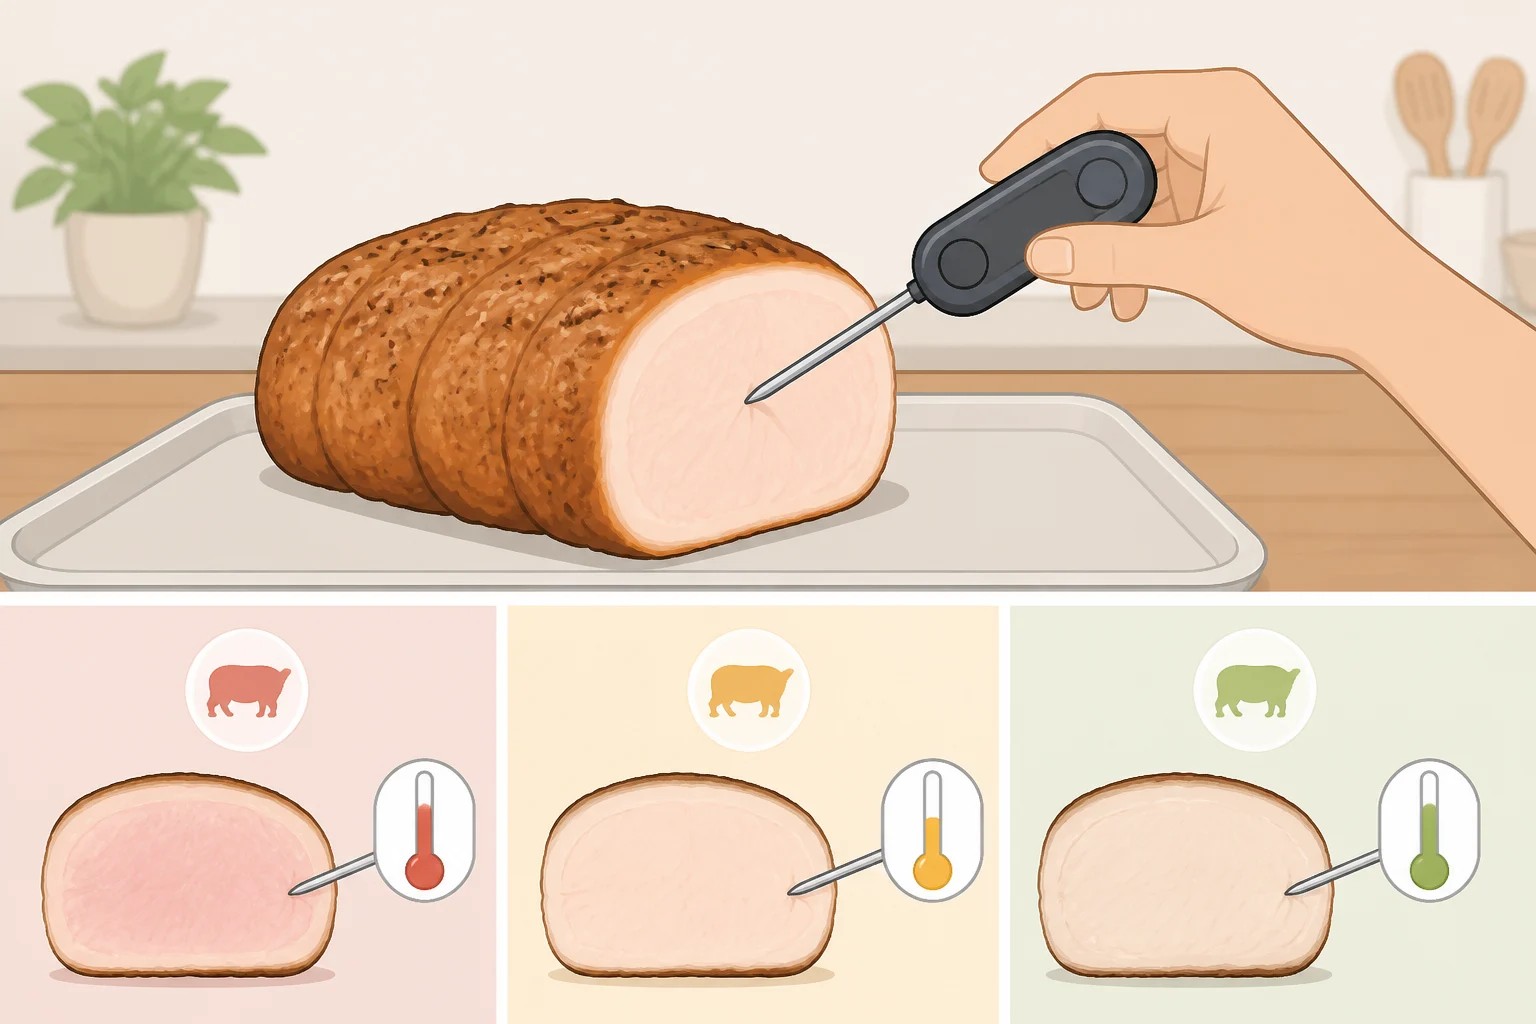
The default goal here is shreddable pork, pulled at an internal temperature around 205°F. The Seasoned Mom and Ask The Food Geek both use this mark, checking that a fork twisted into the thickest part meets almost no resistance.
Want something you can slice instead? Aim for 185°F to 190°F. America's Test Kitchen hits this range in a 275°F oven, checking that a fork slips easily in and out of the meat, in roughly 2¼ to 2¾ hours, well short of the shredding timeline.
The reason the range matters: collagen doesn't start breaking down until around 160°F, according to Ask The Food Geek. Pulling the roast at a bare food-safe minimum leaves it cooked through but tough, not tender. Use the thermometer to track progress, but let the fork be the real finish line since oven accuracy and roast shape shift the timing.
Dutch oven apple cider pork shoulder: step-by-step
- Season the roast. If it went through the overnight cure, pat it dry first. Otherwise, season it generously with kosher salt and pepper right before cooking.
- Brown the pork on all sides, about 8 to 10 minutes total over medium-high heat. This builds the flavor base the sauce depends on later, so don't rush past it.
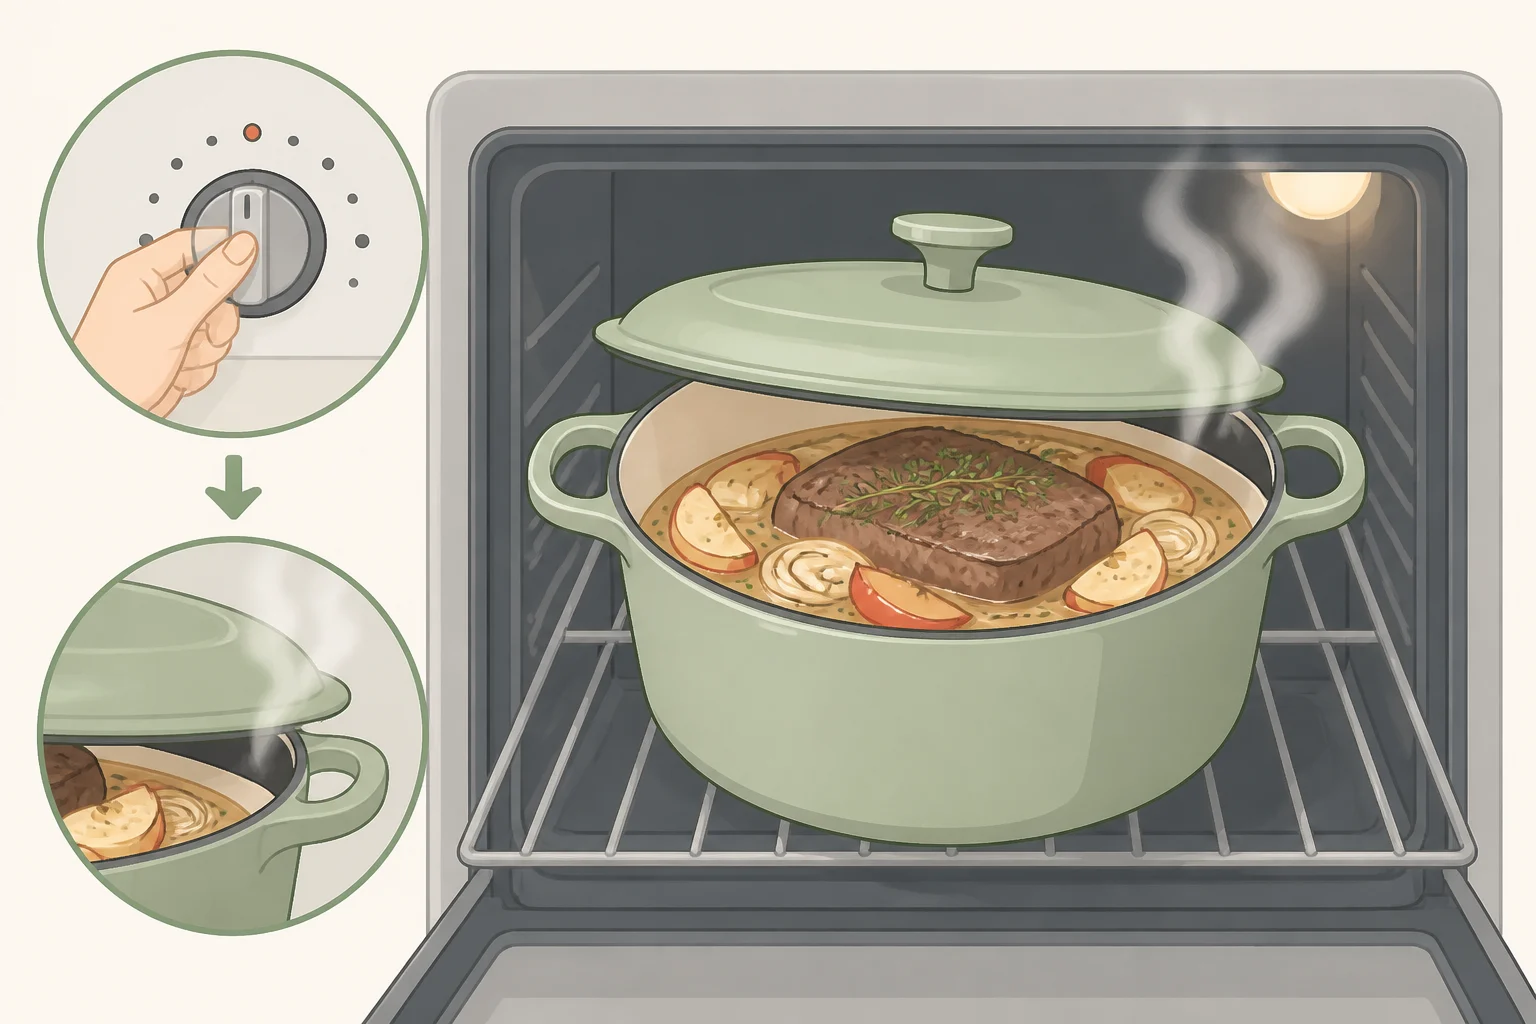
- Add the onion, garlic, herbs, and most of the cider, holding back a small amount to use later for thickening the sauce. The liquid should come about a third of the way up the sides of the roast.
- Crack the lid instead of sealing it tight, and set the oven to 250°F. Ask The Food Geek leaves the lid cracked so the braising liquid stays below a boil, since boiling overcooks the pork, and found that this lower, slower approach pulled more cider flavor into the meat than a typical 275°F, 3-hour braise.
- Check the liquid level periodically once you're a few hours in. If it's dropped well below a third of the way up the roast, top it off with a splash of water or cider, reseal, and keep going. Evaporation over a long braise is normal, not a sign of trouble.
- Braise until fork-tender. That's roughly 5 to 6 hours for the shred target, less for the slice target. Start checking both the thermometer and the fork around the 4-hour mark so you don't overshoot.
Slow cooker option
Brown the pork in a skillet first, using the same method above. A slow cooker won't develop that flavor on its own.
Transfer the pork, aromatics, and cider to the slow cooker. Flavor House Journey suggests 6 to 8 hours on low or about 4 hours on high, checked with the same fork test used in the Dutch oven method.
A slow cooker doesn't reduce liquid the way an active stovetop reduction does. Plan to strain and reduce the braising liquid in a saucepan after cooking, no matter which method got the pork tender.
Build the sauce from the braising liquid
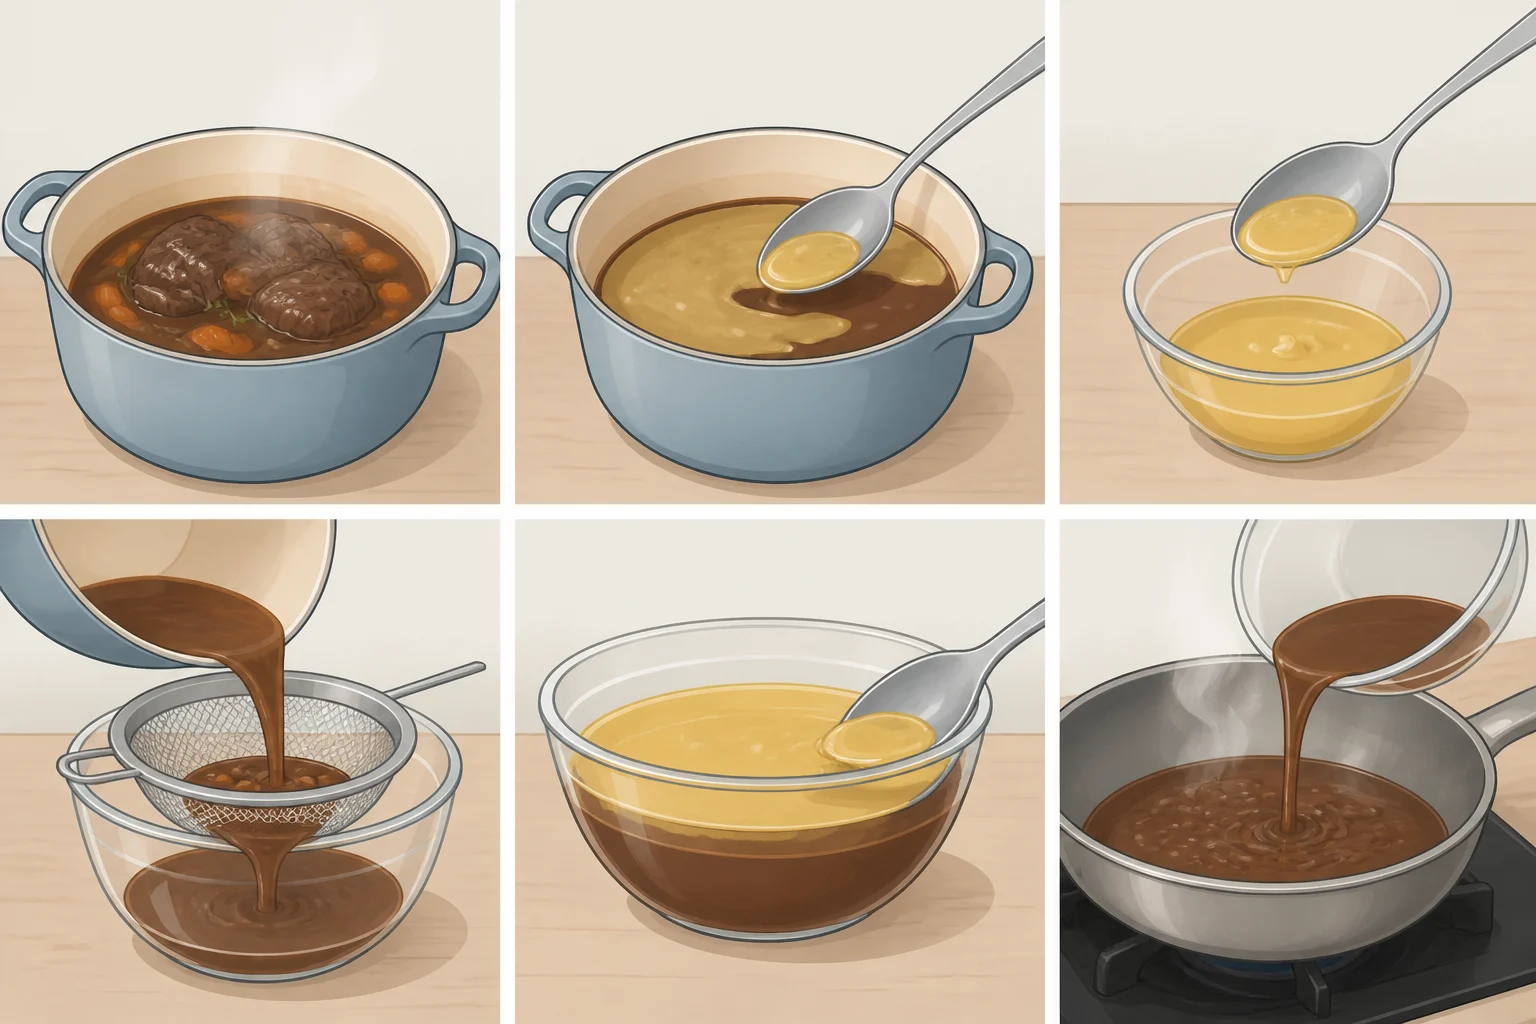
Remove the pork, tent it loosely with foil, and strain the braising liquid to pull out the onion, garlic, and herbs before doing anything else with it.
Defat the strained liquid. Ask The Food Geek lays out three options: a fat separator, which runs $15 to $30, chilling the liquid so the fat solidifies on top for scraping, or running an ice-filled metal ladle across the surface to collect fat on contact.
Reduce the defatted liquid in a saucepan over medium heat until it's thick enough to coat the back of a spoon. For a stronger apple profile, stir in a spoonful or two of apple butter along with a splash of apple cider vinegar before reducing, a combination America's Test Kitchen uses to push the apple flavor beyond what cider alone delivers. This is an optional upgrade, not a required step.
If the sauce is still thin after reducing, whisk the reserved cold cider with a little cornstarch until smooth, then whisk it into the simmering sauce and cook for a couple of minutes until it thickens. This slurry technique is the same one America's Test Kitchen uses to turn its own braising liquid into a proper sauce.
Adjustments and common mistakes
Stick with bone-in or boneless pork shoulder for this method. It's built around shoulder's fat and connective tissue; other cuts change the timing and won't reach the same texture. Flavor House Journey notes that pork loin or belly can work in the same braise, but expect different cook times and a less tender result.
Bone-in is worth considering but isn't a hard rule. Bones can add richness to a braising liquid, but treat that as a reasonable kitchen preference here rather than something tested specifically on shoulder.
If the pork isn't tender at your target time, don't pull it early. Cover it, keep cooking in short increments, and recheck with the fork test. Total time shifts with oven accuracy and whether the roast is bone-in.
A common mistake is cranking the oven higher than planned to save time without adjusting expectations. A hotter oven shortens the timeline and changes how much cider flavor makes it into the meat, so match your checks to the temperature actually in use rather than the timing from a different recipe.
Finish, serve, and store
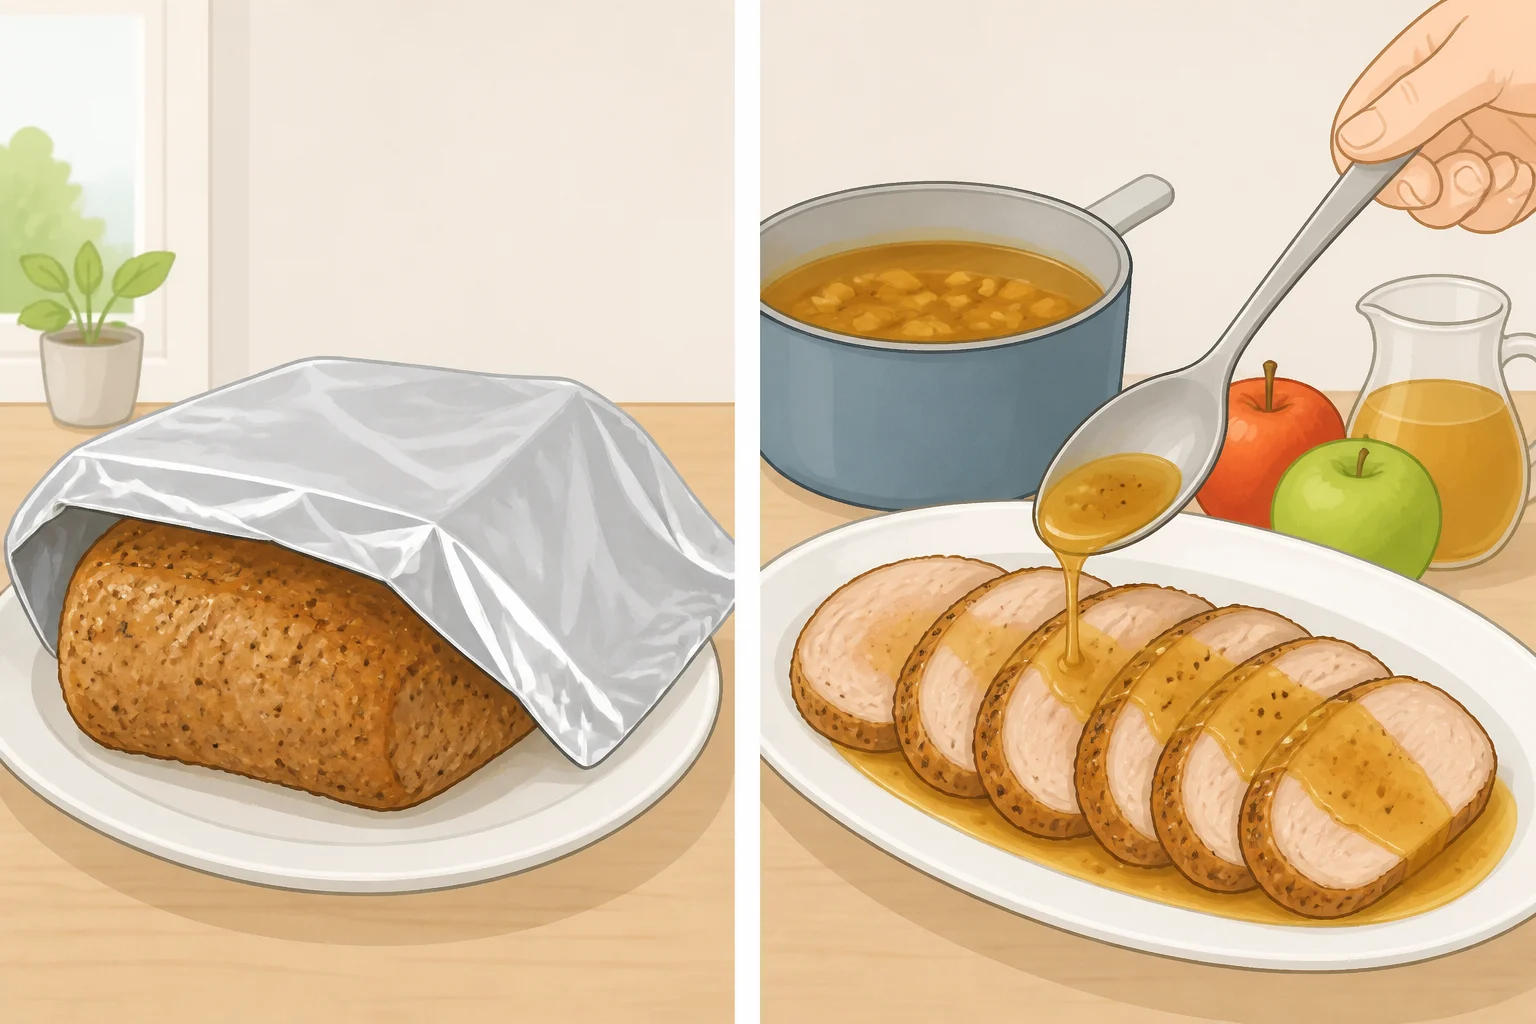
Success looks like this: the pork pulls apart with light fork pressure, or slices cleanly if that was the target, and the sauce tastes apple-forward without turning syrupy.
Let the pork rest under foil for about 30 minutes before serving, the resting time America's Test Kitchen uses to let the juices settle back into the meat.
For serving, spoon the sauce over the pork alongside mashed potatoes, letting the potatoes soak up any extra sauce that pools on the plate.
Refrigerate leftovers promptly in an airtight container. Flavor House Journey says the pork keeps up to 3 days in the fridge or up to 3 months in the freezer.
Small differences in roast shape or the exact cider brand won't derail the results. What matters is tying the fork test and internal temperature to the oven temperature actually being used, rather than switching between timings from different recipes partway through.













Comments
Be the first, drop a comment!