



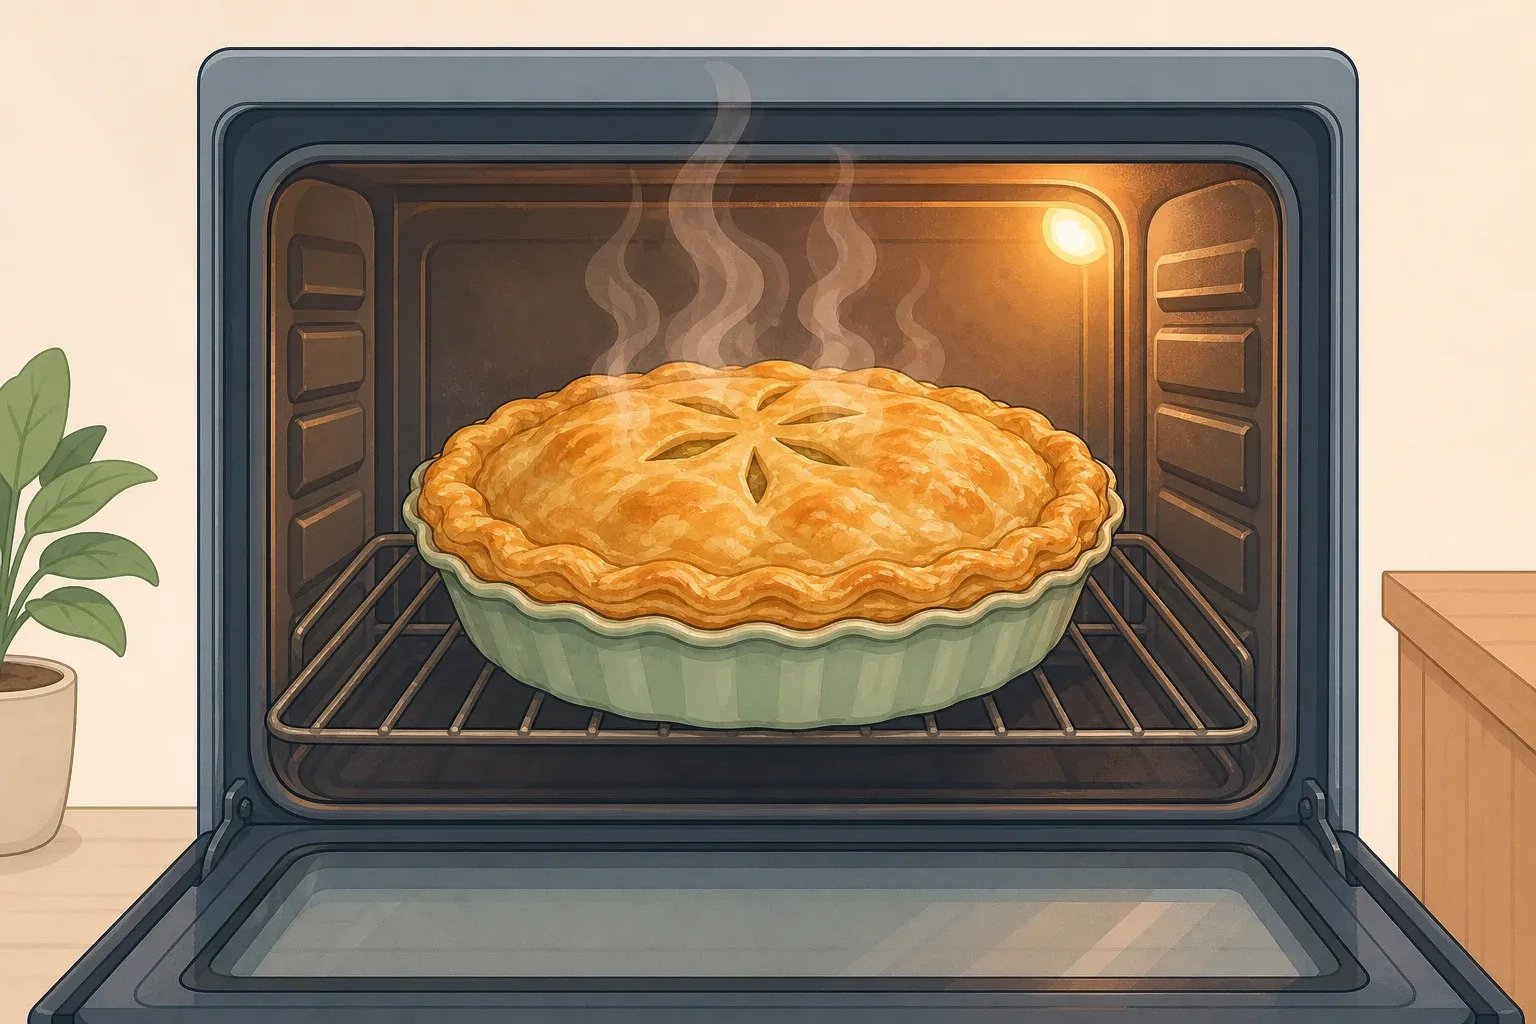
How to Make the Best Chicken Pot Pie: 3 Heat-Control Tips
A chicken pot pie crust doesn't fail at random. It fails because heat and moisture hit the pastry at the wrong moment, whether that's from butter that softened on the counter, filling that went under the crust while it was still steaming, or an oven that wasn't fully up to temperature when the pie went in. Learning how to make the best chicken pot pie really comes down to managing those three moments: keep the butter cold until it's in the oven, build a filling thick enough to hold its shape, and bake in an oven that's already hot.
This guide walks through a complete homemade chicken pot pie recipe with a flaky top crust, plus a fully specified fast route using store-bought puff pastry and rotisserie chicken for nights when the clock is tight. Three chefs, interviewed separately, each flagged a different stage along that process where heat control makes or breaks the result.
Chef Steve Chiappetti told The Takeout that softened butter is one of the most common pot pie mistakes, since warm butter blends into the flour instead of staying in separate pieces, which bakes up dense rather than flaky. Pastry chef Saura Kline keeps her butter cold through mixing and lets the filling cool before it touches the dough, telling Chowhound she treats pot pie crust the same as any other pastry. Cookbook author Roberta Muir preheats the oven fully to around 400°F before the pie goes in, since opening the door on a half-heated oven robs the pastry of the strong initial heat it needs, according to The Takeout.
This method builds a crisp top crust reliably when those three checkpoints are followed. It won't fix every kind of sogginess, since a bottom crust sitting under wet filling is a separate, harder problem addressed near the end of this guide. A top crust sidesteps that particular failure point altogether, which is part of why Great British Chefs calls the single-crust format one of the easiest for beginners: there's no bottom crust sitting under the filling to turn soggy.
What you'll need
Decide on a route before shopping. The homemade route below shows how to make chicken pot pie from scratch, with hands-on prep plus the 30-minute chill the dough needs before rolling, so it takes noticeably longer than a weeknight shortcut would. It also gives full control over flavor and texture. The fast route covered later in this guide, using puff pastry and rotisserie chicken, runs closer to an hour with far less active work, per America's Test Kitchen's own timing. The steps below assume the homemade route; if poaching chicken and rolling pastry from scratch feels like a stretch tonight, skip ahead to the fast route.
Skill level: intermediate DIY. This recipe serves 4 to 6, per Great British Chefs.
Use an ovenproof pan rated safe to at least 400°F, and keep any tools or cutting boards that touch raw chicken away from the vegetables and herbs being prepped alongside it.
This pastry list follows Great British Chefs' single-crust chicken pie recipe:
- 150g plain flour, ¼ tsp salt
- 110g cold unsalted butter, diced
- 50g sour cream
- 2 tbsp cold water
- 2 tsp vinegar
- 1 beaten egg for wash
Optional upgrade: pastry chef Saura Kline mixes 1 tablespoon chopped thyme and 1 teaspoon chopped rosemary directly into the dry pastry ingredients for an herby crust, per Chowhound.
The filling ingredients come from the same recipe:
- 500g boneless, skinless chicken thighs
- 600ml chicken stock, 1 bay leaf, 1 tsp dried thyme
- 2 carrots, diced; 150g frozen peas
- 1 onion, 2 leeks, 2 celery sticks
- 2 tbsp butter or oil, 2 tbsp flour, 4 tbsp single cream
- Salt and pepper
Equipment: a 20–23cm ovenproof skillet or pan, rolling pin, pastry brush, an instant-read thermometer, and a rimmed baking sheet set under the pan to catch any bubble-over, following the same setup America's Test Kitchen uses for its puff pastry version.
Chicken pot pie pastry tips for a flaky top crust: checkpoint one
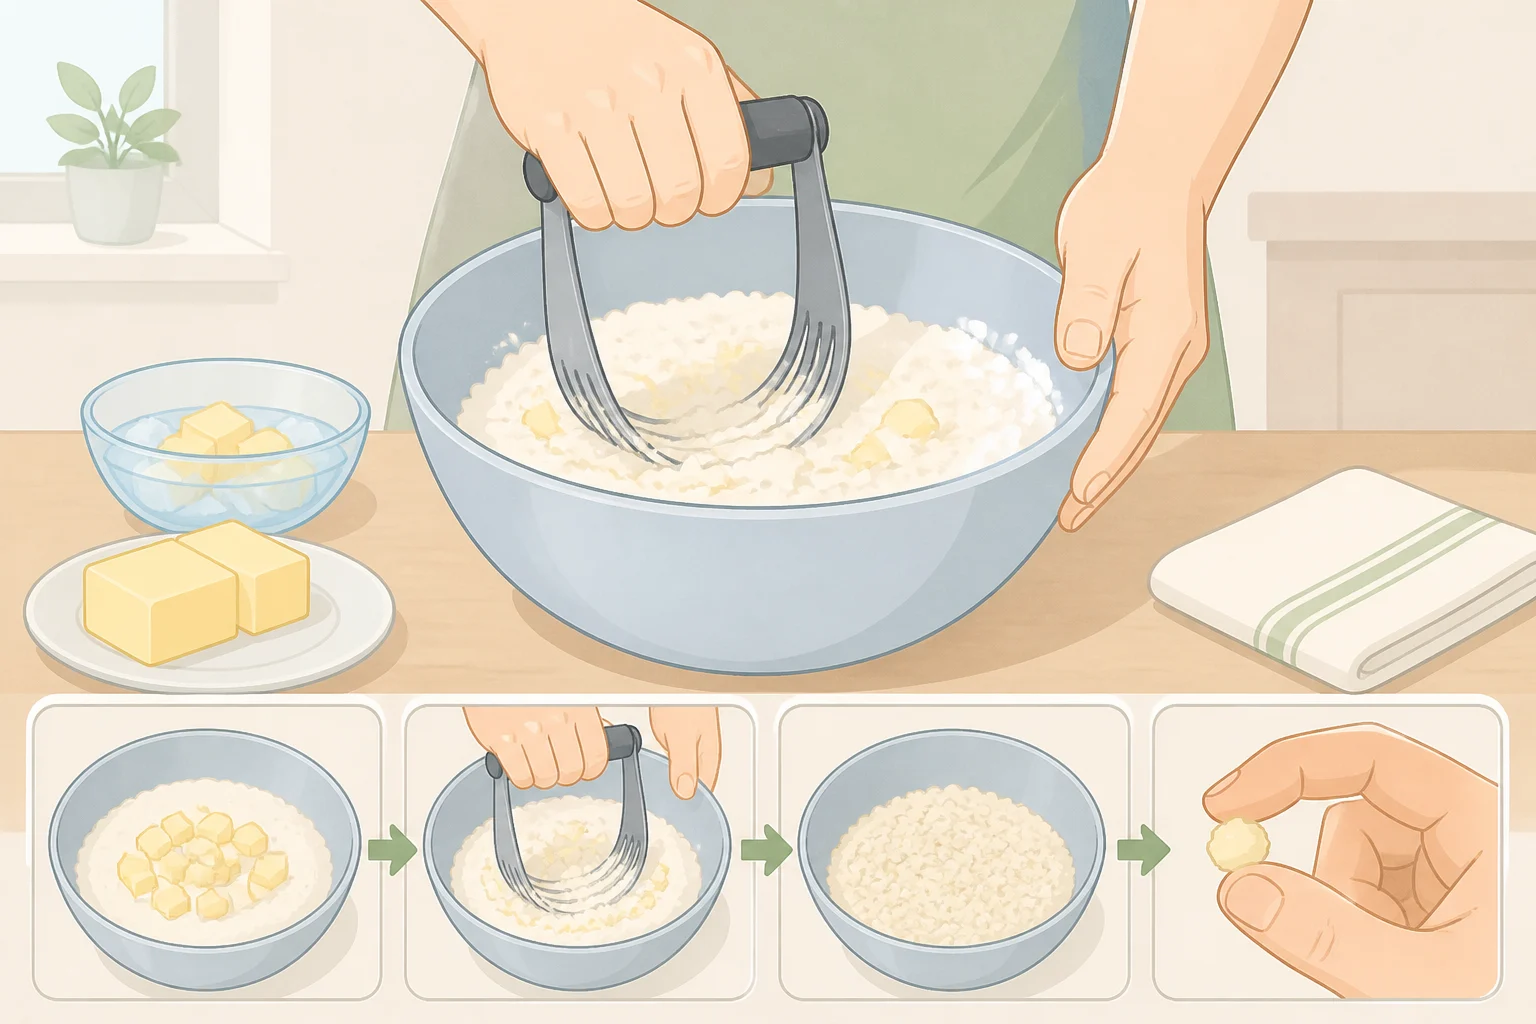
Cold butter is the first heat-control checkpoint, and it matters before the filling even exists.
- Mix the flour and salt (plus herbs, if using), then cut the cold diced butter into the flour until the mixture looks sandy, with no piece larger than a pea.
- Whisk the sour cream, water, and vinegar together, pour into the flour mixture, and stir just until it comes together.
- Don't knead the dough. Kneading develops gluten, which is useful in bread but makes pie crust chewy instead of light and flaky, per The Takeout.
- Chill the dough at least 30 minutes before rolling, and leave it in the fridge while you build the filling next. Don't pull it out early.
Cold butter works because it stays in small, distinct pieces that melt in the oven into crisp layers. Butter that's too warm blends directly into the flour and bakes up dense and tough instead of flaky, per The Takeout.
If the kitchen feels warm, treat it as a warm-kitchen situation: chill the bowl, rolling pin, and dry ingredients beforehand so nothing softens the butter on contact. Don't freeze the butter solid either. Frozen butter loses the flexibility the dough needs to roll without cracking.
The dough should feel cool and roll smoothly when you're ready for it. If it turns sticky or soft while you're working through the filling steps below, put it back in the fridge for 10 to 15 minutes before rolling. Don't try to assemble the pie with soft dough; it won't hold its shape against the hot pan rim.
Build a thick, well-seasoned filling: checkpoint two
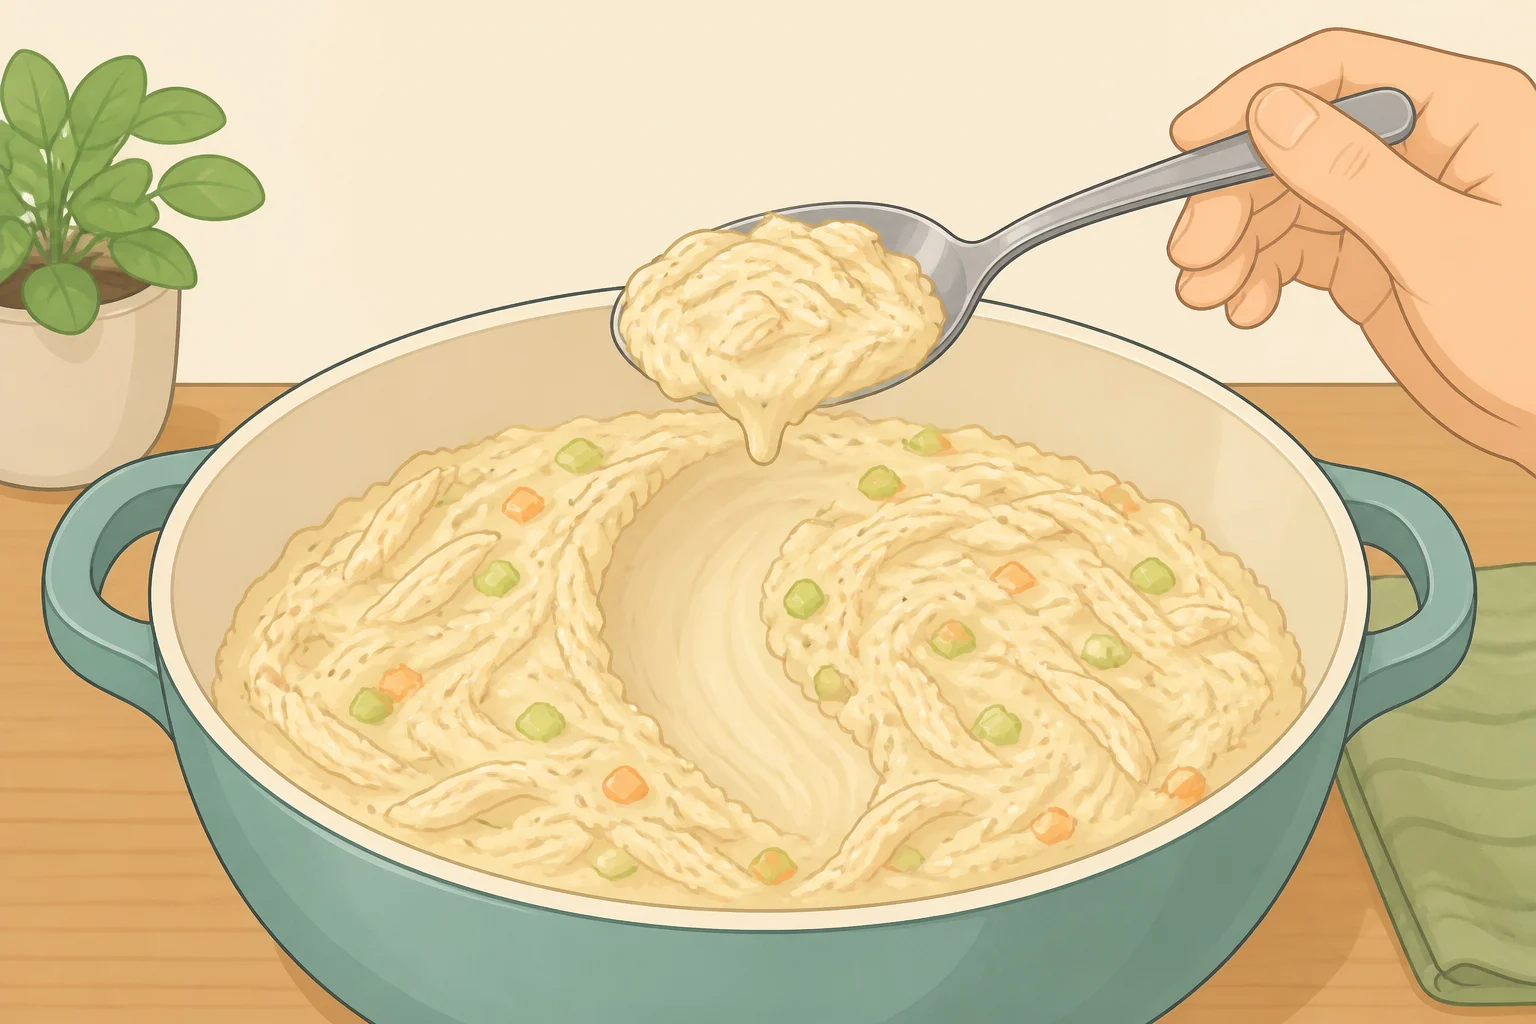
A properly thickened, temperature-managed filling protects the crust almost as much as cold pastry does.
- Bring the stock to a simmer, add the bay leaf, thyme, and chicken thighs, and poach at a bare simmer for about 15 minutes, or until the chicken is cooked through, per Great British Chefs. An instant-read thermometer is the most reliable way to check doneness without cutting into the meat and losing its juices. Once it's done, remove the chicken from the stock and set it aside.
- Add the carrots to the stock and simmer about 5 minutes until just tender, then pour the stock and carrots into a jug and set aside.
- In the same pan, cook the onion, celery, and leeks in butter or oil over medium heat for about 20 minutes until soft and sweet, stirring more often toward the end as they start to stick.
- Sprinkle the flour over the vegetables and cook until it turns sticky and fully coats them, then stir in the cream, followed by the reserved stock and carrots. Simmer until thickened.
- Check the thickness before moving on. Drag a spoon across the bottom of the pan; it should leave a visible trail, and a spoonful in the dish shouldn't pool liquid around the edges. If it's still thin, simmer a few more minutes.
- Stir the cooked chicken back in along with the frozen peas. Adding peas at this stage means they only need to warm through, finishing the rest of their cooking in the oven, per The Takeout.
- Taste and season now. Since the filling is fully cooked, it's safe to taste the gravy directly and adjust salt and pepper before it meets the pastry, per The Takeout.
- Let the filling sit a few minutes once active steaming stops before topping it. A top-crust pie doesn't need the filling fully cooled the way a bottom-crust pie does, but very hot filling can still soften pastry where it touches the rim, per Great British Chefs. If time is tight, stirring in an extra handful of frozen vegetables pulls heat out fast, per America's Test Kitchen.
Top, vent, and bake: checkpoint three
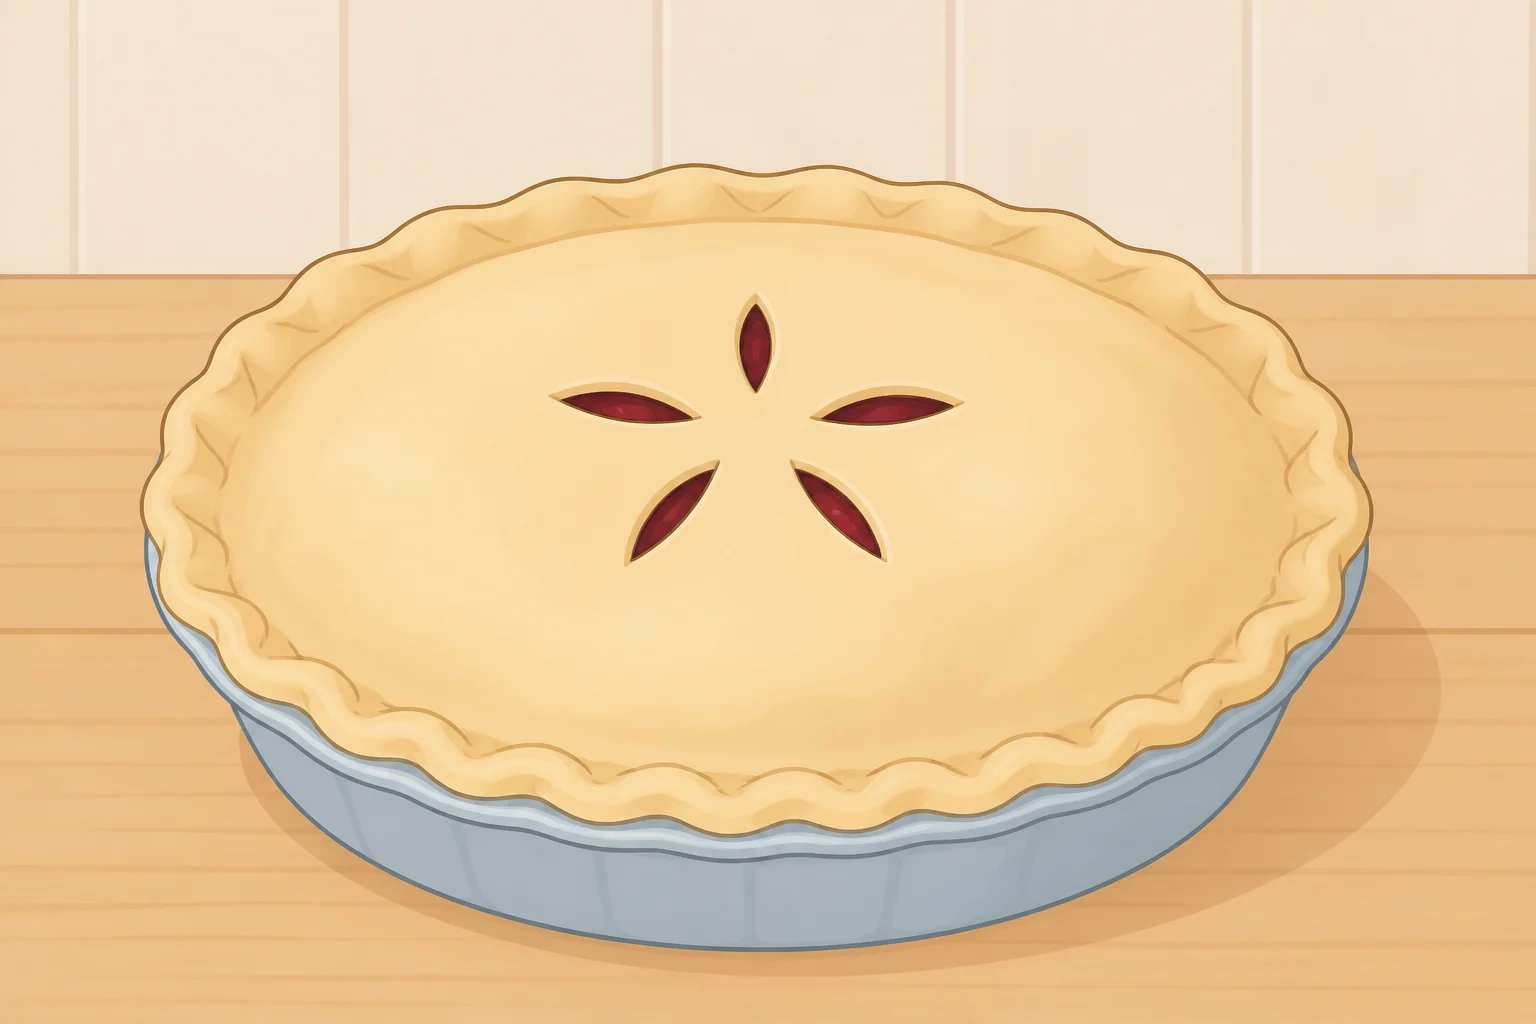
This is where cold pastry, a managed filling, and oven heat either come together or fall apart.
- Preheat the oven fully to 400°F before assembling the top. Opening the door to a half-heated oven drops the temperature right when the pastry needs its strongest initial heat, per The Takeout.
- Roll the chilled pastry slightly larger than the pan and about half a centimeter thick. Don't roll it too thin; the extra thickness keeps the top from sagging in the center as it bakes, per Great British Chefs.
- Lay the pastry over the filling and press it firmly against the rim, leaving some overhang so it stays anchored instead of pulling away as the filling bubbles.
- Brush the top evenly with egg wash, then cut 3 to 4 slits in the center. These vents release steam; without them, trapped moisture can leave the crust soggy or undercooked, per The Takeout and America's Test Kitchen.
- Don't overfill the dish. Leave a gap between the filling and the rim, since the filling expands and can bubble over as it heats. The baking sheet underneath catches anything that escapes.
- Bake 30 to 40 minutes, until the top is deep golden brown and the filling is visibly bubbling through the vents, per Great British Chefs.
The fast route, and when a bottom crust makes sense
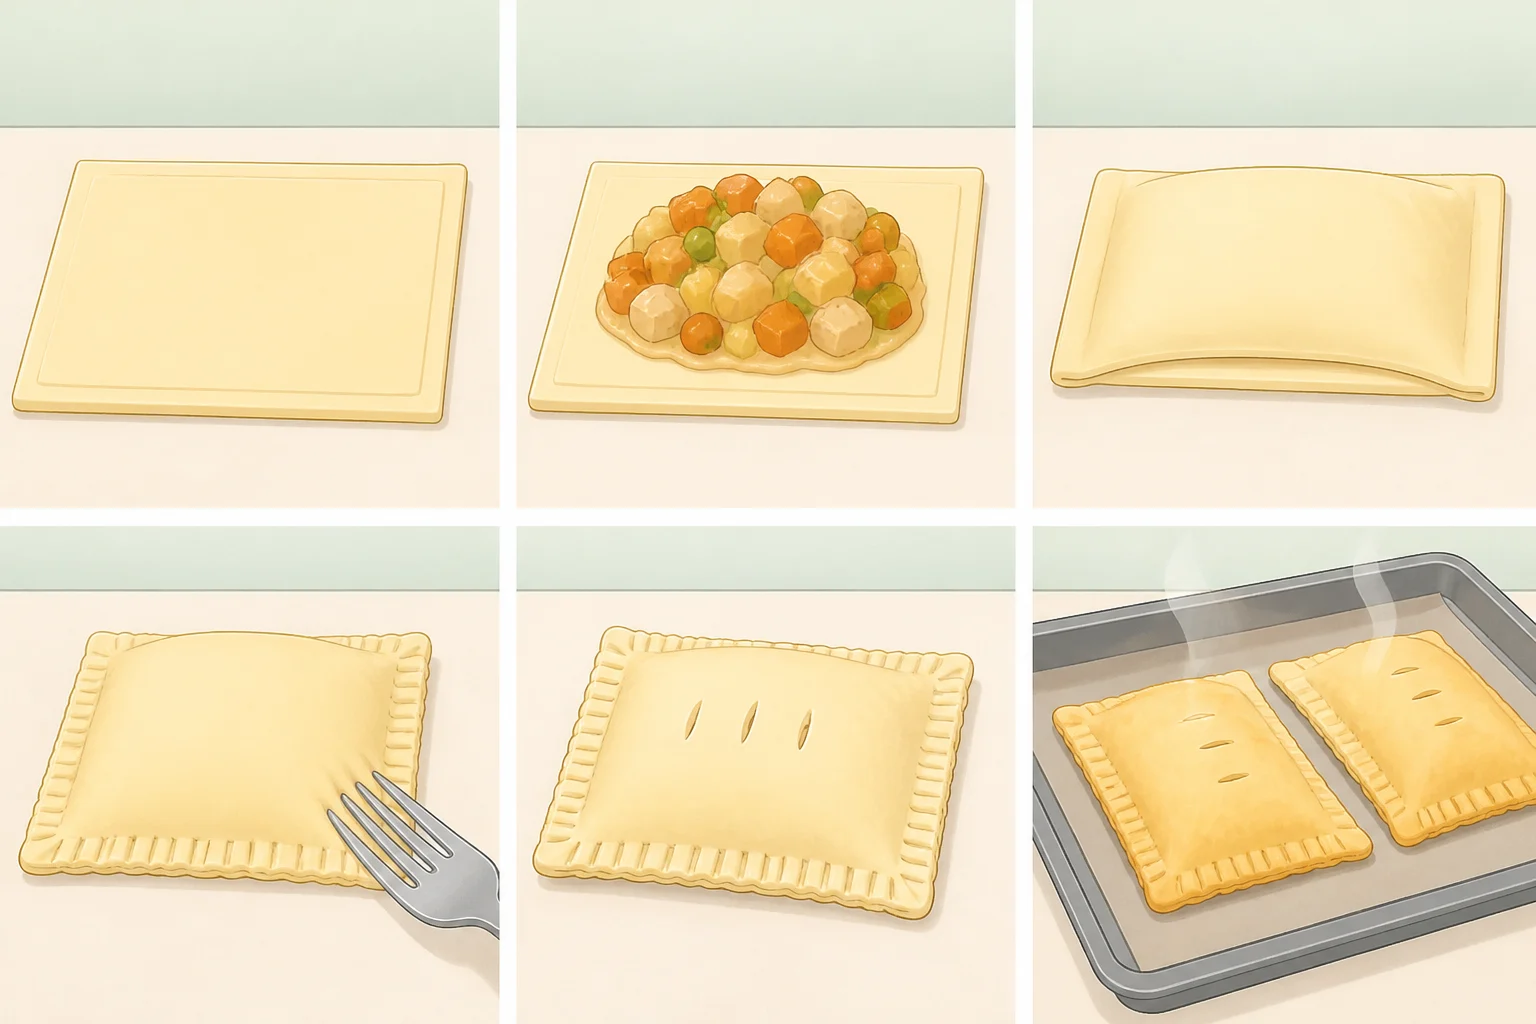
Fast route: puff pastry pockets (makes 4). This isn't the same format as the pie above. It swaps the entire homemade-pastry-and-poaching process for a quicker, individually portioned version using store-bought puff pastry and rotisserie chicken, and it yields four hand-held pockets rather than one sliced pie, in about an hour, per America's Test Kitchen's own timing.
Here's the full ingredient list, per America's Test Kitchen: 3 tbsp butter, ½ chopped onion, 2 tsp chopped thyme, 1 minced garlic clove, 1¼ tsp salt, 1 tbsp flour, 1 cup half-and-half, 1½ cups shredded rotisserie chicken, 1 cup frozen peas and carrots, 2 sheets thawed puff pastry, and 1 egg beaten with 1 tsp water.
Thaw the puff pastry 30 minutes to an hour on the counter, or 24 hours in the fridge. Adjust the oven rack to the middle position, preheat to 400°F, and line a rimmed baking sheet with parchment before you start cooking.
Cook the onion, thyme, garlic, and salt in melted butter about 4 minutes until softened, stir in the flour and cook 1 minute, then whisk in the half-and-half and simmer until thickened, about 1 minute. Off the heat, stir in the chicken and the frozen peas and carrots; the frozen vegetables pull heat out of the filling fast as they go in, per America's Test Kitchen.
If the puff pastry sheets run larger than 9½ by 9 inches, trim them down to that size. Lightly brush one sheet with egg wash, divide the filling into four portions on top of it, then lay the second sheet over it and press firmly around the edges and between the filling mounds to seal. Cut the assembled dough into four squares and set them on the parchment-lined sheet. Crimp the edges with a fork, cut three 1-inch vents in the top of each square, and brush with the remaining egg wash. Bake 20 to 24 minutes until well browned. The same venting and preheating logic from the homemade method still applies.
Bottom-crust or double-crust pies are a separate, more advanced project. That format requires fully cooling the filling before it touches the crust, which the top-crust method here does not require, per Great British Chefs. Skipping a par-baked bottom crust is a commonly cited cause of sogginess, but par-baking is its own technique with its own timing, and it isn't something to improvise from this guide. If a bottom crust is the goal, start with a recipe written and tested specifically for that format, per The Takeout.
Finish, rest, and store
Success looks like a deep golden top bubbling through the vents, sitting over a gravy that was already thick enough to leave a trail on a spoon before it ever went under the pastry.
Rest the pie at least 10 minutes before serving so the first cuts don't collapse. For the cleanest slices, give it closer to 20 minutes; the extra time lets the thickener in the filling fully set, per The Takeout.
If the crust turns soggy anyway, check in this order: was the gravy thick enough before assembly, was the pastry still cold and firm, not tacky, when it was rolled, and was the oven fully preheated to 400°F before the pie went in. These are the first three things to check in a top-crust pie built this way.
Leftovers keep in the fridge for a few days, though the crust loses its crispness. Reheat in the oven rather than the microwave to bring some of that crunch back; Great British Chefs suggests about 20 minutes at 180°C (around 350°F), covering the crust loosely with foil if it starts to brown too fast.
Don't overthink a little filling bubbling over the vents or the edge during baking; it's normal and won't ruin the pie, so resist the urge to pull it early, per Great British Chefs. If this top-crust version works well and a bottom crust sounds appealing next time, start with a recipe built specifically for that format rather than retrofitting this one. The cooling and par-baking requirements are different enough to matter.














Comments
Be the first, drop a comment!