



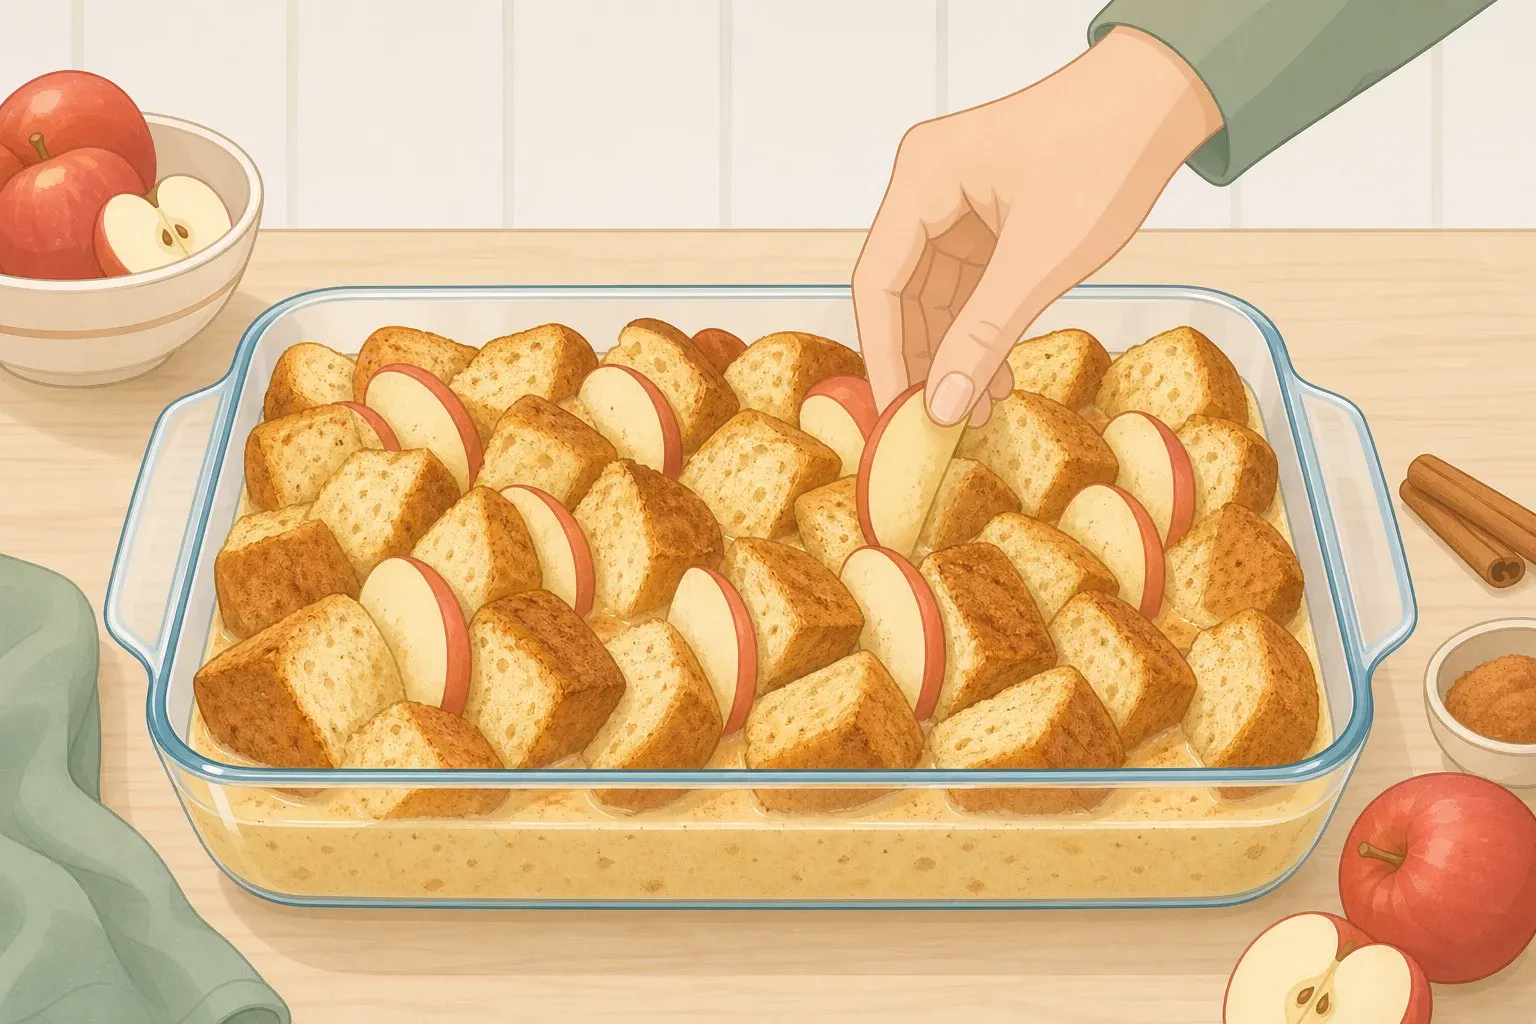
This guide walks through building one baked apple cinnamon French toast casserole in a 9-by-13-inch dish, enough to serve eight, that holds its shape instead of turning to mush in the center. The method comes down to two things: dried bread cubes that can actually absorb a measured custard, and apple slices cut an eighth of an inch or thinner so they cook through without dumping extra liquid into the dish. Passport Kitchen's recipe for this apple French toast casserole rests the assembled dish at least 30 minutes, preferably overnight, before baking at 350°F until the top turns golden and the center is just set with a slight jiggle.
This is a beginner-friendly bake. Nomaste Hungry rates this style of French toast bake as easy, beginner-level cooking, and the equipment stays basic: a baking dish, mixing bowl, whisk, measuring cups and spoons, a knife for slicing apples, a spatula for pressing the bread down, and an oven. Passport Kitchen identifies three causes of a soggy casserole: too much liquid, too many apples, or apple slices cut too thick. The steps below are built to avoid those three problems specifically, not to cover every possible version of apple French toast bake.
What you'll need for baked apple cinnamon French toast casserole
This version follows Passport Kitchen's eight-serving ingredient list, built here in a 9-by-13-inch baking dish:
1 pound brioche or challah, cut into 1-inch cubes and dried (fresh bread needs drying first; see below)
2½ to 3 medium apples, a mix of Honeycrisp for structure and Granny Smith for acidity, sliced an eighth of an inch or thinner
2 tablespoons brown sugar, 1 teaspoon cinnamon, and a pinch of salt, for tossing with the apples
1 teaspoon flour, optional, stirred into the apple toss to help soak up extra moisture (not into the custard)
6 large eggs
2 cups whole milk
½ cup heavy cream
⅓ cup sugar
1 tablespoon vanilla extract
½ teaspoon kosher salt
2 tablespoons butter, cubed
Maple syrup and powdered sugar for serving
Equipment: a buttered 9-by-13-inch baking dish, a large mixing bowl, a whisk, measuring cups and spoons, a knife or mandoline for the apples, and a spatula.
Nomaste Hungry builds its version without heavy cream, using milk or half-and-half instead, and warns that cream changes how the custard sets compared with those lighter options. This guide follows the milk-and-cream version listed above. Leaving the cream out changes the texture somewhat; it's a different recipe, not a broken one.
Prep the bread and apples before you assemble
Two prep tasks help prevent a soggy result: drying the bread and slicing the apples thin. Handle both before mixing anything together.
Dry the bread first, spreading the cubes out at room temperature for several hours or overnight, or speeding things up by baking them at 300°F for 10 to 12 minutes. Properly dried cubes feel firm and slightly stale rather than soft, with a faint crunch when pressed instead of give. That firmness is what lets them soak up custard instead of collapsing into paste once the liquid hits.
Slice the apples thin and even, keeping every piece to an eighth of an inch or less. Passport Kitchen's troubleshooting lists slices cut too thick as one of three direct causes of a soggy finished casserole, alongside too much liquid and too many apples, so this is worth measuring with a ruler or mandoline rather than eyeballing it.
Once the bread, apples, and custard come together, the dish is holding raw eggs and dairy, which means it shouldn't just sit out on the counter indefinitely. If something comes up and the bake gets delayed well past the rest time described below, slide the dish into the fridge rather than leaving it out while you wait.
How to assemble and bake the casserole
Toss the sliced apples with the brown sugar, cinnamon, and a pinch of salt. Stir in the optional flour now if using it; it goes with the apples, not into the egg mixture in step 3. Set the bowl aside.
Butter the baking dish, then alternate bread and apples in two or three loose layers rather than dumping everything in at once, finishing with bread on top. Spread extra apple slices toward the middle and sides of each layer instead of letting them settle at the bottom, which keeps one section of the dish from turning dense and wet. Distribute apples throughout the dish rather than piling them on top.
Whisk the custard: eggs, whole milk, cream, sugar, vanilla extract, and kosher salt, until no streaks of egg remain.
Pour the custard evenly over the bread and apples, then press down gently with a spatula to get every side of the bread in contact with the liquid. Check that every cube looks moistened with no dry white patches; if custard is still pooling on top after pressing, press again until it's absorbed.
Dot the top with the cubed butter.
For same-day baking, leave the dish uncovered on the counter for about 30 minutes while the oven preheats to 350°F. For an overnight soak, cover the dish tightly and refrigerate it right away rather than resting it on the counter first; the next morning, uncover it and let it sit on the counter about 30 minutes while the oven preheats.
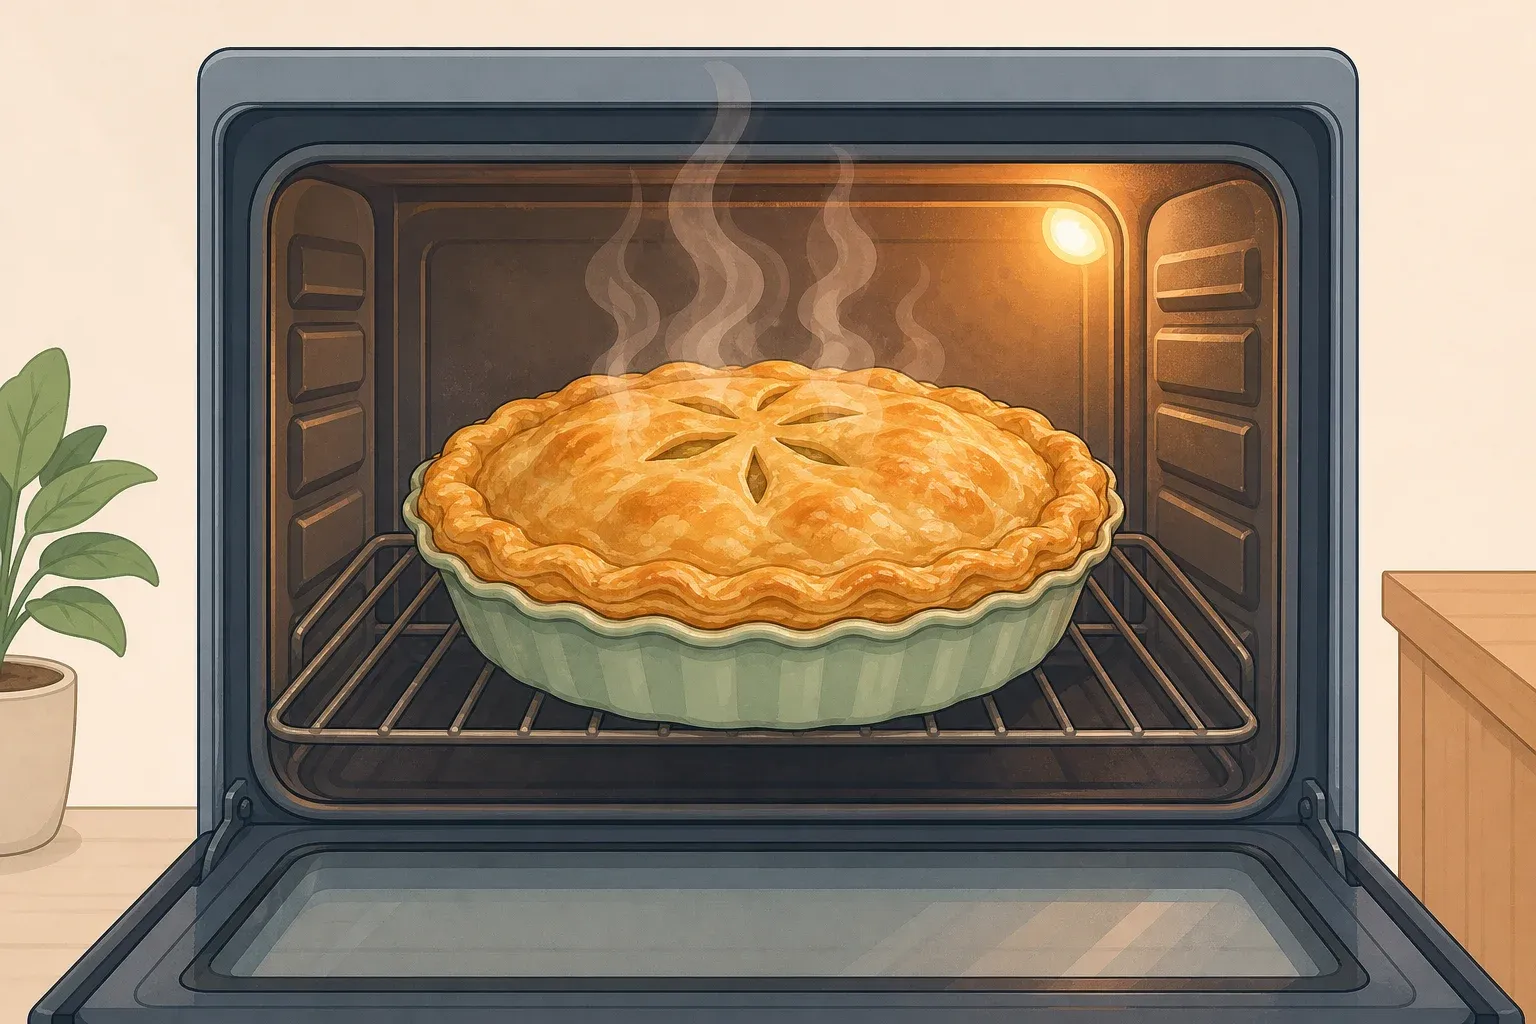
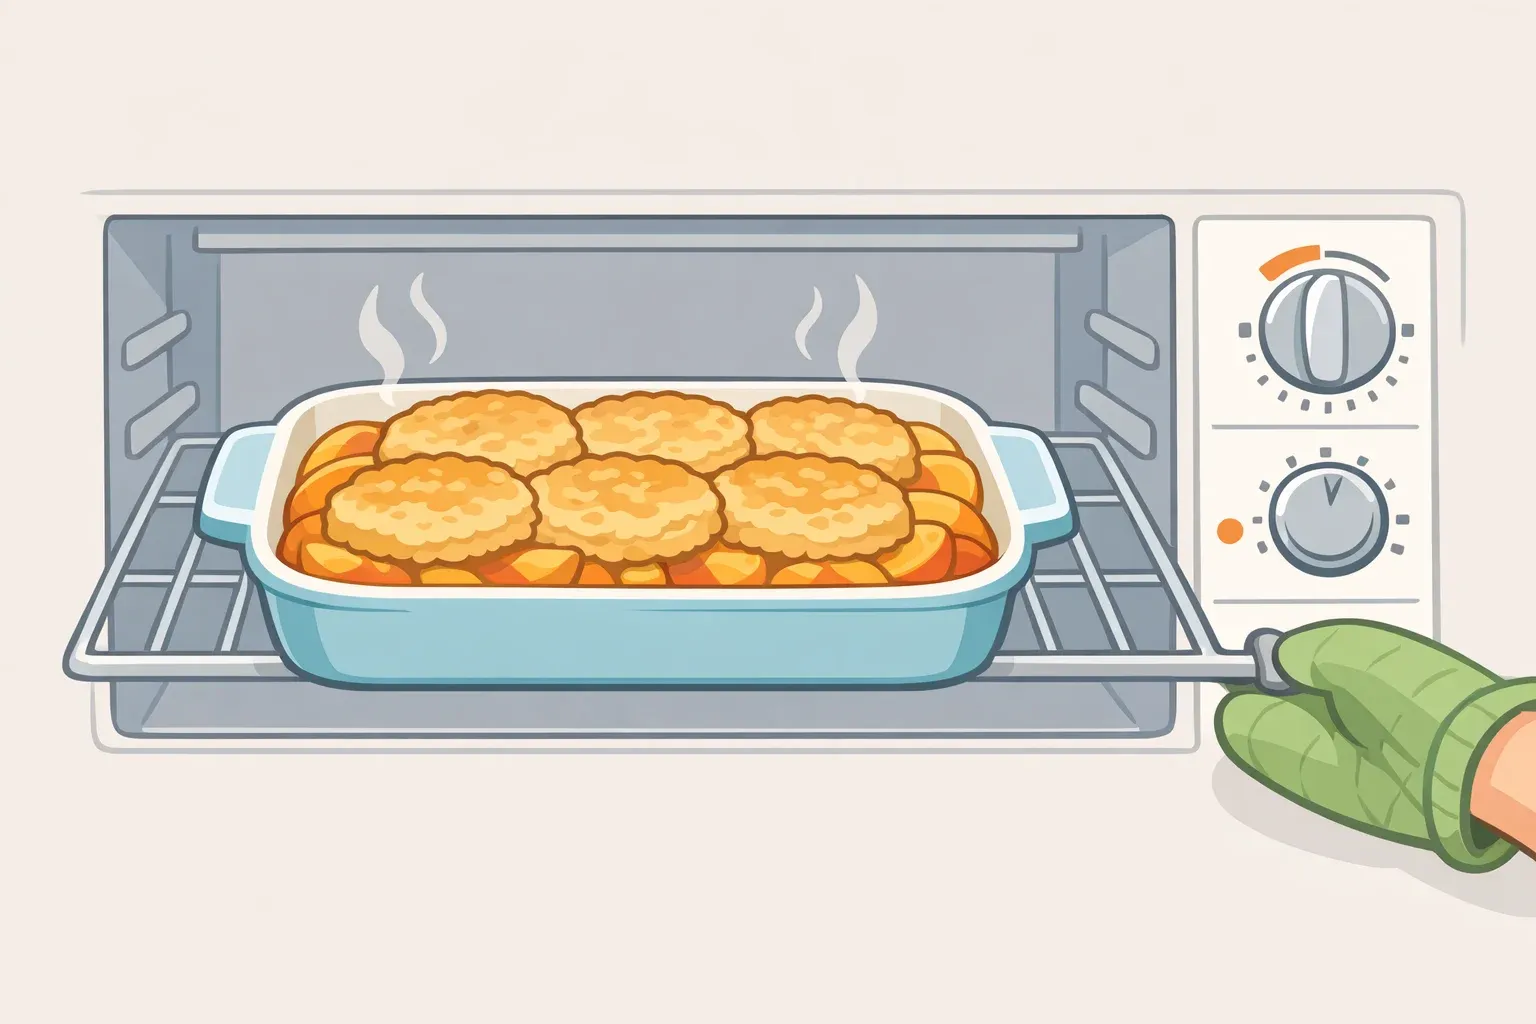
Bake for 40 to 50 minutes, checking around the 40-minute mark. A golden top and a slight jiggle in the center are the real sign the casserole is done, more reliable than the clock. If the top browns faster than the center sets, tent it loosely with foil for the remaining bake time so it doesn't scorch before the middle finishes.
Rest the casserole 10 to 15 minutes before slicing so the pieces hold together cleanly.
Serve warm with maple syrup and, if wanted, a dusting of powdered sugar.
Make-ahead apple French toast casserole timing
Same-day: let the assembled dish rest uncovered on the counter for about 30 minutes while the oven heats to 350°F, then bake as described above.
Make-ahead: cover the dish tightly and refrigerate it right after assembly, skipping the counter rest until the next morning. Passport Kitchen says the longer soak improves both texture and flavor, since the bread has more time to take on the custard.
Either way, don't move the dish straight from a cold fridge into a hot oven. Carefree Kitchen's version calls for letting the dish sit on the counter about 30 minutes before it goes into a preheated 350°F oven, which brings it closer to room temperature for more even baking. That's a short enough stretch that it won't compromise the dish food-safety-wise, even counting the time spent assembling it earlier.
Troubleshooting an overnight apple cinnamon French toast
If the center is still loose or runny after the full 50 minutes, keep baking in 5- to 10-minute increments and check again for the golden top and slight jiggle described above, rather than pulling it out just because the clock hit 50 minutes.
Fully baked and golden on top but mushy or wet once sliced? That points back to the setup, not the bake time. Passport Kitchen's own troubleshooting ties this to too much liquid, too many apples, or apple slices cut too thick going in. Next time, cut back the apple quantity slightly or slice thinner rather than leaving the dish in the oven longer.
How long leftovers keep depends on which recipe's storage guidance is followed. Passport Kitchen recommends eating leftovers from its version within 2 days; Carefree Kitchen's recipe holds up to 3 days covered in the fridge; Bake & Bacon's recipe stretches to 5 days in an airtight container. Since this guide follows Passport Kitchen's formula for bread, apples, and custard, its 2-day window is the one to follow here rather than treating the longer windows as a stand-in. Reheat covered at 320°F for about 15 minutes or microwave individual portions for 30 to 60 seconds.
Freezing isn't the best fit for this particular build. Passport Kitchen advises against freezing this version at all, while other recipes handle it differently: Bake & Bacon freezes it after baking, wrapped tightly, for up to 2 months, and Carefree Kitchen freezes the unbaked dish instead, for up to a month. Since this method is built around a specific balance of bread, apples, and custard, stick with the fridge here and save freezer experiments for a recipe built with that in mind.
Finishing a baked cinnamon apple French toast casserole
Success looks like a golden, slightly puffed top with a center that's just set, not wet or runny, once the casserole has rested 10 to 15 minutes before cutting.
Serve it warm straight from the dish with maple syrup and powdered sugar. Use the Honeycrisp-and-Granny-Smith mix above if you want the flavor balance Passport Kitchen describes; whatever variety you choose, keep the slices thin and even, since that detail matters more than which apple ends up in the bowl.
If the center turns out wet again with this same formula, check the apple quantity and slice thickness before changing anything else. Those are the first adjustments to try, not a longer bake time or a hotter oven. Stick with the fridge for leftovers, eat them within 2 days to match the recipe this guide follows, and skip the freezer for this particular build.




Comments
Be the first, drop a comment!