



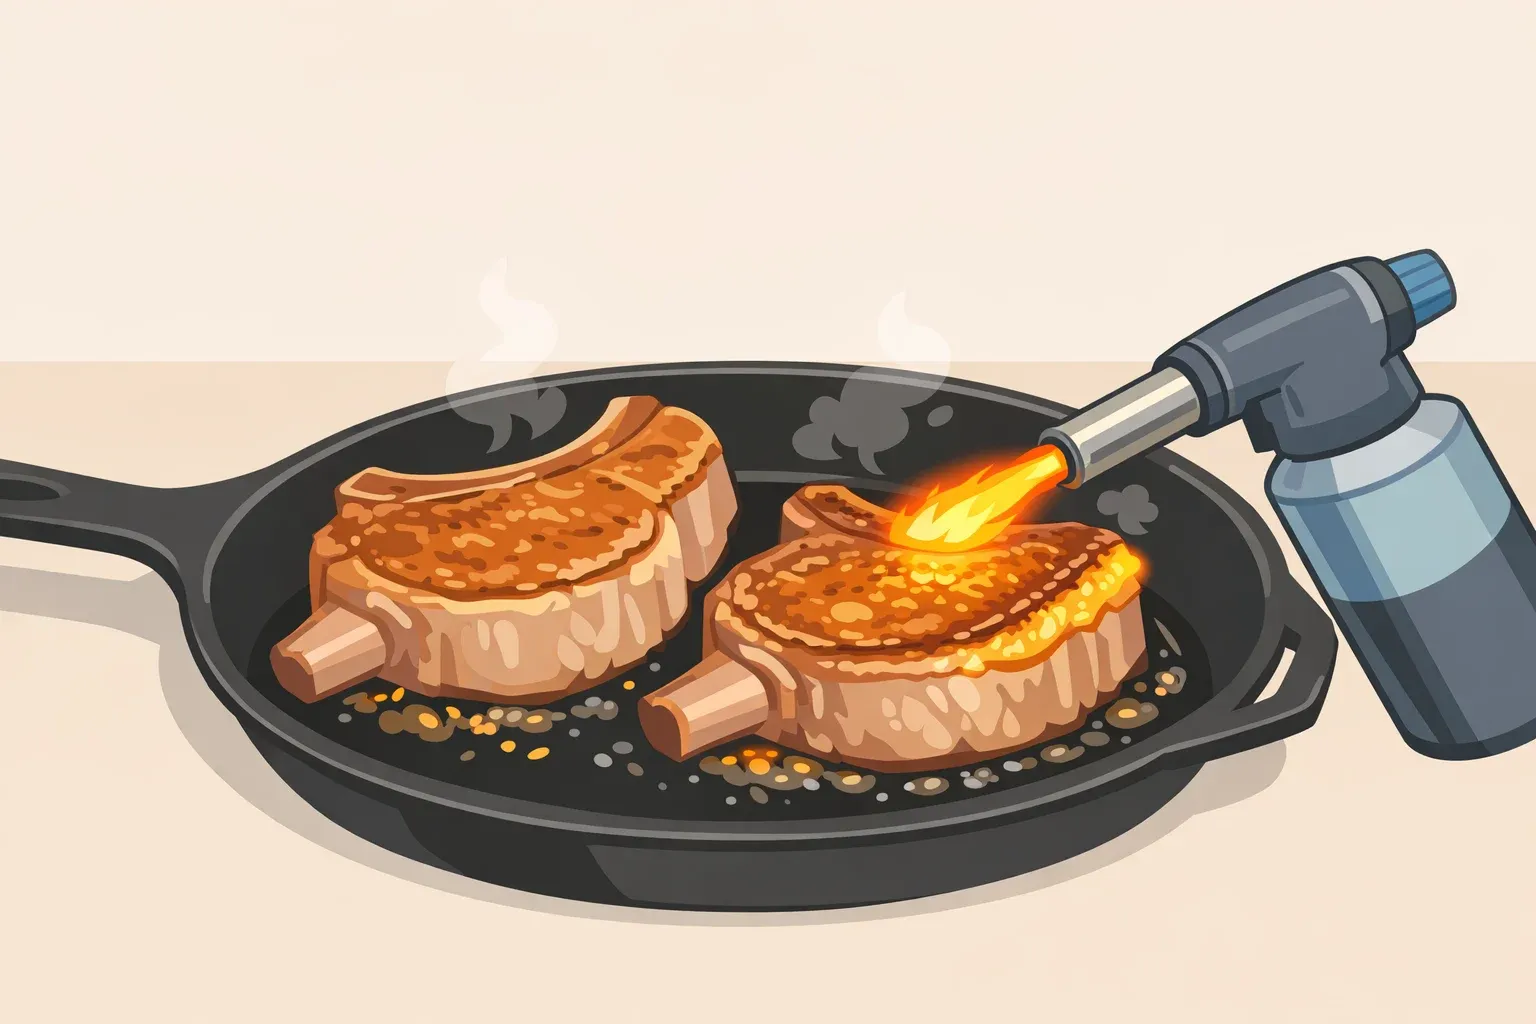
Best pork chop cut for pan searing: bone-in rib chop guide
A dry, tough pork chop is rarely a cooking mistake. It's usually a shopping mistake. Home cooks name dry, tough meat as their biggest complaint about pork chops, and the usual cause is overcooking a thin cut that was never built for high heat (Simply Recipes). Whole-animal butcher and chef Jo Lusted starts fixing that at the meat counter, not the stove, and her answer points straight to the best pork chop cut for pan searing: a bone-in rib chop, cut thick enough to survive direct heat and marbled enough to stay juicy through it.
Her go-to order is a fatty rib chop cut one and a half inches thick, just like a beef rib steak, with a good-sized fat cap left intact (Simply Recipes). Two Serious Eats recipes build around the same cut, bone-in pork rib chops between 1 and 1½ inches thick, even though they cook that chop two different ways once it hits the heat (Serious Eats; Serious Eats).
Cut and fat cap decided, what's left is thickness, and thickness decides the method. A chop around 1 inch thick goes straight into a hot skillet. A chop 1½ inches or thicker gets the reverse sear instead: a slow turn in the oven before the skillet, so the outside doesn't overcook while the center catches up. Both routes share the same buying checklist and the same 145°F safety target, checked before the rest, not after.
How to choose pork chops: rib chop vs. loin chop
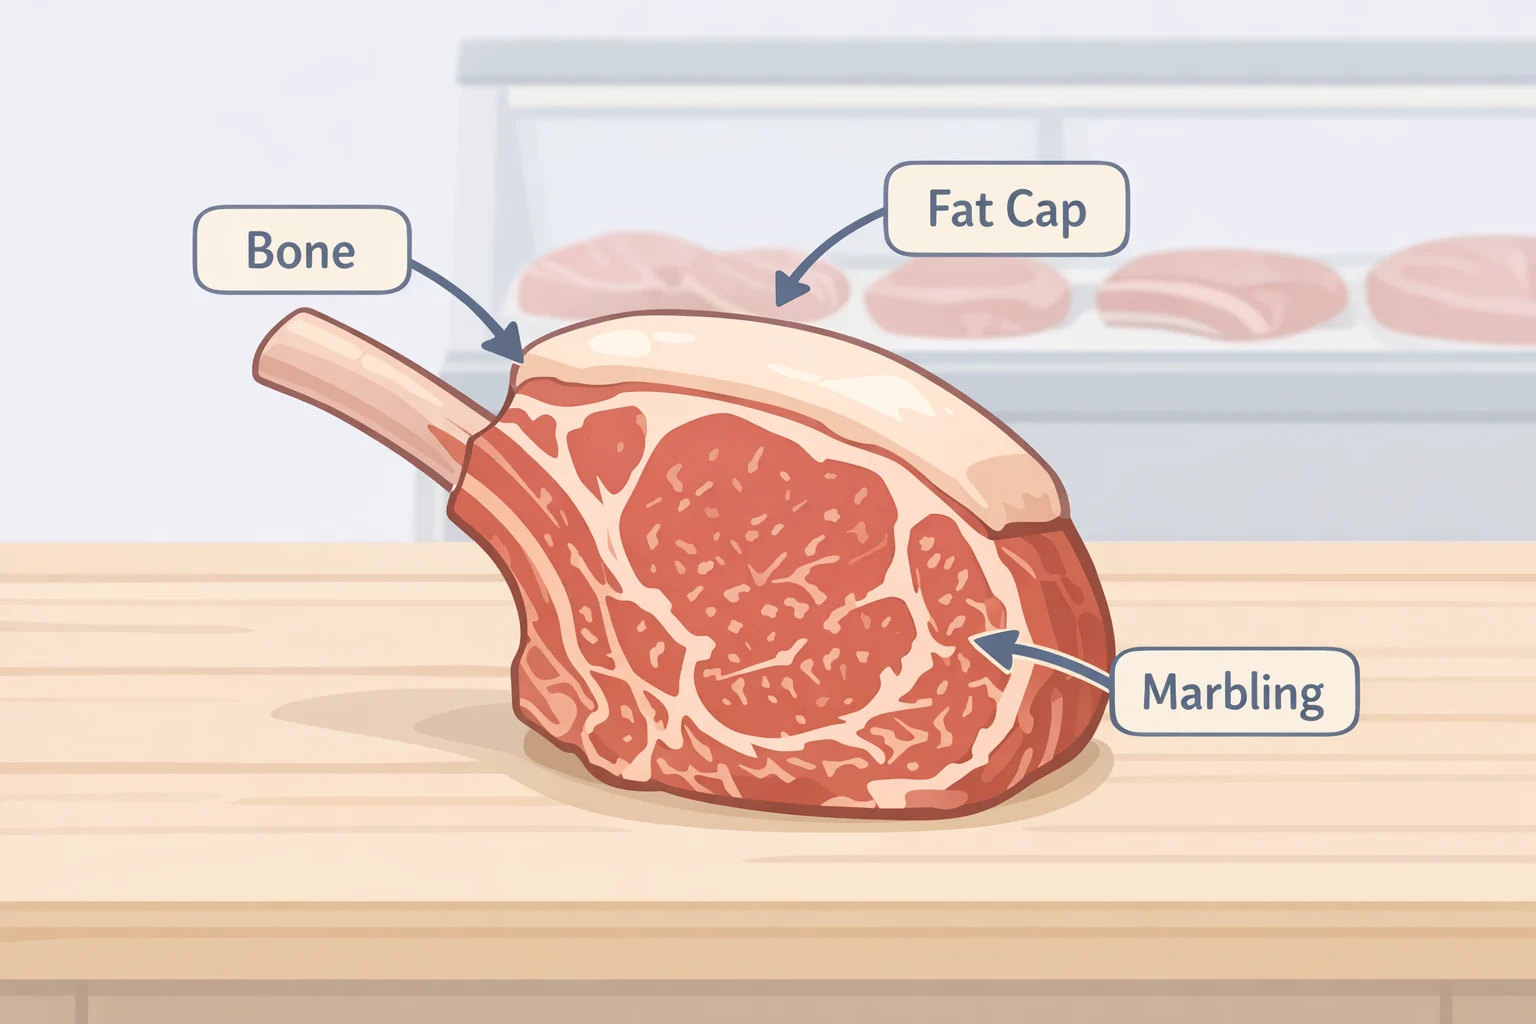
"Pork chop" is a catch-all label for roughly half a dozen different cuts sliced from the loin, and they don't behave the same way in a hot pan, according to a breakdown published earlier this year by What's in the Pan. Ask specifically for a bone-in rib chop.
Don't rely on the package sticker to confirm you got the right thing. Check for these three details yourself:
- The bone still attached
- A visible fat cap running along one edge
- Marbling threaded through the meat itself
Ask the counter to cut it to 1 or 1½ inches thick, depending on which method below fits your plans for the night (What's in the Pan).
The other bone-in option you'll usually spot next to it is the center-cut loin chop, sometimes called the T-bone of pork because loin meat sits on one side of the bone and a bit of tenderloin sits on the other (What's in the Pan). What's in the Pan calls it the all-purpose workhorse of the meat counter, but it runs leaner than a rib chop, which is why this guide builds its method around the fattier cut instead.
If your butcher cuts to order, it's worth requesting by position on the loin. Lusted specifically asks for the three or four chops closest to the shoulder end, since they carry more dark meat and fat and deliver a richer flavor than chops cut further down the loin (Simply Recipes).
There's an optional upgrade if you want something closer to a steakhouse result. Heritage-breed pork, Berkshire (often sold under the name Kurobuta), Duroc, or Mangalitsa, carries noticeably more intramuscular fat than commodity pork, and that fat renders during cooking to add flavor and moisture (What's in the Pan). It costs more and isn't always in stock, so treat it as a special-occasion swap rather than something to chase down for a weeknight dinner (Simply Recipes).
Boneless chops aren't off-limits, but they're less forgiving. Without the bone's insulation and a real fat cap, a boneless loin chop can go from perfectly cooked to dry in about 30 seconds of extra heat, and it's not a good candidate for this method if it's thinner than 1 inch (What's in the Pan). The rib chop's fat cap and marbling make it the more forgiving choice described throughout this guide.
The best pork chops for pan frying depend on thickness
This is beginner-friendly work, but it hinges on one tool: an instant-read thermometer. Reading it correctly matters more here than knife skills or precise timing.
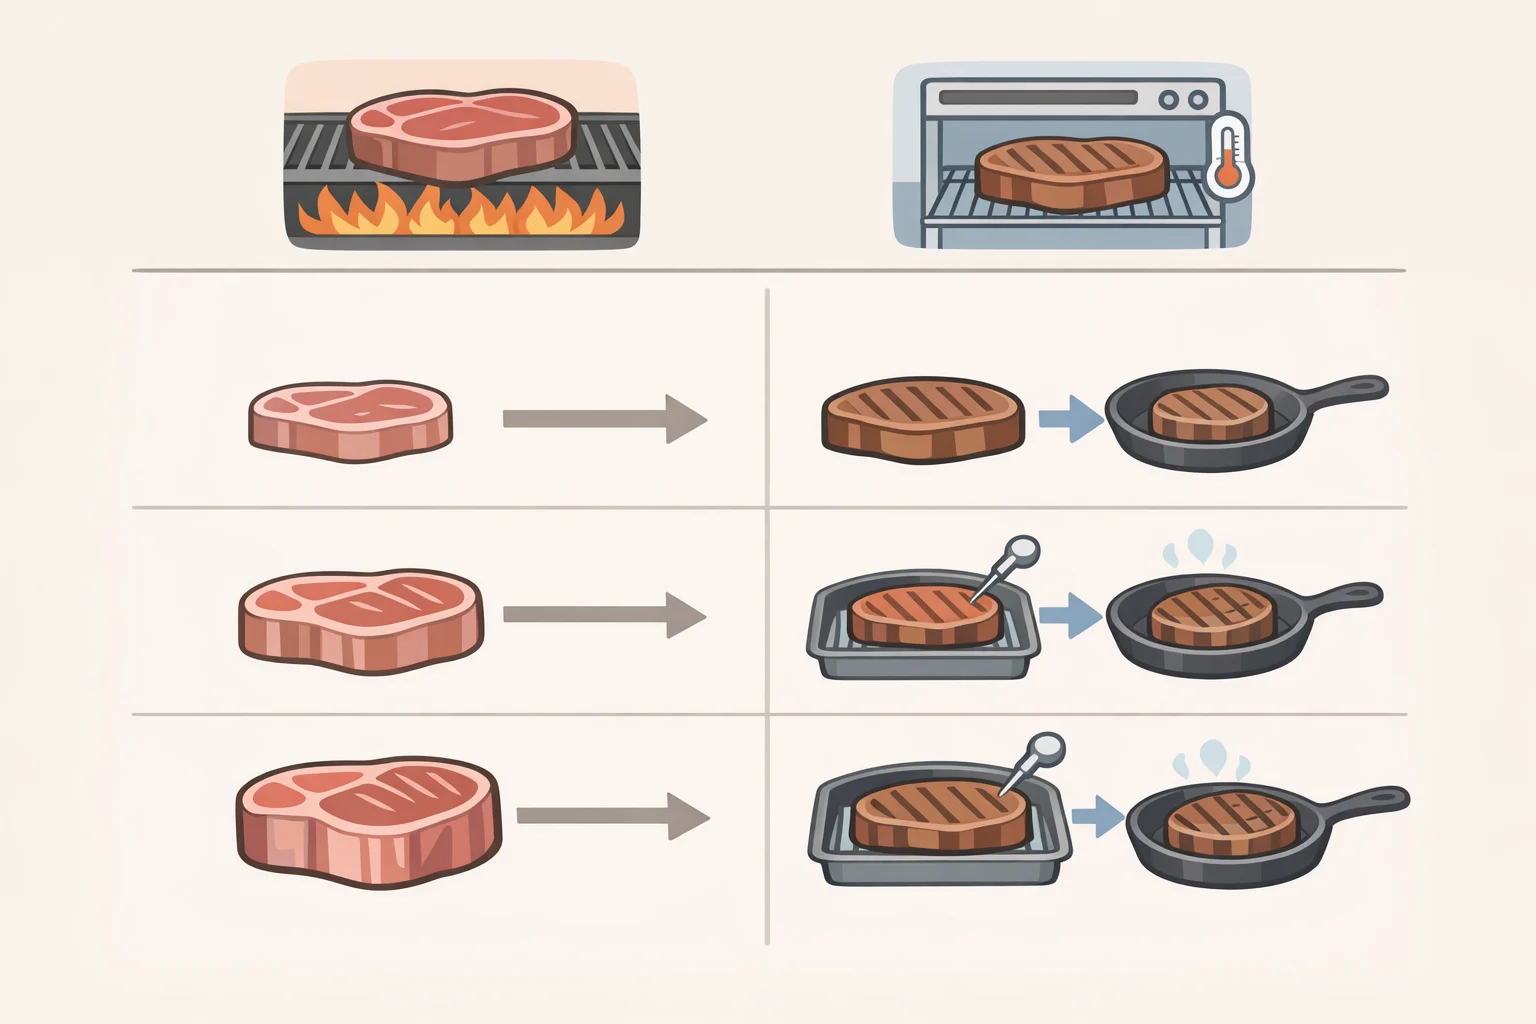
Use a direct sear for chops around 1 inch thick. Use the reverse sear for chops 1½ inches or thicker; a straight stovetop sear at that thickness tends to brown the crust before the center ever catches up (What's in the Pan).
| Thickness | Recommended method | Oven stage | Final cooking check |
|---|---|---|---|
| ½ inch or less | Not recommended for this guide | None | Use another method |
| About 1 inch | Direct skillet sear | None | 145°F, then rest |
| 1½ inches or thicker | Reverse sear | 250°F oven until nearly done, then skillet | 145°F, then rest |
The chop needs to reach 145°F before it comes off the heat, not after. The rest that follows lets the juices settle; it doesn't finish the cooking.
Budget about 30 minutes for chops to reach room temperature before either method (Simply Recipes). The 1-inch stovetop sear runs about 3 to 4 minutes per side once the pan is hot (What's in the Pan). The reverse sear needs more lead time, about 60 minutes total with roughly 45 minutes active, based on the tested Serious Eats recipe built around a 1- to 1½-inch bone-in rib chop (Serious Eats). The oven stage needs a rimmed baking sheet fitted with a wire rack, not a bare sheet pan.
What you'll need for 4 chops (about 3¼ pounds total): kosher salt, black pepper, an instant-read thermometer, a heavy or cast-iron skillet, about 2 tablespoons of neutral or avocado oil, 3 to 4 tablespoons of butter, and optionally a few smashed garlic cloves and sprigs of thyme or rosemary for basting (Serious Eats; Simply Recipes).
The food-safety floor is the same for both methods, and it matters before anything hits the pan. Whole cuts of pork, including chops, need to reach an internal temperature of 145°F, then rest at least five minutes, per the USDA guidelines Lusted points to (Simply Recipes). A lower pull temperature, mentioned in the steps below, is a technique for managing carryover heat while the chop rests, not a substitute for that number. Use it only if you plan to check the thermometer again during the rest; if you won't check twice, cook straight to 145°F before the chop leaves the pan.
One optional step improves the result if you have time for it. Dry-brining, a generous coat of kosher salt refrigerated uncovered, gives more even seasoning and a juicier chop. Serious Eats recommends at least eight hours for the best result, though even 45 minutes helps if you're short on time (Serious Eats).
How to pan-sear a 1-inch bone-in rib chop
-
Bring the chops to room temperature, about 30 minutes before cooking. This helps them cook more evenly and brown better the moment they hit the pan (Simply Recipes).
-
Pat completely dry, then season generously with kosher salt and coarsely ground black pepper if you skipped the dry brine. A wet surface steams instead of browning (Simply Recipes).
-
Heat the skillet over medium-high heat, then add the oil and heat until shimmering. Sear the chops undisturbed, pressing gently with a spatula for the first 60 seconds; the bone creates an uneven surface, and light pressure helps the whole chop make contact for even browning (What's in the Pan). Expect about 3 to 4 minutes per side for a proper crust, but start checking the internal temperature a minute or so before that mark, since stoves and pans vary (What's in the Pan). Look for deep golden-brown, not pale or spotty, before flipping, and don't crowd the pan; sear in batches instead, giving chops room to breathe, since crowding traps steam and stalls browning (Serious Eats). If the chop hits 145°F before the crust looks as dark as you'd like, take it off anyway. A lighter crust beats an overcooked center.
-
Stand the chop on its side to render the fat cap. Hold it with tongs for about a minute until the edge turns glassy and browned rather than rubbery or pale. This is where much of the flavor lives, and it's the step most home cooks skip (Serious Eats).
-
Baste if you like. Drain excess oil, add butter, garlic, and herbs once the crust has set, then tilt the pan and spoon melted butter over the chop for the last minute. Adding the butter late keeps it from burning (Simply Recipes).
-
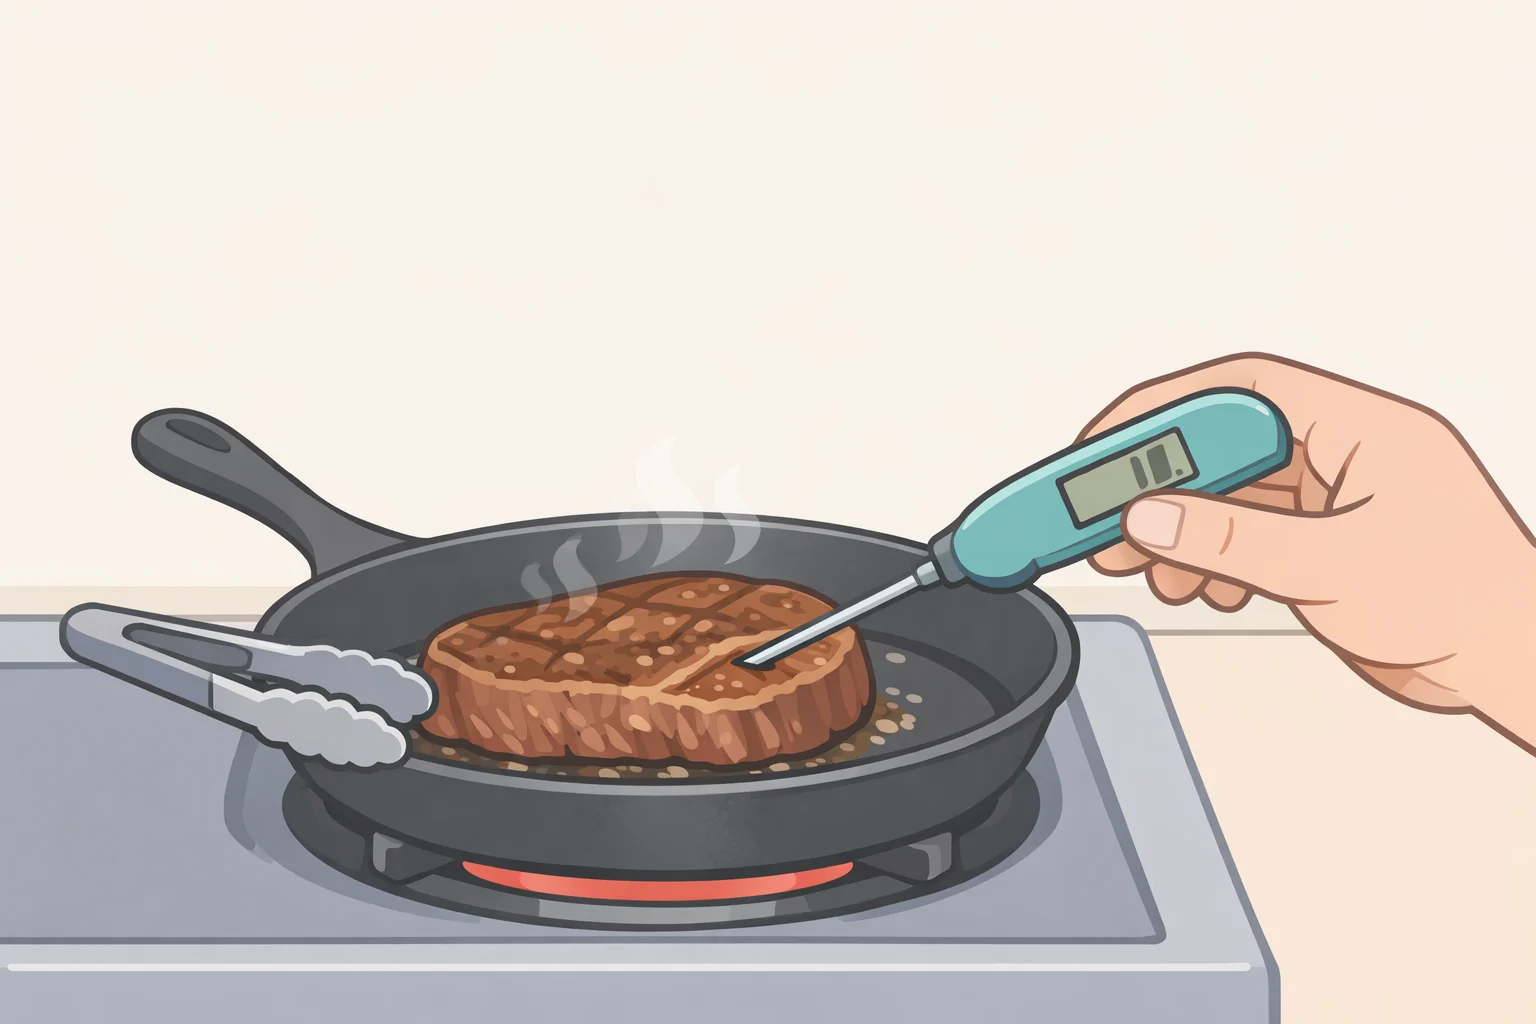
Check the temperature by inserting the thermometer through the side, into the thickest part of the meat, avoiding both the bone and any large pocket of fat. Lusted recommends the side approach specifically because it gives a more accurate reading, especially on a thinner chop (Simply Recipes). Cook until it reads 145°F. Some cooks pull at 140°F and rely on carryover heat to close the gap during the rest (What's in the Pan), but only use that shortcut if you're going to check again once the chop has rested.
-
Rest, covered, for at least five minutes, which is the rest time Lusted recommends for the best texture (Simply Recipes). The chop should already read 145°F going into the rest. If it doesn't, don't guess based on color or firmness; return it to the hot, lightly oiled pan for another minute or two and check again.
Chops 1½ inches or thicker need the reverse sear instead.
The reverse sear: cooking a 1½-inch or thicker chop
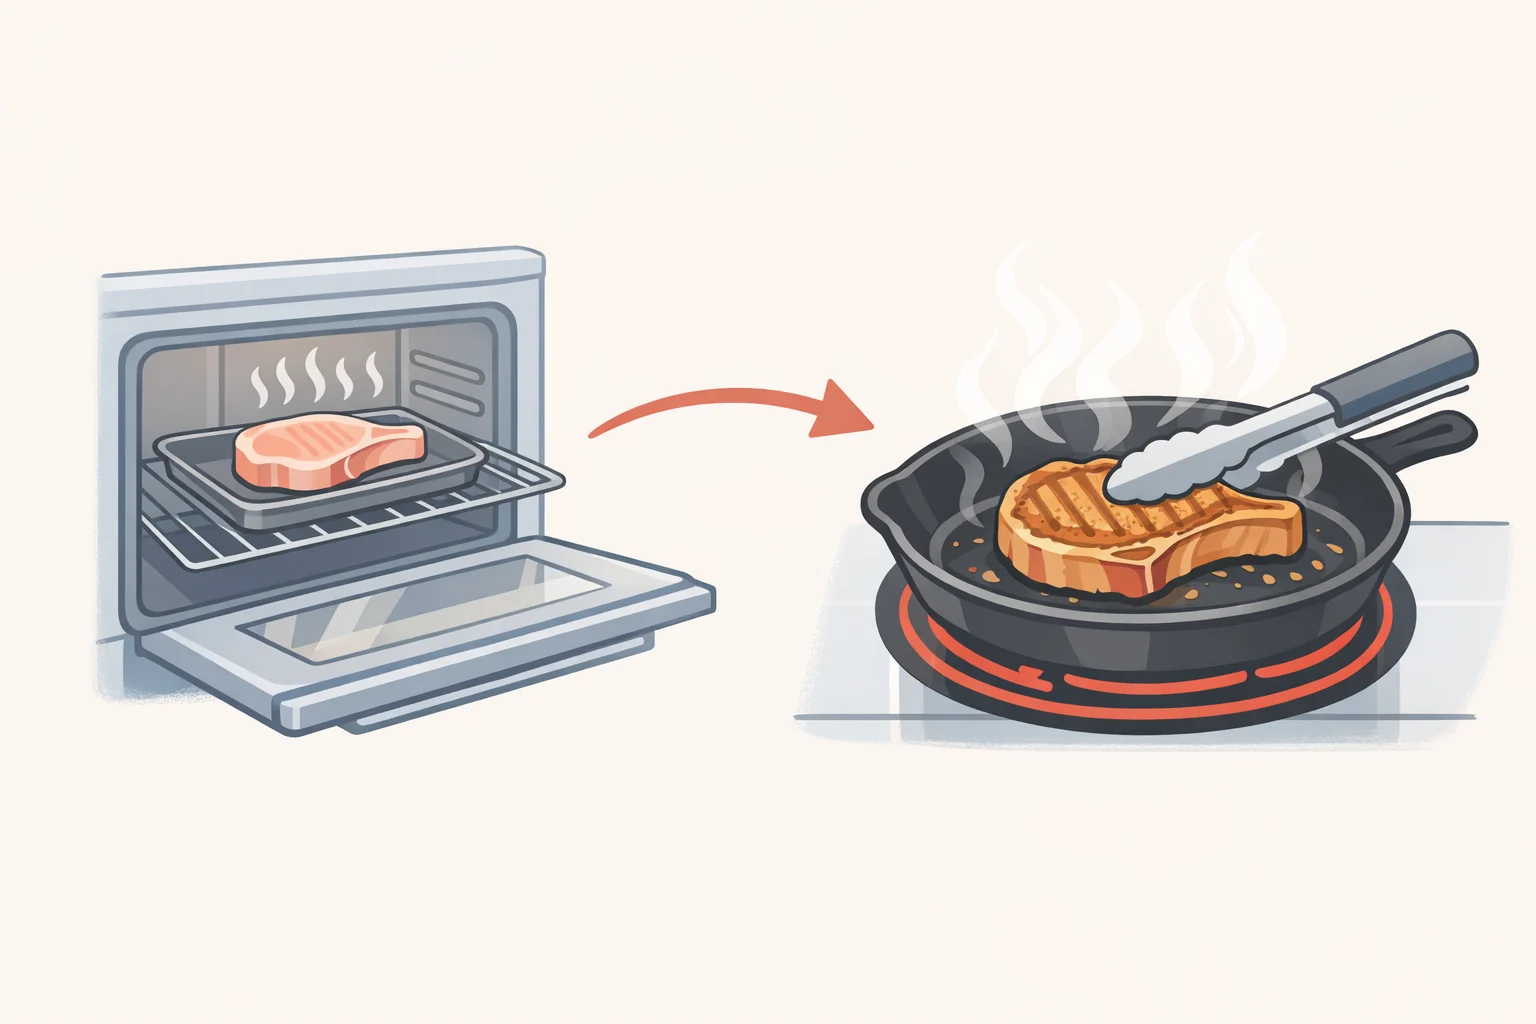
Cooking the chop gently first, then finishing it in a hot skillet, produces an evenly cooked interior and a deeply browned crust without overcooking the center. It's the approach Serious Eats built its tested rib chop recipe around (Serious Eats).
-
Dry-brine if possible, then bring the chops to room temperature and season with black pepper before cooking.
-
Preheat the oven to 250°F, then cook the chops on a rack set over a rimmed baking sheet. Start checking the temperature 5 to 10 minutes before the estimated time. For medium, that's roughly 35 minutes to reach 110 to 120°F (Serious Eats), an intermediate mark well under the 145°F you're ultimately after.
-
Remove the chops from the oven, then heat oil in the skillet over high heat until smoking. Sear the chops, turning occasionally, until deeply browned. The tested recipe uses 130 to 140°F as its stovetop target for medium, but that's a recipe-stage marker, not the finish line: keep cooking, checking as you go, until the thermometer confirms 145°F, the safety threshold behind the USDA's guidance (Serious Eats; Simply Recipes). Stand the chops on their sides to crisp the fat cap for about a minute, the same move used for the thinner chop (Serious Eats).
-
Rest on a clean rack, uncovered, for 3 to 5 minutes (Serious Eats). The chop should already read 145°F before the rest begins, or you need to keep cooking. If it hasn't gotten there, return it briefly to the hot pan rather than serving it underdone.
If you ended up with a different cut than the rib chop, these two methods won't translate the same way. Shoulder, or blade, chops carry the most marbling on the loin, but that marbling comes bundled with connective tissue that needs slow, moist heat to break down, so braise or slow-cook them instead. Sirloin chops have the opposite problem: lean and fibrous, they toughen up without enough fat to compensate, and they're also better suited to braising than searing (What's in the Pan).
Finishing the meal: sauce, serving, and storage
While the chops rest, build a pan sauce from the drippings instead of letting them go to waste. Melt 1 tablespoon of butter in the same skillet, add 2 tablespoons minced shallot and 2 teaspoons thyme, and cook about a minute until softened. Pour in ¾ cup apple cider, simmer about 4 minutes until slightly reduced, then whisk in ½ teaspoon cider vinegar and the remaining 3 tablespoons butter off the heat (Serious Eats). Want something sharper instead? Serious Eats' honey-mustard version builds a sauce from ½ cup white wine or low-sodium chicken broth, 2 tablespoons Dijon mustard, 1 tablespoon honey, and 1 tablespoon lemon juice (Serious Eats).
Serve the chops right away, while the fat cap is still crisp and the sauce is hot. For leftovers, refrigerate them in an airtight container for up to 3 days (Serious Eats). Reheat gently in a covered skillet over low heat rather than the microwave, which can overcook the edges before the center warms through.
Next time you're at the counter, skip the thin, shrink-wrapped chops and ask for a bone-in rib chop cut to whichever thickness matches tonight's plan. Cook it to 145°F before it comes off the heat, let it rest, and let the thermometer, not the clock, tell you when it's done.

















Comments
Be the first, drop a comment!