



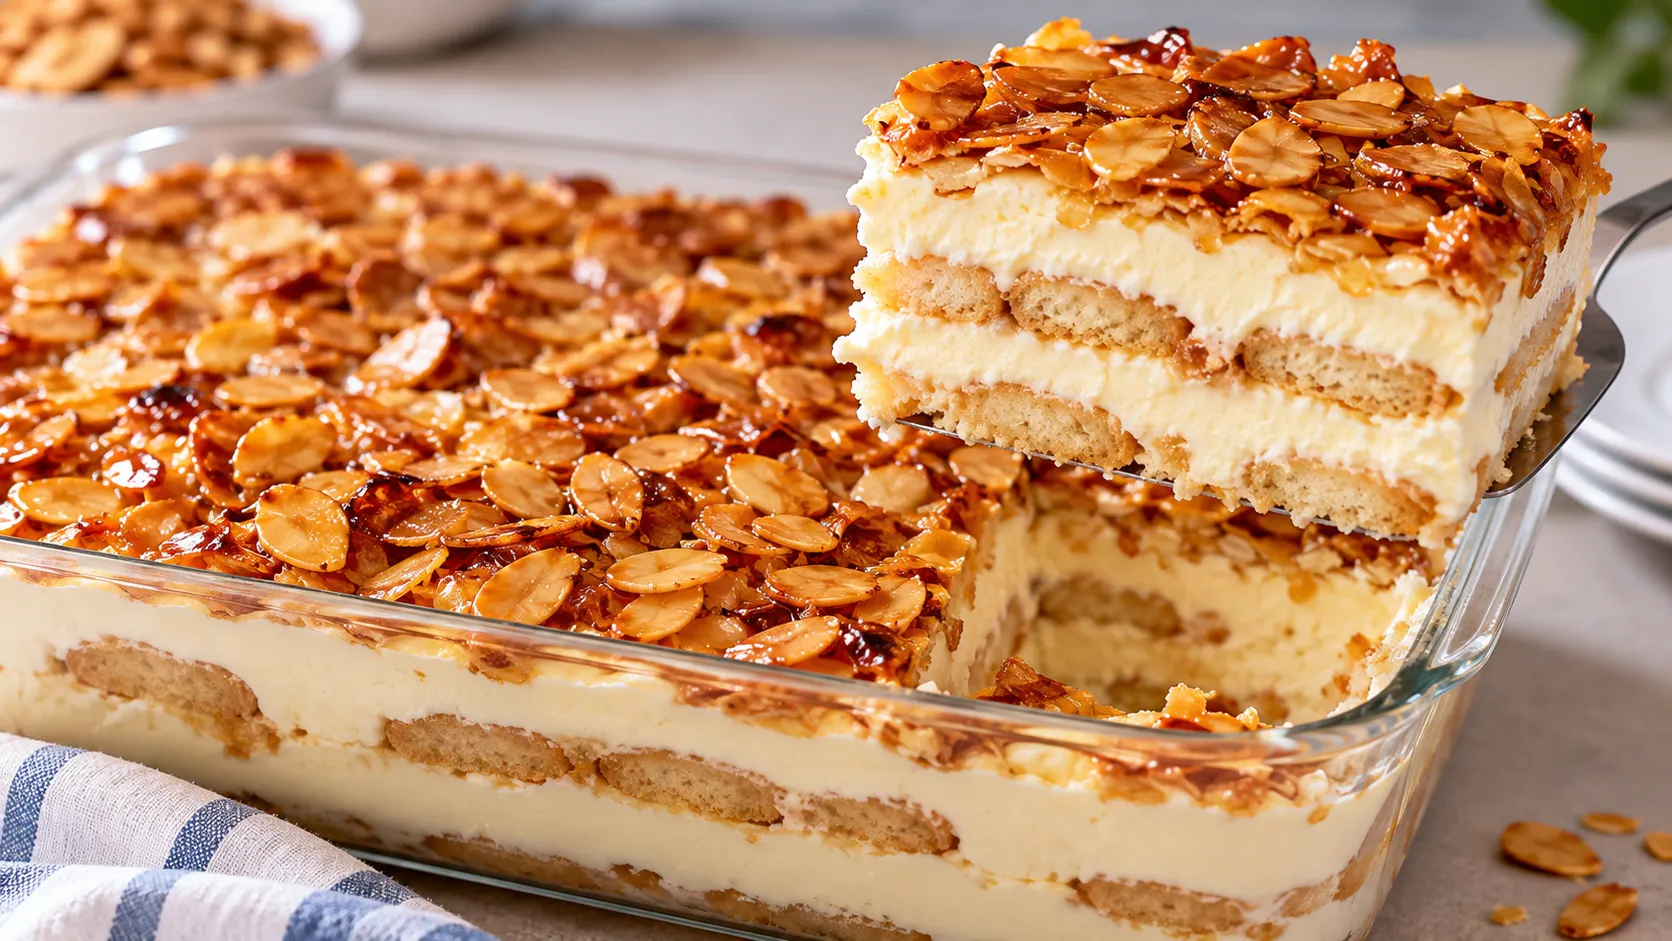
Bienenstich Tiramisu takes the vanilla cream and caramelized almonds associated with Germany's classic bee sting cake and rebuilds them as a no-bake layered dessert.
Instead of yeast dough, this Bienenstich Tiramisu Rezept uses milk-soaked ladyfingers layered with mascarpone and vanilla cream, then finishes everything with a caramelized almond topping.
The result isn't a no-bake copy of traditional Bienenstich. Classic versions pair yeast cake with pastry cream and a honey-almond topping, while this shortcut uses ladyfingers and a butter-and-sugar almond mixture. (Also The Crumbs Please)
The recipe below follows the current Dr. Oetker formula, which calls for 40 minutes of preparation plus at least two hours of chilling. (Dr. Oetker)
Quick recipe snapshot:
Yield: 6 to 8 servings
Preparation time: about 40 minutes
Chill time: at least 2 hours
Dish size: about 20 x 16 cm with at least 1.5-liter capacity
Ladyfingers: 200 g
Total milk: 500 ml
Mascarpone: 250 g
Before you start
This is a straightforward no-bake dessert with one stovetop step: caramelizing the sugar and almonds.
You'll need:
An electric hand mixer or stand mixer
A rectangular dish about 20 x 16 cm with at least 1.5-liter capacity
A nonstick skillet
A mixing bowl
A spatula or spoon
The recipe specifically calls for one package of Dr. Oetker Paradiescreme Vanilla.
That's a whipped dessert cream mix rather than a standard cooked pudding mix. If Paradiescreme isn't available where you live, don't assume another instant vanilla pudding mix can be substituted at the same quantity without adjusting the liquid. Different products thicken differently.
Ingredients for Bienenstich Tiramisu
For the ladyfinger and cream layers:
200 g ladyfingers
500 ml cold milk
1 package Dr. Oetker Paradiescreme Vanilla
250 g mascarpone
The 500 ml milk is divided as follows:
100 ml for the first ladyfinger layer
300 ml for the vanilla cream
100 ml for the second ladyfinger layer
For the almond topping:
50 g sugar
200 g sliced almonds
100 g whipping cream
40 g butter
Measure the milk into its three portions before you start. That makes it easier to keep the two biscuit layers evenly soaked without accidentally using part of the cream's 300 ml.
Traditional Bienenstich uses a different structure altogether. A classic version starts with yeast dough and typically finishes with almonds caramelized with ingredients including butter, sugar, cream, and honey. (Also The Crumbs Please)
This tiramisu version skips the yeast dough and honey.
How to assemble the Bienenstich Tiramisu
Arrange half the ladyfingers in the dish. Use a rectangular dish about 20 x 16 cm.
Soak the first layer with 100 ml milk. Distribute the milk across the ladyfingers rather than pouring it all into one spot.
Make the vanilla cream. Put 300 ml cold milk into a mixing bowl. Add the Paradiescreme powder and mix briefly on the lowest mixer speed.
Beat for about 3 minutes. Increase to the highest mixer speed and beat until the cream becomes thick and smooth.
Mix in the mascarpone. Stir in the 250 g mascarpone until evenly combined.
Spread half the cream over the ladyfingers.
Add the remaining ladyfingers. Arrange the second layer over the cream.
Soak with the remaining 100 ml milk.
Spread the rest of the cream over the top. Refrigerate the assembled base while you prepare the almond topping. (Dr. Oetker)
How to make the caramelized almond topping
The topping is the only part of this dessert that requires the stove.
Hot caramelized sugar and cream can bubble aggressively, so use a large enough pan and keep your hands and face away when adding the cream.
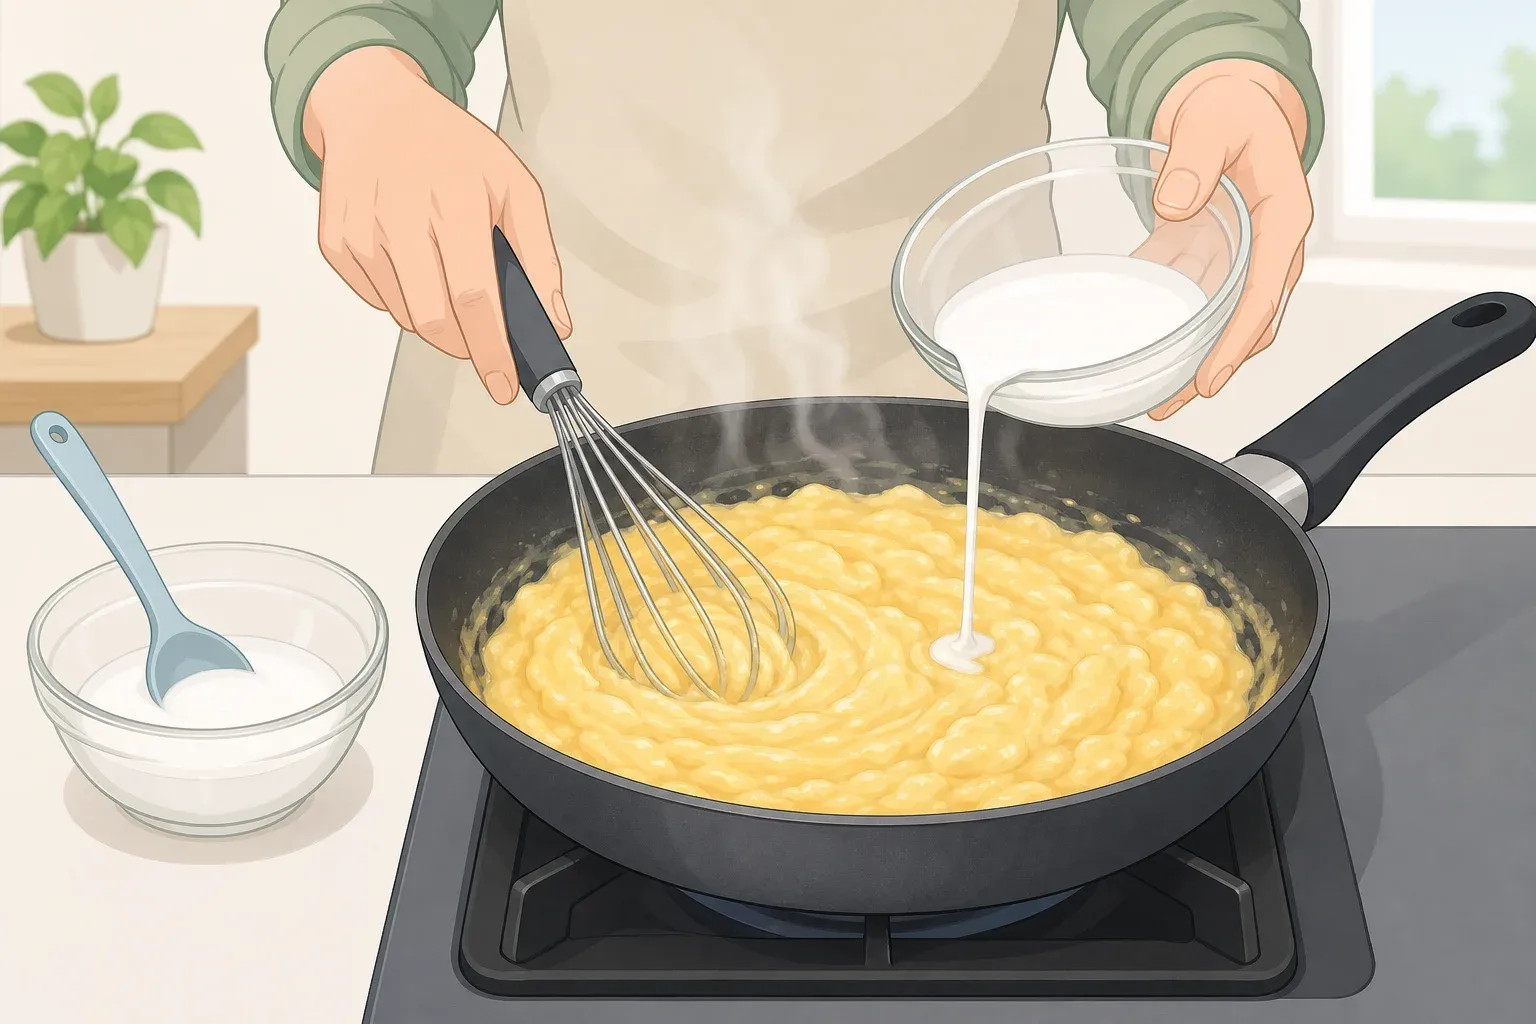
Put the 50 g sugar and 200 g sliced almonds into a nonstick skillet.
Cook over medium heat while stirring until the sugar caramelizes and coats the almonds.
Add the whipping cream carefully. Pour in 100 g cream and stir.
Add 40 g butter.
Bring the mixture briefly to a boil.
Remove the pan from the heat and let the topping cool for about 10 minutes.
The topping should still be warm at this point.
Add the topping before chilling
Dr. Oetker's current instructions are specific about the order: after the topping cools for about 10 minutes, spoon it over the tiramisu while it is still warm.
Then refrigerate the completed dessert for at least two hours. (Dr. Oetker)
That means the two-hour chilling period comes after the topping is added, not before.
If you personally prefer a firmer, crunchier almond topping, you could experiment with preparing the topping closer to serving time, but that would be an adaptation rather than the published method.
For the first attempt, follow the tested sequence: assemble the layers, make the topping, cool it for 10 minutes, add it, then chill the whole dessert.
How wet should the ladyfingers be?
The recipe uses 200 ml milk total for the two biscuit layers, split evenly between them.
You're moistening the ladyfingers rather than immersing them as you might with some traditional tiramisu recipes.
Pour the milk evenly across each layer. The biscuits will continue absorbing moisture while the dessert chills, so there's no need to make them completely saturated during assembly.
If the finished base is too soft for your preference, distribute the milk more slowly and evenly next time rather than changing the cream mixture.
Can you use coffee instead of milk?
Yes.
Dr. Oetker suggests replacing the 200 ml milk used to soak the ladyfingers with 200 ml strong coffee for a version closer in flavor to conventional tiramisu.
The 300 ml cold milk used to prepare the Paradiescreme remains unchanged. (Dr. Oetker)
So for the coffee version:
Use 100 ml coffee on the first ladyfinger layer.
Use 300 ml cold milk for the cream.
Use the remaining 100 ml coffee on the second ladyfinger layer.
Let hot coffee cool before pouring it over the ladyfingers.
How long should Bienenstich Tiramisu chill?
Chill the fully assembled dessert for at least two hours after adding the almond topping.
Longer refrigeration is fine if you're preparing it ahead, provided the dessert stays covered and properly chilled.
Keep it refrigerated at 40°F or below and don't leave the mascarpone-and-cream dessert sitting at room temperature for more than two hours. USDA guidance gives the same two-hour limit for perishable foods and generally recommends using refrigerated leftovers within three to four days. (USDA)
For best texture, I'd use this dessert within about three days. The almond topping will gradually soften in the refrigerator even if the dessert remains safe to eat.
How to store leftovers
Cover the dish tightly and keep it refrigerated.
Because the dessert contains mascarpone, milk, and cream, don't leave leftovers on the counter for extended periods.
If you're serving it at a gathering, return leftovers to the refrigerator within two hours, or within one hour if the surrounding temperature is above 90°F. (USDA)
The published Dr. Oetker recipe does not provide freezing instructions, so freezing this specific version would be an experiment rather than part of the tested method.
What the finished dessert should look like
After at least two hours in the refrigerator, the ladyfingers should be soft enough to cut easily without turning into a wet base.
The mascarpone-vanilla layers should hold together, and the caramelized almond topping should add a chewy-crisp contrast.
If the ladyfingers turn mushy, distribute the soaking liquid more carefully next time.
If the topping becomes softer than you prefer after refrigeration, that's a texture issue rather than evidence the recipe failed. The published version intentionally chills the topping on the assembled tiramisu for at least two hours.
For the most predictable first attempt, stick to the original ratios and sequence. The recipe is already built around a simple formula: 200 g ladyfingers, 500 ml milk, one package of Paradiescreme, 250 g mascarpone, and a caramelized almond topping added before the final chill.















Comments
Be the first, drop a comment!