



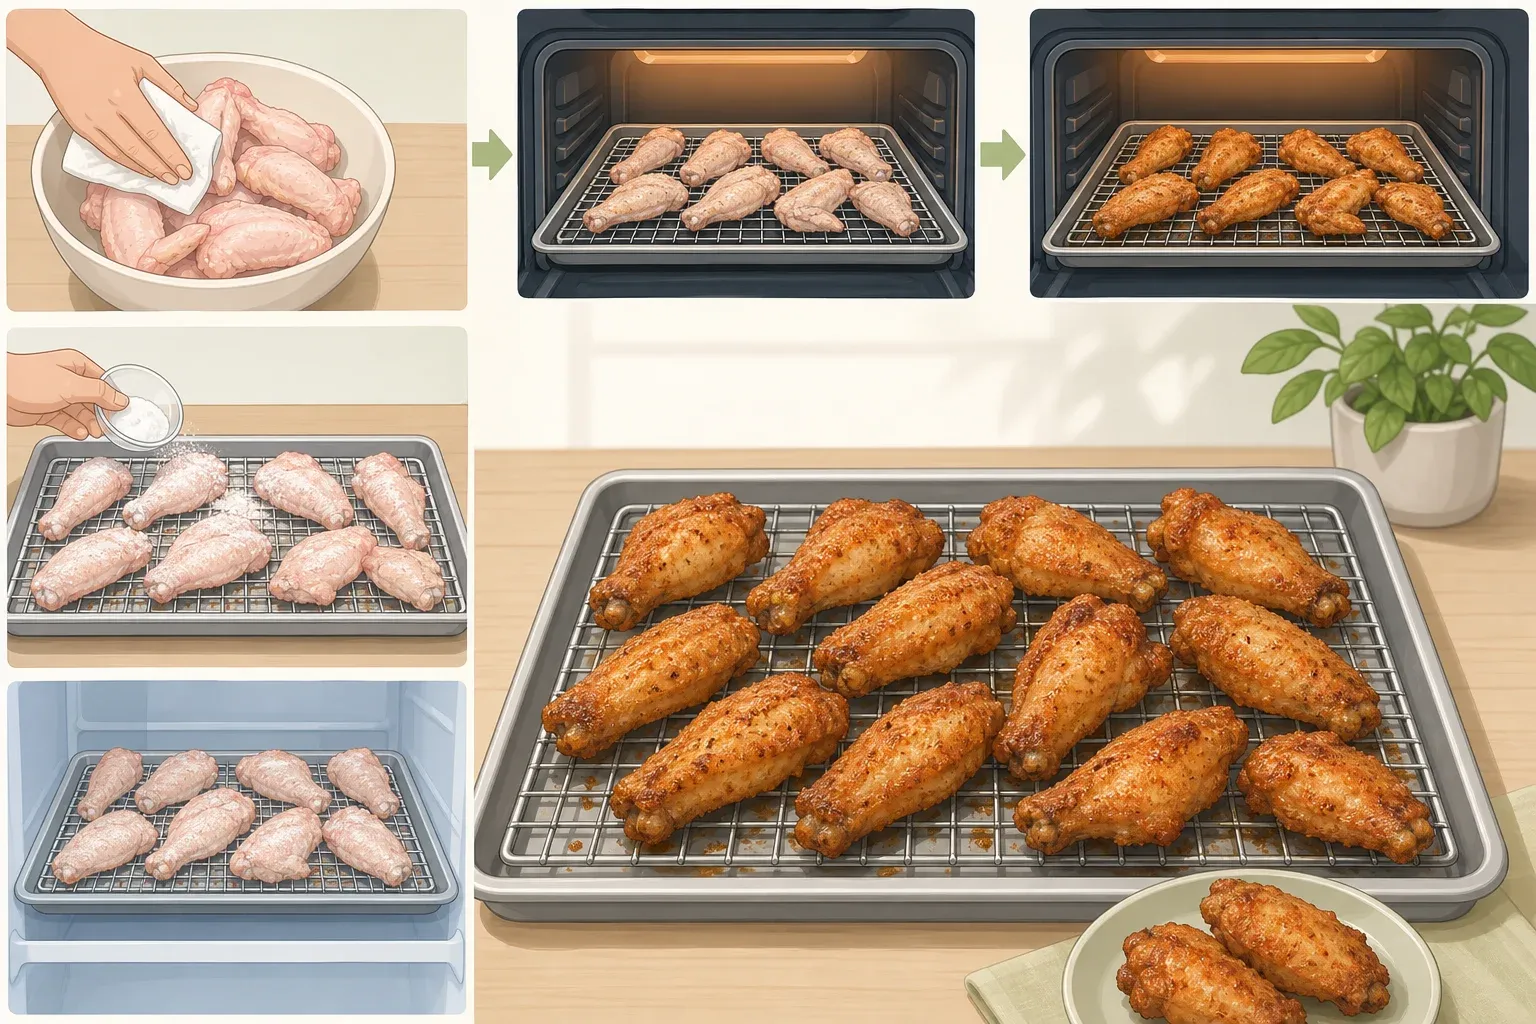
Crispy Oven Chicken Wings with Baking Powder (No Fryer)
Crispy wings from a regular oven come down to one thing: getting the skin dry before it ever hits the heat. Toss the wings with a little baking powder and salt, let them sit uncovered in the fridge, then bake them low and slow before finishing at high heat. No fryer, no oil splatter, just a wire rack, a sheet pan, and some patience.
This dry-brine step is the heart of the method, echoing the approach in Serious Eats' baked wing recipes: coating the wings in a small amount of baking powder before refrigerating draws moisture out of the skin so it crisps in the oven instead of steaming. Whatever crisping method gets used, the USDA still sets 165°F as the minimum safe internal temperature for cooked chicken, and that number doesn't move no matter how the wings are prepped.
This is beginner-friendly. The main requirement is planning ahead for the uncovered fridge rest, and nothing about it calls for special equipment beyond a rack that fits a sheet pan and a working oven.
At a glance
- Active prep: about 10 minutes to dry, season, and arrange the wings
- Fridge rest: 1 hour minimum, up to 24 hours for the driest skin
- Oven time (not counting preheat): about 65 to 70 minutes total for whole wings, split across 30 minutes at 250°F and 35 to 40 minutes at 425°F; flats and drumettes can be done closer to 55 to 60 minutes, since checking starts around the 25 to 30 minute mark of the high-heat stage
- When to start checking: once the oven display confirms it's genuinely back at 425°F, not the moment the dial gets turned up
- Yield: enough for several people as a main, more as an appetizer, depending on portion size
- Pans needed: one wire rack set inside a rimmed sheet pan; add a second rack-and-pan setup if the batch is too big for one pan without crowding
What you'll need
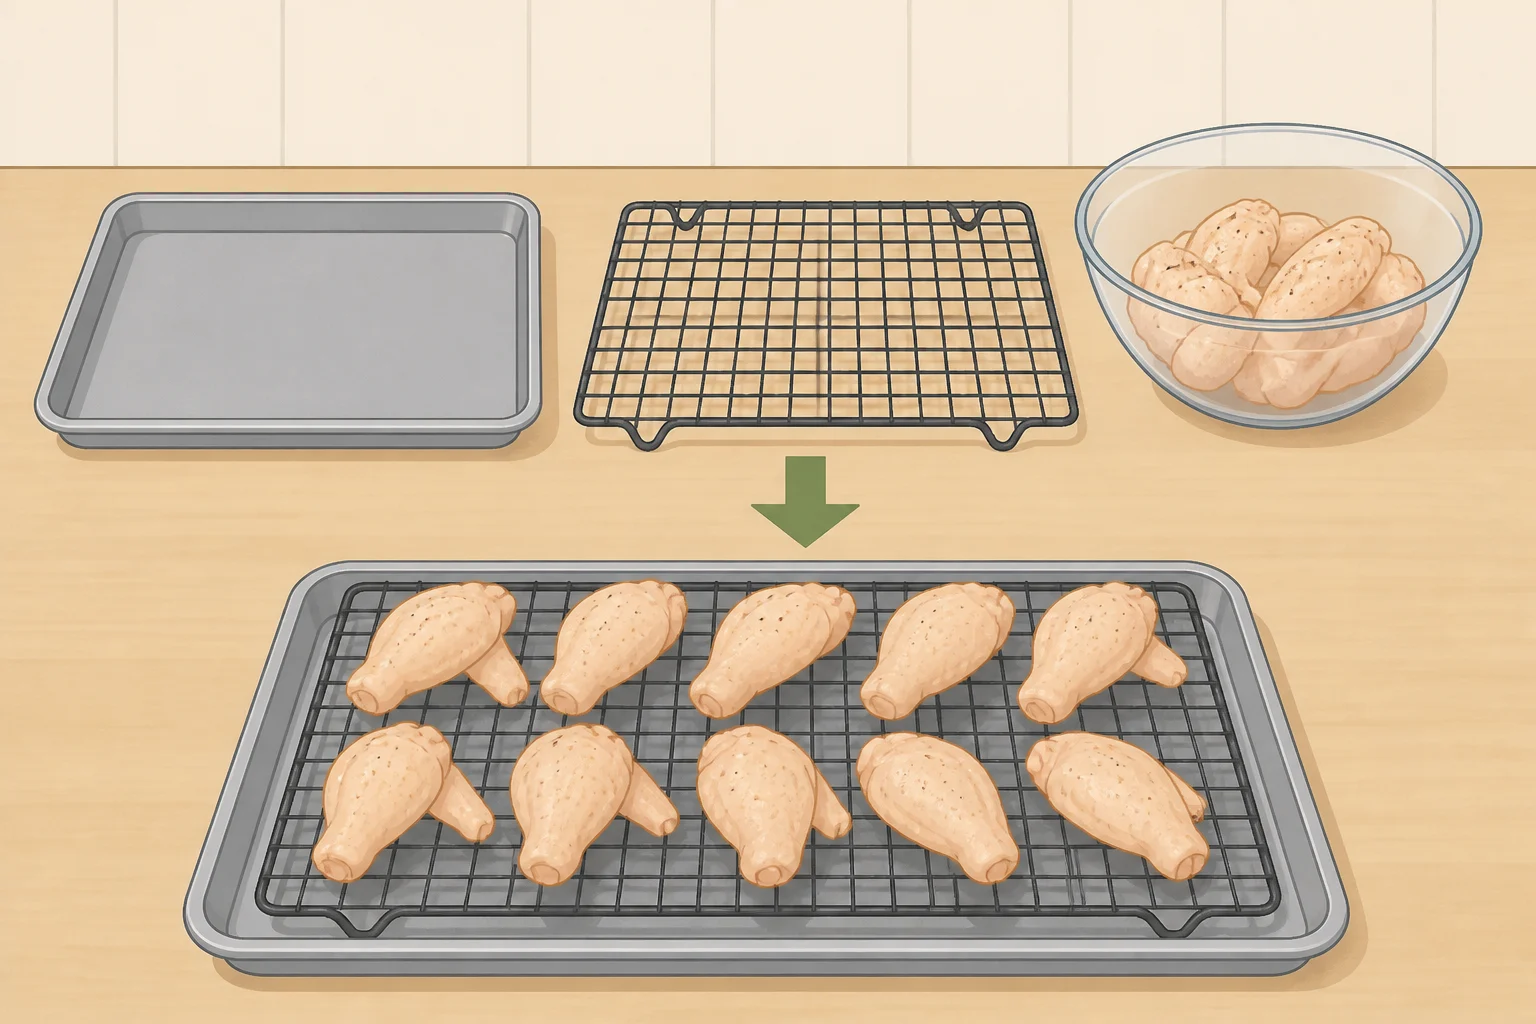
- 2 to 3 pounds bone-in, skin-on chicken wings, whole or split into flats and drumettes
- Paper towels for drying the wings
- Baking powder, aluminum-free; aluminum-based versions may leave a metallic taste on the skin, as Serious Eats notes in its baked wing recipe
- Kosher salt, plus any dry seasoning blend
- A wire rack that fits inside a rimmed baking sheet
- An instant-read thermometer, needed to confirm the wings are safe to eat
- Foil, if lining the pan under the rack
- An oven that can hold a low setting around 250°F, then climb to 425°F
Since the dry-brine already adds salt, go light on any extra dry rub layered on top instead of measuring it in heavily.
Before you start
Food safety. Keep raw wings refrigerated until they're ready to season, and get them back in the fridge promptly if prep gets interrupted. Skip rinsing the wings under the tap; it doesn't make the chicken any safer and just risks splashing raw juices around the sink. Wash hands with soap and water after handling raw chicken, and clean any cutting board, counter, or utensil it touched with hot, soapy water.
Equipment. Confirm the wire rack is labeled oven-safe at 425°F; not every cooling rack is rated that high. If the rack doesn't fit the sheet pan, use a smaller rack on a smaller pan instead of one that overhangs the edges, where wings can slip through the gap during flipping. Foil holds up fine under the rack at high heat; if reaching for parchment instead, check the box, since heat ratings vary by brand.
Prep. Make sure the wings are fully thawed before patting them dry. Give each piece some breathing room on the rack so air can move around it instead of just skimming the top. If a batch crowds the rack, split it across two pans rather than packing the wings tight.
Step 1: Dry-brine the wings with baking powder
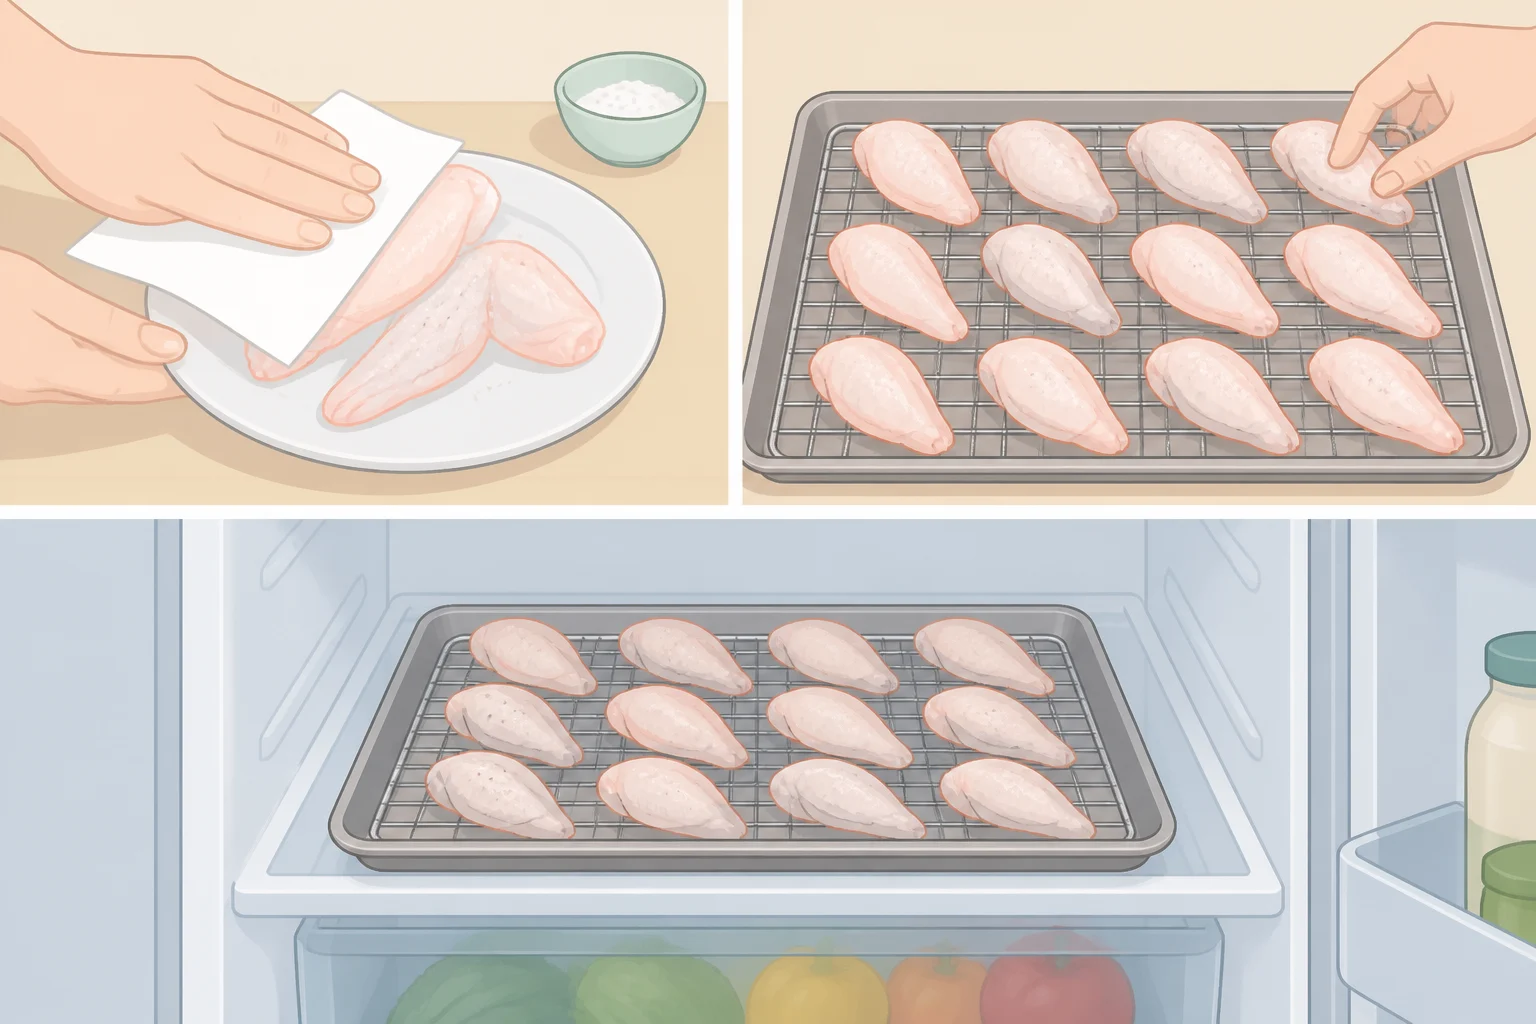
Pat the wings completely dry with paper towels, pressing into the skin until no visible moisture remains. Water left on the surface dilutes the baking powder and slows down the drying that's supposed to happen next.
This method uses about 1 tablespoon of baking powder and 1 teaspoon of kosher salt per pound of wings, matching the ratio in Serious Eats' oven-baked wing recipe. For a 3-pound batch, that's roughly 3 tablespoons of baking powder and 3 teaspoons of salt, measured with actual spoons rather than eyeballed. Too much baking powder for the amount of skin usually causes a soapy or bitter taste, so if a batch ever tastes off, dial back that amount before changing anything else about the bake.
Add any dry seasoning blend now, alongside the salt and baking powder, with one exception: hold off on anything sugar-heavy. Sugar darkens fast under high heat, so rubs built around it go on better after baking than before.
Arrange the wings skin side up in a single layer on the wire rack, spaced out with room between pieces. Refrigerate uncovered for at least an hour, longer if time allows, up to 24 hours. A longer uncovered rest can help the surface dry further, though even the shorter one-hour rest beats skipping it entirely.
Before moving on, check the skin. It should look visibly drier than when it went in, slightly tacky rather than wet, close to papery under a light touch. If it's still slick or damp, give it more time in the fridge instead of moving ahead early.
Don't cover the wings with plastic wrap to save fridge space. That traps moisture right back against the skin and works against the whole point of this step.
Step 2: Bake low, then finish high
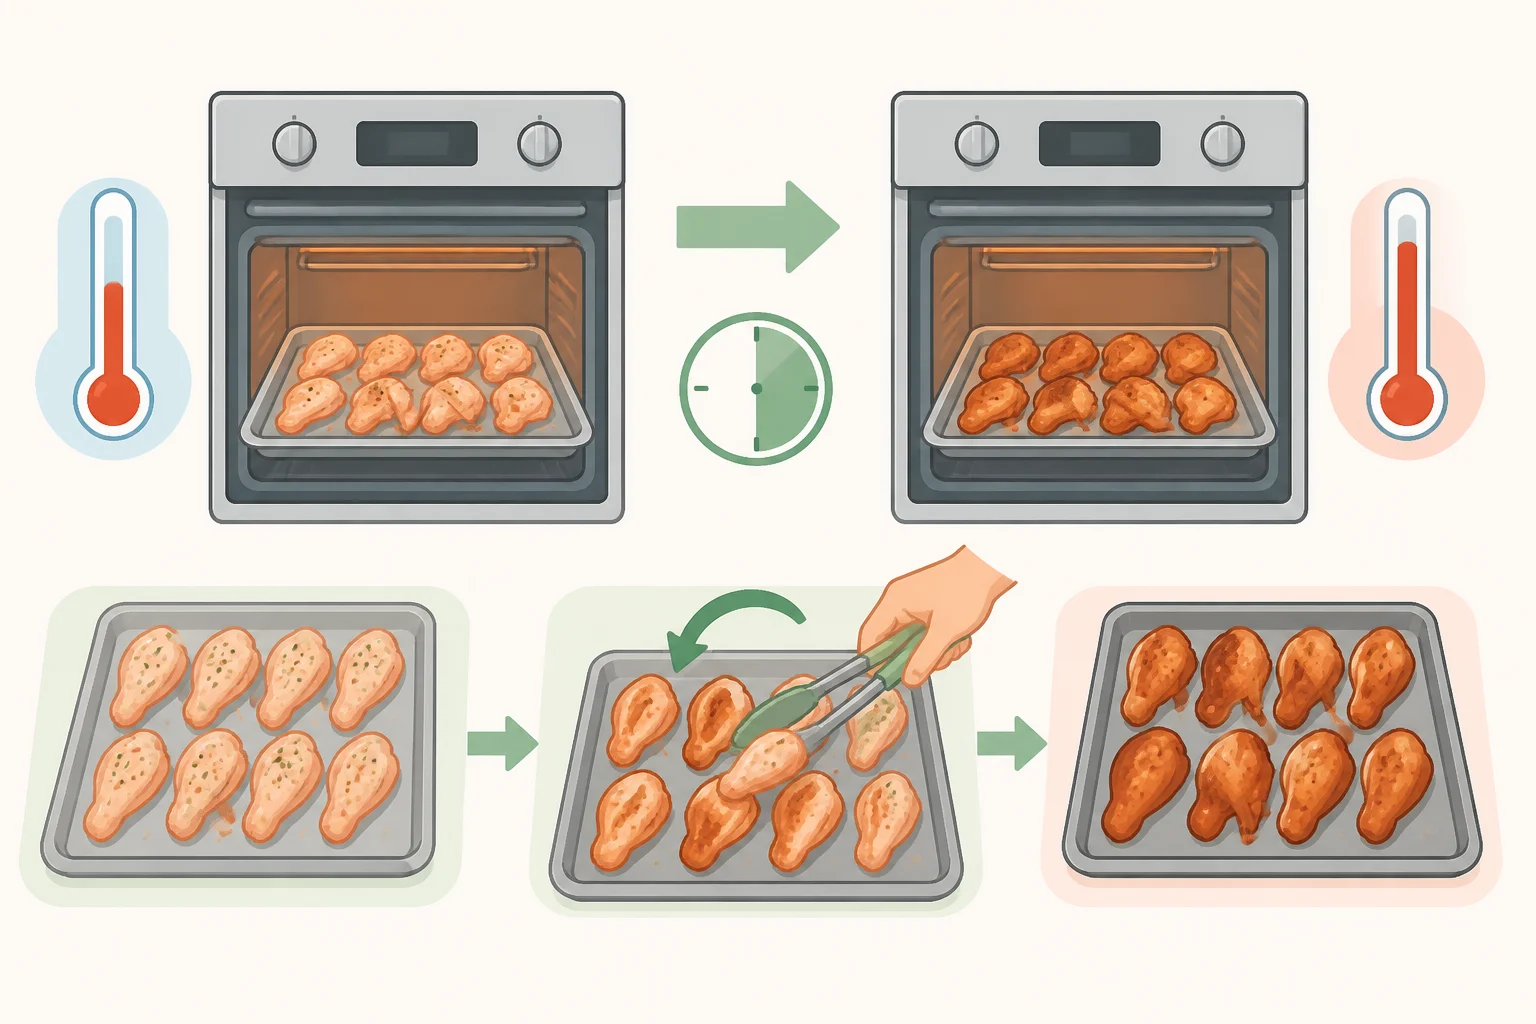
Move the wings straight from the fridge into a fully preheated 250°F oven; there's no need to let them sit out and warm up first. Bake for about 30 minutes. This slow start renders fat gradually and keeps drying the surface without overcooking the meat underneath, a sequence similar to the low-then-high approach used in oven-fried techniques like those from America's Test Kitchen.
Raise the oven temperature to 425°F, but wait until the display actually confirms it's back at that temperature before starting the clock on this stage. Starting early just means the wings spend part of the window in a cooler oven, and browning falls behind schedule as a result. Once the oven has climbed back to 425°F, continue baking, flipping the wings once around the halfway point so both exposed sides brown evenly.
Timing by wing type:
- Whole wings generally need the full 35 to 40 minutes at 425°F to finish browning.
- Flats and drumettes have less mass, so start checking them for color and crispness around the 25 to 30 minute mark instead of waiting the full stretch.
Drippings will pool in the pan below the rack as fat renders out, and that's expected. If the fat level in a shallow pan starts creeping high enough to touch the rack, carefully slide the pan out partway through and pour off the excess before continuing.
Check the thickest part with a food thermometer, avoiding bone; the chicken should read at least 165°F before anything comes off the pan. On a drumette, that's usually the center of the meaty end; on a flat, avoid the thin, mostly-skin tip and probe the meatier side instead.
Wing pieces are small, so there isn't much room for the probe to sit in the thickest part. If one reading looks questionable, check a second piece from the same pan rather than trusting a single number. Color alone, whether the meat looks pink or the juices run clear, isn't a reliable stand-in for that reading.
Hitting 165°F doesn't mean the skin is automatically finished. If it still looks pale or greasy at that point, keep baking, checking every couple of minutes, until it turns deep golden and looks dry rather than shiny.
Adjustments and troubleshooting
Soft or chewy skin usually comes down to one of a few likely causes. Check each one rather than assuming which applies:
- Drying and rest time. Skin that wasn't patted fully dry before the baking powder went on, or a fridge rest short of the one-hour minimum, is a common reason wings come out chewy instead of shattering. If this looks like the culprit, push the uncovered rest closer to 24 hours next time.
- Pan crowding. Wings touching each other can limit airflow around the skin. If the bake looks uneven, spread the pieces out with more space between them or split the batch across two pans.
- Oven temperature. An oven that runs cooler than its display suggests can leave skin pale even at the right bake time. Check it with an oven thermometer, and if it's running low, extend the high-heat stage in short intervals until the skin catches up.
- Soapy or bitter taste. This points to too much baking powder relative to the amount of skin. Cut the amount back slightly next time rather than changing the bake time to fix it.
- Sauce timing. Sauce added before serving was ready softens the skin on its own; that's a timing fix, not a cooking mistake. Keep sauce on the side until closer to serving.
Using two pans. If splitting a big batch across two racks, run them on separate oven shelves rather than stacking one over the other. Check the manufacturer guidance for the oven and pans first; if nothing restricts it, swap the pans' positions, top to bottom, partway through the 425°F stage, since ovens rarely heat evenly corner to corner.
No wire rack. A foil-lined sheet pan works as a fallback, though the side touching the foil won't crisp as well since air can't get underneath it. Flip more often to help make up the difference, or swap in a rack partway through if one becomes available.
Air fryer option. The dry-brine step can be adapted for an air fryer, though exact times vary by model. As a starting point, try 380°F for about 20 to 24 minutes, flipping halfway, and check for the same visual and temperature cues used in the oven method above.
Finish, serve, and store
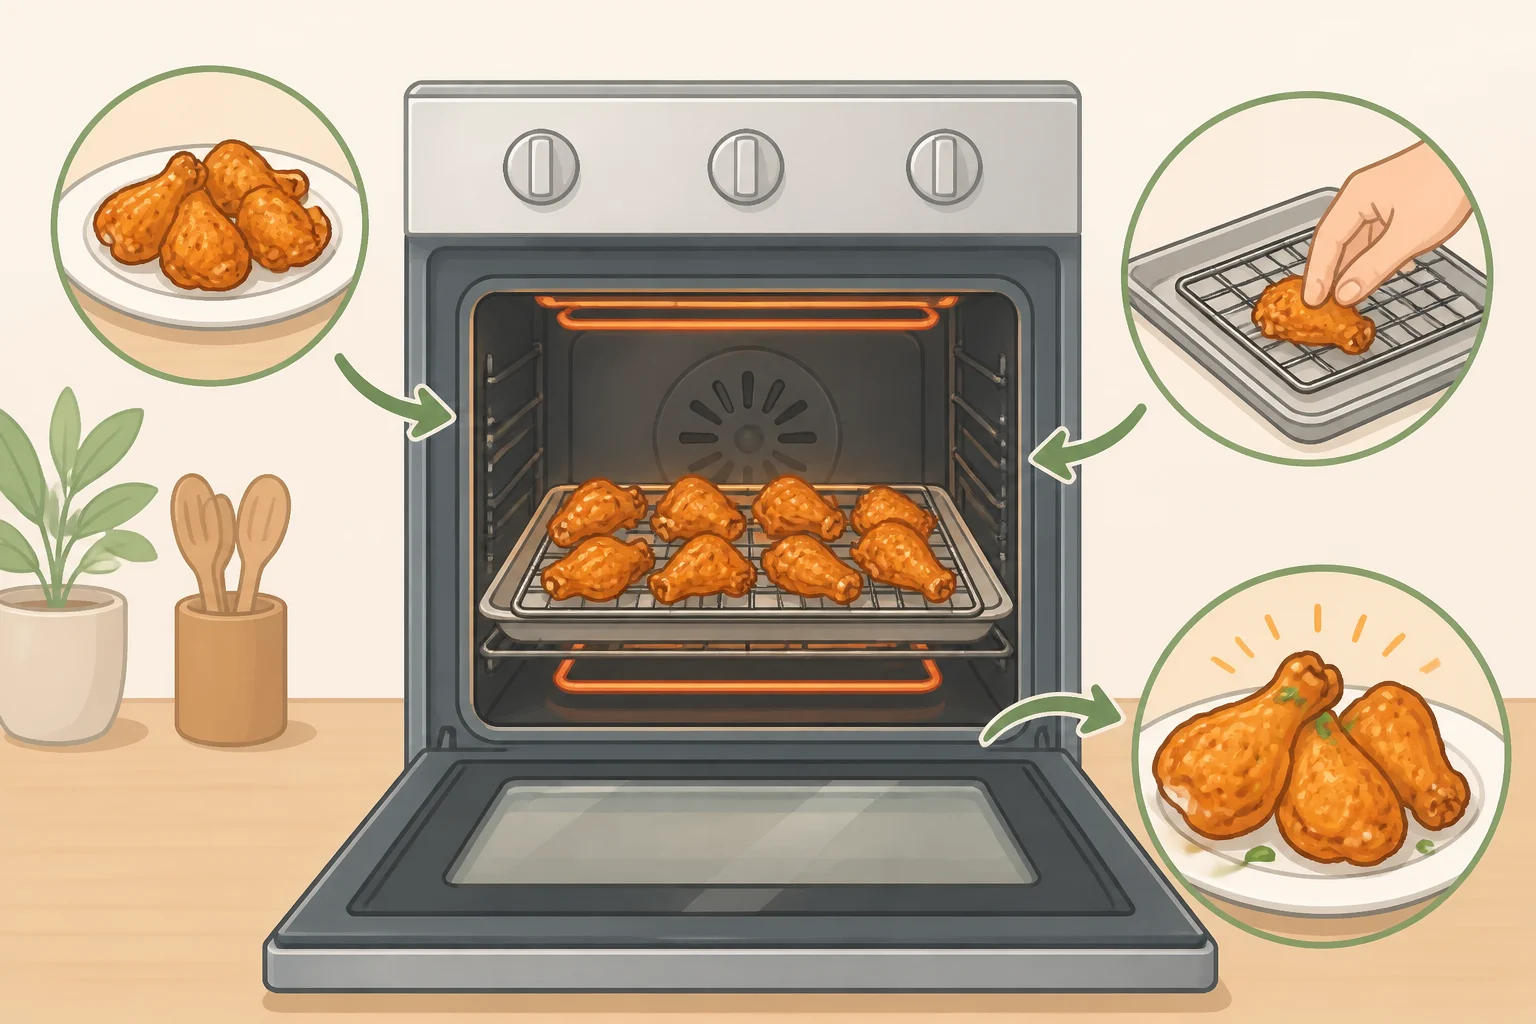
Done wings look deeply golden with skin that's gone matte instead of glossy, but color is a visual cue, not proof of doneness. The thermometer reading from Step 2 is what actually confirms it. If a batch comes out chewy instead of crisp, check the drying and rest time first, since that's the most common gap in this method.
Refrigerate leftovers promptly rather than leaving them out to cool on their own. General food safety guidance from FoodSafety.gov puts the room-temperature window for perishable food at about two hours, less in hot conditions, so don't wait longer than that to get the wings into the fridge. A shallow container helps them cool through faster once they're in there. FoodSafety.gov lists cooked chicken as good for 3 to 4 days in the fridge after that.
To reheat, put the wings back in a 400°F oven, on a rack if there's one handy, checking every few minutes until they're warmed through and the skin has re-crisped. A microwave will heat the meat but tends to leave the skin soft, so save it for when speed matters more than crunch.
Seasoning is the flexible part of this method. The dry surface and the two-stage bake are what build the texture, so a different rub or sauce can be swapped in without touching the rest of the process. Just add anything sugary or wet after baking instead of before.






Comments
Be the first, drop a comment!