


Crispy Smashed Black Bean Tacos With Mango Salsa: 3 Techniques That Work
By the end of this guide, you'll be able to make crispy smashed black bean tacos with mango salsa in about 25 minutes and more usefully, you'll understand exactly why the technique fails when it does.
Most soggy homemade black bean tacos trace back to one of three mistakes: cold tortillas that crack instead of seal, too much filling that prevents even crisping, or heat that's too low to do any real work. Fix those three things and the rest is execution.
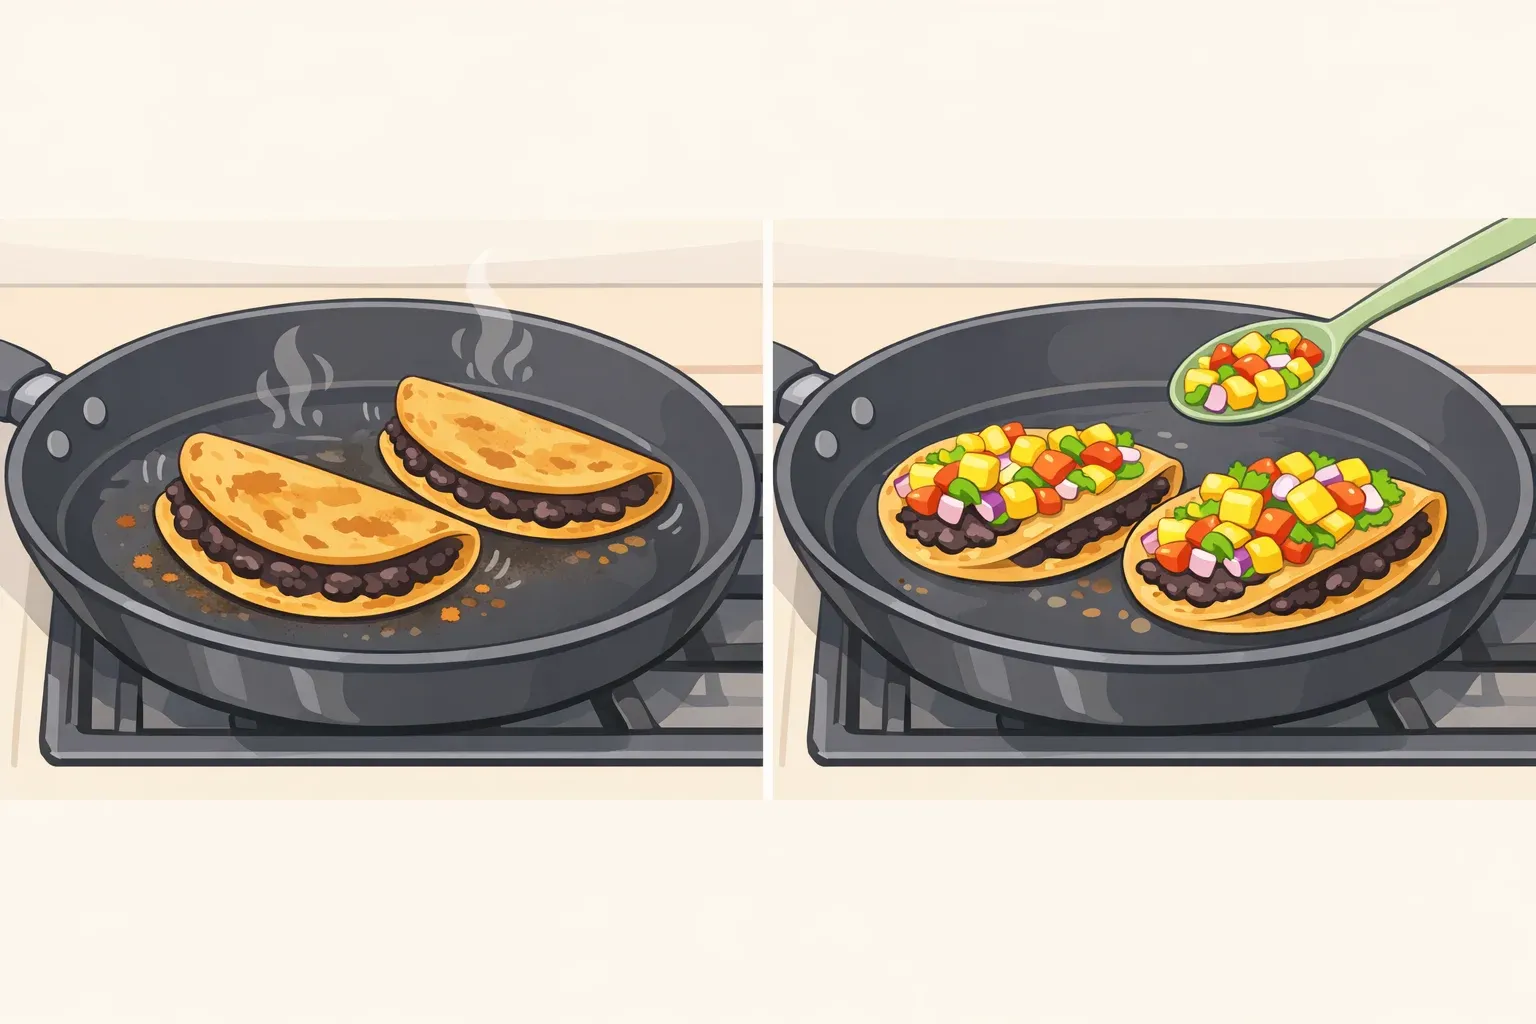
One clarification before the steps: a smashed black bean taco is not a soft taco with beans spooned in. The filling is partially mashed so it coheres; the folded tortilla is seared in oil until the outside is genuinely crispy. Think of it as closer to a thin quesadilla than a street taco crunchy shell, creamy interior, finished with a bright topping that does real work against the earthy filling.
The filling and tortillas come together in roughly 25 minutes of active cooking, producing 8–10 tacos that serve 4 people. Ill Just Cook puts the full recipe at 25 minutes start to finish; Food55 clocks a comparable preparation at 20 minutes total. This guide uses the stovetop method. The oven alternative (425°F, two-rack bake) is covered in the troubleshooting section.
Why crispy smashed black bean tacos with mango salsa go soggy
Before the steps, understand the levers. The rest of the recipe is just executing on these.
Technique 1: The partial smash. Canned black beans straight from the can are too round and slippery to hold inside a folded tortilla under heat. The fix is to mash roughly a quarter of the beans, leaving the rest whole. That partial smash creates enough binding to hold the filling together without turning it into paste. Ill Just Cook specifies this ratio and confirms it's what keeps the filling intact during crisping; A Healthier Michigan echoes it, noting the beans should retain visible texture after the smash.
Technique 2: Warm tortillas + oil + medium heat. Three variables that have to be right simultaneously. Cold tortillas crack at the fold. No oil means the exterior dries out instead of crisping. Wrong heat ruins the timing between a golden exterior and melted interior. Ill Just Cook identifies medium heat as the required setting: high scorches the shell before the cheese melts; low leaves it pale and limp. Fresh Savory tested a low-heat, no-oil approach and found the tortillas stayed "soft and floppy like regular tacos with no crispy texture anywhere."
Technique 3: The acid-sweet finish. A filling built on smoked paprika, cumin, and chipotle is rich and earthy. Without a sharp counterweight, it reads as heavy. The mango salsa provides sweet-acid contrast that keeps the filling from feeling one-dimensional. Food55 describes pickled red onion as the "acid bomb" that makes tacos taste professional; mango salsa works on the same principle with added sweetness. Note: direct recipe evidence for mango salsa paired specifically with smashed black bean tacos was limited in published sources. The salsa below is an editor-developed baseline built on the contrast principle, not a tested-and-rated formula.
Build the filling: aromatics, spice bloom, and the partial smash
The recipe below is adapted from Ill Just Cook and reconciled against Food55 and A Healthier Michigan.
Ingredients (makes 8–10 tacos, serves 4):
- 2 cans (14 oz each) black beans, drained and rinsed
- 1 medium yellow onion, diced
- 4 garlic cloves, finely chopped
- 2 tbsp tomato paste
- 1½ tsp each: chili powder, ground cumin, smoked paprika
- Optional: 1 chipotle pepper, minced, or 1 tbsp adobo sauce
- ½ cup vegetable broth
- Juice of 1 lime, added off heat
- 2 tbsp olive oil for the filling, 1 tbsp reserved for crisping
- Salt and black pepper to taste
Steps:
-
Heat 2 tbsp olive oil in a large skillet over medium heat. Add onion and cook 4–5 minutes until softened and lightly golden, stirring occasionally.
-
Add garlic and optional chipotle or adobo. Cook 30 seconds until fragrant. The garlic should sizzle on contact. If it doesn't, the oil isn't hot enough.
-
Add tomato paste. Stir constantly for 1 minute. It will darken and stick slightly that's browning, not burning. This step concentrates flavor and helps the spices adhere.
-
Add chili powder, cumin, and smoked paprika. Stir for 30 seconds. Ill Just Cook specifies this toasting step releases the spices' essential oils and eliminates any raw, dusty edge. It takes 30 seconds; don't skip it.
-
Pour in beans and broth. Stir to combine. Simmer 5–6 minutes until thickened. Don't rush this step. A wet filling is the most common cause of a soggy shell.
-
Smash roughly a quarter of the beans with the back of a spoon. Leave most beans whole so the filling has body; the mashed portion acts as binder. Over-smash and it becomes refried beans. Under-smash and the filling slides out during cooking.
-
Remove from heat. Stir in lime juice. This timing matters lime squeezed into a hot pan loses its brightness immediately. Both Ill Just Cook and Food55 flag adding acid off heat as the step most cooks rush and regret. Season with salt and pepper. Set aside.
Assembly and batch strategy: how to cook these without losing your mind
A few practical decisions before the tacos hit the pan.
Assemble as you go, not all at once. Fill and fold one or two tacos at a time rather than assembling a full batch first. Filled tortillas sitting on the counter steam themselves slightly and soften before they even reach the oil.
Cheese on top of the beans, not under. Place the filling on one half of the tortilla, layer cheese over the beans, then fold. The cheese melts against the tortilla and acts as a secondary seal, which is what keeps the seam from bursting during crisping.
Two or three tacos per skillet pass. Crowding the pan drops the oil temperature. Cook in batches of two or three, depending on skillet size, so each taco has real contact with the hot surface. A 12-inch skillet handles three comfortably.
Keep finished tacos warm without softening them. Set cooked tacos upright, leaning against each other on a wire rack over a sheet pan in a 200°F oven. Flat on a plate traps steam underneath and defeats the crisping work you just did.
Crisp the tacos: tortilla prep, fill level, and the spatula press
Ingredients:
- 8–10 corn tortillas (corn is the traditional choice and gives a firmer bite; flour tortillas work but stay softer, per Food55)
- 6 oz Pepper Jack or other good-melting cheese, freshly shredded (omit for vegan)
- 1 tbsp olive oil, reserved from above
Steps:
-
Wrap tortillas in a damp paper towel. Microwave 15–20 seconds. They need to be pliable before folding. Ill Just Cook identifies cold, stiff tortillas cracking at the fold as the most common assembly failure. A cracked tortilla won't seal; the filling escapes into the oil and the taco falls apart.
-
Spoon 2–3 tablespoons of filling onto one half of each tortilla. Layer cheese on top of the beans. Fold closed. Overfilling is the second most common failure point. Ill Just Cook specifies 2–3 tablespoons as the correct amount more than that prevents both sides from crisping evenly and causes the seam to burst.
-
Wipe the skillet clean. Return to medium heat with the remaining 1 tbsp olive oil.
-
Place filled tacos in the pan. Press each one gently with a spatula for the first 30 seconds. This drives direct contact between the taco and hot oil, which is what creates the crispy edge. Ill Just Cook confirms the press seals the edges and accelerates browning.
-
Cook 2–3 minutes per side until deeply golden. You're looking for color, not just time. Pale means underdone regardless of the clock.
-
Transfer to a cutting board. Rest 1 minute. Cut diagonally. Resting lets the shell firm up. Cut immediately and the filling slides. Serve right away crispiness fades fast.
Oven method (for larger batches): Brush both sides of filled tortillas with oil. Bake at 425°F on the bottom rack for 8–12 minutes, then flip and move to the top third of the oven for 5 more minutes. Rainbow Plant Life specifies this two-rack approach to ensure both sides get color; Fresh Savory confirms the same temperature for 12–15 minutes total. The oil brush is not optional without it, the tortillas steam rather than crisp.
Make the mango salsa and diagnose what went wrong
Quick mango salsa editor-developed (5 minutes, no cooking):
- 1 ripe mango, diced small
- ½ small red onion, finely diced
- 1 jalapeño, minced (seeds removed for mild)
- Juice of 1 lime
- Small handful fresh cilantro, chopped
- Pinch of salt
Combine everything, toss, taste, and adjust lime or salt. Let it sit 5 minutes the lime softens the onion's raw edge. Make this while the filling rests or while the tacos cook. Best served fresh; refrigerate leftovers and use within 24 hours before the mango softens too much.
The proportions above are a sound baseline built on the acid-sweet contrast principle confirmed across multiple crispy taco recipes. Treat it as a starting point and adjust to your mango's sweetness and your heat preference.
Troubleshooting if your tacos didn't crisp:
| Symptom | Likely cause | Fix |
|---|---|---|
| Pale, soft shell | Heat too low, not enough oil | Increase to true medium; don't skip oil |
| Shell burned, cheese not melted | Heat too high | Reduce to medium; press gently to keep contact |
| Filling fell out during cooking | Overfilled, or tortilla not warm enough | 2–3 tbsp max; microwave tortillas first |
| Tortilla cracked at fold | Too cold before folding | Microwave in damp paper towel 15–20 seconds |
| Soggy bottom | Filling too wet before assembly | Simmer filling longer until it holds shape |
Fresh Savory documented exactly this failure: baking at 350°F without oil produced the same limp result as stovetop cooking at low heat. Higher temperature and fat applied to the tortilla surface aren't variables you can trade away for convenience.
What to make ahead, what to serve fresh
Serve immediately. The shell is crispiest in the first few minutes off the heat. For hosting, set out toppings and cook in batches rather than assembling everything at once. The warm-oven holding method described above buys a few extra minutes between batches.
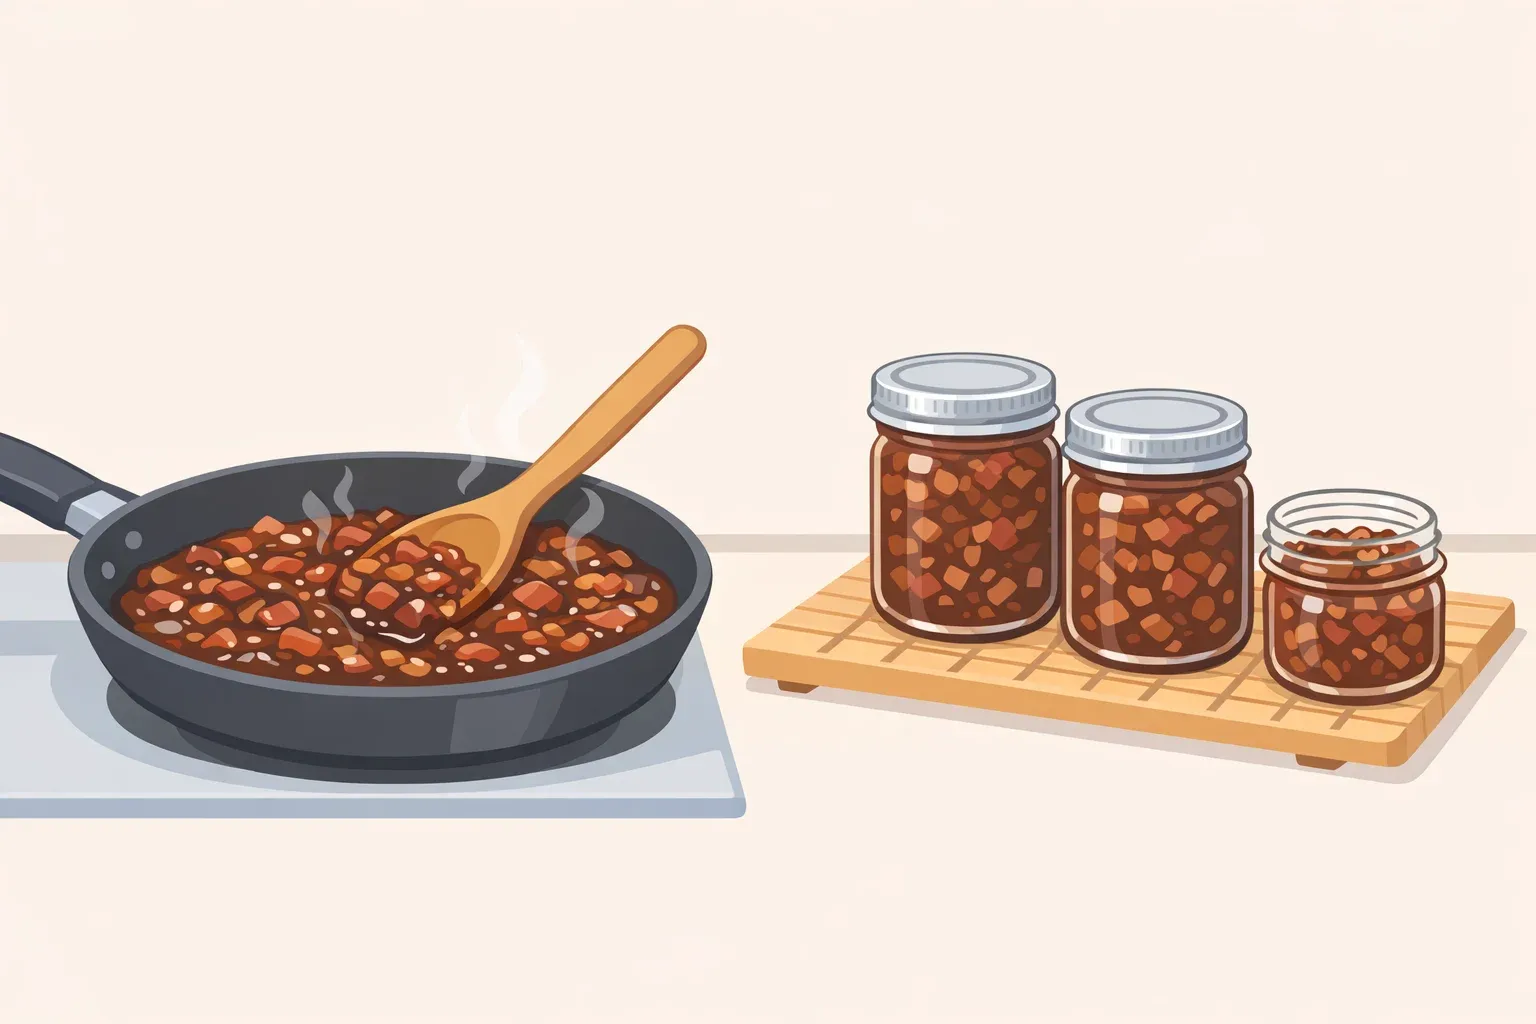
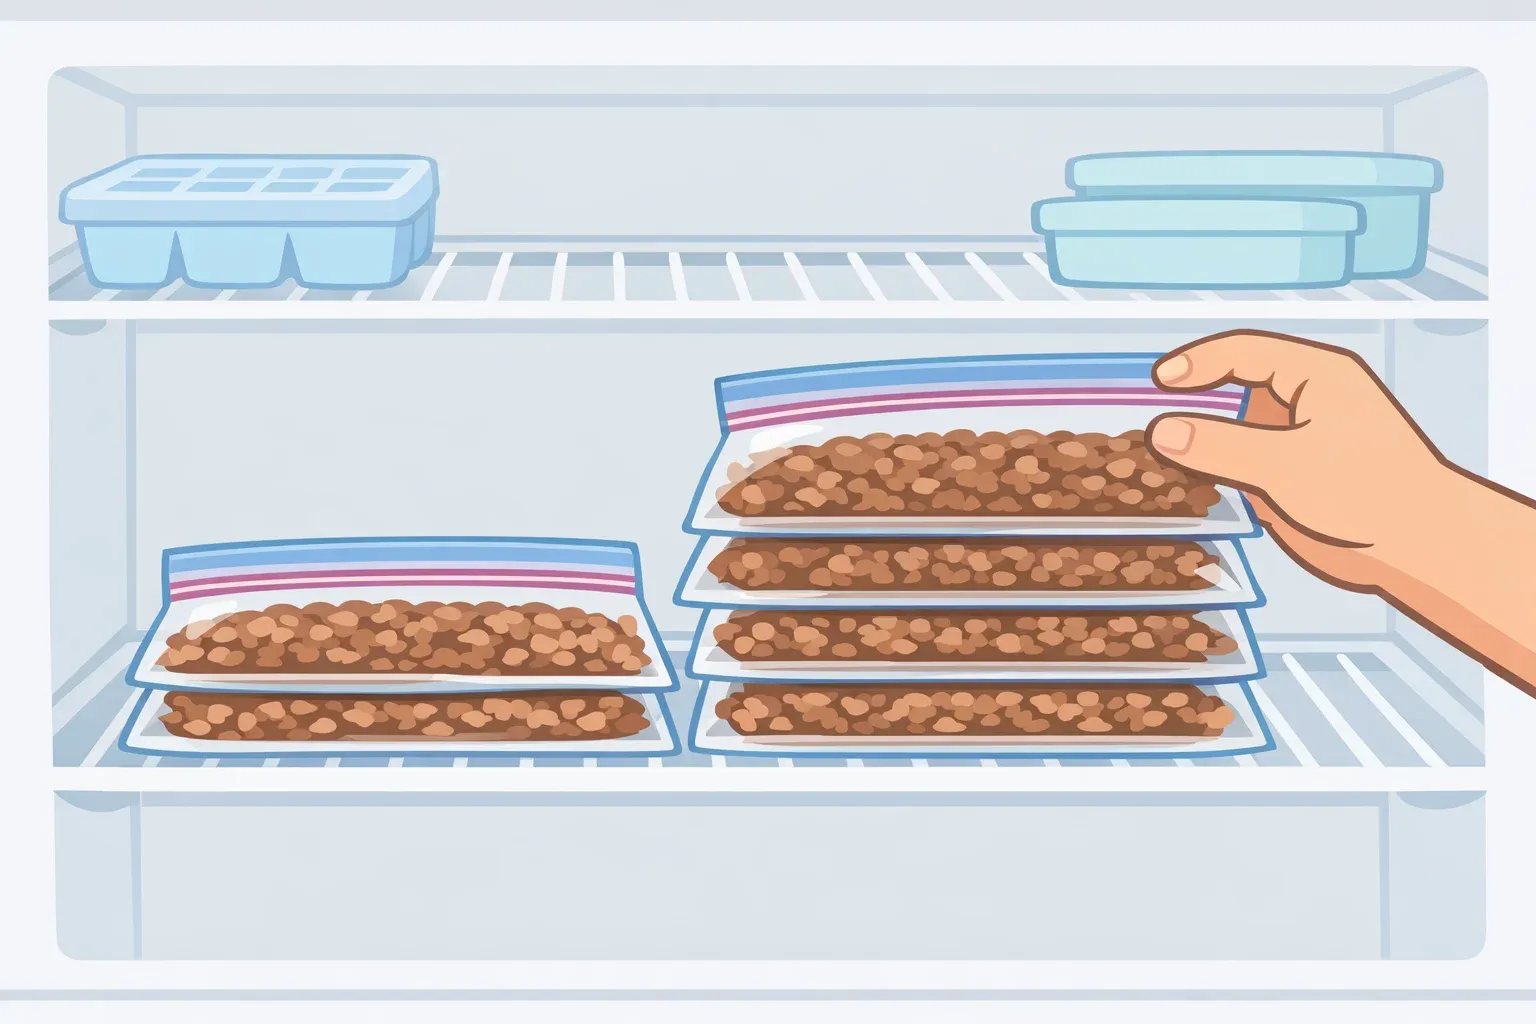
The filling is the make-ahead asset. It keeps in the fridge for up to 4 days Ill Just Cook notes the spices continue to meld overnight, making next-day filling taste noticeably deeper and freezes for up to 3 months in a sealed container. Thaw overnight; reheat in a skillet with a splash of broth to restore the right consistency. Ill Just Cook notes it's better to freeze only the filling and assemble fresh tacos when ready, since tortillas lose their texture in the freezer.
Re-crisp leftovers in a 400°F oven for 5 minutes. Fresh Savory confirms this restores the shell without steaming it the way a microwave would. The skillet works too same medium heat, same oil.
For weeknight cooking, use the skillet: one pan, faster response, easier to monitor. When cooking for more than four people, the oven handles a full sheet pan with less attention. Both methods produce genuine crunch, provided the temperature is right and the tortillas are oiled.


Comments
Be the first, drop a comment!