




Pouring boiling coffee or water directly onto raw chocolate batter looks like a kitchen disaster in progress. It isn't. That single move produces a tender cake on top and a pool of hot fudge sauce underneath, with no stovetop sauce-making required. This hot fudge cake recipe guide adapts I Am Baker's scratch version step by step, explaining why the layers form and how to sidestep the handful of mistakes that keep them from separating.
Worth clarifying up front: this isn't lava cake. Lava cake bakes individual portions in ramekins with a deliberately underbaked center that flows out molten when cut into. Hot fudge cake, sometimes called hot fudge sundae cake, bakes fully on top while a separate sauce layer forms below it in one shared pan.
The technique also goes by several other names: hot fudge pudding cake, self-saucing pudding, chocolate fudge pudding cake. The labels differ, but the core layering move doesn't. Spread batter, sprinkle a dry cocoa-sugar layer on top, pour hot liquid over everything, then leave it alone. Exact ratios, pan sizes, and bake times vary from version to version, but that shared sequence is what makes the trick work across all of them.
What follows is an easy hot fudge cake recipe adapted from I Am Baker: a 10-inch skillet, nine servings, about 55 minutes from mixing bowl to table. Along the way: the rules that make the layers separate, how to read doneness on a dessert that ignores the standard toothpick test, and how to serve it before the sauce sinks back into the cake.
What you need before you start
The pan matters more than most bakers expect. I Am Baker's recipe calls for a 10-inch oven-safe skillet. Without one, a 9-inch round or 9x9-inch square pan works as a comparable option, deep enough for the sauce to pool properly. Also have a kettle or microwave ready: the liquid needs to be genuinely boiling, not hot tap water, according to PastryWiz.
Ingredient amounts, yield, and timing below come from I Am Baker's recipe. For the batter, gather:
1 cup all-purpose flour
¾ cup granulated sugar
2 tablespoons Dutch-processed cocoa powder
2 teaspoons baking powder
¼ teaspoon kosher salt
½ cup room-temperature whole milk
2 tablespoons melted butter
1 teaspoon vanilla extract
1 cup semi-sweet chocolate chips
For the topping, use 1 cup packed light brown sugar, ¼ cup Dutch-processed cocoa powder, and 1 cup hot brewed coffee. Hot water works as a substitute, though the flavor will lean less toward coffee and more toward plain chocolate.
This recipe yields nine servings at roughly 340 calories per portion, a recipe-specific estimate rather than a general nutrition claim. Budget about 15 minutes of prep, 30 to 35 minutes of baking, and 5 to 10 minutes of resting before serving.
Why hot fudge cake with boiling water makes its own sauce
Recipe developers troubleshooting failed batches point to three common causes when the layers refuse to separate: stirring after the hot liquid goes on, liquid that wasn't fully boiling, or an overmixed batter that trapped too much air. None of these is ranked above the others in the source material; all three matter equally, which is why the fix is three separate rules.
Use liquid that's actually boiling, not warm from the tap. A kettle or microwave gets it there reliably. The tap usually doesn't.
Once the hot liquid goes on, leave it alone. It will sit visibly on the surface at first. That's expected, not a sign the batter's gone wrong.
Pick a pan with real depth, at least 2 inches, so the batter has room to rise while sauce pools underneath it. A wide, shallow 9x13 is generally discouraged because it thins the cake layer and throws off the sauce-to-cake ratio. Skip any one of these three, and the layers may never fully separate.
Step-by-step: making the cake
The steps below adapt I Am Baker's method for a 10-inch skillet.
Preheat the oven to 350°F and prep the pan. Grease a 10-inch oven-safe skillet, or a comparably deep 9x9-inch pan.
Whisk the dry batter ingredients. Combine flour, sugar, cocoa, baking powder, and salt in a medium bowl.
Combine the wet ingredients separately, then fold into the dry mix until just combined. Expect a thick batter, closer to brownie batter than cake batter.
Fold in the chocolate chips and spread the batter evenly across the bottom of the pan.
Mix the brown sugar and cocoa topping, then sprinkle it evenly over the batter, covering it edge to edge.
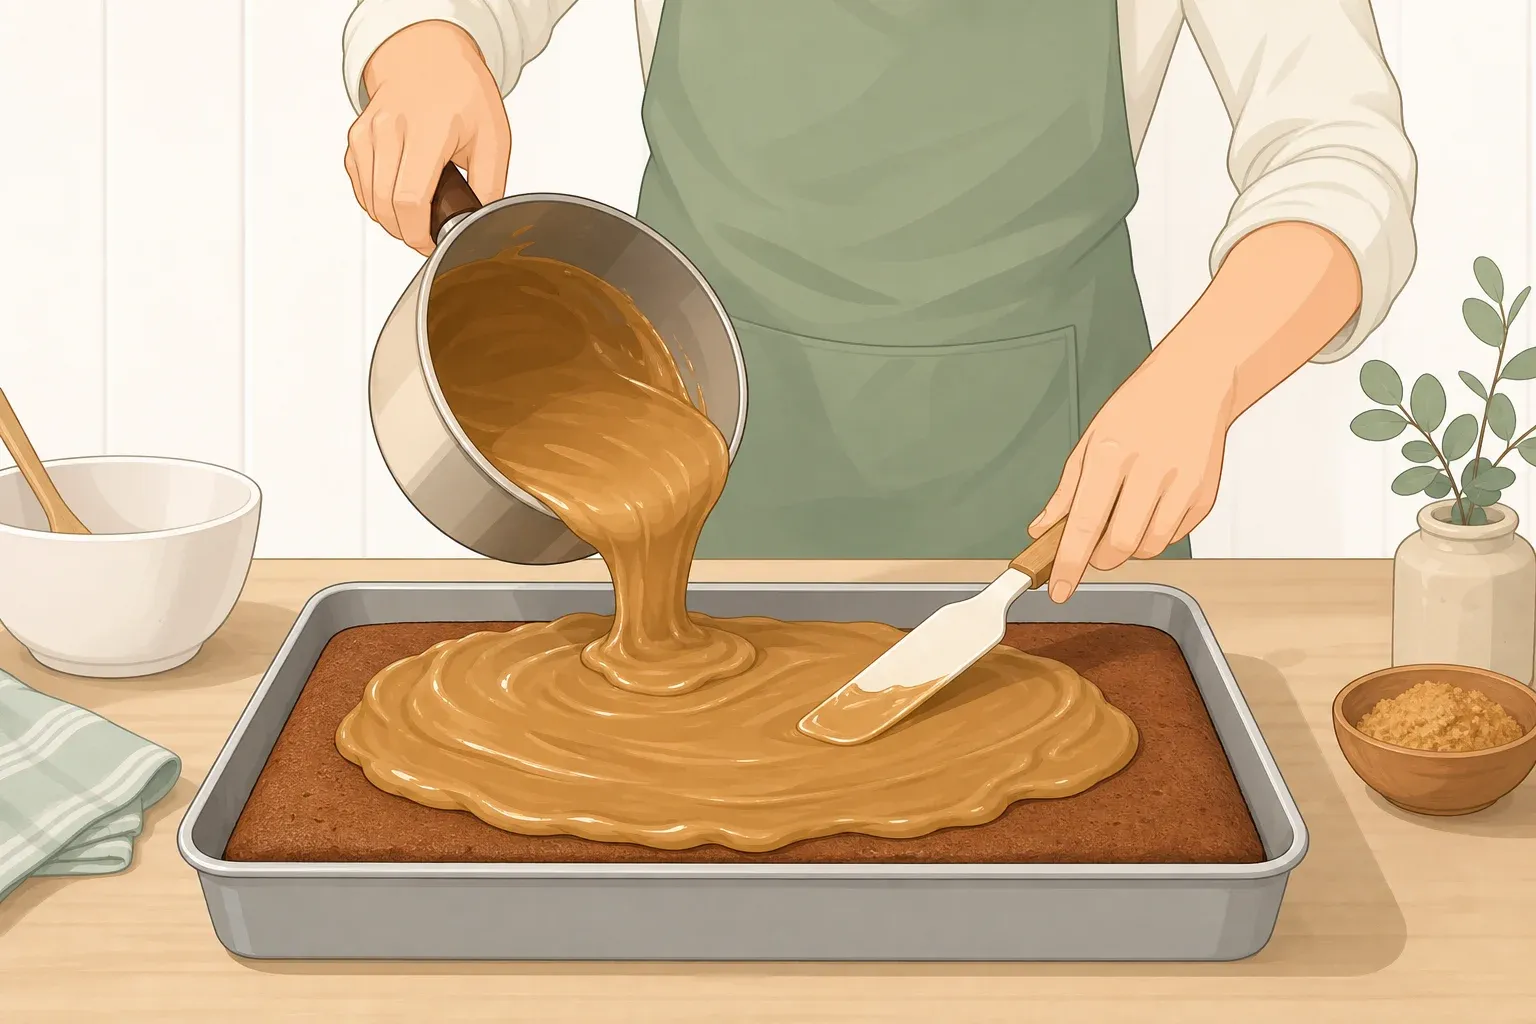
Pour the hot coffee or hot water evenly over the top. Do not stir. The liquid should sit visibly on top at first, which is exactly what should happen.
Bake for 30 to 35 minutes. The cake is done when the top looks mostly set and firm to the touch, even if the edges still jiggle slightly.
Rest 5 to 10 minutes before serving. This isn't optional standing time. It's the window when the loose liquid beneath the cake thickens into pudding-like sauce.
Reading doneness and fixing common problems
Forget the standard clean-toothpick test here. A toothpick pushed to the bottom of a properly baked hot fudge cake should come out coated in fudge, not clean. The top should look set and feel firm, even springy, while the interior underneath stays saucy. That contrast is what makes the dessert work.
If the sauce looks thin right out of the oven, that's normal. It firms up during the 5 to 10 minute rest, not while baking. If the layers never separated at all, revisit the three rules above: an unboiled liquid, a stirred surface, and an overmixed batter are the causes recipe developers point to most often.
Serving it while the layers still look distinct
Resting and serving run on two different clocks. Rest the cake 5 to 10 minutes so the sauce thickens, then serve within about 20 minutes of pulling it from the oven, while the sauce is still pooled rather than reabsorbed.
Past that window, the sauce starts soaking back into the cake. Within an hour or two, the dramatic two-layer effect flattens into a denser, more uniform pudding cake, still good, just a different dessert. The Flavor Bender makes a related point: the longer the cake cools, the more sauce it reabsorbs, which is the same mechanism working in slow motion.
Scoop cake and sauce together into bowls and top with vanilla ice cream or whipped cream. Both cited versions recommend it. Leftovers keep refrigerated for 2 to 3 days. Reheat individual portions in the microwave for well under a minute, and add a splash of milk or water on top to loosen the sauce, though it won't fully recreate the fresh-baked texture.
Coffee or water?
Coffee deepens the chocolate flavor, but it's not subtle. Bakers who've made the cake with a full cup of hot brewed coffee describe a clear coffee taste running through the finished cake, not a background note. One reviewer of that recipe mentioned splitting the liquid half coffee, half water on a repeat batch, a middle ground worth trying if a full cup feels like too much.
Swap in hot water instead, and the same layering technique still applies. The result leans more purely chocolate, less coffee-forward, and I Am Baker notes it turns out well either way. Neither version changes the mechanics of how the sauce forms; the choice is about what flavor belongs in the bowl.
For texture rather than flavor, fold half a cup of chopped pecans, walnuts, or peanuts into the batter before baking. It's a small change that doesn't touch the part of the recipe that actually matters: boiling liquid, an undisturbed surface, and a pan deep enough to let two layers form in the first place.











Comments
Be the first, drop a comment!