



Nutella Popsicles Recipe With Sweetened Condensed Milk
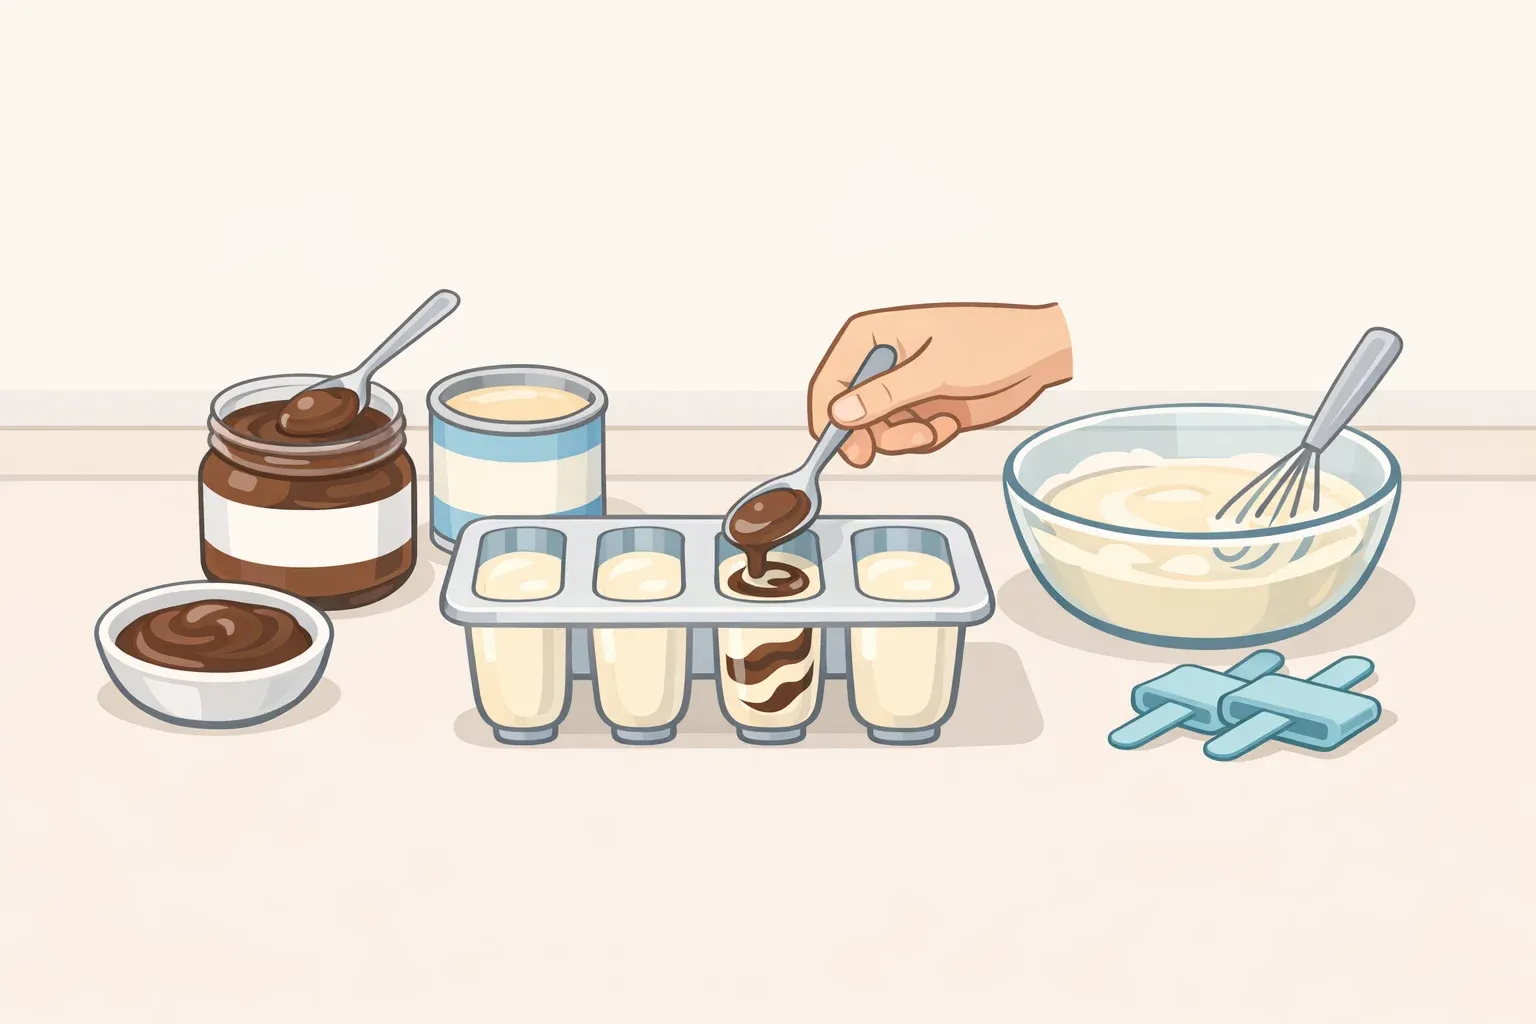
A no-cook base of sweetened condensed milk, whisked separately from a Nutella-and-cream mixture, freezes into a rich, creamy pop without ever touching a stovetop or an ice cream maker. This Nutella popsicles recipe uses five main ingredients, plus optional vanilla, split across two bowls (Easy and Delish).
The dairy base combines one 14-ounce can of sweetened condensed milk, 2 cups whole milk, ⅓ cup sugar, and that optional vanilla. A second bowl blends ¼ cup Nutella with ½ cup heavy cream. Prep runs about 15 minutes, and the recipe yields 10 popsicles (Easy and Delish). What the source doesn't spell out is exactly how those two mixtures should meet once they're in the mold, whether combined, layered, or swirled together. That gap is the one place this guide adds an untested suggestion instead of a documented instruction, and it's flagged clearly below.
This guide walks through the documented ingredient ratios and two-stage freeze sequence step by step, then treats the filling pattern as an optional experiment for a future batch. If you're after an easy homemade Nutella popsicles project with minimal guesswork on the first try, follow the numbered steps below in order and save the swirl section for round two.
What you'll need
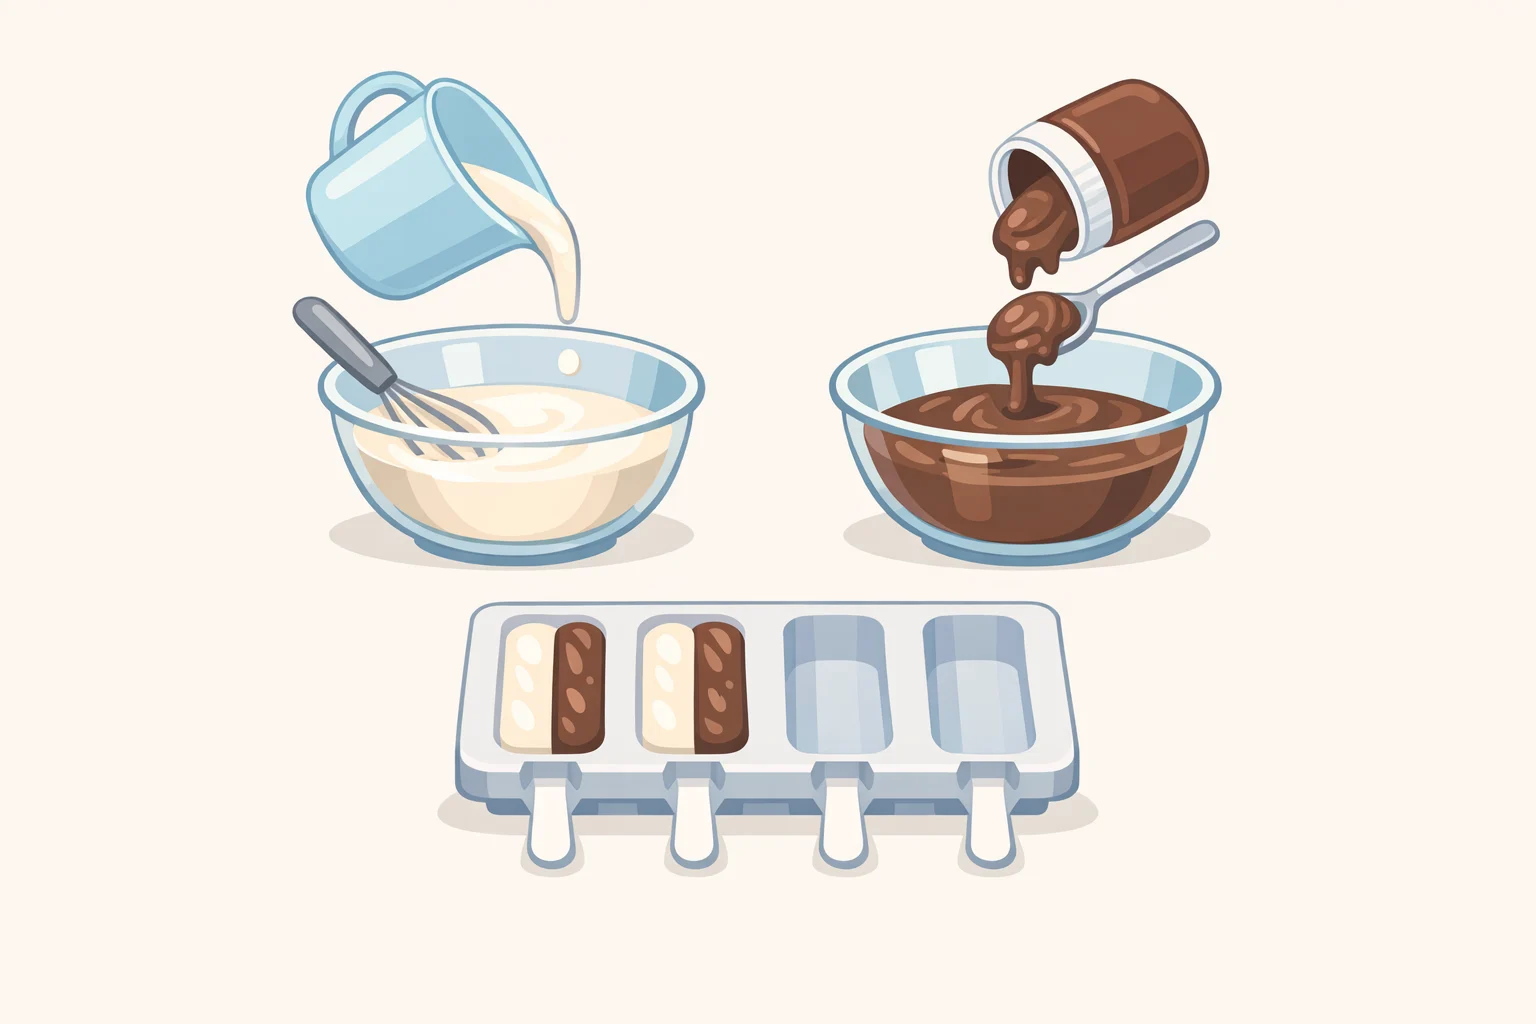
Gather both sets of ingredients before you start whisking, so nothing sits out longer than it needs to.
Dairy base:
- 1 (14-ounce) can sweetened condensed milk
- 2 cups whole milk
- ⅓ cup sugar
- ¼ teaspoon pure vanilla extract (optional) (Easy and Delish)
Nutella mixture:
- ¼ cup Nutella or another hazelnut-chocolate spread
- ½ cup heavy whipping cream (Easy and Delish)
Equipment: popsicle molds, sticks, two mixing bowls, a whisk. Nothing here calls for a stovetop or an ice cream maker, so this is strictly a mix-and-freeze project (Easy and Delish). Set out the molds and sticks before mixing so you can fill the molds as soon as both mixtures are ready.
This is a beginner-friendly recipe. Most of the work is whisking two bowls; the part that takes attention is timing the two freezer stages, which the steps below cover.
The source lists 10 pops, but your yield may vary with the size and number of cavities in your mold. Check your mold's fill line before you mix anything, and don't treat a different count as a mistake, it's just a function of your equipment. Any mixture left over after filling can go into a spare mold or a small freezer-safe cup rather than down the drain.
Before you start
The condensed milk base is ready once it's creamy and free of lumps; the Nutella mixture is ready once it's smooth and evenly combined (Easy and Delish). If the condensed milk mixture still looks grainy or lumpy after a minute of whisking, keep going or switch to a hand mixer on low speed. Both mixtures should look completely smooth before either one goes into a mold.
These Nutella condensed milk popsicles are a rich dessert, not a light one. The full batch's nutrition figures run about 2,017 calories and 330 grams of sugar; divided across the stated 10-pop yield, that's roughly 200 calories and 33 grams of sugar per pop (calculated from Easy and Delish's batch totals and yield). Treat that as a ballpark, since the specific brands of condensed milk, cream, and Nutella you buy will shift the numbers slightly.
Easy and Delish labels the recipe gluten-free (Easy and Delish). That label applies to the ingredients as the recipe lists them, not to every brand of Nutella or substitute spread on the market, so check the label on whatever jar you're using if you're serving someone who needs to avoid gluten.
Nutella popsicles recipe: mix, fill, and freeze the molds
-
Mix the condensed milk base. Whisk the sweetened condensed milk, whole milk, sugar, and vanilla together in a medium bowl until the mixture is creamy and free of lumps (Easy and Delish). It should pour easily and look uniform, with no lumps of undissolved sugar.
-
Whisk the Nutella mixture. In a separate, smaller bowl, whisk the Nutella and heavy cream together just until the mixture is smooth and evenly combined (Easy and Delish). It should look consistent throughout, without streaks of cream still visible.
-
Fill the molds. The source doesn't specify how to distribute the two mixtures inside each cavity (Easy and Delish). For this guide, try alternating spoonfuls of the condensed milk base and the Nutella mixture into each mold up to the fill line, but treat that as an untested variation rather than the documented method. Your first batch is a baseline; the swirl section below covers ways to adjust the look next time.
-
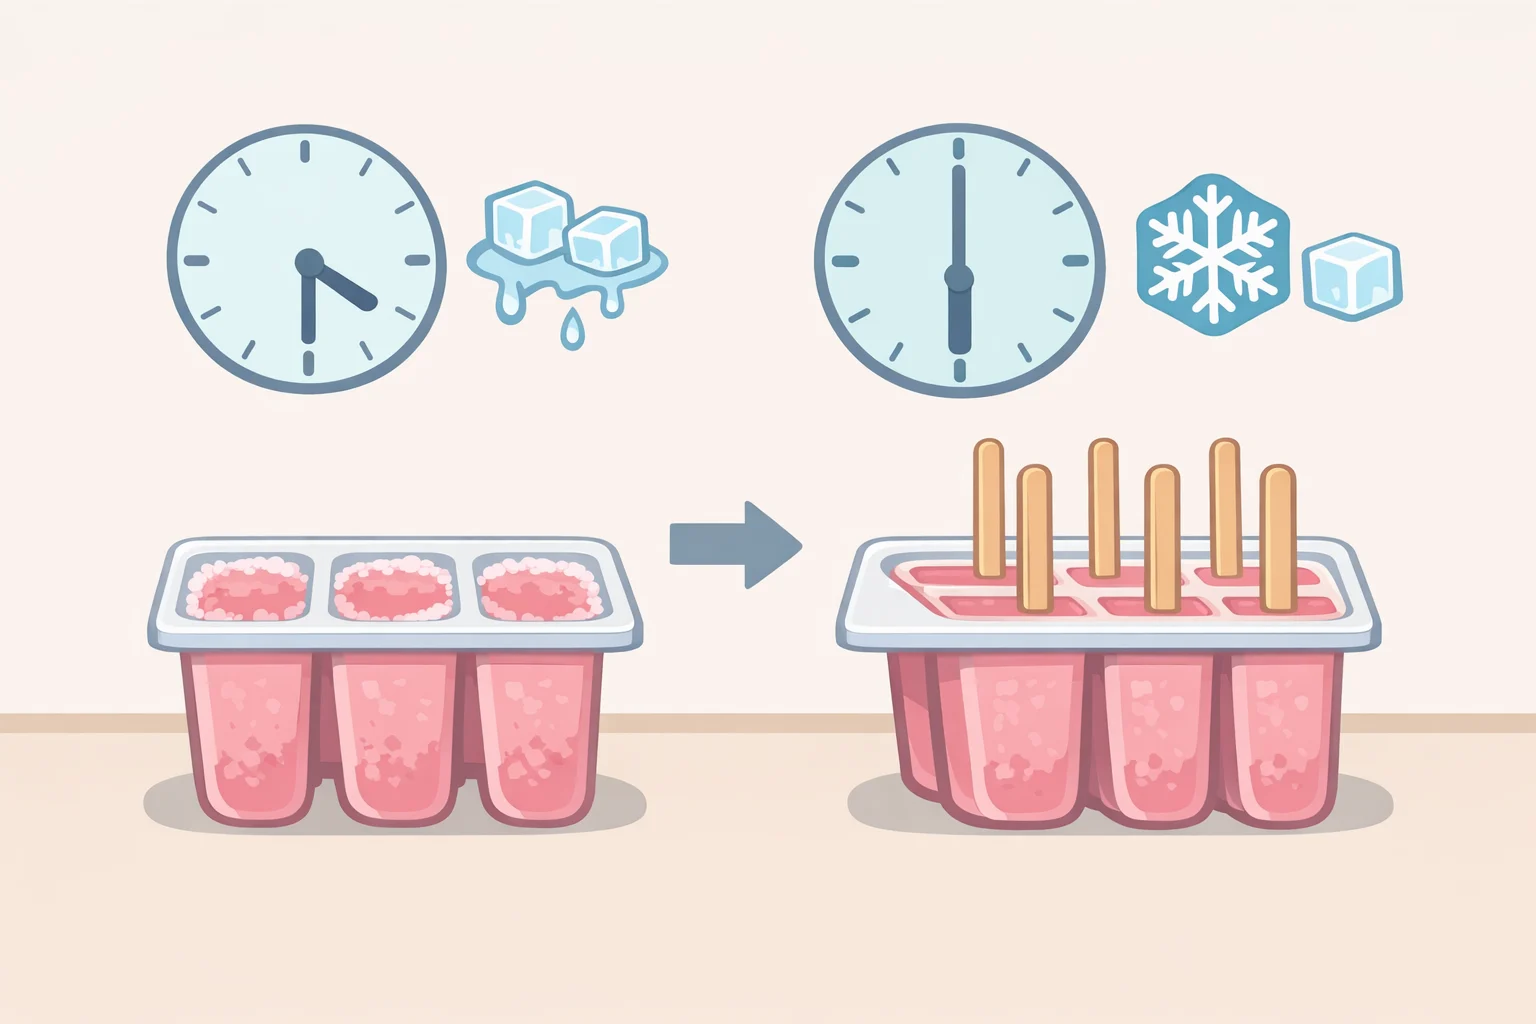
Freeze until slightly set, about 1 hour. This is the partial freeze the recipe calls for before the sticks go in (Easy and Delish). "Slightly set" means firm enough to hold its shape but not frozen solid yet.
-
Insert sticks and freeze until firm. Push a stick straight down into the center of each mold, then freeze for at least 8 more hours, until the pops are completely frozen and firm (Easy and Delish). The recipe's own listed total time is 8 hours 15 minutes, which is shorter than its steps actually add up to once you count the 1-hour partial freeze plus at least 8 more hours after that (Easy and Delish). The individual steps add up to at least about nine hours, so follow those steps rather than relying on the listed total.
Getting a Nutella swirl look
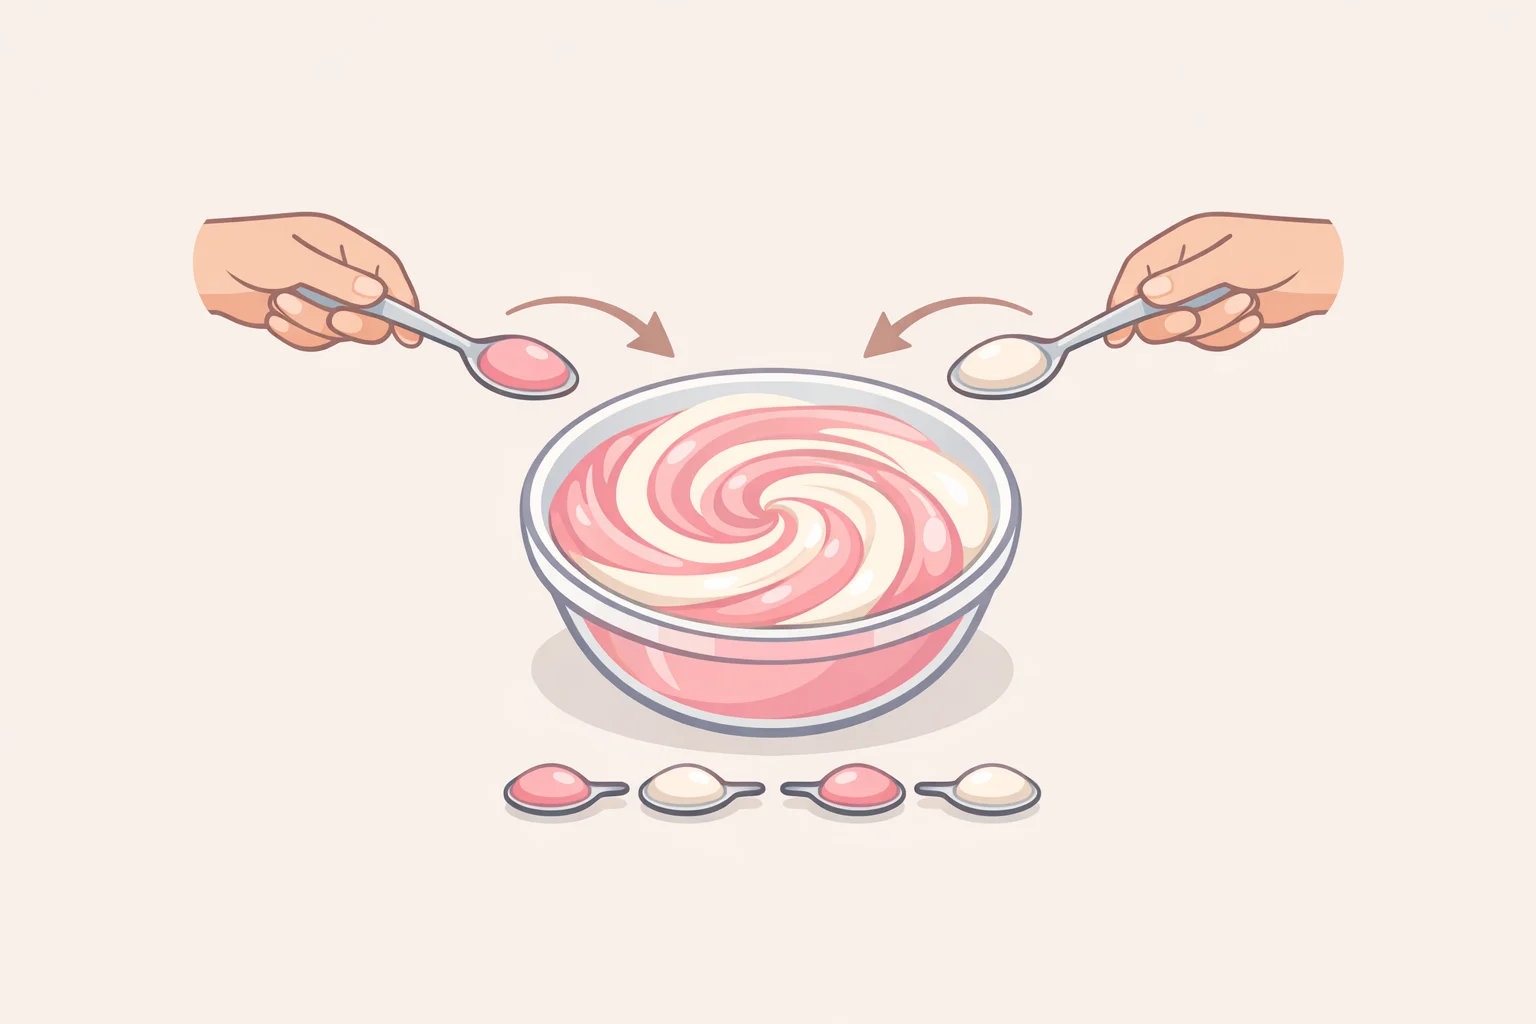
The recipe's title includes the word "swirl," though the source doesn't explain what actually produces that pattern or confirm that alternating spoonfuls is the technique behind it (Easy and Delish). If you want to experiment on a future batch, try smaller, more frequent spoonfuls when you alternate the two mixtures in step 3, and skip stirring once they're in the mold.
Treat this as a starting point to test in your own kitchen, not a guaranteed way to reproduce a specific pattern. Mold shape and how thick each mixture is when it goes in will probably change the result, though that hasn't been tested here either. Write down what you tried if the pattern turns out well, so the next batch is easier to repeat.
Troubleshooting
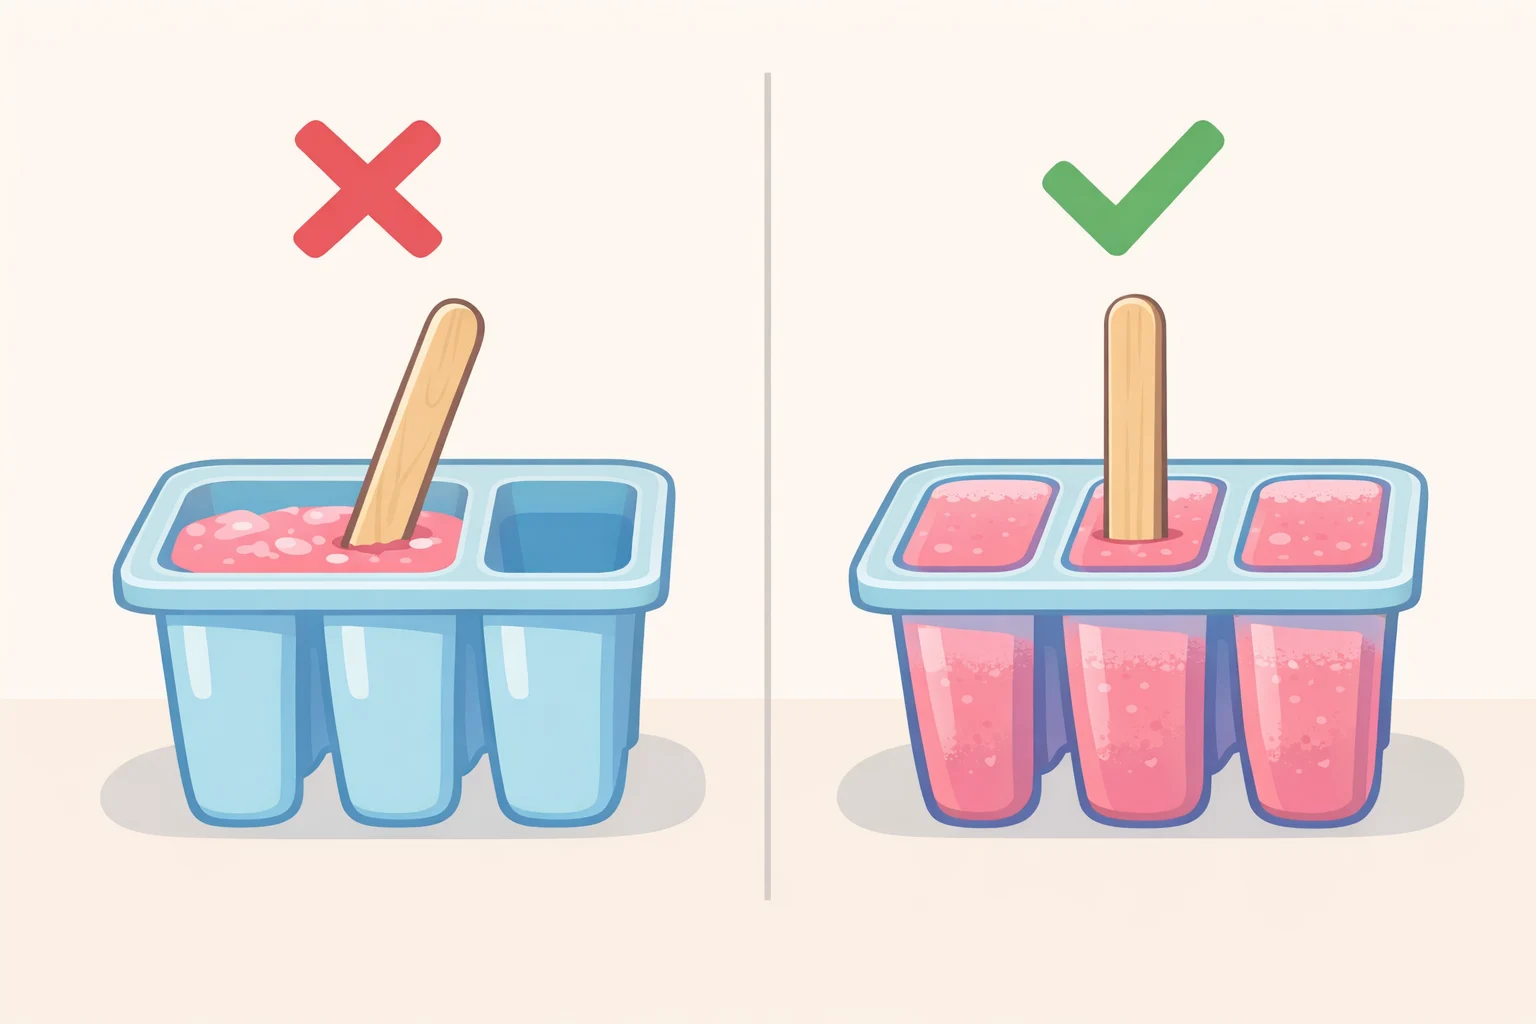
A stick leans instead of standing straight. That may mean the mixture didn't get the full partial freeze before the stick went in. Give it the full hour next time so the surface has more structure to hold the stick upright.
A pop resists coming out of the mold. Avoid pulling harder on the stick, since that risks pulling it loose from the pop instead of freeing the pop from the mold. Warming the outside of the mold with your hands for a few seconds, or letting it sit at room temperature briefly, are worth trying before you tug again.
Substitutions change the texture. The source doesn't test substitutions, so keep the listed ingredients if you want to stay close to the documented recipe. Swapping in lower-fat milk, a dairy-free alternative, or less sugar puts you outside what's been tested, and the finished pop may not match the texture described here.
Unmold and serve
Once a pop releases cleanly, unmold the rest of the batch the same way. If you're not eating all ten right away, wrap the extras individually or set them in a covered, freezer-safe container so they're protected until you're ready for them.
If your first batch came out with mixed colors instead of a clean swirl, that's information for next time, not a failed batch. The base recipe underneath is the same either way, and a second attempt with smaller spoonfuls is an easy adjustment to try before you decide the technique isn't for you.

















Comments
Be the first, drop a comment!