


This s'mores brownies recipe stacks a buttery graham cracker crust under a fudgy chocolate brownie, then finishes the whole pan under the broiler with toasted marshmallows on top. No campfire, no skewers, just one pan and an oven.
The method comes from Serious Eats developer María del Mar Cuadra, and two other published recipes land on the same basic structure: a crisp graham cracker base, a chewy or fudgy brownie center, and a toasted marshmallow top.
This is a beginner-friendly bake from start to finish, with one exception. Once the marshmallows go under the broiler, timing gets unforgiving, since they can turn from golden to scorched in seconds. The steps below build the crust, mix and bake the brownie layer, broil the marshmallow topping safely, and slice and store the finished bars, plus a torch-based option for anyone without a working broiler.
Before you start
This recipe makes 16 bars from one 8x8-inch pan. Total time runs about 2 hours 39 minutes, including roughly an hour of cooling, so plan to have the pan out well before you need to serve these instead of timing it for the last minute.
Everything up through the brownie bake is ordinary, low-risk baking: melt, whisk, pour, bake. The broil at the end is the one step where a few extra seconds separates toasted from burnt, and the instructions below flag exactly when to watch for it.
What you'll need for this easy s'mores brownies recipe
The full ingredient list below matches Serious Eats' recipe:
10 graham crackers (about 1 cup crumbs once ground)
168 g (12 tablespoons) unsalted butter, divided
115 g (½ cup plus 1 tablespoon) granulated sugar, divided
½ teaspoon Diamond Crystal kosher salt, divided (use half as much by volume if using table salt)
170 g (6 ounces) bittersweet chocolate
2 large eggs
1 teaspoon instant espresso powder
1½ teaspoons vanilla extract
32 g (¼ cup) all-purpose flour
¾ teaspoon baking powder
129 g (about 3 cups) mini marshmallows
You'll also need an 8x8-inch baking pan, foil for lining, a food processor, microwave-safe bowls, a whisk, a flexible spatula, a toothpick or cake tester, and a wire rack.
Why these easy s'mores brownies use a metal pan
Stick with a metal or ceramic pan, not glass. NYT Cooking calls for metal specifically because it helps the brownie base bake quickly and evenly, which matters once the timing shifts to the broiler for the marshmallow layer. Glass holds and releases heat differently, which can throw that timing off.
If you don't have foil, parchment works as a liner too. Just leave enough overhang on the sides to lift the bars out once they've cooled.
How to make fudgy s'mores brownie bars
Build the graham cracker crust
Adjust the oven rack to the middle position and preheat to 350°F (180°C). Line the pan with two strips of foil laid perpendicular to each other, leaving about 3 inches of overhang on every side so you can lift the bars out later.
Break the graham crackers into pieces and pulse in a food processor until finely ground, about 1 cup of crumbs. The crumbs should look sandy and even, with no large chunks left, before the butter goes in.
Microwave 4 tablespoons of the butter in a small bowl on medium power until melted, about 1 minute. Add it to the crumbs along with 1 tablespoon of the sugar and ¼ teaspoon of the salt, then pulse until combined.
Press the mixture evenly into the bottom of the lined pan, using the back of a spoon or the bottom of a measuring cup to pack it down.
This crust doesn't get baked on its own first. The Serious Eats method pours brownie batter directly over the raw crust, which differs from some other s'mores brownie recipes that prebake the crust for about 10 minutes before adding batter. Follow this recipe's order: crust first, then batter straight on top, no prebake in between.
Mix and bake the fudgy brownie layer
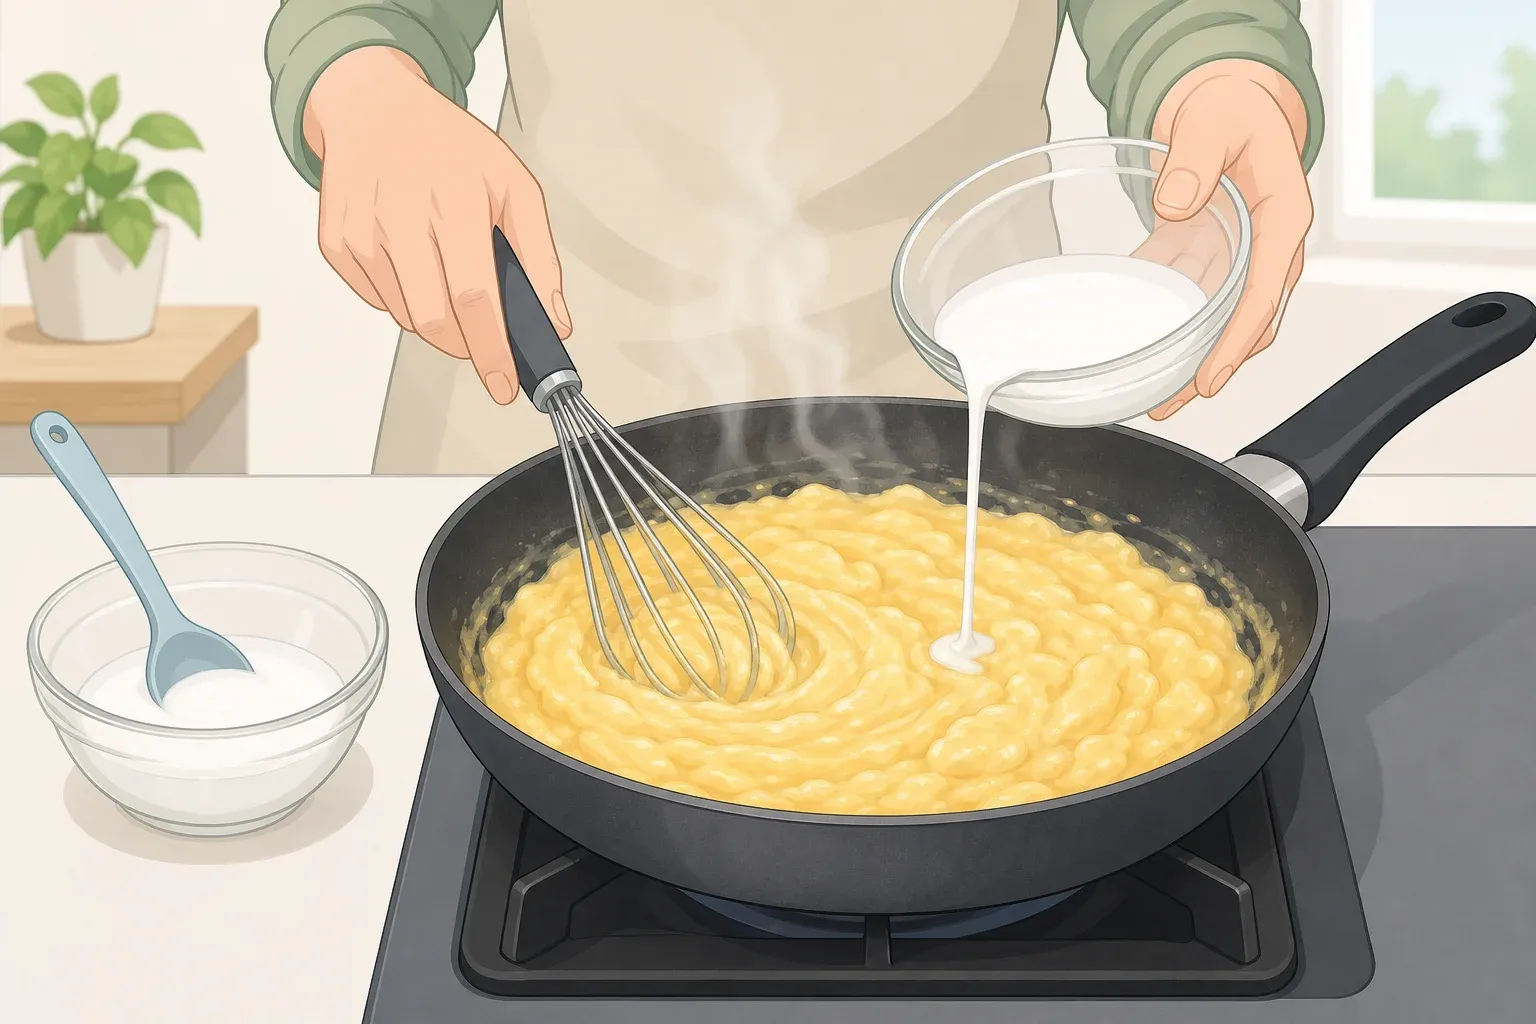
In a large microwave-safe bowl, combine the chocolate with the remaining 8 tablespoons of butter. Microwave on high, stirring every 30 seconds, until melted and smooth, about 2 minutes. The mixture should look glossy with no unmelted chocolate specks before you move on.
Whisk in the remaining sugar, the eggs, the espresso powder, the vanilla, and the remaining ¼ teaspoon of salt until smooth. The espresso powder isn't there for coffee flavor; it sharpens the chocolate's bittersweet and fruity notes.
Add the flour and baking powder and whisk just until smooth, stopping as soon as no dry streaks remain. More than one recipe developer flags overmixing at this stage as a habit worth breaking, since it works against a fudgy texture.
Pour the batter over the crust and bake for 25 to 30 minutes, until a toothpick inserted in the center comes out with moist crumbs attached, not wet batter and not perfectly clean. If the toothpick still looks wet, leave the pan in for a few more minutes rather than pulling it early.
Broil the marshmallow topping for fudgy s'mores brownie bars
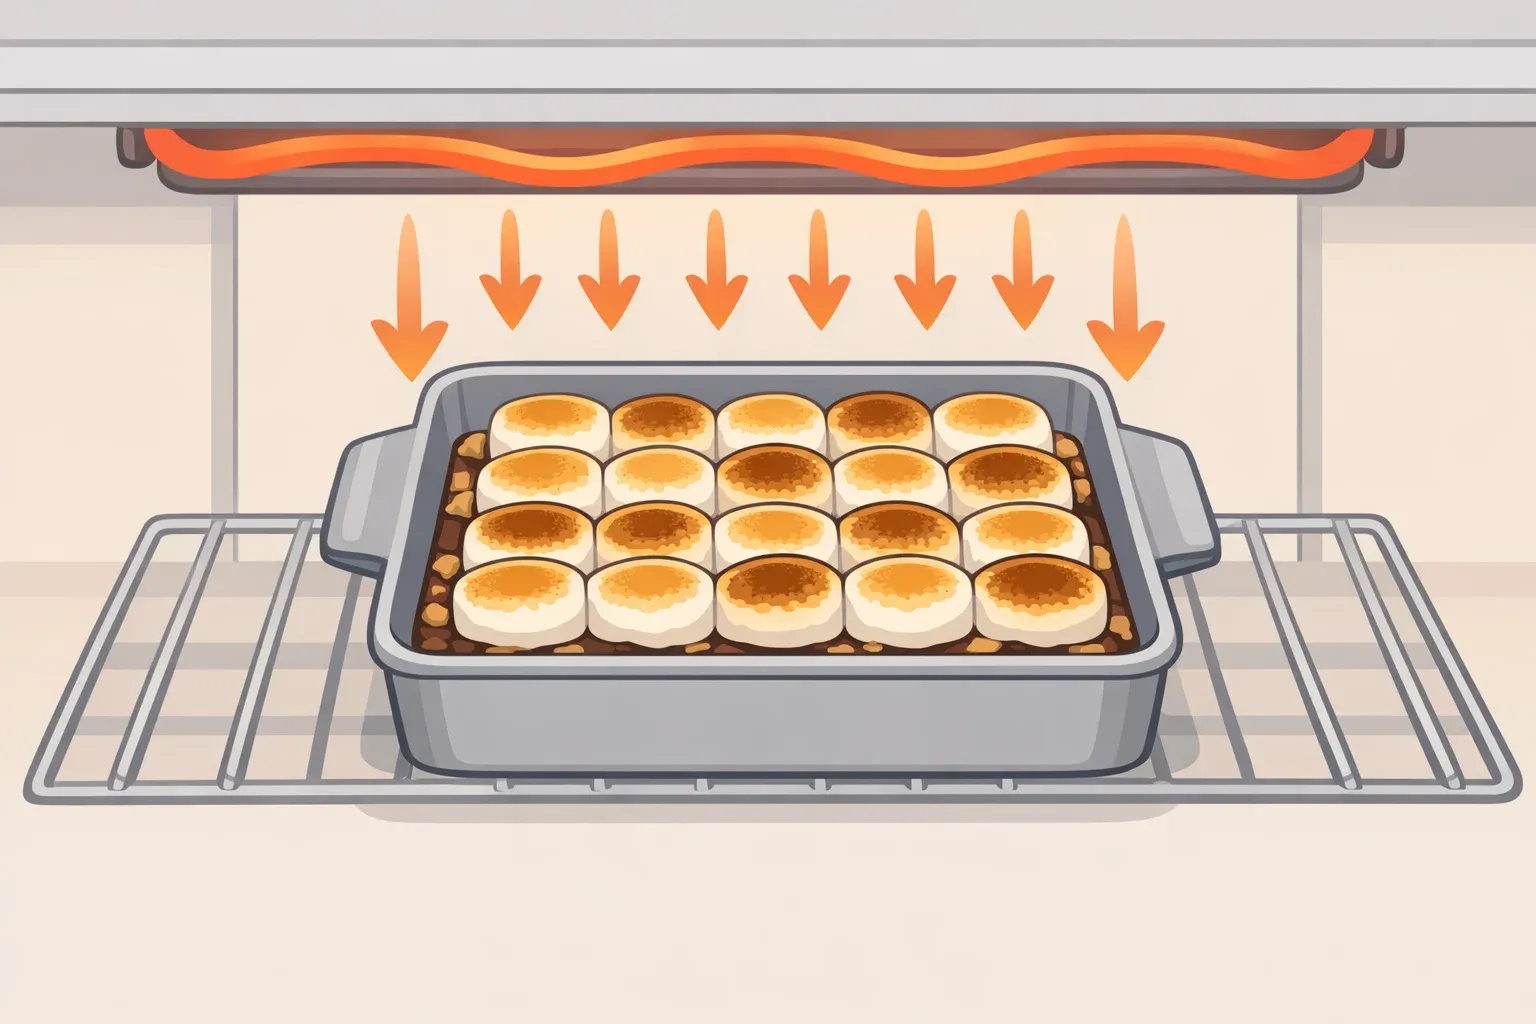
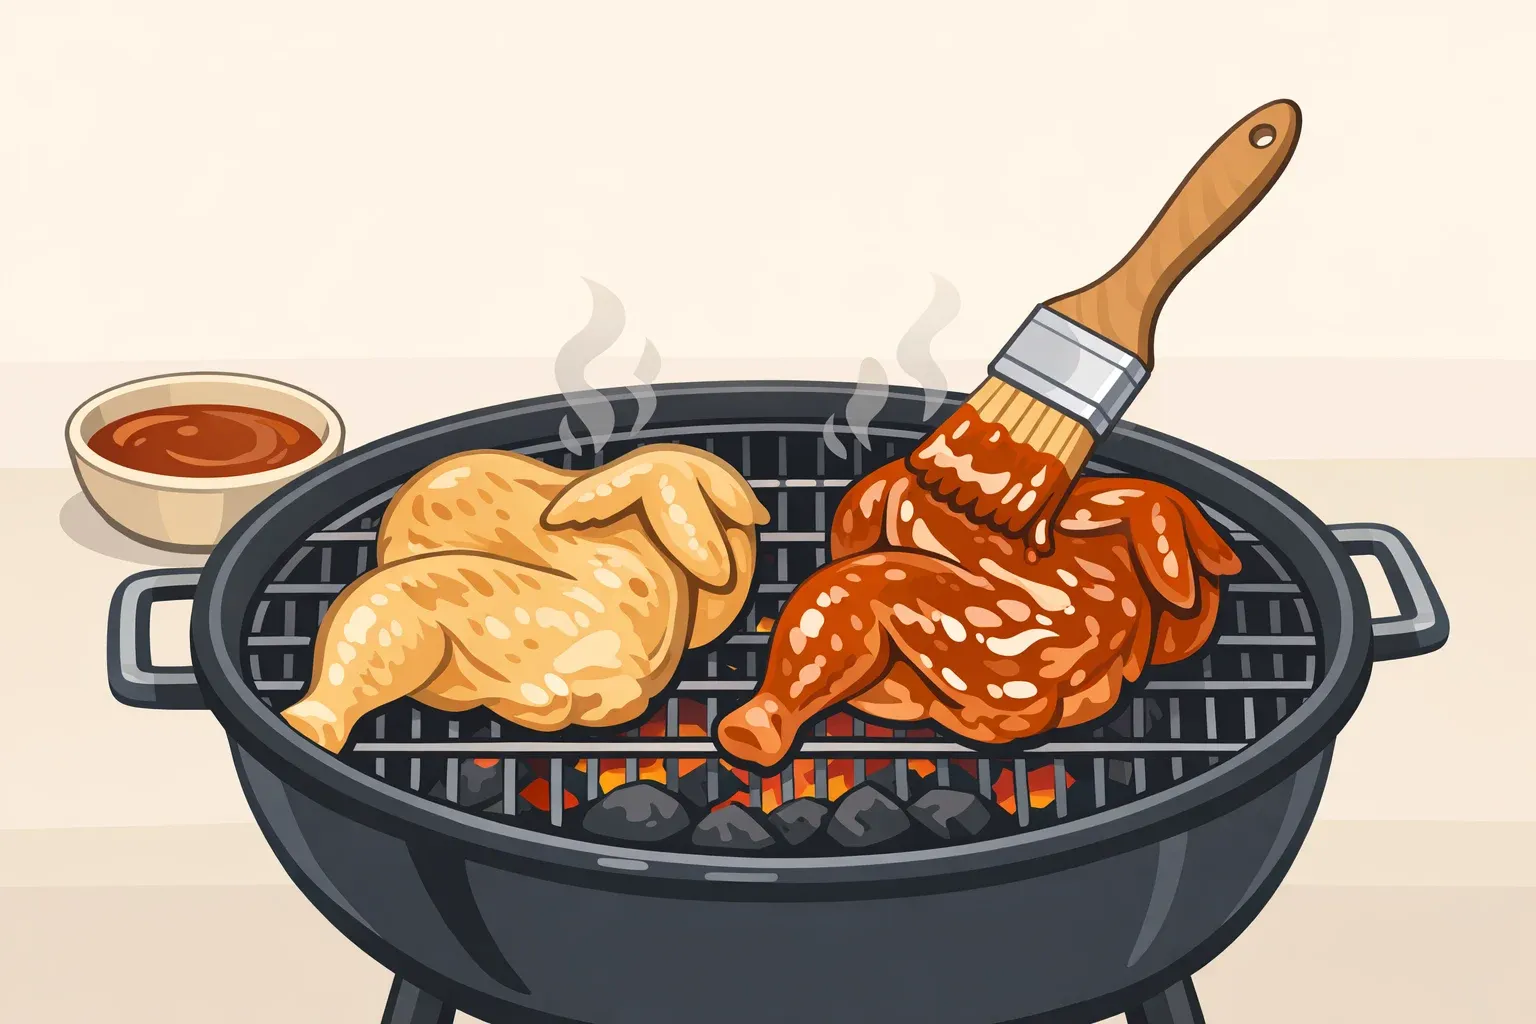
Transfer the pan to a wire rack while the brownies are still warm and scatter the mini marshmallows evenly over the top so they stick to the surface. Put on oven mitts, then carefully move the rack to the upper third position and switch the oven to broil.
Stay at the oven for this part and keep the pan in view the whole time it's under the broiler. Marshmallows can go from golden to burnt in seconds, a warning two separate recipe developers make a point of repeating.
Broil until the marshmallows are golden brown, then pull the pan out right away. Serious Eats calls for about 1 minute, but broilers vary enough that color matters more than the clock: Scientifically Sweet's oven gets there in about 30 seconds, while Teak & Thyme's takes closer to 2 to 3 minutes.
No broiler? Use a kitchen torch instead
If your oven's broiler is unreliable or unavailable, toast the marshmallows with a kitchen torch instead. Set it to low heat and use quick, moving passes rather than holding the flame in one spot; they scorch just as fast under a torch as under a broiler.
If your pan is lined with parchment instead of foil, lift the bars off the parchment before torching. Britney Breaks Bread flags this step specifically when working with a torch, so follow that precaution if you use this method.
Adjustments and troubleshooting for brownies with graham cracker crust and marshmallows
Chocolate swap: Bittersweet is the standard here, but dark or semisweet chocolate works in other versions of this bake if bittersweet tastes too intense for your palate.
Marshmallow size: Mini marshmallows melt into an even layer faster than large ones. If large marshmallows are all you have, expect a longer broil and a more pillowy, uneven top.
Faster cooling: Some bakers move the pan to the refrigerator after about an hour at room temperature to speed things along before slicing.
Skip this swap for now: Replacing the toasted mini marshmallows with a homemade egg-white marshmallow fluff is a different recipe with its own food-safety step. Britney Breaks Bread's version heats its egg-white mixture to 165°F before whipping it into fluff. That's not a drop-in substitution for the toasted-marshmallow method above.
Slice, serve, and store your s'mores brownie bars
Cool the pan on a wire rack for about an hour before lifting the bars out and slicing. If the marshmallow layer sticks to the liner while lifting the bars out, or resists a dry blade, rub a little oil on a knife or offset spatula first.
Texture from here is a matter of preference, not a sign anything went wrong. Room-temperature bars land closer to a classic gooey s'more, and refrigerating them instead produces a denser, fudgier bite that some bakers prefer outright.
Store leftovers in an airtight container at room temperature for up to 3 days, or refrigerate for up to 5 days if you need them to last longer. Let refrigerated bars sit out a few minutes before eating so the marshmallow layer softens, or give a cold bar a quick 10-second reheat in the microwave. Once the marshmallows are golden and a slice holds its shape, the bake is done: no more baking, no more broiling, just a knife and a plate.



Comments
Be the first, drop a comment!