



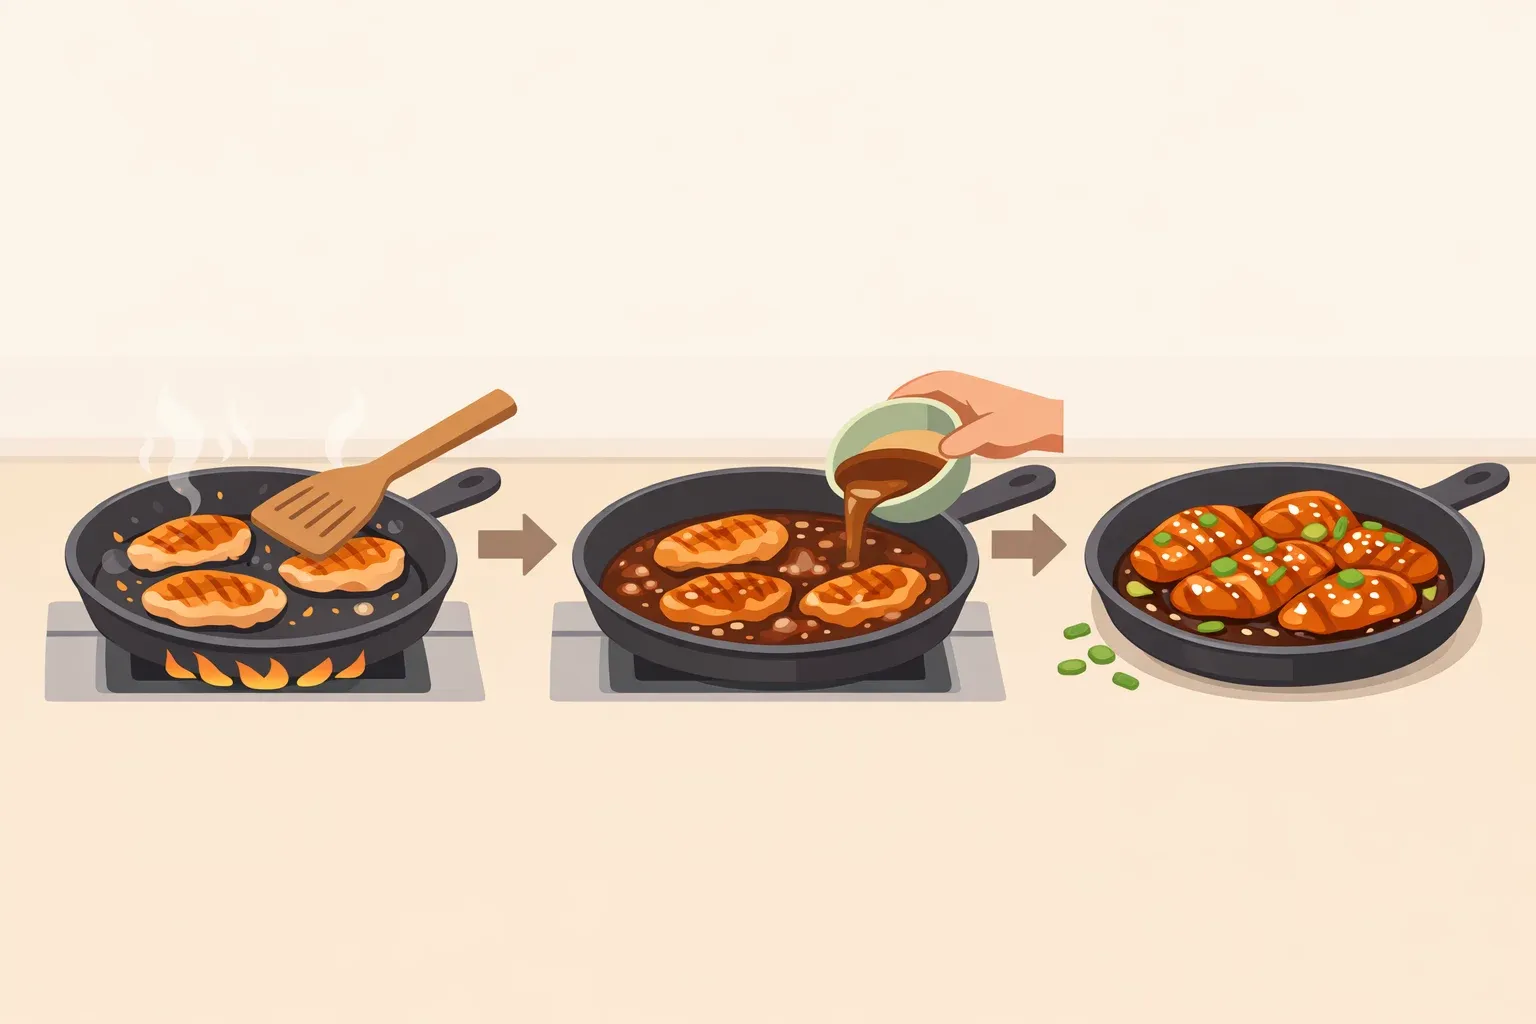
This easy teriyaki chicken recipe skips the marinade entirely. Instead of soaking the chicken for hours, you brown it first, then build the sauce right in the same hot skillet, using the browned bits left behind from searing. It serves 4, with about 5 minutes of prep and 15 to 20 minutes of cooking, so a quick teriyaki chicken dinner lands on the table in around 20 to 25 minutes total.
The Kitchn and Bon Appétit both skip the marinade and build their sauce in the pan used for searing, though the two recipes part ways from there. The Kitchn sears whole chicken thighs and thickens the sauce with a cornstarch slurry stirred in at the end. Bon Appétit slices the chicken thin and leans on a different set of aromatics, ginger, garlic, and cider vinegar, instead of mirin and sake.
The whole-thigh method is the main recipe here, since thighs hold up well under high heat and don't demand precise timing; the sliced version, a faster homemade teriyaki sauce built around pantry aromatics, is covered separately further down.
The full method below includes exact measurements, numbered steps, a safe internal temperature to check for, and fixes for when the sauce doesn't cooperate. A slower, traditional Japanese-style teriyaki glaze and a marinate-ahead option both show up too, kept separate since neither fits inside a 20-minute skillet timeline.
Easy teriyaki chicken recipe ingredients and tools
The base recipe, adapted from The Kitchn, calls for:
1½ pounds boneless, skinless chicken thighs, left whole
1 teaspoon kosher salt
1 tablespoon vegetable or canola oil
⅓ cup mirin
⅓ cup sake
¼ cup soy sauce or tamari
¼ cup water
2 tablespoons packed brown sugar
1 tablespoon cornstarch
1 scallion, thinly sliced, and white sesame seeds (optional garnish)
Steamed white rice and cooked broccoli, for serving
The Kitchn keeps the thighs whole rather than cutting them into strips or dice. If the plan is thin-sliced chicken instead, use the alternative method below rather than trying to shorten the cook time on whole thighs.
For equipment, gather a large 12-inch skillet, a small bowl for the slurry, a whisk, tongs, a cutting board, and a food thermometer. The thermometer isn't optional gear here; it's the most reliable way to confirm the thickest piece has actually reached a safe temperature, since pan heat and thigh thickness vary from one stove to the next.
Tamari can replace soy sauce for a gluten-free version, and thin-sliced chicken breast can stand in for thighs, though thighs stay more forgiving under high heat. Water can dilute the sauce in a pinch, but it won't provide the sweetness and depth that mirin and sake contribute, so it's worth tracking down the real ingredients rather than skipping them.
The 165°F minimum used throughout this recipe comes from Budget Bytes, which cooks chicken breasts and tenders to that temperature but takes its own thigh-based teriyaki to 175°F instead, treating the higher number as a texture choice rather than a safety floor.
Thighs tend to tolerate that extra margin well, thanks to their higher fat and connective tissue content, the same trait that keeps them juicy in other Japanese chicken dishes even without exact temperature tracking. More on how that plays out at the stove in Step 4 below.
Before you start
A few setup details matter before the pan heats up:
This recipe assumes the chicken is already fully thawed and refrigerated until cooking time; partially frozen thighs won't sear or cook evenly in the times below.
Slice the cooked chicken on a clean cutting board, not the one that held the raw thighs, unless that board has been washed and sanitized in between.
When checking temperature in Step 4, insert the thermometer probe into the thickest part of the largest thigh, avoiding any bone; a reading taken near the edge runs higher than the center actually is.
If the largest piece reads under 165°F but the sauce has already thickened, return the chicken to the pan, cover it, and cook gently over low heat until it reaches temperature, then rewarm and stir the sauce back together before serving.
The Kitchn's recipe calls for regular soy sauce or tamari, not a low-sodium version; swap in low-sodium and the sauce will taste milder, with no need to add extra salt beyond the teaspoon already on the chicken.
Choose your sauce before you cook
Two approaches show up across the sources cited here, and it's worth picking one before turning on the stove.
Quick skillet sauce (the main method): mirin, sake, soy sauce, water, and brown sugar, thickened with a cornstarch slurry in the same pan used to sear the chicken. Ready in about 20 to 25 minutes total.
Reduced Japanese-style glaze: soy sauce, mirin, sake, and sugar, thickened purely through reduction in a separate saucepan. Takes about 20 minutes on its own, apart from the chicken.
A soy-mirin-sake glaze like the reduced version traces back to a technique used for grilled foods in Japan as early as the late Edo period, before the word "teriyaki" existed as a name for the dish.
Step-by-step: how to cook teriyaki chicken in one pan
Mix the sauce and reserve a slurry. Whisk the mirin, sake, soy sauce or tamari, water, and brown sugar together in a bowl. Transfer 2 tablespoons of that sauce to a separate small bowl and whisk in the cornstarch until it's suspended, which keeps it from clumping when it hits the hot pan later.
Heat the pan and sear undisturbed. Warm the oil in a large skillet over medium-high heat. While it heats, pat the chicken dry with paper towels and season it all over with the kosher salt, then add it to the pan in a single layer. Leave it alone for 4 to 6 minutes until it's well browned on that first side. Well-browned chicken usually releases from the pan on its own; if a piece is still stuck when checked, give it another minute rather than forcing it.
Flip and deglaze. Turn the chicken, pour in the sauce without the cornstarch mixture, and bring it to a boil, scraping up the browned bits stuck to the pan bottom as it heats.
Simmer to a safe temperature. Reduce to a lively simmer, meaning bubbles break across the whole surface rather than just around the edges, and cook for 5 to 10 minutes. Check the thickest piece with a food thermometer, aiming for the center rather than near the bone. 165°F is the safe minimum; some cooks push thighs closer to 175°F for a firmer bite, but that's a preference, not a requirement.
Remove the chicken before thickening. Transfer it to a cutting board with tongs, then reduce the heat to medium. Pulling the chicken out first keeps it from sitting in the pan any longer than it needs while the sauce catches up.
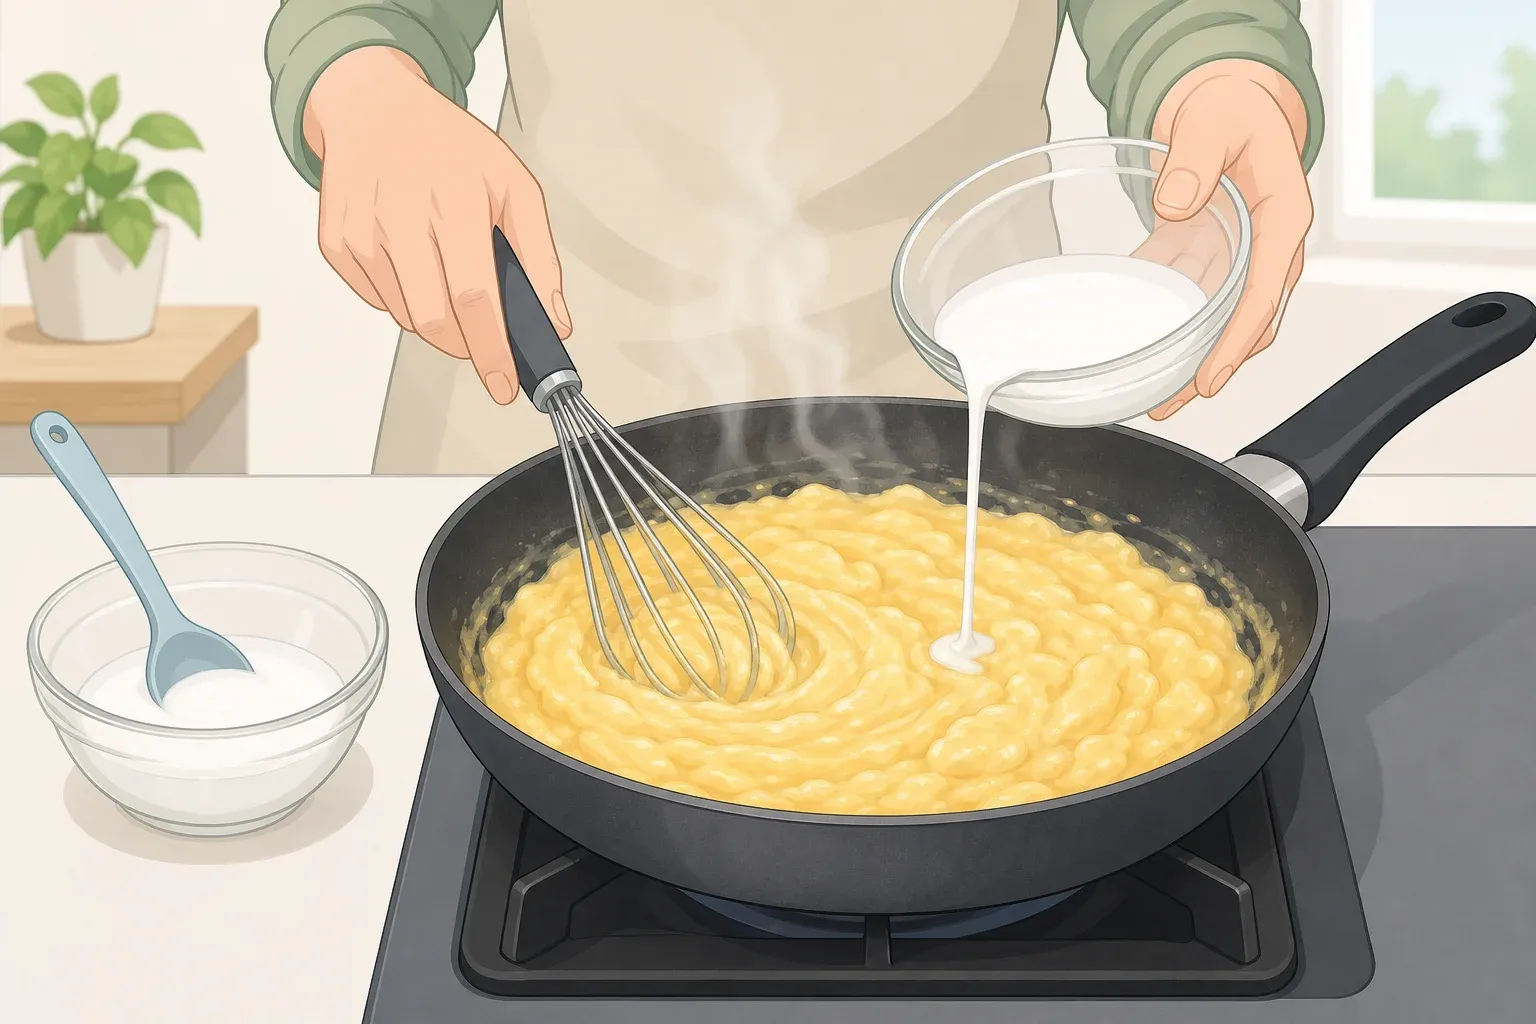
Thicken the sauce separately. Whisk the reserved cornstarch slurry again, pour it into the simmering sauce, and stir constantly until it turns glossy and coats the back of a spoon, about 30 seconds. It thickens fast at this stage; pull it off the heat as soon as it coats a spoon, since another minute or two can turn it gluey instead of glossy.
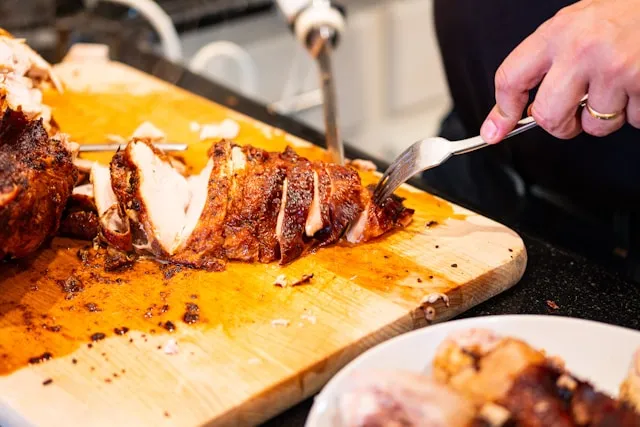
Slice and sauce. Cut the chicken crosswise into strips about ½ inch wide, arrange them in a shallow bowl, and pour the sauce over the top. Garnish with sliced scallion and sesame seeds if desired.
One mistake to avoid: pouring the sauce in before the chicken has actually browned. Browning first gives the sauce those browned bits to dissolve into; skip that step, and the sauce misses out on the flavor it depends on.
Alternative: thin-sliced chicken with a faster sauce
Bon Appétit's version takes a related skillet approach with a different homemade teriyaki sauce. The chicken gets sliced thin against the grain into bite-size strips, seared undisturbed for about 3 minutes, then tossed and cooked roughly 1 minute more before the sauce, built from low-sodium soy sauce, brown sugar, cider vinegar, grated ginger, and garlic, gets poured in and scraped up with the browned bits.
Cornstarch appears in the ingredient list, but the published steps don't spell out exactly when it goes in, unlike The Kitchn's separate slurry method. The sauce reduces to a glossy thickness in about 3 minutes of simmering, and the whole dish comes together in about 15 minutes.
If only regular soy sauce is on hand instead of low-sodium, cut the amount to ⅓ cup so the sauce doesn't turn too salty.
Treat this as its own recipe, not a shortcut version of the whole-thigh method above; the seasoning profile and cut of chicken are different enough that mixing timings between the two will burn one or dry out the other.
Adjustments, troubleshooting, and planning ahead
For whole thighs, thickness varies piece to piece more than it does with thin strips, so lean on a thermometer rather than the clock. Strips cook in a fraction of the time and dry out fast if simmered as long as whole thighs need.
When something's off in the pan, a few fixes usually solve it:
Sauce too thin: give it another minute of simmering after the slurry goes in, rather than adding more cornstarch. The Kitchn's slurry thickens in about 30 seconds once it hits a simmer, so check often; an extra minute at high heat can push it from glossy to gluey.
Sauce too thick: loosen it with water, a teaspoon at a time, until it pours easily again.
Sauce too salty: thin it with a splash of water rather than adding more sugar; next time, cut back on the soy sauce or switch to a low-sodium version.
Sauce scorching during a long reduction: if making the reduced glaze below, lower the heat and stir more often, since a sugar-heavy sauce can catch on the pan bottom over 20 minutes. If it starts smelling burnt, pull it off the heat rather than trying to stir through it.
Sauce thickened before the chicken finished cooking: pull the chicken, finish it gently in a covered pan on low heat until it reaches 165°F, then rewarm the sauce and recombine.
Chicken browned too fast or stuck to the pan: lower the heat slightly or cook in batches so the pieces aren't touching; crowding the pan can make browning harder.
For deeper flavor, marinate the chicken 30 minutes up to a full day in the refrigerator before cooking, turning it occasionally. Keep raw chicken covered and refrigerated while it marinates, never left out at room temperature.
For the reduced Japanese-style glaze, make it in its own saucepan on a day with a spare 20 minutes, then spoon it over the cooked, sliced chicken instead of building it in the same skillet.
Finishing up
A finished plate should show chicken sliced into strips, coated in glossy sauce, and confirmed done with a thermometer reading of at least 165°F at the thickest point, not by color or time alone. There's extra sauce left over for spooning across rice. Serve with steamed rice and broccoli, or swap in spinach ohitashi or a quick vegetable stir-fry.
Refrigerate leftovers in an airtight container. Budget Bytes recommends using them within 3 days or freezing for up to 3 months, while The Kitchn's version holds for up to 4 days refrigerated. When in doubt, go with the shorter window.
The Kitchn's raw sauce base, mixed but not yet cooked, can also sit in a sealed container at room temperature for up to 5 days, with the cornstarch portion added right before cooking. That guidance is specific to this base; the reduced teriyaki glaze covered above is cooked first and better suited to the refrigerator instead. If there's any doubt, refrigerating the mixed sauce is the more cautious choice.
For better texture, reheat leftovers gently in a covered skillet over low heat rather than blasting them on high.




Comments
Be the first, drop a comment!