



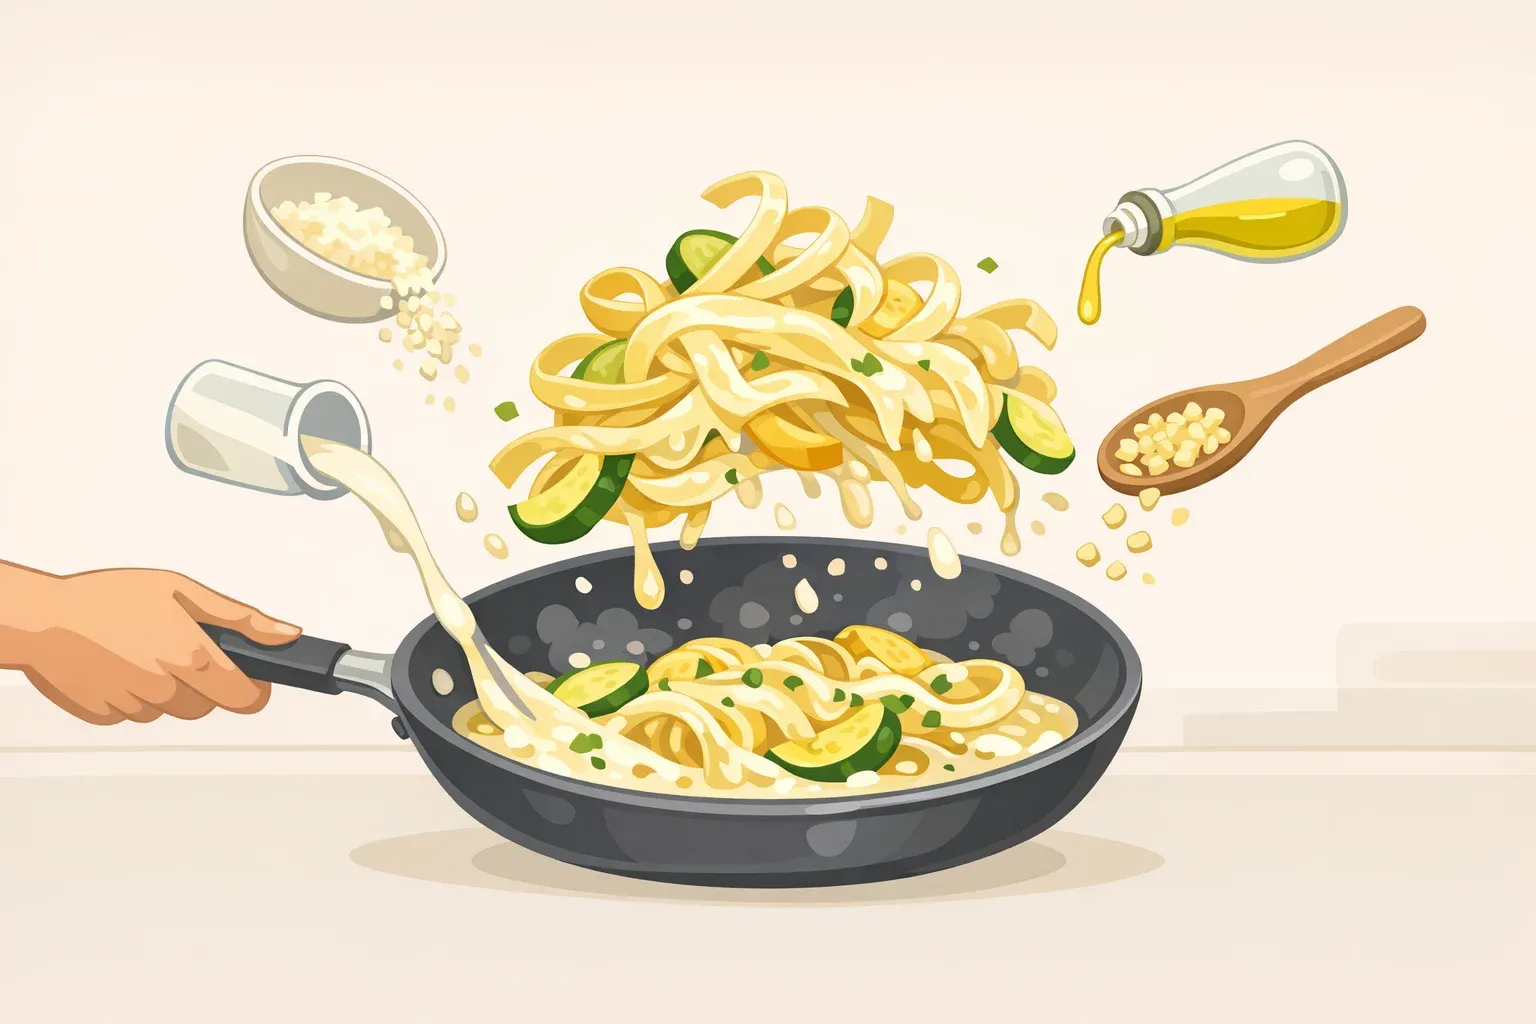
Garlic parmesan summer squash pasta recipe: 3 technique decisions that make it work
This garlic parmesan summer squash pasta recipe produces four servings in 30 minutes with no cream, no complicated technique, and a genuinely silky result. It's also easy to ruin. Done carelessly, the squash goes watery, the cheese clumps, and the sauce turns greasy.
The difference comes down to three decisions: how you handle the Parmesan, how you cook the squash, and whether you know how to rescue the sauce if it starts to break. This guide walks through each one and tells you exactly what to look for so you know you're on track.
The core ingredients are 16 oz. of spiral pasta, about 1½ lbs. of squash, 4 tablespoons of unsalted butter, 5 garlic cloves, and 1 oz. of finely grated Parmesan as the initial coating, plus more for serving (Delish published this recipe this week). Those proportions matter: there's a lot of squash relative to pasta, which means the vegetable needs to cook correctly or it drags the whole dish toward soft and wet.
Before you start: You'll need a large skillet, big enough to hold the squash in a single layer, or plan to cook in two batches. A pasta pot. A box grater or microplane for the Parmesan canister-grated cheese won't melt cleanly into the noodles.
Before you cook: squash selection, prep, and pasta shape
The squash and pasta you buy set the ceiling for this dish. Neither choice is complicated, but both reward a few seconds of attention.
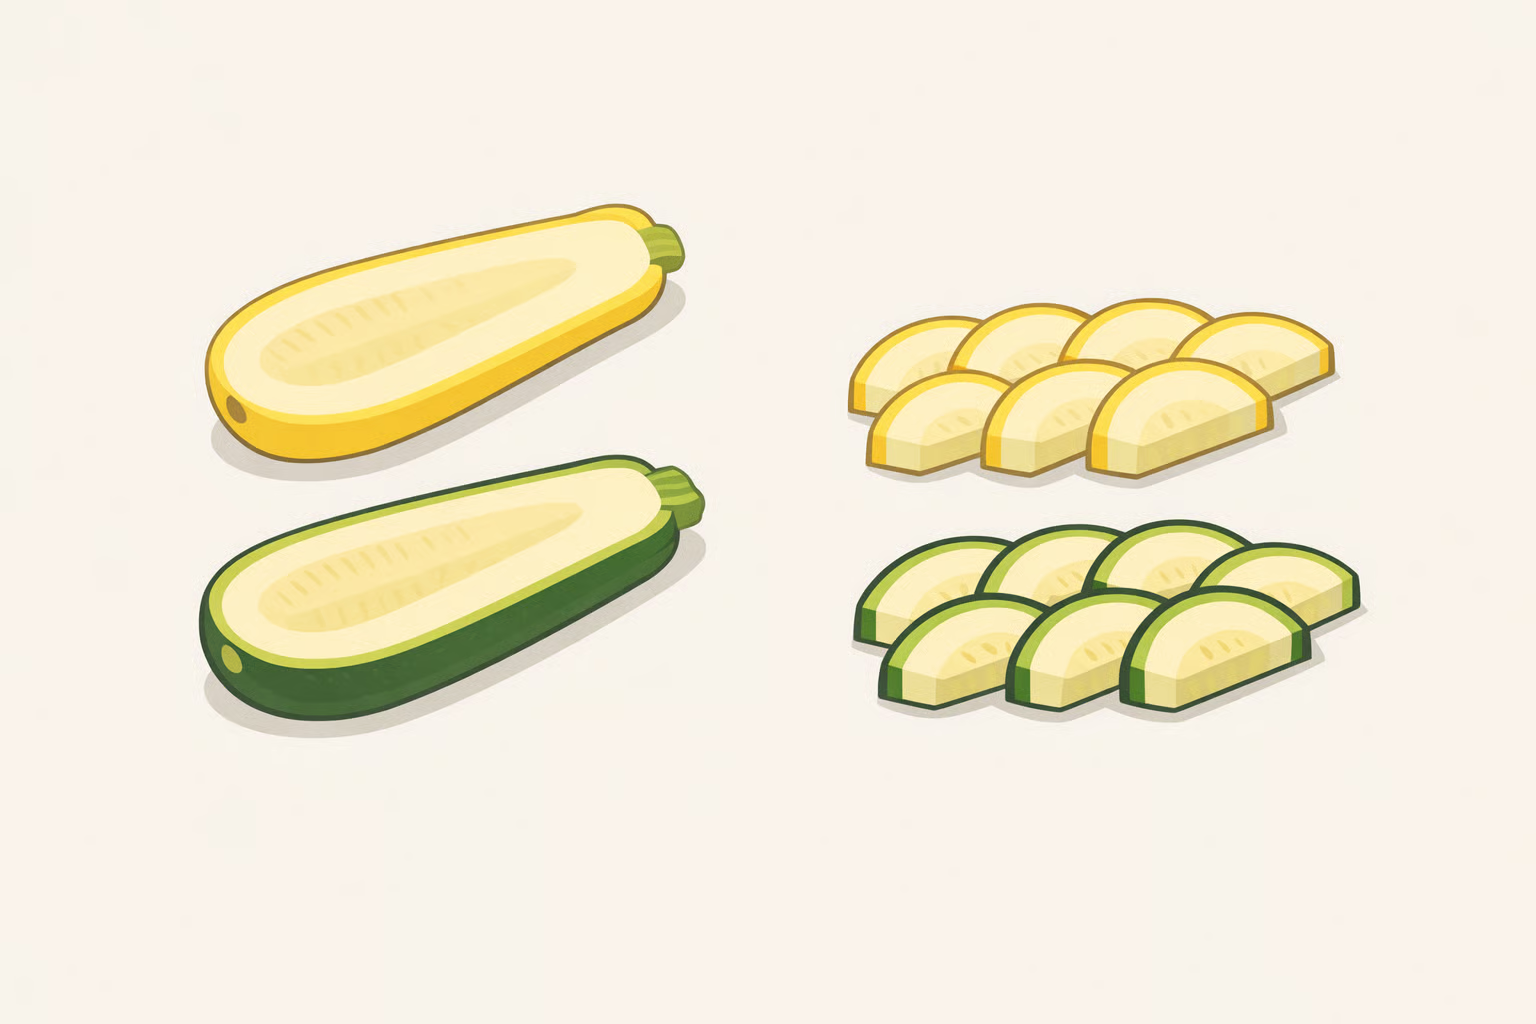
Squash. Choose small zucchini and yellow summer squash, nothing wider than about two inches in diameter. Smaller squash have more flesh relative to seeds, which produces better texture and a cleaner sauce. Serious Eats' Nerano recipe makes the same point: smaller zucchini have fewer and tinier seeds, more flesh throughout, and produce a smoother result in the pan. A separate Serious Eats piece on stewed summer squash puts it plainly: squash picked small and in season is denser, more flavorful, and less seedy than larger off-season specimens. Both were published earlier this month. Aim for about 1 lb. yellow squash and 8 oz. zucchini combined (Delish).
Slice both into ¼-inch half-moons. That thickness is deliberate: thin enough to cook through in about 10 minutes, thick enough to hold a soft interior while the flat cut face picks up color (Delish).
One thing that's easy to skip: squash grows close to the ground and grit gets lodged in the skin. Scrub each piece under running water before slicing. Skipping this produces an unpleasant crunch in the finished dish Serious Eats flags it as a common oversight for exactly that reason.
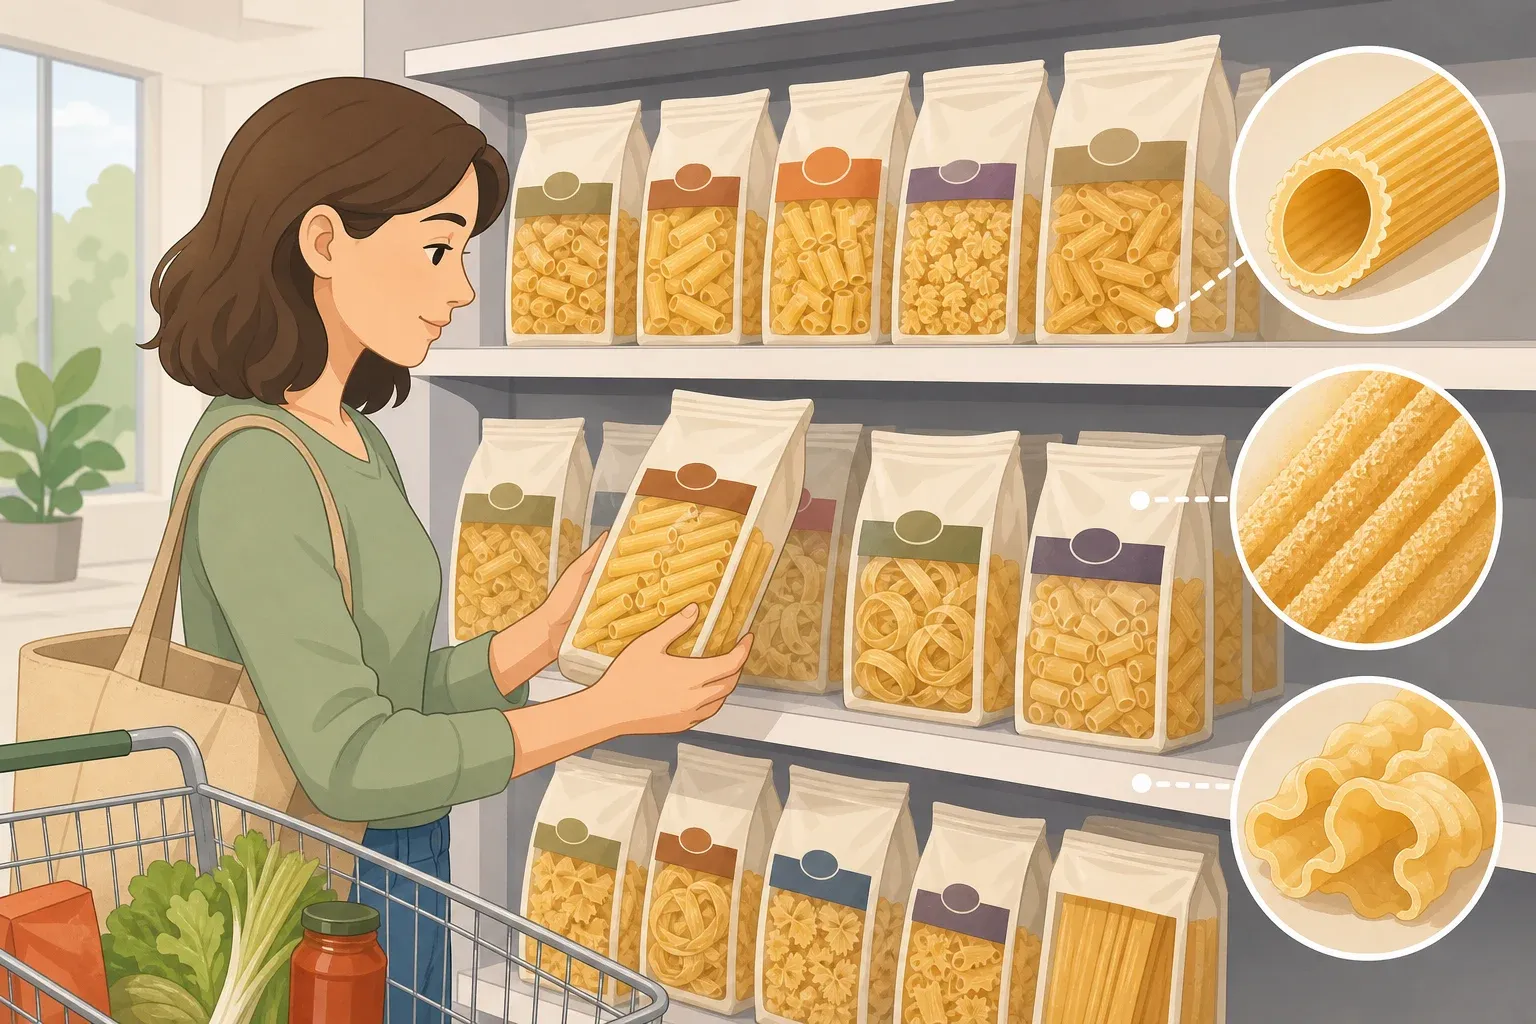
Pasta. Use a spiral shape fusilli corti, fusilli, or cavatappi. Delish notes that spiral pasta works especially well with the shape of the squash pieces; similar sizes and shapes toss together evenly and the sauce settles into every curve.
How to make this garlic parmesan summer squash pasta without a watery sauce
These steps are sequenced to manage temperature and timing. Cook the pasta first; let it cool slightly while the squash cooks. Assembly happens warm, not piping hot, not cold.
Step 1: Cook the pasta, then coat it immediately with Parmesan.
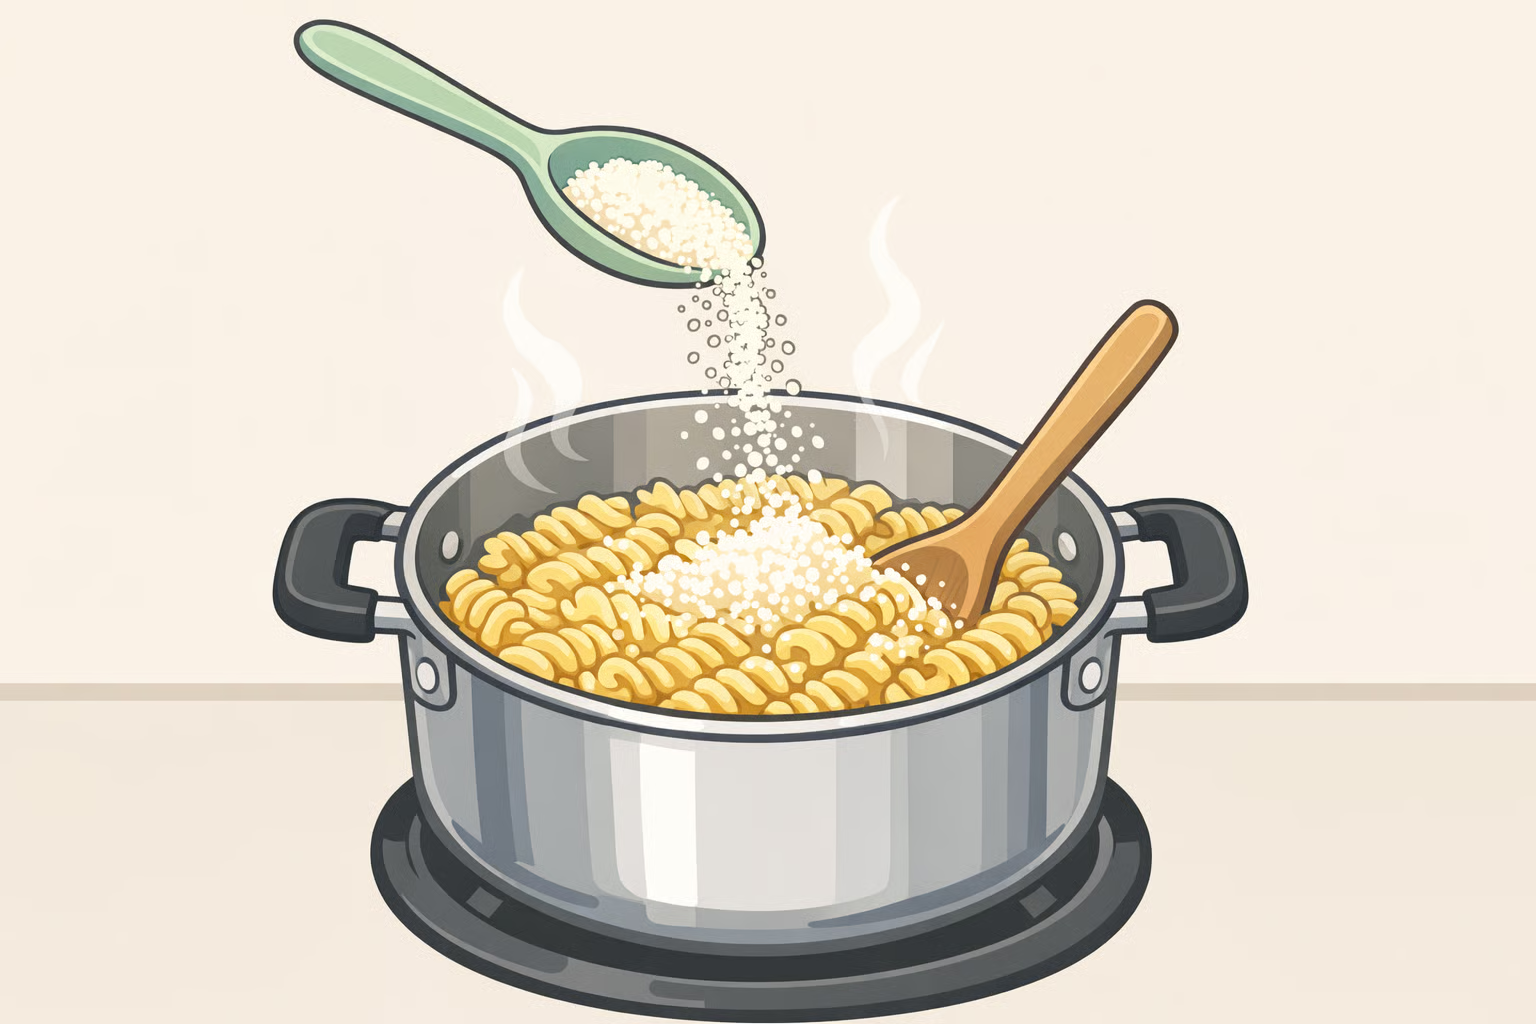
Boil 16 oz. of spiral pasta in generously salted water until al dente. Before draining, scoop out at least ½ cup of pasta water and set it aside where you won't accidentally dump it. Drain the pasta, return it to the pot, and fold in 1 oz. of finely grated Parmesan while it's still hot.
The heat melts the cheese directly onto each noodle, building a base layer that seasons the pasta from the inside out and gives the sauce something to grip at assembly (Delish). Set the pot aside. Cooking the pasta first gives it time to cool slightly while the squash cooks; you want it warm at assembly, not steaming.
Look for Parmesan that's fully melted with no visible dry patches. If you see dry spots, toss again they'll rehydrate with the residual heat.
Clumping gotcha: Cheese clumps when the pasta has cooled too much before you add it, or when the Parmesan isn't grated finely enough. Grate it fine, add it immediately after draining, and fold rather than stir.
Step 2: Brown the squash don't steam it.
This is the decision most home cooks get wrong. The result of getting it wrong isn't subtle: watery, limp squash with no real flavor, dragging the whole bowl down with it.
In your large skillet over medium-high heat, melt 4 tablespoons of unsalted butter. Wait until it starts to bubble and turn lightly brown that's the water cooking off and the milk solids beginning to toast. Add the squash in a single layer. Use a big enough skillet to avoid crowding, or cook in two batches; that's what ensures each piece picks up golden color rather than steaming in its own released moisture (Delish). Stir only occasionally and cook until the pieces are tender and the cut faces show light golden color, roughly 10 minutes total.
You're looking for flat cut faces with even, pale gold color. Not dark brown, not pale and glistening. The pieces should hold their shape but yield easily when pressed with a spoon.
Once the squash is golden, add 5 grated garlic cloves and stir constantly for about 1 minute until fragrant, then season with 1 teaspoon kosher salt and pull the pan off the heat (Delish). Garlic scorches fast; keeping it moving and pulling the pan off direct heat keeps it aromatic rather than acrid.
Step 3: Assemble the sauce, and know how to fix it if it breaks.
Transfer the Parmesan-coated pasta to a large serving bowl. Pour the squash and garlic mixture over the top and toss to combine. The pasta should be warm enough that everything comes together loosely the cheese coating and buttery squash juices do most of the work (Delish).
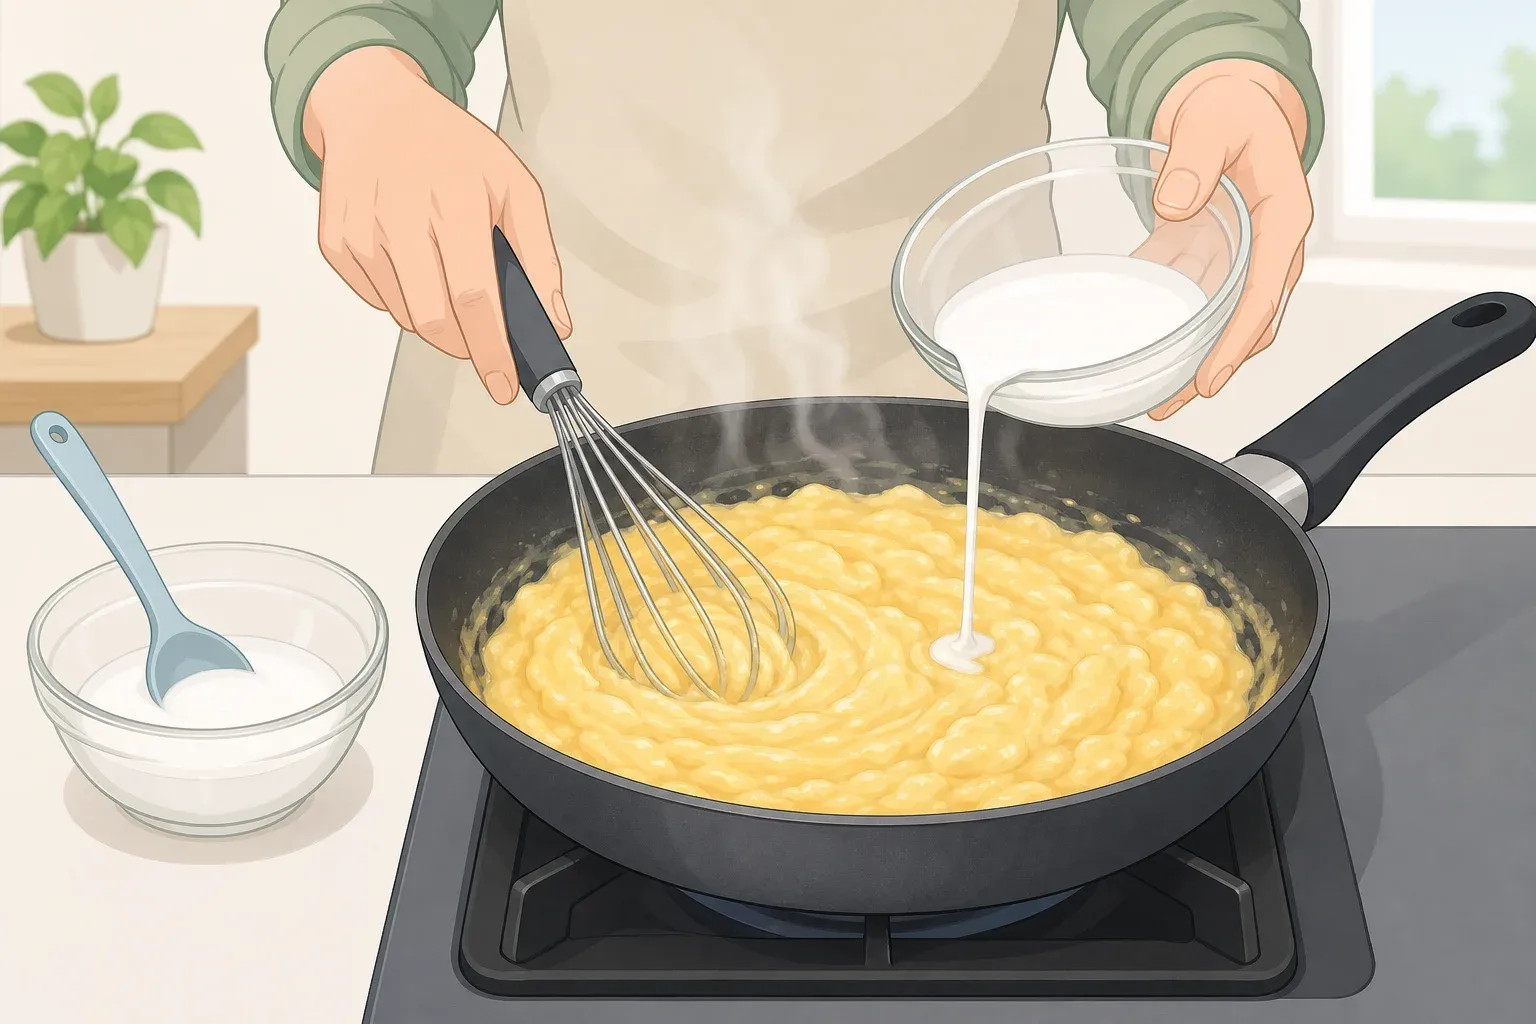
If the sauce looks oily or greasy rather than cohesive, add the reserved pasta water in small increments, tossing vigorously after each addition. The starch in the water helps bind the fat and cheese into a coating rather than a slick layer on top. Serious Eats' creamy garlic pasta, published last November, describes the same fix for a pan that turns oily: add pasta water a quarter cup at a time, tossing and stirring constantly until the sauce pulls together.
A quick note on two approaches to this style of pasta: the Delish method coats drained pasta with cheese off heat, then tosses it with the squash mixture at assembly. More technique-intensive preparations Serious Eats' Nerano being the clearest example add cheese only after the pasta has been worked in the pan with pasta water and vigorous agitation, stirring rapidly until the sauce emulsifies and clings to each strand. Both produce good results. The Delish assembly is simpler and more forgiving; the pan-sauce method produces a tighter, more cohesive coating but is less tolerant of timing errors. For a weeknight dinner, the toss-and-serve approach is the right call.
Done when the pasta is evenly coated, no butter has pooled at the bottom of the bowl, and the squash is distributed throughout. Shiny is fine; greasy is not.
Finish by scattering 2 tablespoons each of finely chopped fresh basil, mint, and chives over the top and toss once more (Delish). The herb combination cuts through the richness and keeps the dish tasting like summer. Add more grated Parmesan at the table.
Common failure modes and how to fix them
Each of the three steps above has a predictable failure mode. Here's what goes wrong and why.
Clumpy, gritty cheese. Almost always a temperature problem. The pasta needs to be hot when the Parmesan goes in, and the cheese needs to be finely grated. Coarse cheese and lukewarm pasta are a reliable path to visible clumps that don't melt back out.
Pale, wet squash. A crowded pan is the culprit. When the squash doesn't have room, the temperature drops and the pieces steam in their own moisture rather than browning. The fix is a larger pan or two separate batches, not higher heat. Golden color on the cut faces is the visual cue you're looking for.
Greasy finish. This happens when the fat and cheese haven't emulsified. Add pasta water in small increments while tossing vigorously, as described in Step 3. Small additions with aggressive tossing are what pull a broken sauce back together dumping in a large amount at once won't help.
Over-salted finish. The recipe calls for generously salted pasta water, which is correct, but the squash also gets a full teaspoon of kosher salt at the end (Delish). Taste before adding extra Parmesan at the table; the dish can tip salty quickly if the pasta water was particularly heavy.
Serving, storage, and what actually reheats well
This buttery garlic parmesan pasta works at room temperature just as well as it does hot Delish recommends either. That makes it a practical option for packed lunches or next-day meals without any extra effort.
Leftovers keep in an airtight container for up to 3 days in the refrigerator (Delish). The pasta absorbs the sauce as it sits, so add a small splash of water before warming gently on the stove or in the microwave. It loosens back up without going soupy.
The trade-off is worth naming if you're deciding how much pasta-water work to do at assembly. More intensively emulsified garlic-Parmesan sauces the kind built with active agitation in a hot pan don't store as well. Serious Eats notes their creamy garlic pasta is best served immediately; the sauce tightens and separates as it cools. The looser toss-and-serve method suits anyone who wants to cook once and eat twice.














Comments
Be the first, drop a comment!