


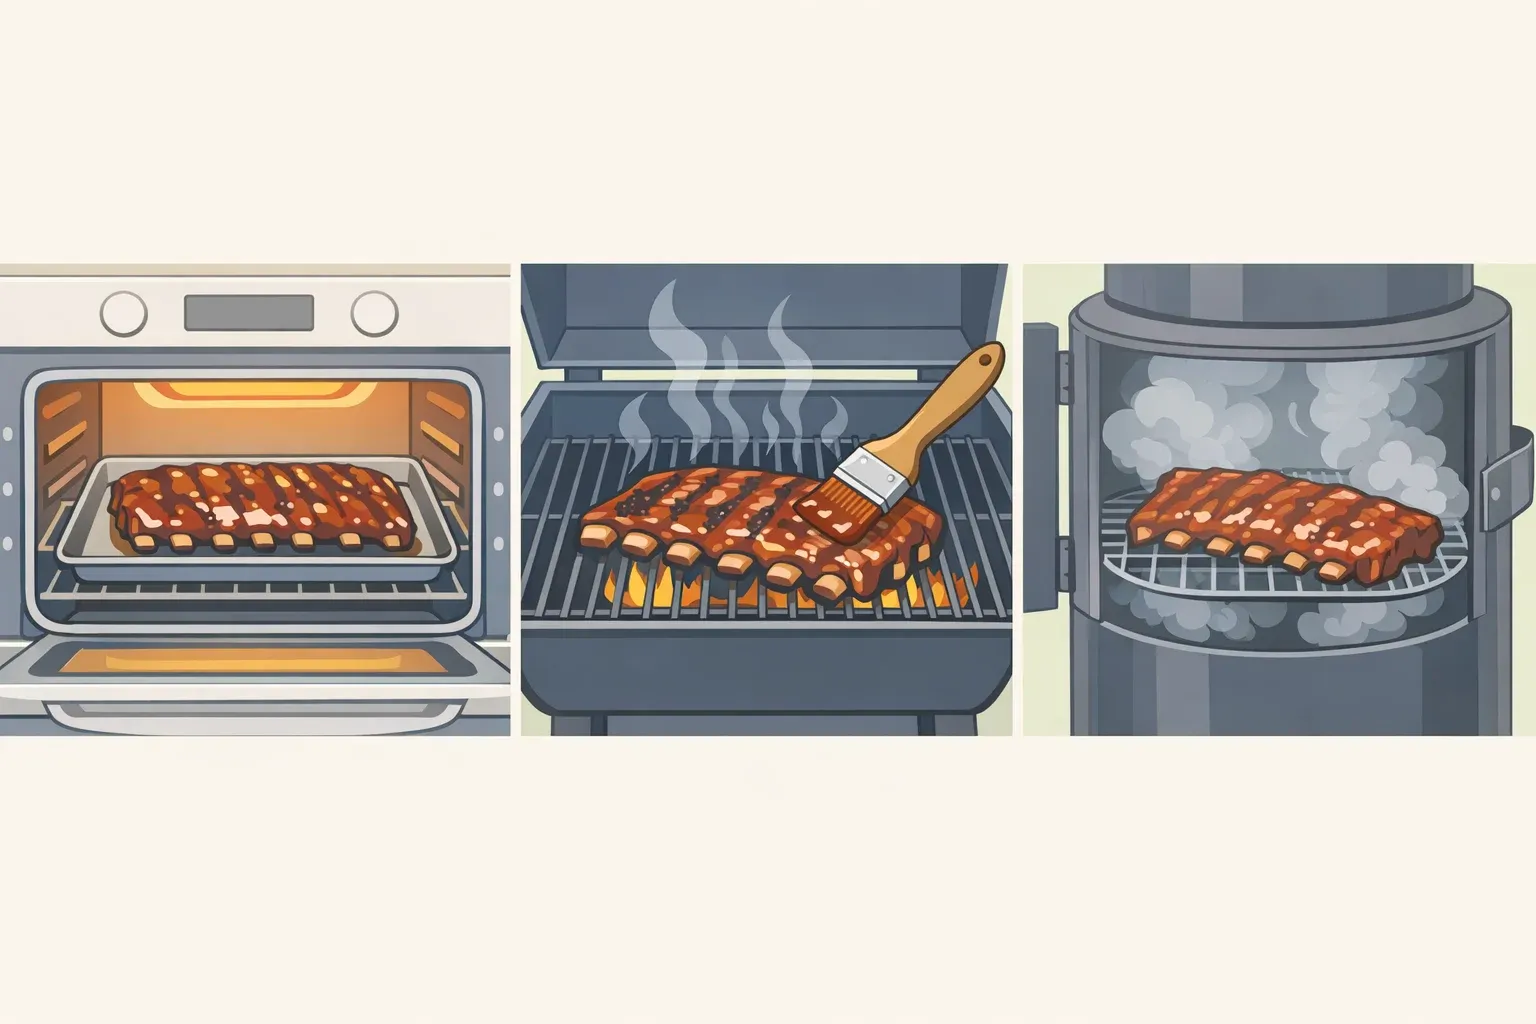
Ask two chefs how to cook fall-off-the-bone ribs, and you'll get two different setups built on a similar two-stage idea: cook the ribs low and gentle until tender, then blast them briefly over high heat to set the sauce. Mika Leon, the Food Network star known for her modern take on Cuban cooking, gets there by braising covered in the oven, then finishing on a hot grill. Toni Chapman, the cookbook author behind @TheMoodyFoody, gets there by grilling over indirect heat first and finishing over direct flame.
Where they part ways is texture. Leon braises hers "until they're fall-apart tender." Chapman wants something firmer, meat that's "juicy, flavorful, and pulls cleanly from the bone without falling apart." Barbecue Bible describes a competition-style clean bite as one that leaves a visible tooth mark while the rack still holds together.
By that standard, the fully fall-apart texture Leon describes would count as overcooked in competition circles, though it's exactly what plenty of home cooks want. Decide which one you're after before you start: clean-bite ribs hold their shape when sliced and served; fall-apart ribs collapse the moment a fork touches them.
This guide builds its main method around The Kitchn's tested oven procedure: dry rub, a quick broil, then a long slow bake. It also covers Leon's braised version for anyone chasing her softer result, an America's Test Kitchen gas-grill recipe for cooking outdoors, and the 3-2-1 smoking method for readers who deliberately want fall-apart ribs. No smoker or specialty grill is needed for the base oven method, just a rimmed baking sheet and a wire rack.
Before you start: choose your route and gather what you need
Start with the method that matches your equipment and the texture you're after:
Cooking indoors, want a reliable clean-bite result: the oven method below.
Want Leon's softer, fall-apart braise: the braised variation.
Cooking outdoors on a gas grill, want exact amounts: the America's Test Kitchen method.
Using a dedicated smoker, want deliberately fall-apart ribs: the 3-2-1 method.
The oven route is the most predictable and works regardless of weather. Grilling or smoking over indirect heat takes longer and depends more on your equipment and the day's conditions, but it adds real smoke flavor the oven can't replicate.
The cut you buy changes timing either way. St. Louis-style racks are trimmed into a neat rectangle and are meatier and thicker. Baby backs are smaller, leaner, and cook noticeably faster.
For the oven method, gather:
4 to 5 pounds of pork spareribs or baby back ribs
¼ cup Dijon mustard
1 to 2 teaspoons liquid smoke (optional)
1 cup dry rub
1 cup barbecue sauce, plus more for serving
Heavy-duty foil, a rimmed baking sheet, and an oven- and broiler-safe wire cooling rack that fits inside it
A broiler
Before seasoning, check the back of the rack for a thin, papery membrane over the bones. Loosen an edge with a spoon, then grip it with a paper towel and peel it off in one piece. Some butchers remove this already, so if yours slides off with almost no resistance, it's likely already gone, and you can skip ahead. Removing it helps the underside turn more tender and helps the seasoning contact the meat directly.
On yield: two racks of baby backs feed four to six people, while a single 2½- to 3-pound sparerib rack feeds three to four. Active prep runs about 20 minutes. Add a 5-minute broil to brown the rub, then 1½ to 2 hours in the oven for baby backs or 2½ to 3 hours for spareribs, plus a 10-minute rest before slicing. A meat thermometer isn't required for this method; the checks below rely on how the meat feels, not a single number.
This is a beginner-friendly project. The skill it demands is patience, not technique.
Fall-off-the-bone ribs in the oven: broil, bake, then glaze
Season the ribs. Stir the mustard and liquid smoke together, if using, and brush both sides of the racks. Sprinkle dry rub over the ribs and pat gently so it adheres, with no bare patches. Line a rimmed baking sheet with foil, set the wire rack on top, and lay the ribs in a single layer so heat can circulate around them.
Broil briefly to brown the rub. Position an oven rack a few inches below the broiler element and broil the ribs about 5 minutes, until the sugar in the rub is bubbling and the ribs are evenly browned. This happens before the long bake, not at the end, so don't mistake the browning here for doneness.
Bake low and slow. Set the oven to 300°F. Bake 1½ to 2 hours for baby backs or 2½ to 3 hours for spareribs, and treat that range as a starting guide, not a deadline. Halfway through, cover the ribs with foil to keep them from drying out. Near the low end of the time range, slide a knife into the thickest part of the meat. It should meet little resistance.
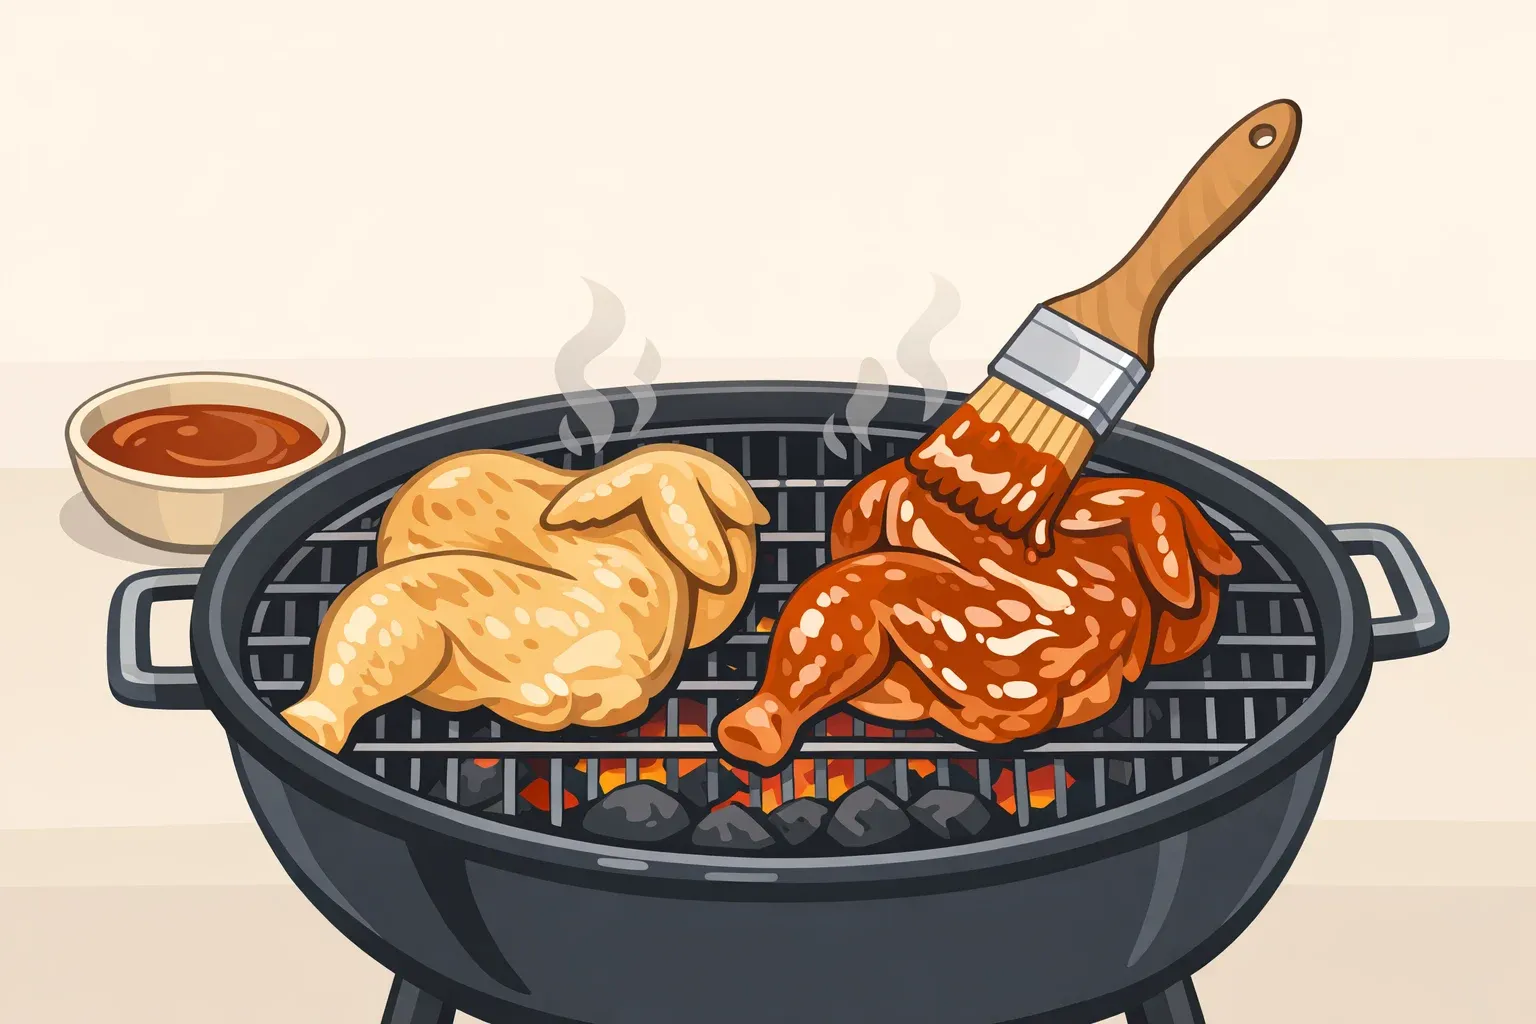
Sauce and finish the bake. About 30 minutes before the end of cook time, brush the ribs with barbecue sauce, re-cover with foil, and continue baking.
Optional: finish under the broiler for char. Both chefs described finishing their ribs at high heat for a caramelized, lightly charred glaze. That step isn't part of The Kitchn's tested procedure, but it's an easy way to borrow the effect indoors. After saucing in step 4, skip re-covering and slide the ribs back under the broiler for a couple of minutes instead of continuing the bake. Use an oven- and broiler-safe pan, keep any loose foil tucked away from the heating element, and don't step away; barbecue sauce sugar burns quickly. Pull the ribs the moment the sauce bubbles into a glossy glaze with light char at the edges, not blackened patches.
Rest and slice. Handle the ribs gently once they're tender; they tear easily. Let them rest, covered, about 10 minutes, then cut between the bones.
The oven won't give you actual wood smoke. To add a hint of that character, stir extra smoked paprika into the rub, or add up to a teaspoon of liquid smoke to the mustard mixture in step 1. Despite how it sounds, liquid smoke is a natural product made from burning hardwood, not an artificial additive.
Braised ribs finished on the grill: Leon's version
If you'd rather follow Leon's approach directly, the setup changes more than the seasoning. Skip the wire rack and the initial broil. Season the ribs the same way, then lay them in a single layer in a roasting pan or sturdy baking dish, the equipment Leon herself reaches for, and pour in a flavorful braising liquid before covering the pan tightly with foil.
Leon's own version is a Cuban-inspired mojo of garlic, citrus, oregano, and cumin with a splash of hot sauce, which she says brightens the braise without overpowering the meat. Braise at 300°F for 2 to 3 hours, until the meat is fall-apart tender, by her description, softer than the clean-bite standard the oven method above is built around.
From there, skip the oven-broiler finish entirely. Transfer the ribs to a hot grill, brush with barbecue sauce, and let it caramelize until the edges char, the same high-heat move Leon says she never skips, since it sets the sauce quickly without overcooking the meat underneath.
This is Leon's described technique, not a tested recipe with fixed liquid amounts. Treat the braising liquid quantity and the exact grill time as something to judge by how easily the meat pulls from the bone, not a locked formula.
Low and slow ribs on the grill or smoker
Chapman's own setup starts with a charcoal or gas grill arranged for indirect heat, which she says gives her the best control over temperature while adding real smoke flavor. She cooks the ribs over indirect heat for several hours until tender, then moves them to direct heat to caramelize the sauce into a sticky glaze. That's her described approach, without fixed times or temperatures attached. For readers who want exact numbers, here's a separate, fully tested procedure built on the same indirect-then-direct idea.
America's Test Kitchen tested a gas grill method for two 2½- to 3-pound racks of St. Louis-style spareribs, rubbed with a mix of kosher salt, gochugaru, toasted sesame seeds, brown sugar, pepper, and granulated garlic:
Light one burner and place a foil packet of 2 cups of oak, hickory, or pecan wood chips directly over the flame, leaving the other burners unlit to create an indirect zone
Adjust the lit burner to hold the grill around 350°F, set the seasoned racks over the unlit side, cover, and cook 1 hour
Continue cooking 3 to 4 hours longer, rotating the racks periodically for more even cooking
Once the meat is cooked through, whisk together a glaze of ¼ cup gochujang, ¼ cup soy sauce, ¼ cup brown sugar, 2 tablespoons ginger ale, and 2 tablespoons toasted sesame oil, and brush 3 tablespoons over the meaty side of each rack
Rest the ribs 20 minutes, then cut between the bones and serve, passing the remaining glaze at the table
Total time runs about 4¾ hours plus the 20-minute rest, serving 6 to 8. Grill models vary enough that the clock is a starting point, not a guarantee, so judge doneness by tenderness (America's Test Kitchen). This timing is specific to two full racks of St. Louis-style ribs on a gas grill; a smaller batch, baby backs, or a charcoal setup will run on a different schedule.
Working on a dedicated smoker instead? Traditional low-and-slow smoking runs cooler, generally 225°F to 275°F, over several hours. Cut-based estimates at 300°F put baby backs around 3 hours and St. Louis-style racks around 4½ hours, and cooler, windy, or rainy weather stretches those times further through heat loss.
Smoker owners chasing a deliberately soft, fall-apart texture often reach for the 3-2-1 method. Preheat the smoker to 225°F, then cook the seasoned ribs unwrapped for 3 hours, until the internal temperature reaches 160°F to 165°F, the point often called the stall.
Wrap tightly in foil and cook 2 hours more for St. Louis ribs or spareribs, until the meat reaches 195°F to 205°F; baby backs cook faster, so adjust to a 2-2-1 or 3-1-1 schedule instead. Unwrap and cook 1 final hour to let the glaze set, then rest 5 to 15 minutes.
The 195°F end of that range lands closer to fork-tender, while 205°F gives a fully melty, fall-off-the-bone finish. If you're after a firmer, clean-bite texture rather than fall-apart, check for tenderness with a fork partway through the final hour rather than cooking straight through to 205°F.
Doneness at a glance
Knife-slide test, best for oven ribs: a knife slips into the thickest meat with little resistance. That's the cue to stop cooking, not a fixed bake time.
Safety and texture are two different numbers. USDA guidance calls for holding pork at a minimum internal temperature of 145°F for 3 minutes, a food-safety threshold, not a tenderness target. Ribs pulled right at 145°F will still be tough. Smokers chasing a fall-apart texture push higher, to 195°F to 205°F, a benchmark used by the cited smoking guide, but that range only applies if fall-apart is the goal. For the oven method above, trust the knife-slide test over any specific number.
Troubleshooting: how to make tender ribs when something goes wrong
Tough after the full bake time: if the meat is still resistant, continue cooking covered and check again with the knife-slide test rather than raising the oven temperature.
Ribs shredded or slid off the bone: they went past clean bite. Next time, start checking at the low end of the bake range and lean on the knife-slide test instead of the clock.
Dry edges: possible causes include foil that isn't sealed snugly, or foil that comes off too early. Cover more securely at the halfway mark next round.
Scorched sauce: barbecue sauce sugar burns fast under a broiler. Brush a thin layer, watch it the entire time, and pull the ribs the moment the glaze sets.
Finishing up
Let the ribs rest 5 to 15 minutes before cutting so the juices redistribute, then slice between the bones.
Leftovers keep in an airtight container in the fridge for up to 4 days. For reheating, a low, covered oven with a splash of liquid in the pan generally keeps the meat from drying out on the way back to the table.
Comments
Be the first, drop a comment!