



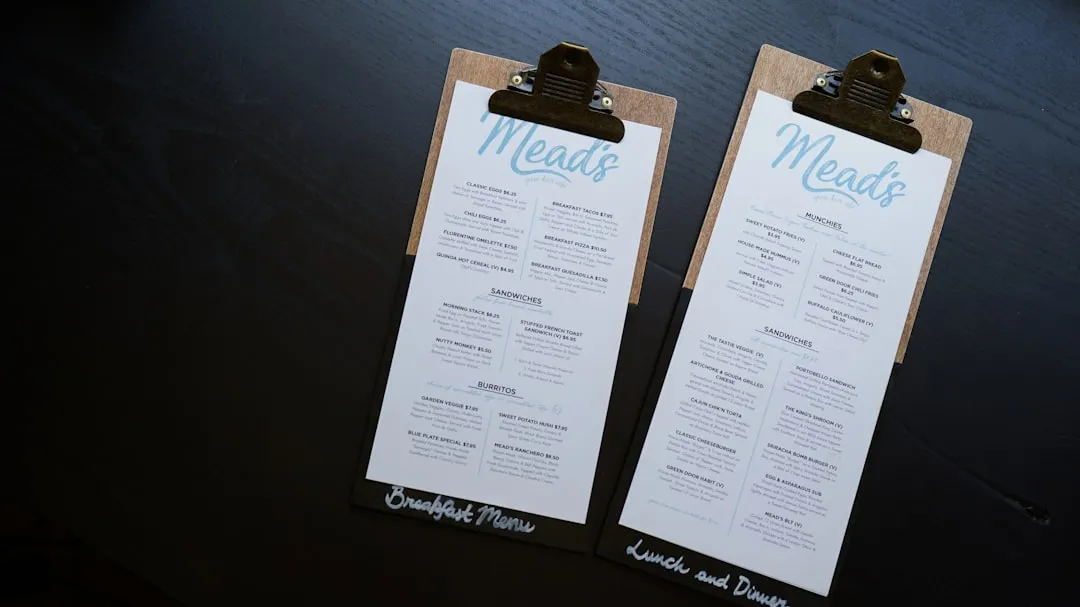
This guide walks through item-level and package-level contribution margin, meaning price minus recipe cost, packaging cost, a labor estimate, and any channel fee. It does not calculate full restaurant net profit. Rent, fixed overhead, and labor that isn't tied to a specific order sit outside this math entirely. Call a finished package "contribution-positive," not "guaranteed profitable," until those numbers are pulled from your own P&L.
Learning how to create a high-margin holiday menu starts with a useful menu-engineering premise: two restaurants with similar kitchens, suppliers, and customer counts can still finish the month with materially different margins because of item mix and pricing. Menu engineering is one way to test whether item mix, packaging, and pricing are behind that gap. It won't prove ingredients or design don't matter; it just checks the pieces an operator actually controls.
A survey of 1,010 US adults, conducted in November 2023, suggests why holiday ordering is worth testing at all: 63% planned to eat out during the holidays and 48% planned to order takeout or delivery, and among those ordering out, 66% expected to buy their entire meal from a restaurant, according to the National Restaurant Association. In separate questions from that same survey, respondents reported purchase intent by course: 89% for mains, 86% for sides, 74% for appetizers, and 63% for dessert.
Those are two different signals, general willingness to outsource the whole meal and course-by-course intent, and neither one proves a specific combination of dishes will sell in a given market. The survey is nearly three years old, so treat it as a directional signal rather than a measurement of current demand.
Before you start: gather your numbers and know the formulas
Ranking dishes by what they actually contribute, not by how popular they feel on the floor, is the core of holiday menu engineering. Before touching a spreadsheet, pull the actual documents. Chasing formulas without them just produces guesses dressed up as math.
POS export by item and channel, at least four weeks
current recipe or spec sheet for every candidate item
most recent supplier invoices, not last season's quotes
packaging invoice, itemized by container type
delivery-platform commission schedule
staff wage and burden rate for packing labor
order-cap or station-throughput record from a comparable past rush
local health-code requirements for hot-hold, cold-hold, and labeling
With those in hand, build a worksheet with one row per item and channel combination: item, channel, sell price, recipe cost, packaging cost, pack labor, channel fee, dollar contribution, and contribution percentage.
Here's a hypothetical row using the pickup-versus-delivery numbers worked out later in this guide. None of this reflects real sales data; it only shows the cost and channel math.
Pickup: $23.75 selling price; $11.70 recipe cost; $1.35 packaging; $1.20 pack labor; $0 channel fee; $9.50 contribution; 40% contribution margin.
Delivery: $47.50 selling price; $11.70 recipe cost; $1.35 packaging; $1.20 pack labor; $14.25 channel fee; $19 contribution; 40% contribution margin.
Both channels clear the same 40% target here because the delivery price was built from its own floor formula, not copied from pickup. Popularity and the final release decision depend on real POS data from a real menu, not this hypothetical package; the sales-share math and release triggers below explain how to run that check once actual numbers exist.
Tableview defines contribution margin simply as selling price minus food cost. This guide runs a wider version of that idea, subtracting packaging, pack labor, and channel fees too, since those are direct costs that vary order by order during the holidays. Call that expanded number contribution after direct order costs, and use it, not the simpler sell-price-minus-food-cost figure, when sorting items into the categories below.
Food-cost percentage alone isn't the decision metric, either way. A 35%-food-cost item that contributes $15 per plate can outperform a 22%-food-cost item that contributes $4, because the dollar amount is what pays down overhead.
Popularity needs a real threshold. Divide 100% by the item count on the holiday menu to get expected sales share: an 8-item menu has an expected share of 12.5% per item. An item selling 9% of total orders has an actual-to-expected ratio of 9 divided by 12.5, or 72%, which clears the standard bar of 70% of expected share to count as popular under the Kasavana-Smith menu-engineering framework.
The contribution cutoff needs different math. Calculate each item's contribution after direct order costs, multiply it by the number of units sold, total those contribution dollars across the menu, and divide by the total number of items sold. That weighted average becomes the profitability benchmark. Compare each item's per-unit contribution against that figure rather than simply averaging the unit margins of all menu items.
Data volume matters before any of this means anything. Four weeks of POS history is a practical minimum; two weeks can work for a high-traffic venue with a stable menu, and anything shorter means reacting to noise. Without clean history, don't guess: cost a new holiday item against current supplier invoices for the closest comparable dish already in rotation, apply a conservative sales estimate below the average item's expected share, and run it as a preorder-only test with a hard quantity cap.
Know the normal range for the category before judging any single dish. Tableview cites 28% to 35% food cost for full-service restaurants, 15% to 25% for pizzerias and bars, and above 40% for steak- or seafood-led menus. Treat those as broad benchmarks, not targets that override the restaurant's own economics.
Step 1: classify existing items and channel-validate any candidate anchor
Calculate contribution after direct order costs for every candidate item and sort each into one of four categories, measured against the menu's weighted contribution benchmark: Stars (above-average contribution, high popularity), Plowhorses (below-average contribution, high popularity), Puzzles (above-average contribution, low popularity), and Dogs (below-average contribution, low popularity).
This is where you sort profitable holiday menu items by marketing instinct, using the worksheet from the setup step.
Before naming a holiday anchor, recheck any dine-in Star for pickup and delivery fit. An item can dominate the dining floor and still be a poor choice for takeout if it doesn't hold, reheats badly, or needs last-minute plating labor a delivery window won't allow. Score each candidate anchor on hold quality and packing time, not sales rank alone.
For a brand-new holiday special with no sales history, run two cost gates before it earns a menu spot. SynergySuite, a restaurant-software vendor, describes a broader three-gate governance model for multi-unit test kitchens. Treat it as one vendor's operational framework, not an industry-wide benchmark.
Gate 1: cost the dish from current supplier invoices, not a prior quote.
Gate 2: check the result against a minimum contribution-margin percentage. That threshold isn't universal; each brand sets its own minimum by category, so pick a number for each course or item type before testing begins and write it into the worksheet.
SynergySuite's example shows why Gate 1 matters. A salmon dish was costed at $4.20 using standard Atlantic salmon, while the premium Scottish salmon actually sourced for the recipe cost $6.80 per portion. In a separate example in the same vendor scenario, portion drift on a pasta dish pushed food cost from a targeted 26% to an actual 34%.
The vendor also says uncontrolled menu testing can produce food-cost spikes of 5 to 8 percentage points before items reach permanent rollout. Take the lesson, recheck pricing and portions before finalizing, rather than treating those specific percentages as a rule for a different menu.
Step 2: build the package: anchor, sides, dessert, packaging, and capacity
Build the holiday package around the channel-validated anchor from Step 1. This is where high-profit holiday menu ideas turn into an actual bundle: pairing a proven anchor with the right supporting dishes.
In separate survey questions, National Restaurant Association respondents reported purchase intent for mains, sides, appetizers, and desserts; that doesn't confirm any specific pairing will sell in a given market.
Pair the anchor with a Plowhorse side, something already popular where a small price move or recipe adjustment can protect margin, and consider a Puzzle dessert or appetizer that needs promotion rather than a Dog.
Price the actual packaging, not just the food. Cost each container by component, entrée box, side cup, dessert box, add labeling for allergens and reheat instructions, and decide whether components ship separated or combined. Confirm required wording and handling instructions with the local health authority before finalizing labels; a mis-packed or improperly labeled component is both a cost problem and a compliance risk.
Test hold and reheat before launch. Confirm each component still looks and tastes right after the expected hold time, in the exact container used for real orders. If a component fails at the standard hold time, drop it from the bundle or move it to an optional add-on rather than force it into the package.
Check prep capacity with real numbers, not assumptions. Count prep hours available per station, confirm batch sizes match expected order volume, and time how long packaging one order actually takes. If packing time per order pushes total station load past the kitchen's proven per-hour throughput from a comparable past rush, cap orders or move the item to preorder-only.
Most Dogs should come out of a peak-volume holiday package unless there's a documented strategic reason to keep one. Tableview's own framework notes an exception for low-performing items that retain a small but valuable loyal customer base. Don't carry a Dog into holiday volume by default, but don't remove one blindly if it serves a demonstrated brand or customer-retention role.
Step 3: how to price a high-margin holiday menu by channel
When a channel fee is a percentage of the sale price, use this formula:
Price floor = (recipe cost + packaging cost + labor estimate) ÷ (1 − channel fee% − target contribution margin%).
Adding a percentage fee directly to fixed-dollar costs as a flat sum does not produce a valid floor.
Here's a hypothetical worked example. An entrée, side, and dessert cost $9.00, $1.50, and $1.20 to make, for $11.70 total. Containers and labeling run $1.35. A four-minute packing estimate at an $18-per-hour labor rate adds $1.20. Direct order costs total $14.25.
Targeting a 40% contribution margin on direct pickup, where the channel fee is 0%, the price floor is $14.25 ÷ (1 − 0 − 0.40) = $23.75.
On a delivery platform charging a 30% fee, the same package needs a price floor of $14.25 ÷ (1 − 0.30 − 0.40) = $47.50, nearly double, for identical food and packaging.
The $23.75 difference is what this hypothetical 30% fee does to the required price at a fixed 40% contribution target, not a mistake in the math. Skip the channel-specific recalculation and that difference simply comes out of the item's margin instead.
Apply this same formula separately to dine-in and catering before locking one price across every channel. Use a package cleared for pickup unchanged on a 30% delivery order, and contribution collapses from 40% to about 10%.
Third-party platform pricing varies substantially by provider, market, plan, and contract. Tableview cites 25% to 35% for aggregator orders, but don't treat that as a universal commission rate. Plug the restaurant's actual contracted percentage into the formula.
Decide upfront which items are pickup or direct-order only versus delivery-eligible, and raise the delivery price to its own floor rather than automatically absorbing the fee into a shared number. Also check whether the actual delivery contract layers in fixed per-order fees, payment-processing charges, promotional discounts, or local taxes on top of the base commission.
None of the sourced research quantifies packaging materials, delivery labor, or payment-processing fees at a category level; the labor and packaging figures above came from the worked example, not a published benchmark. Build a per-order estimate from current invoices and time-and-motion observation before treating any channel as cleared for launch.
Price moves on existing Plowhorses should be tested rather than assumed. Tableview uses a move from $12.50 to $12.95 as an example of a small adjustment and contrasts it with a jump to $14. Treat that as pricing guidance from the vendor, not evidence that guests at a particular restaurant won't react.
Two lower-confidence tactics are worth a small test rather than a menu overhaul: Tableview reports 20% to 30% higher orders for photographed items on digital menus and separately cites a 5% to 12% average-ticket lift from symbol-free pricing. Neither figure is independently established by the source, so run either as a short A/B test on the package itself rather than treating it as a guaranteed lift.
Step 4: prelaunch revalidation, in-service control, and the release decision
Keep the testing timeline separate from the launch timeline. Tableview recommends a roughly 90-day full menu-engineering cycle, while a final invoice recheck and capacity lock belong much closer to launch. Blur those windows together and cost drift tends to show up right before the season's busiest week.
One to two weeks before launch, rerun Gate 1 on every finalized recipe against current supplier pricing. Ingredient costs can move quickly, and drift compounds fast at holiday volume.
During service, run Gate 3: monitor actual portions against recipe specs. SynergySuite's system is designed to trigger variance alerts within roughly 72 hours; that's a vendor-software capability, not a universal restaurant benchmark. The broader operating lesson is to flag meaningful portion variance quickly rather than waiting for month-end reconciliation.
Add a formal fourth gate on top of those three. Don't release, hold, or expand an item based on sales volume or guest scores alone; require it to also clear its channel-specific contribution threshold before it stays on the menu past a trial run.
Set the trigger as an operating rule for this menu: if an item's actual contribution falls below its category threshold for two consecutive service days, or portion variance exceeds the restaurant's preset tolerance, pick one action, cap the daily quantity, switch it to preorder-only, reprice it, or pull it, rather than absorbing the loss across the rest of the run. Those thresholds are management rules for this plan, not published industry standards.
Food safety belongs in this checklist, not a separate one. FoodSafety.gov says bacteria that cause food poisoning multiply rapidly between 40°F and 140°F, and perishable food shouldn't remain in that range longer than two hours, or one hour when exposed to temperatures above 90°F.
That's consumer-level federal guidance, not a substitute for commercial food-service requirements. Follow local health code and the restaurant's own commercial cooling, reheating, hot-holding, cold-holding, and transport procedures.
If the numbers fail: troubleshooting before launch
Price floor lands above what the local market will pay. Cut portion size, drop a component, or swap the anchor before cutting the target contribution percentage itself.
Hold test fails in the actual container. Pull that component from the bundle, swap it for something that holds better, or route it to dine-in only instead of forcing it into a to-go package.
Supplier cost jumps after the recipe is finalized. Rerun Gate 1 immediately rather than waiting for the next scheduled recheck, and reprice or substitute before the item goes back into service.
Packaging or plating time exceeds station capacity mid-rush. Cap the daily quantity of that item or move it to preorder-only rather than letting ticket times slip across the whole menu.
Delivery economics still don't clear the channel-specific floor after repricing. Pull the item from that channel and keep it pickup and dine-in only. A package doesn't have to sell through every channel to be worth keeping.
Implementation timeline
~90 days out: classify existing items, test package concepts, pricing moves, and any promotional tactics.
~4 weeks out: finalize recipe costs, gate-check new specials, confirm capacity and hold-time results.
1–2 weeks out: rerun Gate 1 on final recipes against current invoices, lock packaging format and channel prices, and confirm capacity limits.
During service: monitor portion variance and food-safety hold times daily; apply the release, cap, revise, or pull decision the moment a trigger is hit.
After the season: compare the restaurant's own before-and-after per-cover contribution margin from POS data rather than relying on a vendor benchmark alone.
What success looks like and a launch checklist
Measure the actual result rather than leaning on someone else's number. Tableview suggests a successful menu-engineering cycle can move average contribution by roughly $0.40 to $0.80 per cover, but the reliable check is a restaurant's own before-and-after per-cover contribution from its own POS and cost data.
If an item's actual cost or portion keeps drifting past its category threshold even after re-costing and correction, reconsider whether it belongs on the menu rather than carrying the variance through the rest of the season.
Before launch, confirm each package or item has all of the following:
a channel-specific price built from the correct floor formula
a recipe cost checked against current invoices
a real packaging cost
a labor estimate per order
a tested hold time in its actual container
allergen and reheat labeling confirmed with the local health authority
a daily order cap
one named person responsible for watching portion variance during service
If any of those eight items is missing, the package isn't ready to launch. Fill the gap first, then open it to orders.













Comments
Be the first, drop a comment!