



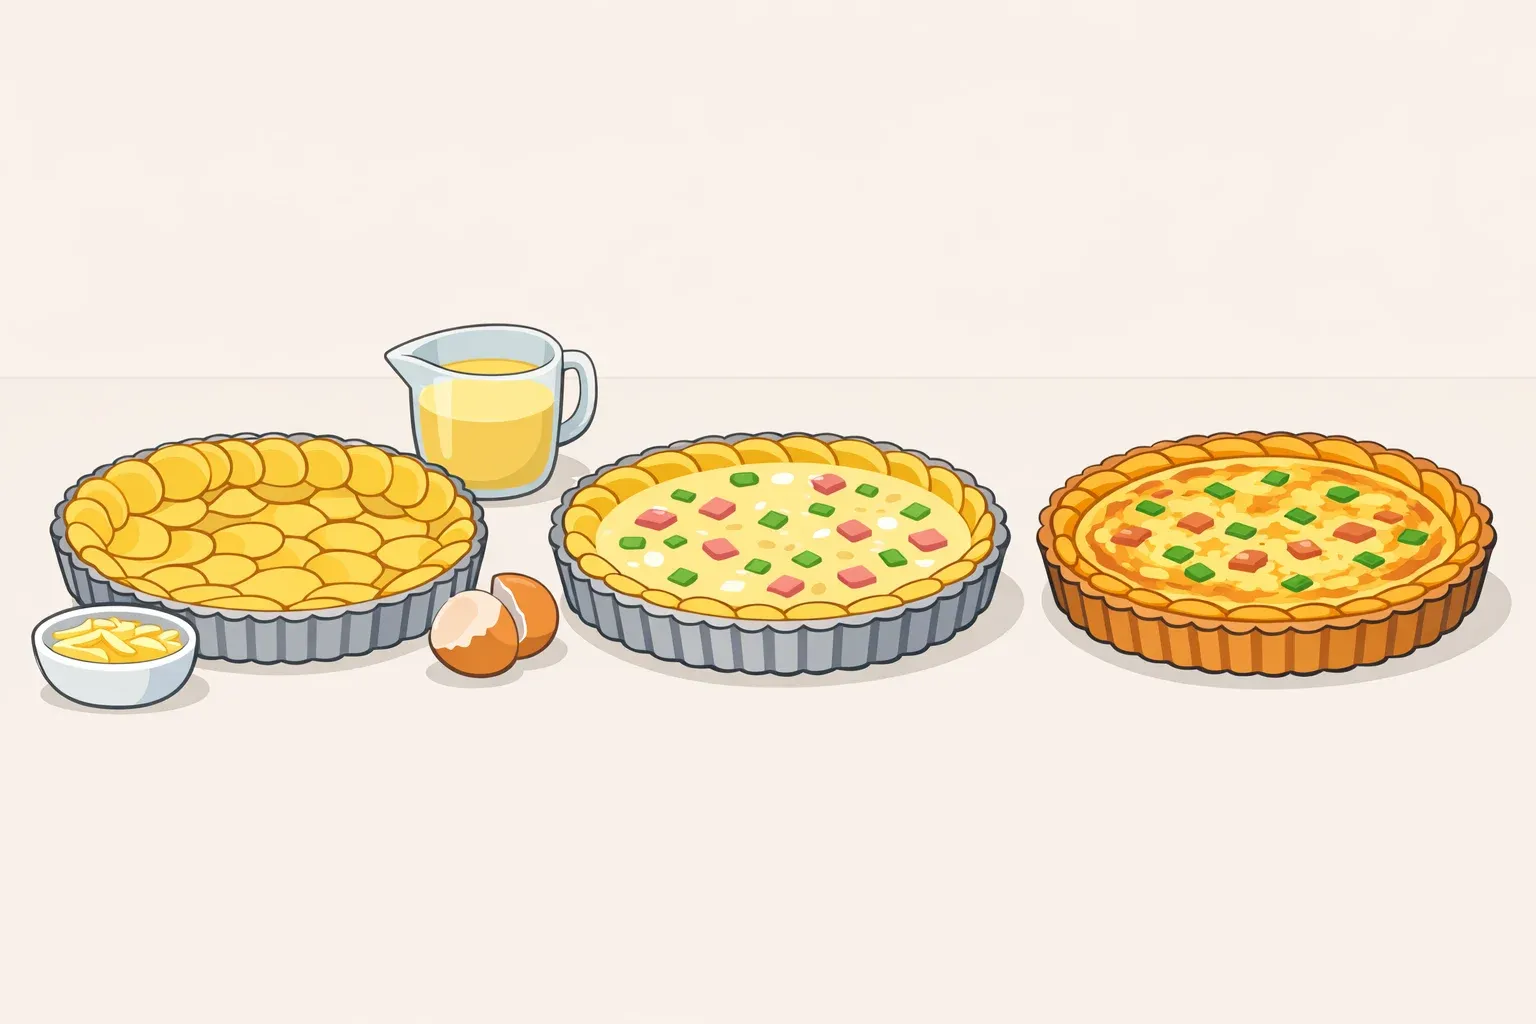
How to make potato-crusted quiche without pie dough
Dry potatoes and a pre-baked crust. That's the whole method. Get those right, and you'll have a quiche with a firm, golden shell that holds a clean, upright slice without a gram of pastry involved.
Traditional shortcrust demands cold butter, careful handling, a refrigerator rest, and blind-baking with weights. A potato crust replaces all of that with a single pre-bake step. The texture is different, dense and firm rather than flaky, but it holds a clean slice, supports a full custard without leaking, and takes considerably less effort to build. This isn't an imitation of pastry. It's a different kind of shell that happens to work well on a weeknight.
Before you start
You'll need:
9-inch pie dish or tart pan with a removable base
Box grater or food processor with a grating disc
Clean kitchen towel or cheesecloth
About 90 minutes total: 30 active, 60 in the oven
Crust: 1½ lbs russet potatoes (roughly 2 large), 2 tablespoons olive oil or melted butter, ½ teaspoon salt, ¼ teaspoon black pepper
Custard: 4 large eggs, 1 cup heavy cream or half-and-half, 1 cup shredded cheese (gruyère, sharp cheddar, or fontina), pre-cooked mix-ins of your choice, salt, pepper, optional pinch of nutmeg
Use russets. From repeated testing, they dry out faster in the oven and compress into a more cohesive layer than waxy varieties like Yukon Golds or red potatoes. Waxy potatoes stay softer, don't grip the pan as firmly, and are harder to unmold cleanly. Russets aren't the only option, but they're the most forgiving starting point.
Step 1: Grate, dry, and season the potatoes
The crust lives or dies here. Moisture left in the shreds becomes steam in the oven, and steam is the enemy of browning. A damp potato gives you mush; a dry one gives you a crust.
1. Peel and grate the potatoes on the large holes of a box grater. Aim for distinct shreds rather than a paste. Consistent size helps them cook evenly and press into a solid layer.
2. Wring out the moisture. Pile the shreds into a clean kitchen towel, gather the corners, and twist hard over the sink. Keep going well past the point where it feels like enough. When you open the towel, the shreds should feel fibrous and slightly stiff. Press a small handful: if liquid runs freely, keep wringing. This step takes longer than most recipes suggest.
3. Season and coat. Transfer to a bowl, add the oil or butter, salt, and pepper, and toss until evenly coated.
Gotcha: Work quickly once the potato is grated. Cut potato oxidizes fast; the shreds can grey within a few minutes of air exposure. If you need to pause, submerge them in cold water, but dry thoroughly before proceeding. Any water added back has to come back out.
What a well-built crust looks and feels like
Before the crust goes in the oven, it should be compacted firmly enough that you can press the back of a spoon across it without the shreds shifting. The layer should be uniform, about ¼-inch thick, with no thin patches at the corners and no gaps at the seam where the base meets the sides. That junction is where custard leaks, so press it harder than seems necessary.
After the pre-bake, the visual cues matter as much as the timer. The edges should be medium golden brown, the color of a hash brown that's been left alone long enough to develop a crust. The surface should look matte and dry, not shiny. A shiny surface means residual moisture is still escaping; give it more time.
The press test is the definitive check. Push the center of the crust with the flat of a spatula using light, even pressure. A properly pre-baked crust pushes back. It feels firm and dry underfoot, like pressing on a dense cracker rather than soft bread. If it compresses without resistance and springs back like dough, it isn't ready. If it gives and stays compressed, it's either still wet or was pressed too thin to begin with.
Failure modes worth distinguishing:
Edges golden, center still soft and shiny. The most common outcome. The outer ring dried out first, while the center held moisture longer. Give it 5 more minutes uncovered and re-check. This is salvageable.
Shreds puffing up from the bottom. Normal during the pre-bake. Press them back down with a spatula before adding the filling.
The crust looks pale overall after 25 minutes. The potato likely wasn't dried enough before pressing, or the oven is running cool. Either dry-press the shreds again (if you catch it before baking) or extend the pre-bake in 5-minute increments until the press test passes.
Crust passes the press test but has thin patches. Fill those spots with a few extra shreds, press firmly, and return to the oven for 5 minutes before filling. Thin patches become the paths of least resistance for custard.
Step 2: Press and pre-bake the crust
1. Preheat the oven to 400°F (200°C).
2. Grease the pan lightly, then press the potato mixture across the bottom and up the sides in an even layer about ¼-inch thick. Use the flat bottom of a measuring cup to compact the shreds firmly. Pay particular attention to the seam where the bottom meets the sides; press that junction harder than you think necessary.
3. Pre-bake the crust for 20–25 minutes without filling. The potato needs time alone in dry heat to drive off remaining moisture, develop color, and firm up enough to act as a container. Cutting this short is the most direct path to failure.
4. Apply the press test as described above. If the crust doesn't pass, give it 5 more minutes and check again. Everything that follows depends on this.
5. Press the crust down if needed. Flatten any shreds that have lifted away from the pan before adding the filling.
Troubleshooting: If the edges brown too fast once the custard goes in, tent loosely with foil for the last 10–15 minutes. Don't do this during the pre-bake. The crust needs dry heat; foil traps steam and works against the whole point of this phase.
Step 3: Make the custard and fill the crust
Mix the custard while the crust pre-bakes so the transition is immediate.
1. Whisk eggs and cream until fully combined with no visible streaks of yolk. The ratio used here, roughly 1 egg per ¼ cup of dairy, is a tested starting point. From kitchen practice, tipping too far toward eggs produces a custard that tightens into something rubbery; too much cream and the center won't fully set before the edges overcook.
2. Add cheese and mix-ins. Stir in the shredded cheese, then fold in any additions. Pre-cooked is non-negotiable. Raw vegetables release water during baking and soften the crust from the inside, which undoes the work you did drying the crust.
3. Season the custard. Adjust salt carefully; the cream and cheese both carry it. A small pinch of nutmeg adds depth without announcing itself.
Gotcha: Leave about ¼ inch of clearance at the top. Custard expands slightly as it sets, and overflow makes a mess that's hard to scrub off a hot oven floor.
4. Reduce the oven to 375°F (190°C). Based on consistent testing, higher temperatures firm the outer edges before the center can catch up, leaving a rubbery perimeter around a soft middle. The crust needed 400°F; the custard doesn't.
5. Pour the custard into the pre-baked crust. Do this with the dish already sitting on the oven rack if possible. Carrying a filled pan across the kitchen is an unnecessary risk.
6. Bake for 30–35 minutes. The quiche is done when the edges are fully set and the center, when the pan is nudged, moves in a single slow, unified wave. That's the same motion as a properly set cheesecake: the whole surface shifts together rather than sloshing in sections. A completely still, domed center often means overbaked. A center that ripples actively in multiple directions needs more time.
7. Rest for at least 10 minutes before slicing. The custard continues to firm as it cools. Cut too early and the slices will be soft and ragged. Ten minutes is the minimum; fifteen is better.
Troubleshooting the custard: If the center runs when you cut the first slice, the bake was likely cut short or the oven ran hot. A quiche set at the edges but with a soft center no wider than ½ inch can go back into a 375°F oven uncovered for 8–10 minutes. If more than half the custard is still liquid, don't chase it. Even if it eventually sets, the texture will be grainy or weeping. Pull it, note what happened, and adjust next time.
What the finished quiche looks like, and how to store it
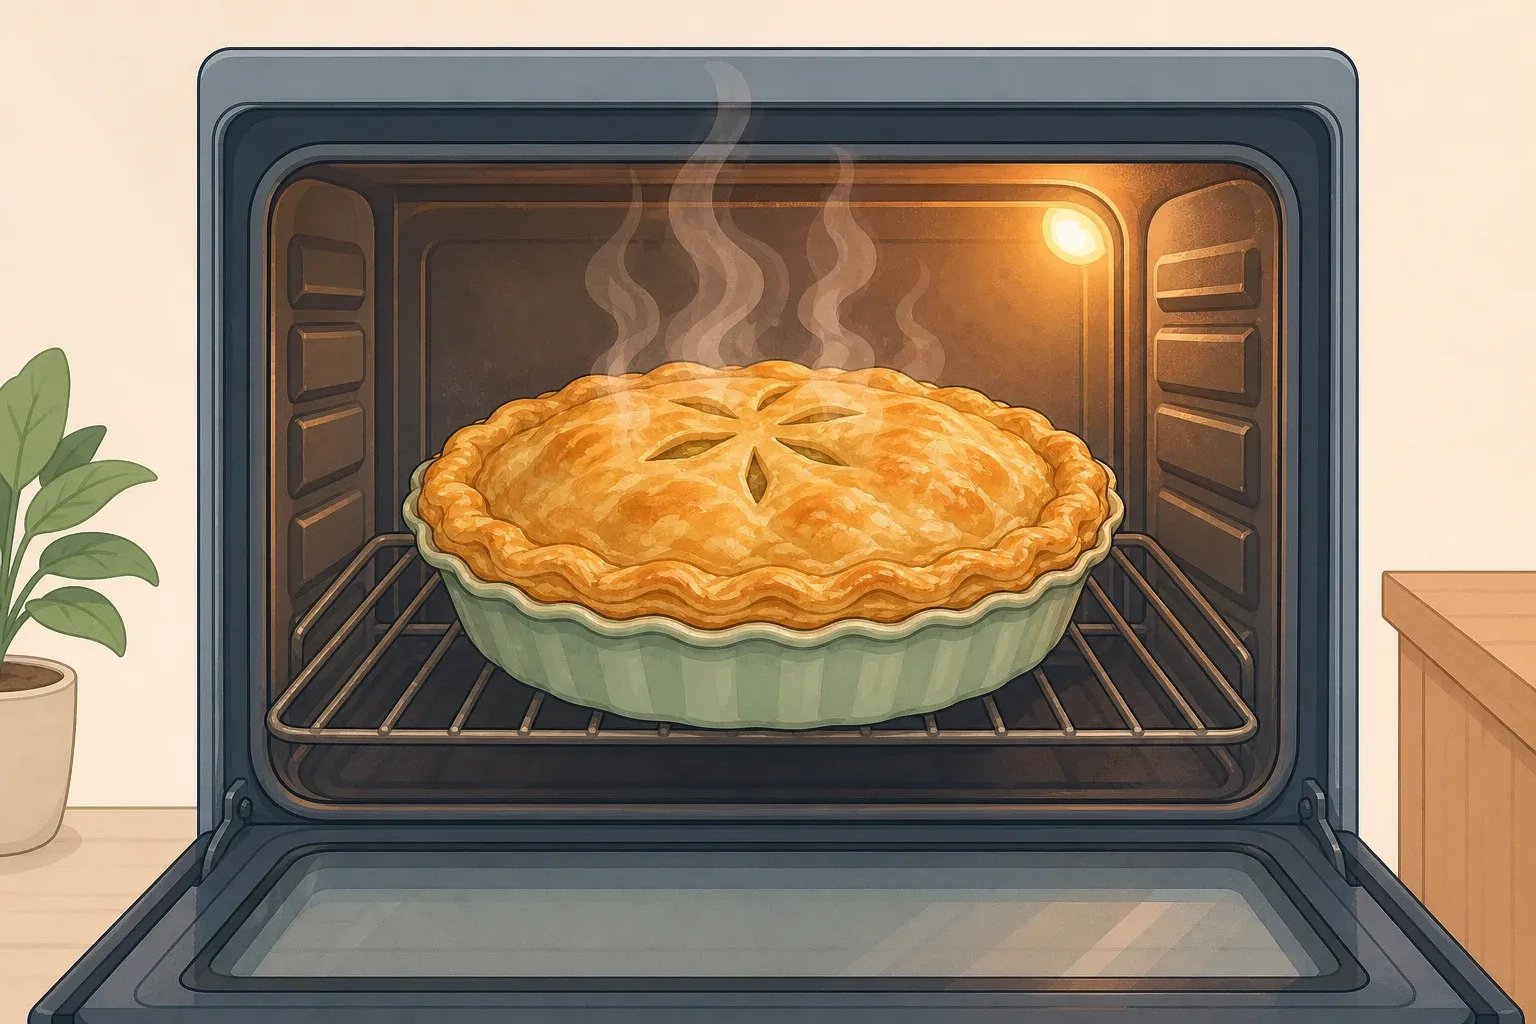
A well-made potato-crusted quiche holds an upright slice. The crust is firm enough to lift from the plate without flexing, with visible browning at the outer edge and a denser, slightly softer layer at the base where it meets the custard. The custard sits smooth and set, slicing cleanly rather than smearing at the cut.
That base-layer softness is normal and expected. The bottom of the crust absorbs a small amount of custard during baking, which is different from a soggy crust. Soggy means the shreds have broken down and lost their structure. A properly baked crust has bite; it just has less crunch at the very bottom than at the sides.
Make-ahead: Pre-bake the crust, cool it completely, and cool, then refrigerate if holding longer than 2 hours at room temperature before adding the filling and finishing. The crust firms further as it cools, so the shell going into the second bake is more solid than one pulled straight from the oven. This splits the work into two manageable phases and makes the timing practical for hosting.
Storing and reheating:
Refrigerate covered for up to 3 days
Reheat slices in a 325°F oven for 10–15 minutes
The microwave works in a pinch, but it softens the base noticeably; if the texture was the reason for choosing this method, the oven is worth the extra time
Common questions
Why is my potato crust soggy?
Worth distinguishing between two different problems.
If the base is soft but still holds its shape and the slice stands upright, the issue is probably insufficient drying before pressing. Next time, wring harder, wring longer, and use the press test rather than the timer to decide when the crust is ready.
If the base has fully collapsed and the custard has soaked through, the pre-bake was cut short. The dry heat during that phase is what firms the shreds into a sealed shell. Without it, the custard fills every gap. There's no rescue at that point, but the cause is clear.
Can I use Yukon Gold potatoes instead of russets?
You can. Expect a softer result that's harder to unmold cleanly. Waxy varieties hold more moisture and don't compact as firmly, so the crust is more prone to separating from the filling once the quiche is sliced. For a first attempt, russets give you more margin. Yukon Golds are worth trying once you know what a successful press test feels like and can judge whether the crust has firmed up enough before filling.
Can I make this ahead?
The crust, yes. Pre-bake it, let it cool completely, and hold at room temperature for up to 4 hours. Add the custard just before the second bake. A fully assembled, unbaked quiche can sit in the refrigerator for a couple of hours if needed, but the longer the raw custard sits in the crust, the more it begins softening the base before the oven does any work.
How do I know when the quiche is set?
Watch the edges first. They should look firm and pull very slightly away from the sides of the dish. Then nudge the pan. The center should move in one slow, unified motion, not ripple in sections or look visibly liquid. If the whole surface sloshes, give it five more minutes. If only the very center shifts in that single slow wave, it's done. Pull it and let it rest.
The one check worth memorizing is the center wobble. Everything else in this recipe can be adjusted, timed differently, or corrected before it matters. But the moment you cut into a quiche with a runny center in front of guests is the moment you wish you'd nudged the pan one more time. That slow, unified wave is what you're waiting for. When you see it, the crust is already done its job.















Comments
Be the first, drop a comment!