



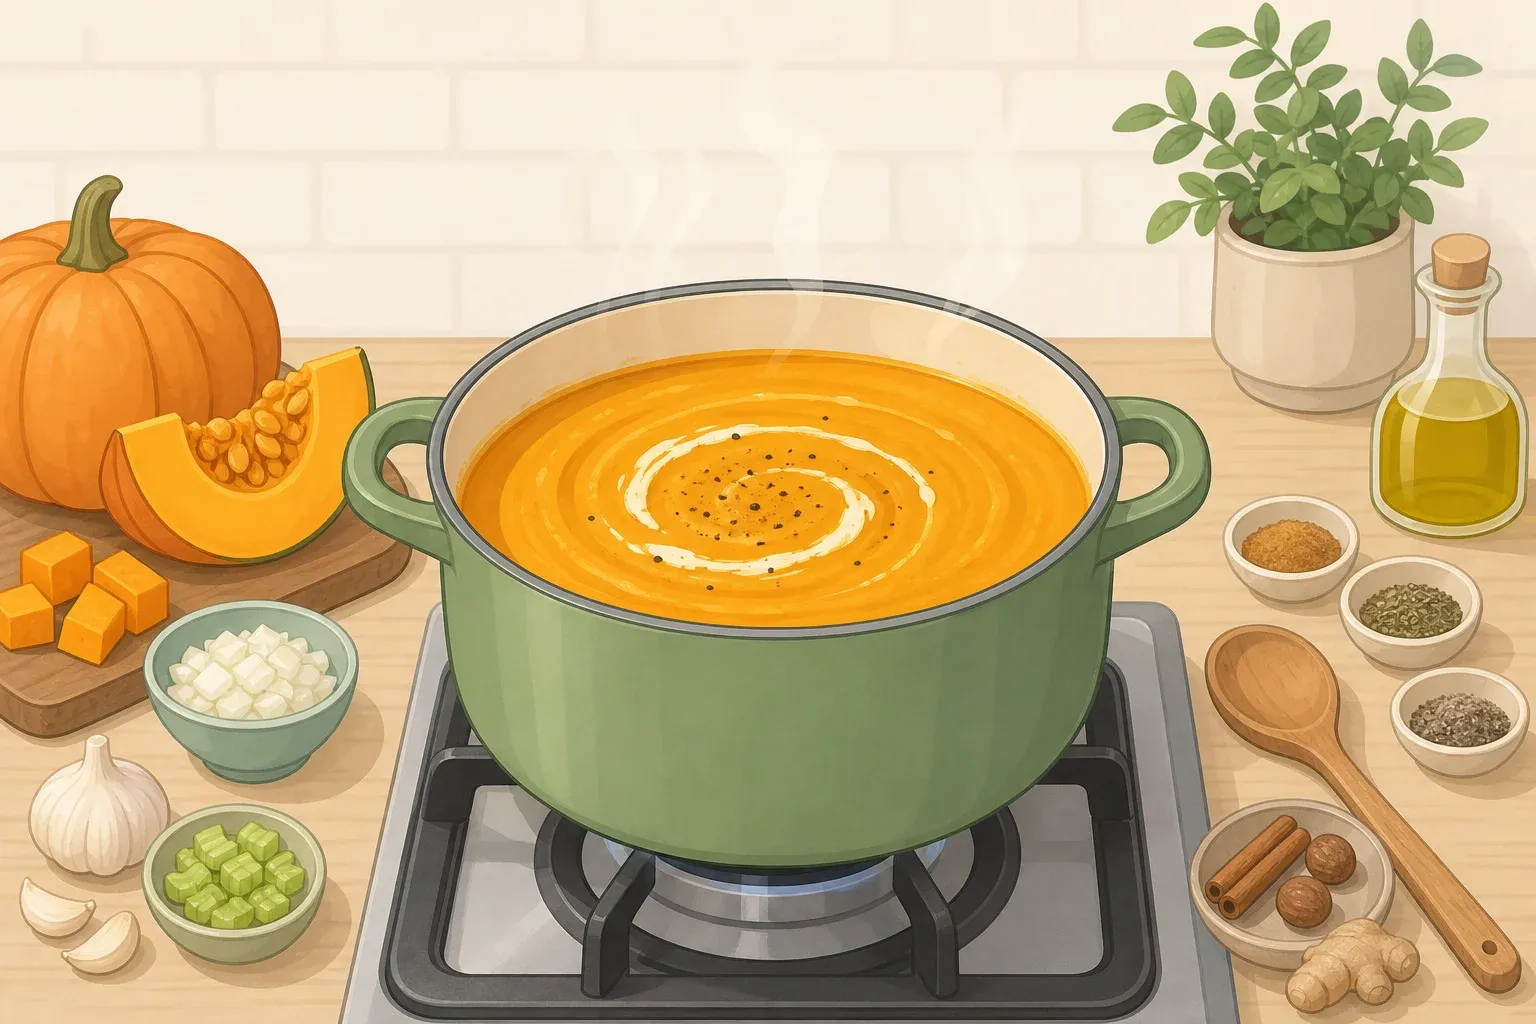
Every version of this soup, whether it starts from a can or a fresh pumpkin, comes down to the same 3½ cups of puree. Cooked into soup, that amount yields about 6 cups, enough for 4 to 6 servings. The method stays the same either way: turn the pumpkin into puree, simmer it with broth, onion, garlic, and warm spices until it thickens, blend it smooth, then stir in cream to finish.
Simmering the puree with broth before blending lets the spices cook into the soup and boils off extra liquid, so the soup reaches the right consistency before any dairy goes in. Made with canned pumpkin, this comes together in about 40 minutes total, roughly 30 of those minutes hands-on. Made with fresh pumpkin, plan on closer to 1 hour 45 minutes, though most of that difference is unattended oven time. Blending hot soup in a sealed container can cause dangerous splatter, and that's addressed in full before the blending step below.
What you'll need
Yield: about 6 cups, serving 4 to 6
Total time: about 40 minutes with canned pumpkin; about 1 hour 45 minutes with fresh pumpkin, most of the difference spent roasting unattended
Active time: roughly 30 minutes either way
Difficulty: beginner-friendly with basic kitchen tools
Ingredients (same final quantities regardless of pumpkin source)
3½ cups pumpkin puree (see the note below for how much to buy on the fresh or canned route)
1 medium yellow onion, diced
3 garlic cloves, minced
2 tablespoons olive oil or butter
3 cups vegetable or chicken broth, plus extra on hand for adjusting consistency
½ teaspoon ground nutmeg
½ teaspoon ground cinnamon
¼ teaspoon ground ginger
1 teaspoon salt, plus more to taste
½ teaspoon black pepper
½ cup heavy cream, or ½ cup full-fat coconut milk for a dairy-free version with a mild coconut flavor
Equipment: baking sheet (fresh pumpkin only), food processor or blender for pureeing roasted pumpkin, a large pot with tall sides, immersion blender or countertop blender for the soup itself, dry measuring cup for the puree, liquid measuring cup for the broth.
Before you start
Check the can label before buying. It should read "100% pumpkin" or "pumpkin puree," not "pumpkin pie filling," which usually contains added sugar and spices already mixed in, so check the label to confirm which product is in the cart. Federal rules for canned "pumpkin" technically permit other winter squash varieties under FDA regulation 21 CFR 155.200, though it doesn't change how this recipe cooks.
For the canned route, buy two 15-ounce cans of 100% pumpkin puree, then measure out exactly 3½ cups with a dry measuring cup. Can volumes vary a little by brand, so if the two cans come up just short, keep a third can on hand to top it off rather than stretching the soup with extra broth.
For the fresh route, buy a 3- to 4-pound sugar or pie pumpkin, the small variety sold for cooking rather than a carving pumpkin, and keep a 15-ounce can of pumpkin puree in reserve. A pumpkin that size usually roasts down to somewhere around 3 to 4 cups of puree, but size and water content vary enough that a single one can land short of 3½ cups. The reserve can closes that gap without watering the soup down with extra broth; Step 1 covers when to use it.
Step 1: Prepare the pumpkin
If starting from fresh, cutting the raw pumpkin in half is the riskiest part of this recipe. A whole pumpkin is hard, round, and prone to rolling, which can make a knife slip rather than glide through. Set it on a stable, non-slip cutting board, trim a thin slice off the bottom so it sits flat, then cut off the stem. Use a large, sturdy knife to start a cut at the top and work down the middle in short, controlled strokes. Let the knife do the work; if it stalls or binds partway through, that's a signal to stop, not to push harder.
If the blade binds or stalls, stop cutting entirely. Don't twist, wiggle, or force it through the resistance. Pull the knife straight back out, reposition the pumpkin so it sits flat and stable again, and restart the cut from the top. If it still won't cut through cleanly after a couple of tries, or the pumpkin won't sit stable on the board, switch to canned puree instead, which is exactly why the reserve can is worth having ready. Once it's split, scoop out the seeds and stringy pulp with a spoon.
Roast the halves cut-side down on a lined baking sheet at 400°F until a fork slides into the flesh with no resistance; that typically takes 45 to 60 minutes depending on size. Let it cool until it's comfortable to handle, then scoop the flesh from the skin.
Puree the flesh in a food processor or blender until smooth, then measure with a dry measuring cup. It should look dense and spoonable, not watery. If it looks thin or stringy, process it again for another 30 seconds, though the simmer in Step 2 does most of the real thickening.
If fresh puree falls short of 3½ cups, don't stretch it with extra broth, which thins the flavor before cooking even starts. Top it off with the reserve can instead, just enough to reach 3½ cups; canned and fresh puree cook together seamlessly once simmered.
If starting from cans, open both 15-ounce cans and measure the puree with a dry measuring cup, undrained, until it reads 3½ cups. Save any leftover puree for oatmeal, pancakes, or a smoothie.
Step 2: Build the soup base
Heat the olive oil or butter in a large pot over medium heat. Add the diced onion and cook until translucent, about 5 minutes. Stir in the minced garlic and cook another 30 seconds, just until fragrant. Don't let it brown, or it turns bitter.
Add the 3½ cups of measured pumpkin puree, the 3 cups of broth, nutmeg, cinnamon, ginger, salt, and pepper. Bring everything to a simmer and cook uncovered for about 15 to 20 minutes, stirring occasionally, until it visibly reduces and thickens.
Check it by dragging a spoon through the soup: it should leave a light coating rather than running off immediately. If it's still thin and watery after 20 minutes, keep simmering uncovered in 5-minute increments until it thickens. This is the stage to fix a thin soup, since cream and coconut milk both loosen the texture later rather than tighten it.
Step 3: Blend until smooth
Turn off the burner before blending, no matter which tool you use. The soup holds enough heat to burn even off direct flame.
An immersion blender is the easier and safer choice for beginners, since it works right in the pot and skips transferring hot soup anywhere. Submerge the blade fully before turning it on, move it slowly through the soup to avoid splashing, and switch it off before lifting the blade back out.
If an immersion blender isn't an option, check the countertop blender's manual before blending anything hot. Fill limits, vented lid designs, and heat tolerances all vary by brand and model, and the manual is the accurate word on what that specific blender can handle. If the manual clears hot liquids, work in small batches and use whatever venting method it specifies. For blenders without a built-in vent, remove the center cap from the lid and hold a folded kitchen towel loosely over the opening instead of sealing it shut, so steam can escape. Treat that as a fallback for the gap your manual doesn't cover, not a substitute for it.
Pour the soup into the jar slowly, keeping it close to the pot's rim rather than pouring from a height, to keep splashing down. Once blending is done, turn off the machine, wait until the blades fully stop, then remove the lid pointed away from your face. The finished soup should be completely smooth, with no chunks or strings.
Step 4: Finish, season, and serve
Return the blended soup to low heat. Check the consistency before adding the dairy; simmer uncovered a few extra minutes if it's still too thin. Then stir in the ½ cup of heavy cream or coconut milk. Choose coconut milk for a subtle coconut note alongside the pumpkin and spices, or heavy cream for a neutral finish that mostly adds richness.
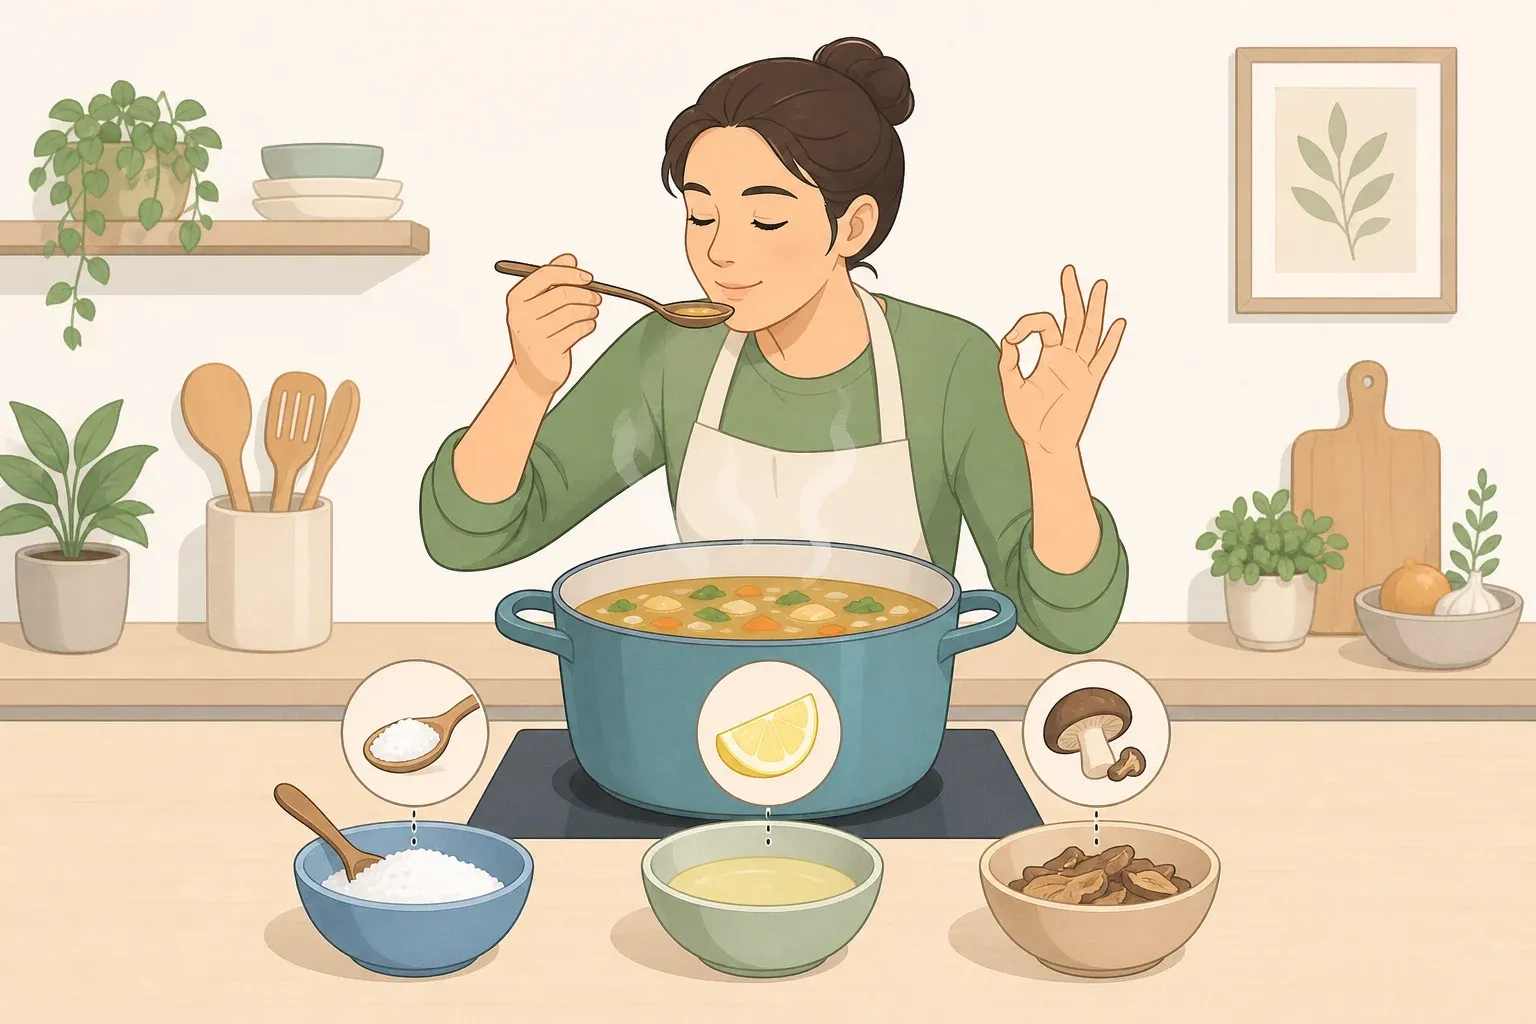
Taste once the cream is stirred in, then adjust in small amounts: a pinch more salt, pepper, or cinnamon. Pumpkin sweetness varies by variety and brand, so treat the spice measurements as a starting point rather than a fixed target. A batch that tastes flat can be brightened with a small splash of apple cider vinegar or lemon juice.
The finished soup should look like a smooth, uniform pale orange and coat the back of a spoon in a thin, even layer that slides off slowly. Serve topped with toasted pumpkin seeds, a swirl of crème fraîche or sour cream, or a pinch of chili flakes, alongside crusty bread for dipping.
Troubleshooting and simple swaps
Too thin or too thick: see Step 2 for fixing it before blending, or thin a finished batch with broth a quarter cup at a time, tasting after each addition, before adding cream.
Too sweet or too spice-heavy: add a small pinch of salt or black pepper first, taste, then decide if it needs anything else. A splash of broth or a squeeze of citrus can mellow a strong batch, but add just one of those at a time and taste before reaching for the other.
Grainy texture: run the finished soup through the blender again for a few seconds until smooth.
Swapping squash: butternut or acorn squash can usually substitute in the same quantities, though roasting time varies by size and density, so go by the fork-tender test rather than the clock.
Dairy-free: full-fat coconut milk replaces the cream at the same ½-cup measurement, with a noticeably different flavor than the dairy version.
Store, freeze, and reheat
Refrigerate
Get leftovers into the fridge within two hours of finishing cooking, not two hours after they've already cooled on the counter. Dividing the soup into shallow containers helps it chill faster. Once refrigerated, plan to eat the soup within 3 to 4 days.
Freeze
Portion the soup into airtight, freezer-safe containers within that same two-hour window rather than waiting for it to cool fully on the counter first, and leave some headspace in each one for expansion. Skip putting a large hot pot straight into the freezer; a big mass of hot food cools slowly and can warm whatever's stored around it, so smaller portions get cold faster and more evenly.
Frozen soup keeps its best quality for about two months. Food kept continuously frozen stays safe to eat beyond that window; it just gradually loses flavor and texture the longer it sits.
Thaw and use
Thaw frozen soup in the refrigerator, not on the counter. Once it's fully thawed, treat it like any other refrigerated leftover: use it within 3 to 4 days of thawing, a new window that starts from the thaw date rather than the original cooking date.
Reheat
Reheat gently on the stovetop or in short microwave bursts, stirring in between so the center heats through instead of staying cool while the edges overheat. If the soup looks separated after reheating or after freezing and thawing, that's a texture change, not a sign it's gone bad. A quick whisk or a few seconds back in the blender smooths it out.
Go by storage times rather than how the soup looks or smells, since spoilage in soup isn't always visible or detectable by odor. Discard anything that sat out longer than two hours before refrigeration, or that's been in the fridge longer than four days without being frozen within that window.

















Comments
Be the first, drop a comment!