



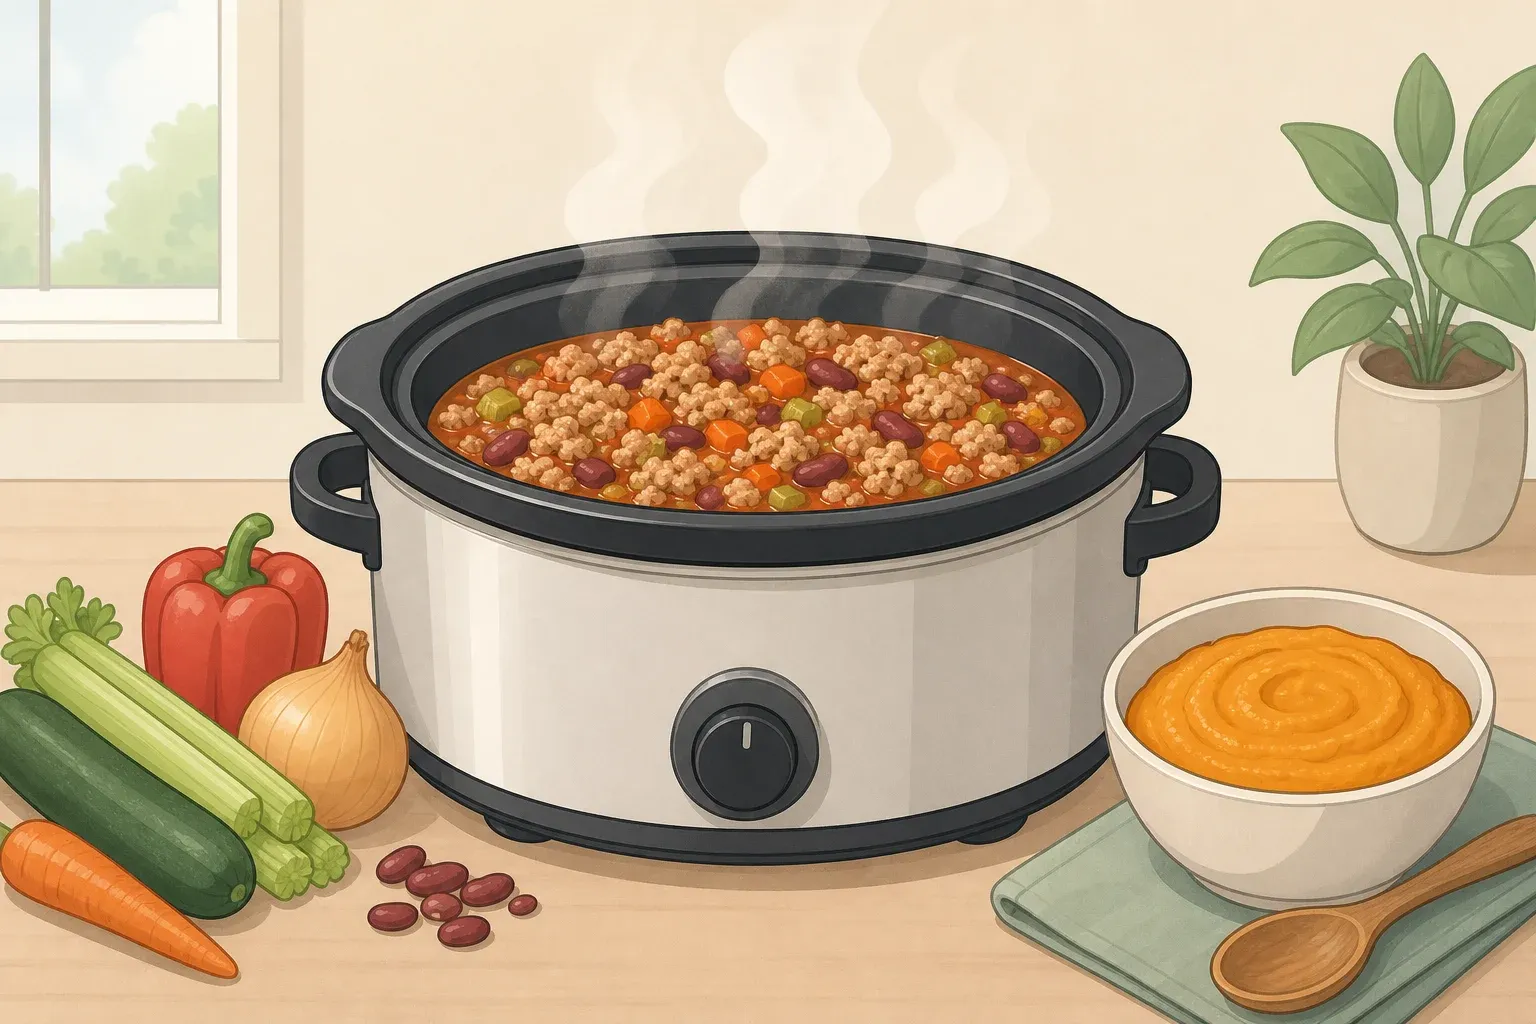
No bean crockpot turkey chili: a mild recipe guide
This guide walks through building a no bean crockpot turkey chili with a mild spice level, finely processed vegetables, and small browned turkey crumbles. The formula removes the usual objections that make chili a hard sell for selective eaters: mushy beans, chunky vegetables, and a spice level that hits too hard. It's not a promise that every picky eater clears the bowl, just a method that removes what typically stops them from trying in the first place.
Brown the turkey first and deglaze the pan for flavor, grate or process the vegetables until they disappear into the sauce, then let the slow cooker handle the rest. A small amount of masa harina stirred in near the end keeps the finished chili thick enough to spoon over rice or scoop with a chip instead of running thin. That's this recipe's fix for cooking without beans; other no-bean chilis might thicken differently, but this is the method the rest of this guide is built around.
This recipe controls what's controllable: mild seasoning, small meat pieces, a smooth base, and toppings kept on the side rather than mixed in. Whether a picky eater actually decides to try it is out of anyone's hands, so treat the first batch as a trial run rather than a guarantee.
One caution before starting: ground turkey chili isn't safe to serve just because it looks and smells done. It needs to reach a full safe internal temperature throughout the pot, checked in more than one spot, before it goes on the table.
What you'll need
Ingredients:
- 2 pounds ground turkey (93/7 gives a good balance of flavor and leanness for this recipe)
- 1 small onion and 1 small bell pepper
- 2 cans (14.5 oz each) crushed tomatoes
- 1 can (6 oz) tomato paste
- 1 cup low-sodium chicken or turkey broth
- 2 teaspoons mild chili powder
- 1 teaspoon ground cumin
- 1 teaspoon garlic powder
- 1 teaspoon salt to start, with more added at the end to taste
- 2 tablespoons masa harina or cornmeal mixed with 3 tablespoons cold water, for thickening
Tools: a large skillet for browning, a box grater or food processor for the vegetables, a 6-quart slow cooker, and a food thermometer. The thermometer isn't optional gear here. All poultry, including ground turkey, needs to hit 165°F to destroy harmful bacteria such as Salmonella, per EatHealthy365, and there's no way to confirm that by sight or smell alone.
This batch makes roughly 7 to 8 cups, an estimate based on the quantities above rather than a tested measurement, which works out to about six servings. Prep, mostly grating vegetables and browning turkey, takes about 15 minutes; everything after that is hands-off slow-cooker time. The project is beginner-friendly and doesn't call for anything beyond a standard skillet, a slow cooker, and a thermometer.
One texture note matters more than any ingredient on the list: the onion and bell pepper should be grated or pulsed until they look almost pureed, with no pieces larger than a grain of rice. That detail is what keeps them from standing out in the finished bowl.
Prep the turkey and vegetables before the crockpot
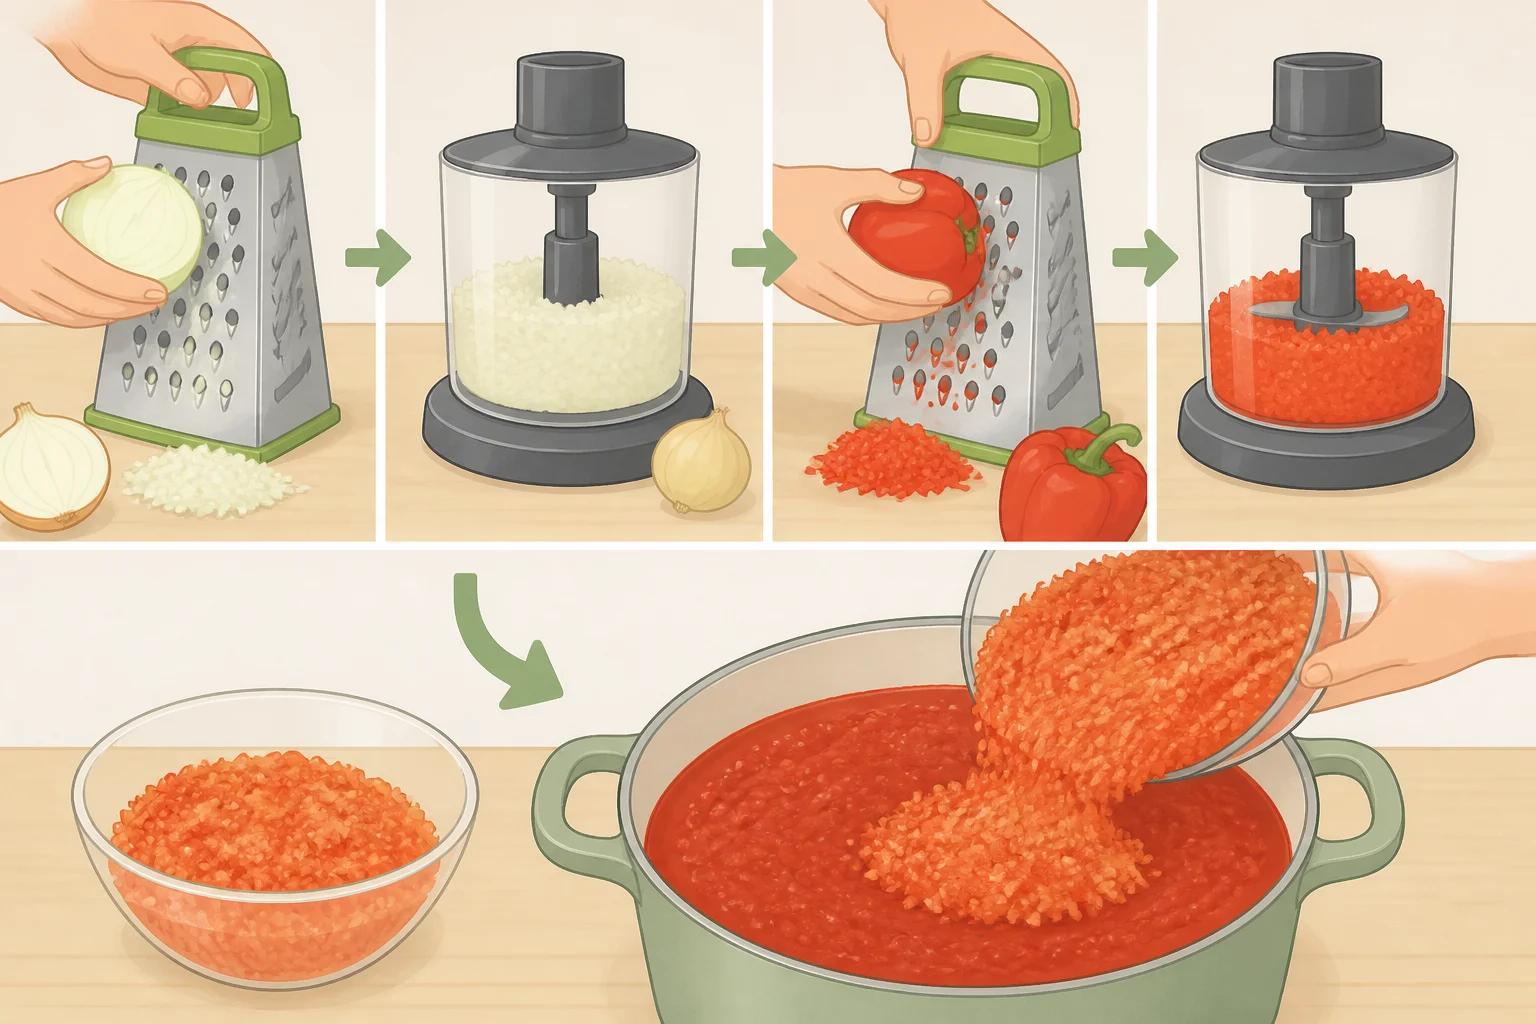
Grate the onion and bell pepper on a box grater, or pulse them in a food processor until the texture turns wet and fine with no visible chunks. If a picky eater has flagged vegetables by flavor rather than texture in the past, blend them directly into the crushed tomatoes before cooking instead, so they disappear into the sauce color rather than sitting as visible flecks. Onions and peppers vary quite a bit in water content, so if a lot of liquid pools after grating, pressing some of it out in a strainer before adding the vegetables to the pot can help keep the finished chili from thinning out.
Brown the turkey in a skillet over medium-high heat, breaking it into small, even crumbles as it cooks. Stop breaking it up once the pieces are roughly pea-sized rather than mashing them further; overworking ground turkey while it browns can turn it pasty instead of leaving distinct crumbles. Browning the meat first, through a process called the Maillard reaction, is the best early opportunity to build deep, savory flavor into turkey chili, according to EatHealthy365, and skipping it can produce a less developed, flatter flavor even after a full cook time.
Once no pink remains, drain off excess grease before deglazing, but do it carefully: tilt the skillet and spoon or pour off the fat rather than dumping the pan into a strainer, which would take the browned bits with it. Those bits are the whole point of the next step.
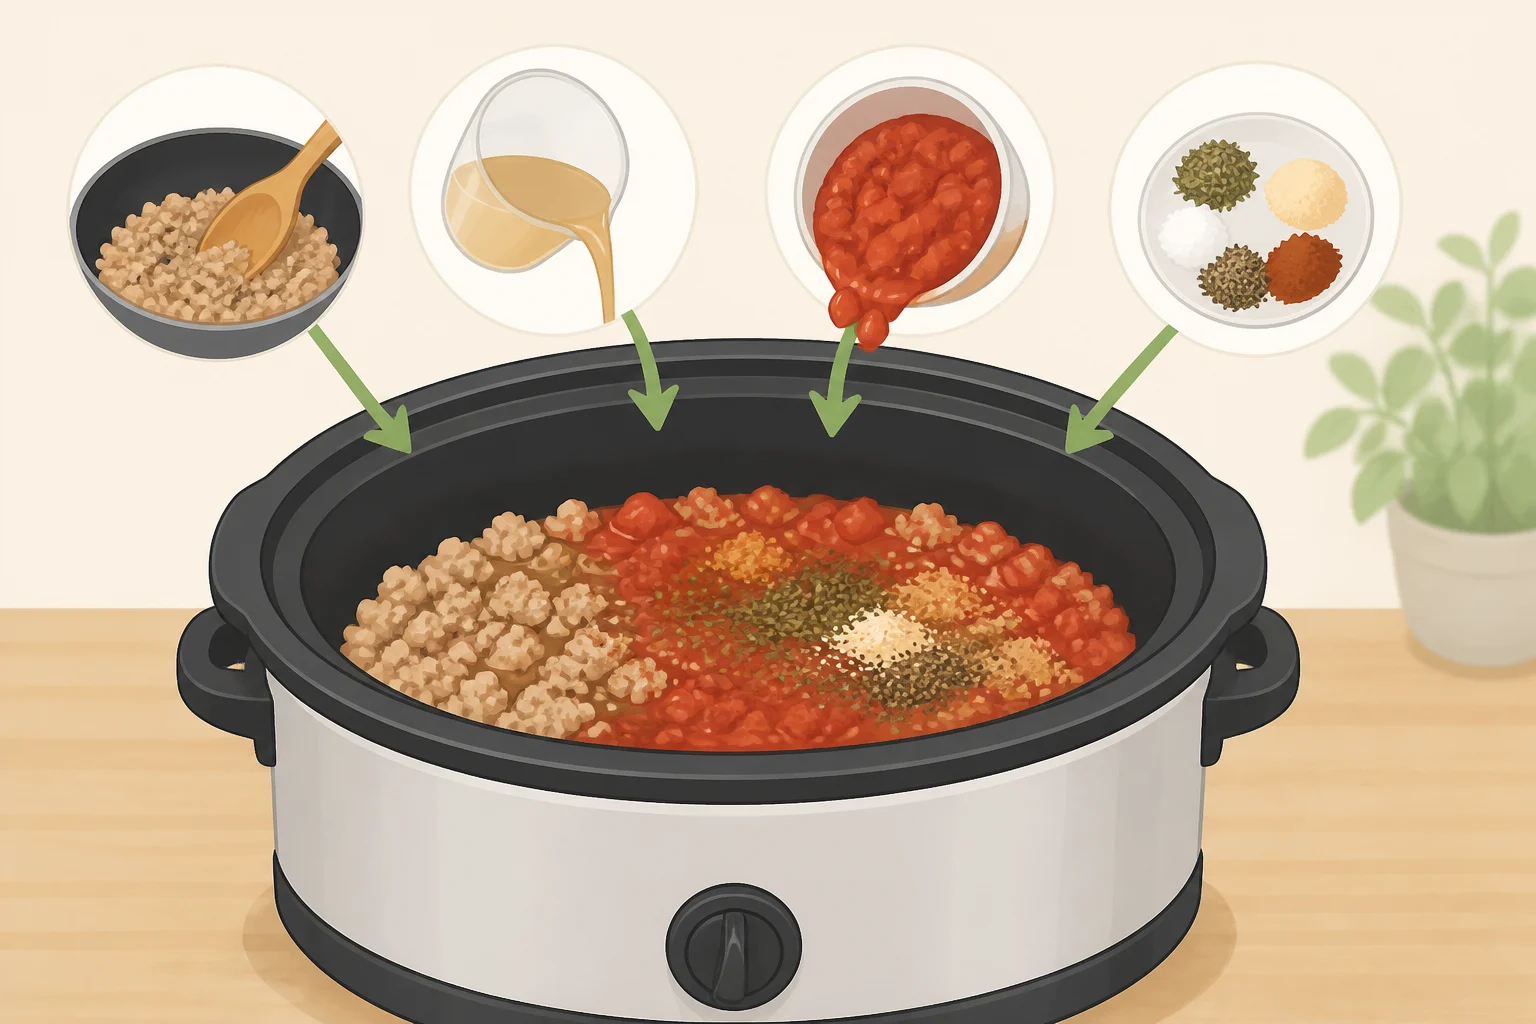
With the pan drained, pour about a quarter cup of the broth or a splash of the crushed tomatoes directly into the hot skillet and scrape up the browned bits stuck to the bottom. Pour the turkey, liquid, and scraped bits together into the slow cooker. This step, called deglazing, is what actually moves that browned flavor into the chili instead of leaving it behind in the pan. The skillet should look mostly clean once it's done, with the browned bits mixed into the liquid rather than stuck to the metal.
Step-by-step: how to make slow cooker turkey chili without beans
-
Combine everything in the slow cooker. Add the browned turkey and deglazing liquid, the grated or blended vegetables, both cans of crushed tomatoes, the tomato paste, the remaining broth, and all the seasonings. Stir until the tomato paste is fully worked in, with no streaks left in the pot.
-
Cook on low or high. EatHealthy365 lists 6 to 8 hours on LOW or 3 to 4 hours on HIGH as the target range for tender meat and deep flavor in a slow-cooker turkey chili. Slow cookers vary in how hot they run, so treat that as a starting point rather than a fixed rule. Check the texture and smell around the low end of the range, and let it go longer if the chili still tastes underdeveloped. The thermometer check later in this guide, not the clock, is what actually confirms it's done.
-
Thicken it near the end of cooking. About 30 minutes before serving, stir in the masa harina or cornmeal mixture.
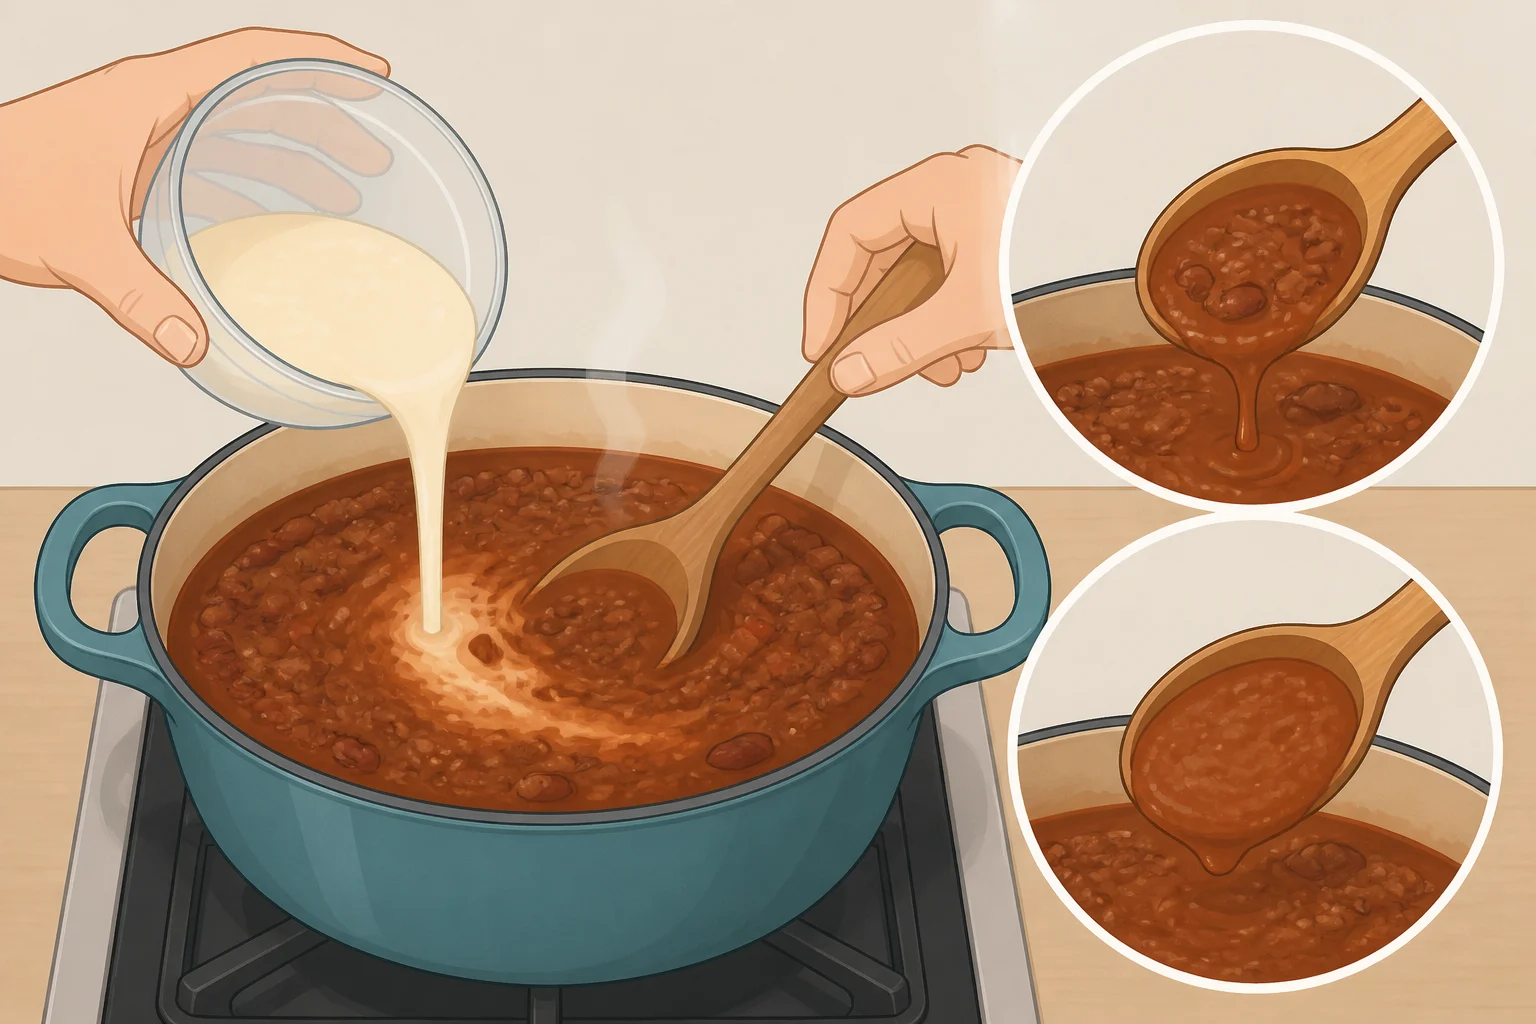
Check the slow cooker's manual before removing the lid for an extended stretch; some models lose heat quickly once opened. If uncovered cooking isn't recommended for that model, keep the lid on and switch to HIGH instead, stirring once or twice and judging by how the chili looks rather than a fixed number of minutes. It's ready when a spoonful coats the back of the spoon instead of running back into the pot. This step isn't optional for this recipe; without beans in the pot to add body, the chili needs this bit of starch to turn spoonable instead of soupy.
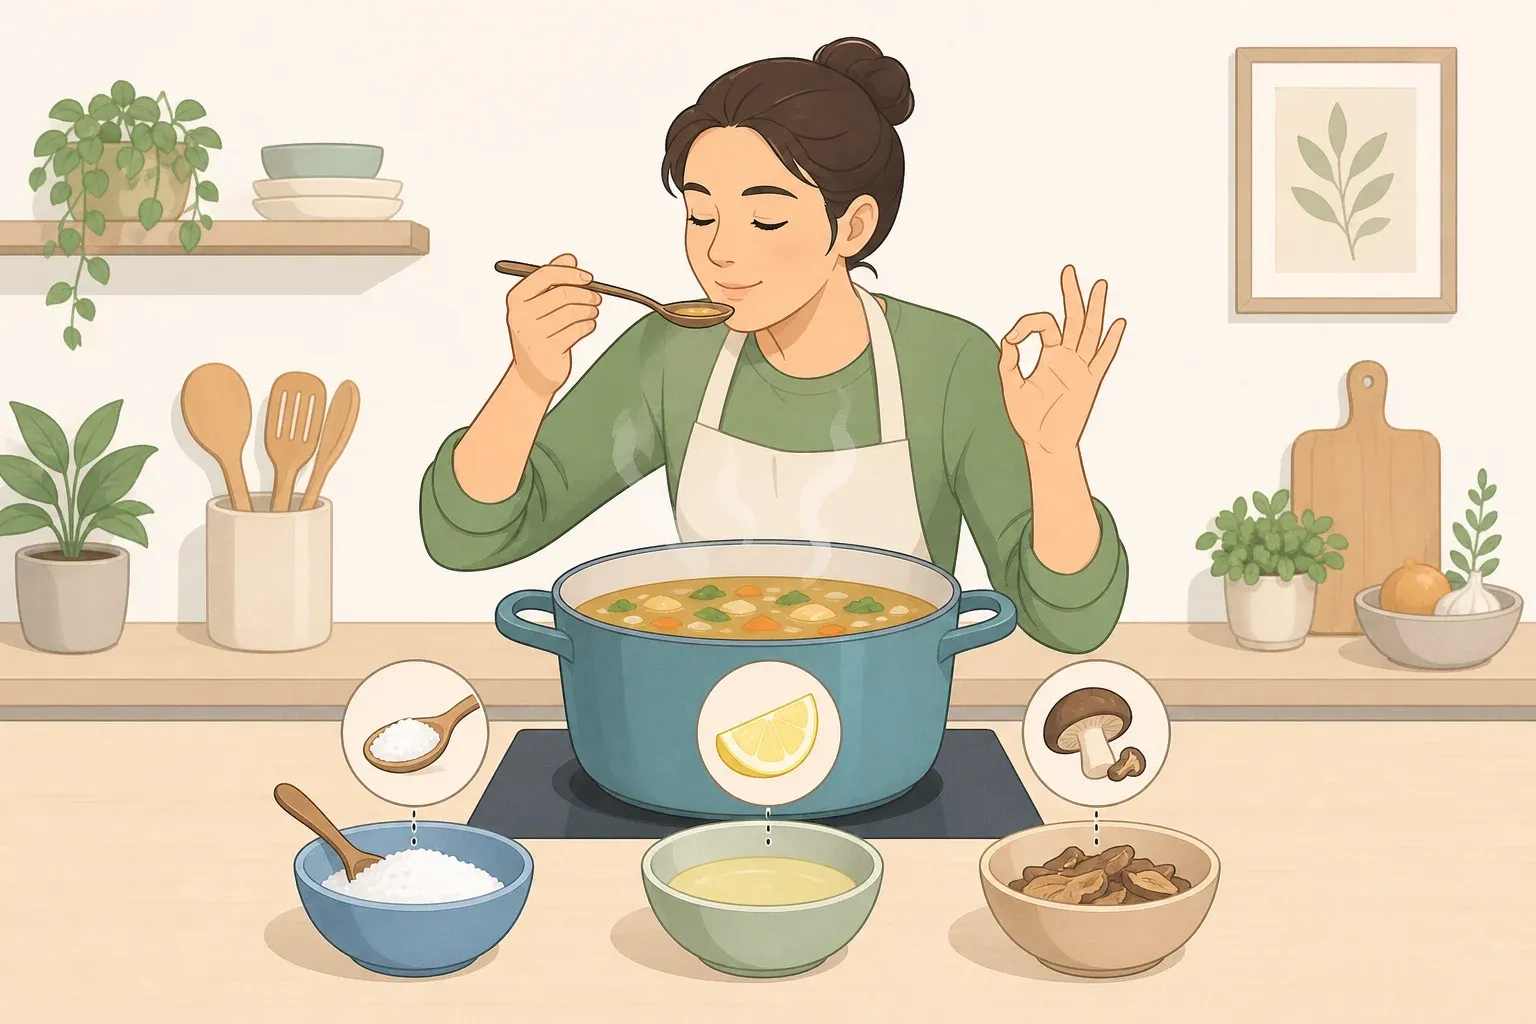
- Adjust salt only in the final minutes. Taste and add more if needed, but hold off on extra chili powder or heat if the batch is going to picky eaters. It's easier to add spice at the table than to pull it back out of the whole pot.
Confirm it's safe before serving
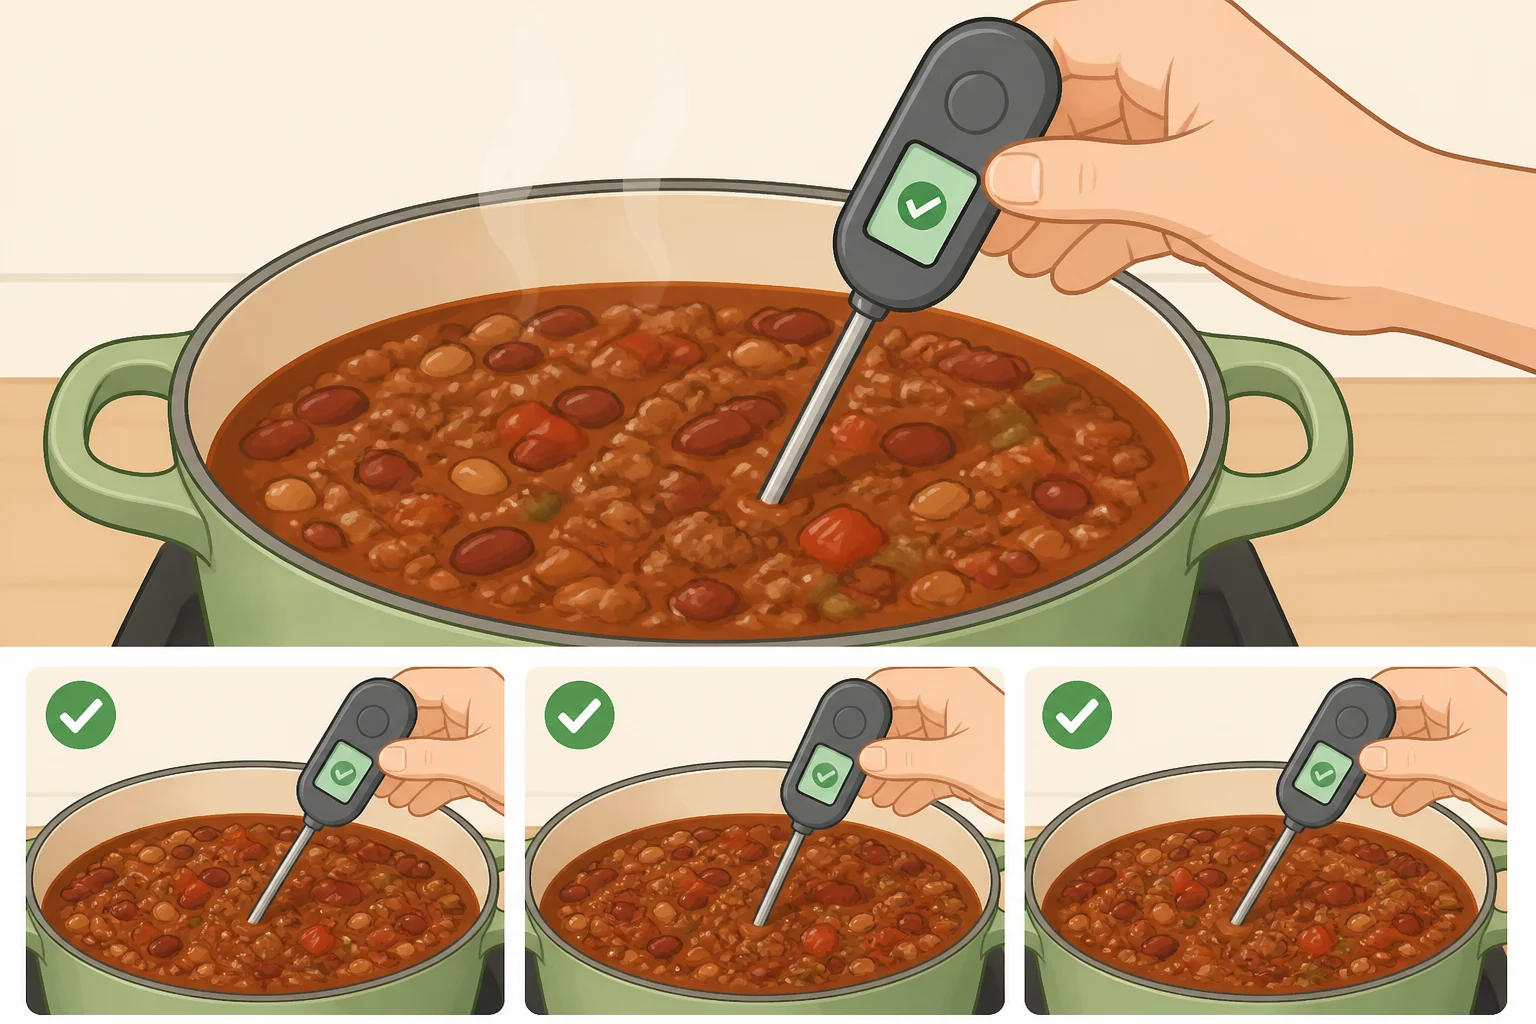
Insert a food thermometer into the thickest part of the chili near the center of the pot, the spot EatHealthy365 recommends checking first. Check a second spot in another thick part of the chili, keeping the probe away from the sides of the insert, since the ceramic wall can read hotter than the chili itself.
If either reading comes in under 165°F, cover the pot and keep cooking, giving it enough time to come back up to temperature before checking both spots again. Once every check reads 165°F or higher, the chili is safe to serve, regardless of how long it's technically been in the slow cooker.
Adjustments and troubleshooting
Chili tastes too acidic: stir in a teaspoon of sugar, which can soften the sharpness without adding heat. Add it a half teaspoon at a time and taste between additions rather than dumping it all in at once.
Chili is still thin after the masa harina step: mix another tablespoon of masa harina with a tablespoon of cold water, stir it in, cover, and keep cooking, checking every so often until it coats a spoon instead of pooling back into the pot. Resist the urge to add more liquid instead; that only compounds the thinning problem.
Chili turned out too thick: stir in a splash of broth, a tablespoon or two at a time, until it loosens back to a spoonable consistency. This tends to happen when the masa harina mixture sits too long before anyone checks it, so taste-test a little sooner on the next batch.
Vegetables are still noticeably textured despite grating: this usually means they were pulsed too coarsely the first time. Ladle a small portion into a deep, heat-safe container, let it stop actively bubbling, and blend it briefly with an immersion blender before stirring it back into the pot. Pulse in short bursts and check the texture between them; over-blending will break down the turkey crumbles right along with the vegetables.
Using leftover cooked turkey instead of raw: skip the browning step entirely. Combine the vegetables, crushed tomatoes, tomato paste, broth, and seasonings in the slow cooker and let the tomato base cook on HIGH for about 30 to 45 minutes so the flavors come together, following the timing EatHealthy365 gives for repurposing cooked turkey. Stir in the shredded or diced turkey for the final 10 to 15 minutes, just long enough to heat it through, then check it with the thermometer the same way as the main recipe before serving.
Finish, serve, and store
Success looks like a thick, spoonable chili with small turkey crumbles, a smooth tomato base, and no vegetable pieces standing out in a bite. If the spoon test from the thickening step still holds and both temperature checks come back at 165°F or higher, the batch is ready to serve.
For a first attempt with a hesitant eater, serve a small portion rather than a full bowl. Put shredded cheese, a small dollop of sour cream, or crushed tortilla chips on the side so the eater can adjust the dish themselves instead of facing something unfamiliar all at once.
Divide leftovers into a few shallow containers rather than refrigerating the whole pot as one deep mass; smaller portions cool faster once they're out of the danger zone. Refrigerated, this chili keeps for 3 to 4 days, and it freezes for up to 3 months, according to EatHealthy365. Reheat leftovers on the stovetop or in the microwave until they hit 165°F again rather than serving them cold or lukewarm.
Keep the seasoning mild on the first batch, and let what actually gets eaten at the table decide whether the next one needs any changes.
















Comments
Be the first, drop a comment!