



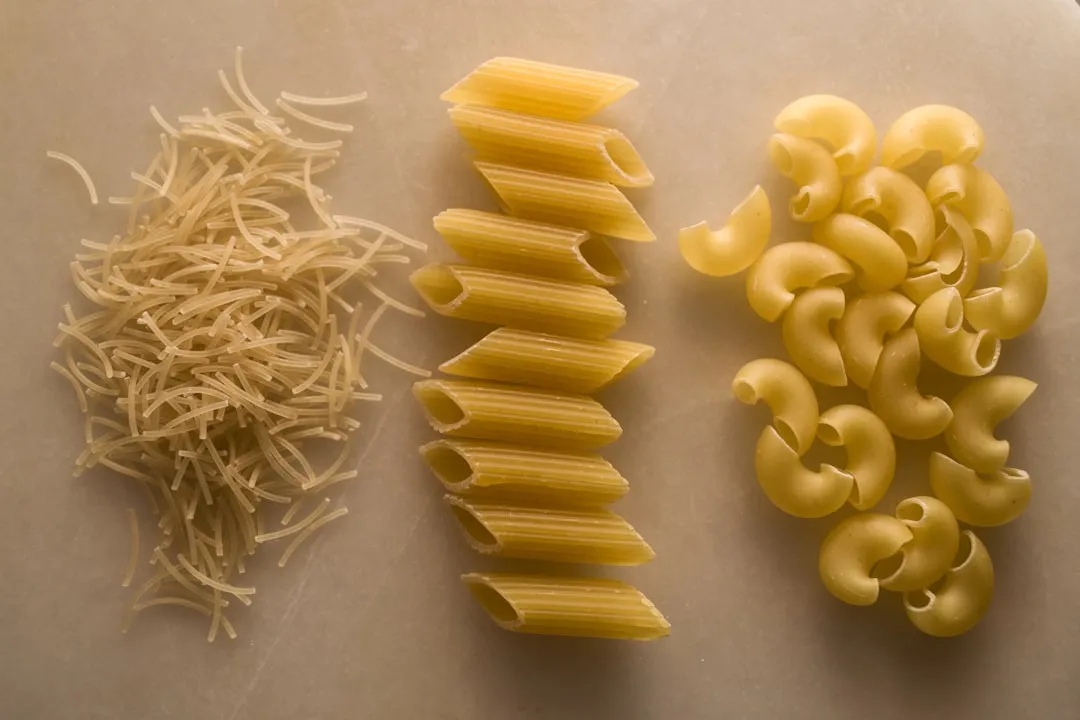
You might think you know everything there is to know about pasta shells—cook them, stuff them, or toss them with your favorite sauce. But here's something that'll blow your mind: you can actually transform those humble curved pasta pieces into crispy, golden snacks that rival any store-bought chip. This isn't some complicated culinary technique requiring fancy equipment or hard-to-find ingredients. We're talking about a simple method that uses basic pantry staples to create something completely unexpected.
The beauty of this approach lies in its simplicity and the fact that it repurposes pasta in a way most home cooks never consider. Instead of the traditional boil-and-sauce routine, you're creating an entirely new texture and flavor experience that works as appetizers, party snacks, or even crunchy salad toppers.
Difficulty: Novice
Time: 45 minutes
Cost: ~$8
Yield: 4-6 servings as snacks
Why You'll Like This (Quick Intro)
This technique takes ordinary pasta shells and transforms them into irresistible crispy bites that'll have your guests asking for the recipe. The process is surprisingly straightforward and budget-friendly, using ingredients you probably already have in your kitchen. What makes this hack so appealing is how it creates an entirely new snacking experience from something as basic as pasta—no special equipment required, just your regular oven and about 45 minutes of your time.
What You'll Need
Materials
8 oz (≈227 g) jumbo pasta shells (medium shells work too)
2-3 tablespoons olive oil
1/2 cup grated Parmesan cheese
1 teaspoon dried oregano
1/4 teaspoon red pepper flakes
2 garlic cloves, minced
Salt for pasta water
Tools
Large pot for boiling pasta
Large mixing bowl
18x13-inch (45x33cm) baking sheet
Colander
Safety First
Use oven mitts when handling hot baking sheets
Be careful when draining hot pasta water
Keep an eye on the pasta during baking to prevent burning
Steps
Preheat your oven to 400°F (200°C) while you prepare the pasta. According to research from The Kitchn, this temperature creates the perfect balance for achieving golden, crispy results without overcooking.
Cook the pasta shells according to package directions in generously salted water. You want them fully cooked, not al dente, since they need that initial tenderness before the oven transforms them—The Kitchn explains this complete cooking is essential for the technique to work properly.
Tip: Stir occasionally to prevent the shells from sticking together.
Drain the pasta thoroughly and transfer immediately to your large mixing bowl while still warm. The residual heat helps the seasonings stick better to each shell.
Add your flavor arsenal: drizzle with olive oil, then add the grated Parmesan, oregano, red pepper flakes, and minced garlic. The process of tossing everything together while the pasta is warm ensures the seasonings coat each shell evenly.
If this happens: If some shells seem dry, add a bit more olive oil rather than overdoing the cheese.
Spread the seasoned shells in a single layer on your baking sheet, making sure each piece has some breathing room. Overcrowding leads to steaming instead of crisping.
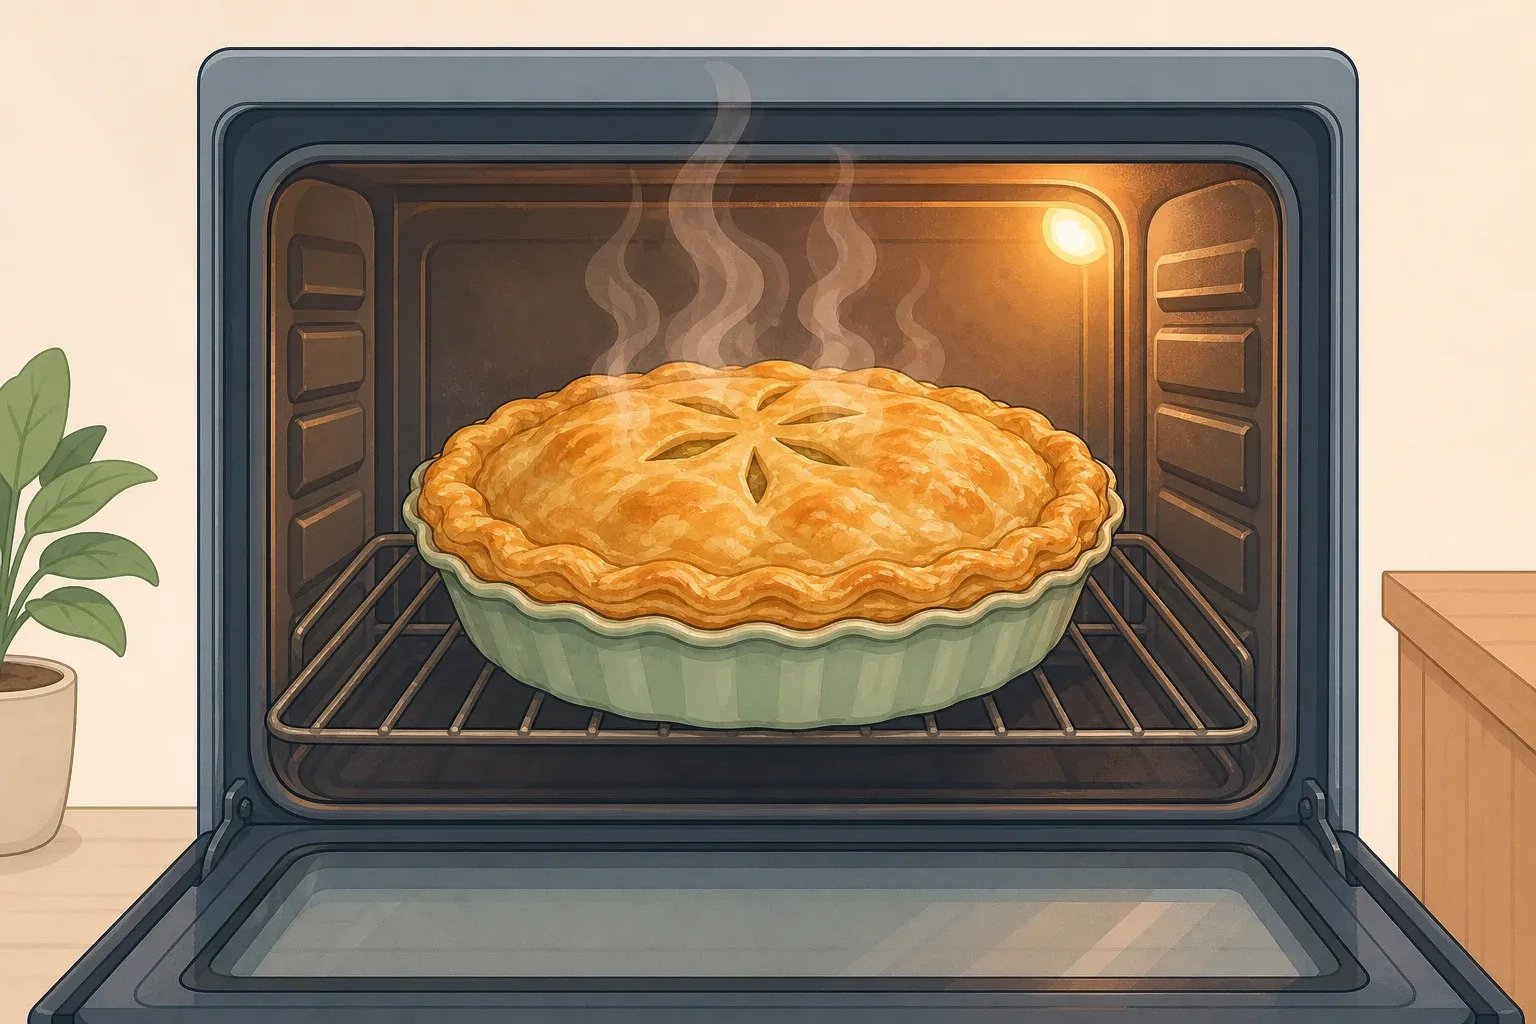
Bake for 20 to 30 minutes, checking at the 20-minute mark. The shells should emerge golden brown and crispy when properly done.
Visual cue: Look for edges that are golden and shells that sound hollow when tapped.
Why it works: The oven heat evaporates residual moisture from the cooked pasta while the oil and cheese create a golden, crispy exterior. The shells' curved shape provides multiple surfaces that crisp beautifully while their pockets hold onto all those delicious seasonings.
Cleanup & Disposal
Let the baking sheet cool completely before washing to prevent warping
Store any leftover seasoning blend in an airtight container for future use
Wipe down counters with warm, soapy water to remove any oil residue
Troubleshooting
Problem: Shells are browning too quickly → Fix: Lower oven temperature to 375°F (190°C) and extend cooking time
Problem: Some shells are soggy while others are crispy → Fix: Make sure shells are spread in a single layer with space between each piece
Problem: Seasonings aren't sticking well → Fix: Toss shells while they're still warm from cooking, and add a touch more oil
Variations & Upgrades
Air fryer option: Many home cooks report good results air-frying at about 350–380°F (175–190°C) for 8–12 minutes — check at 8 minutes and adjust for your model
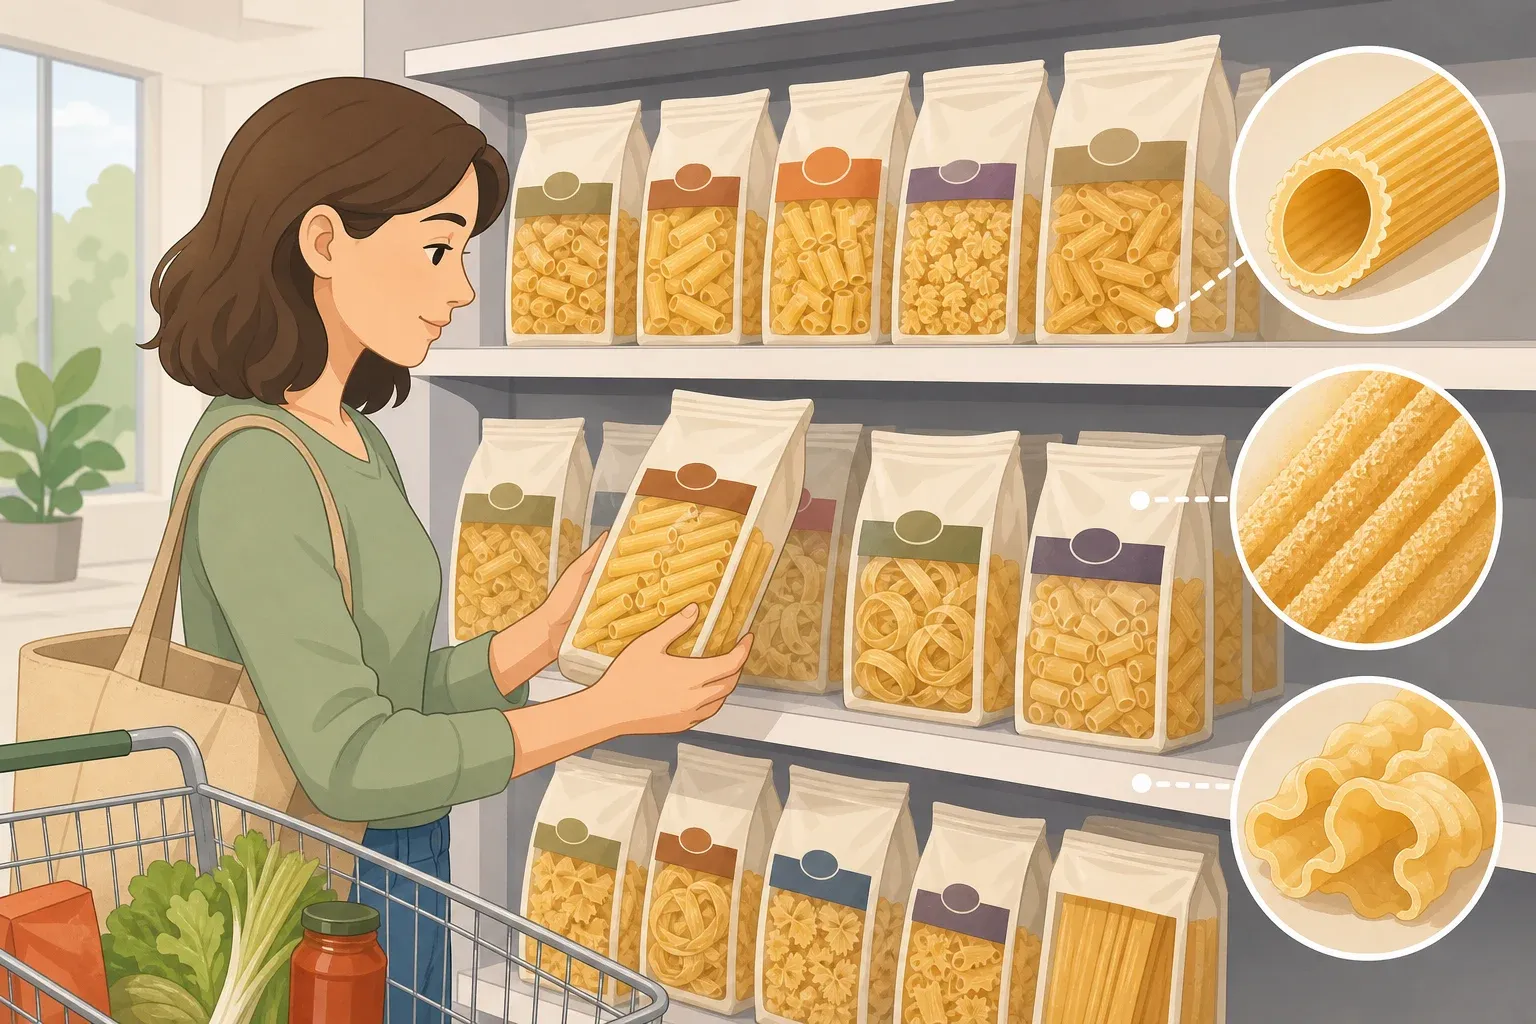
Different pasta shapes: This technique works best with bite-sized shapes like farfalle, orecchiette, or rotini
Shape warning: Avoid long pasta like spaghetti or linguine as they may overcook and become too crunchy
Flavor variations: Try Italian herb blends, everything bagel seasoning, or smoked paprika and cumin for different taste profiles
Dairy-free version: Substitute nutritional yeast for Parmesan cheese
FAQ
Can I make these ahead of time? Yes! Store cooled crispy shells in an airtight container for up to a week. If they soften, refresh them in a 350°F (175°C) oven for 5 minutes.
What if I only have different pasta shapes? Stick with shorter, sturdier shapes for best results. Each pasta shape holds seasonings differently, so you may need to adjust oil quantities slightly.
How do I know when they're done? They should be golden brown with crispy edges and make a slight hollow sound when tapped. Start checking at 20 minutes to prevent overbrowning.
This simple technique proves that the best kitchen discoveries often come from thinking beyond traditional methods. You're transforming everyday pasta into something that feels special and restaurant-worthy, using nothing more than basic seasonings and your regular oven. Whether you're hosting a party, looking for a unique appetizer, or just want a satisfying snack that's a step up from regular chips, these crispy pasta shells deliver every time.













Comments
Be the first, drop a comment!