



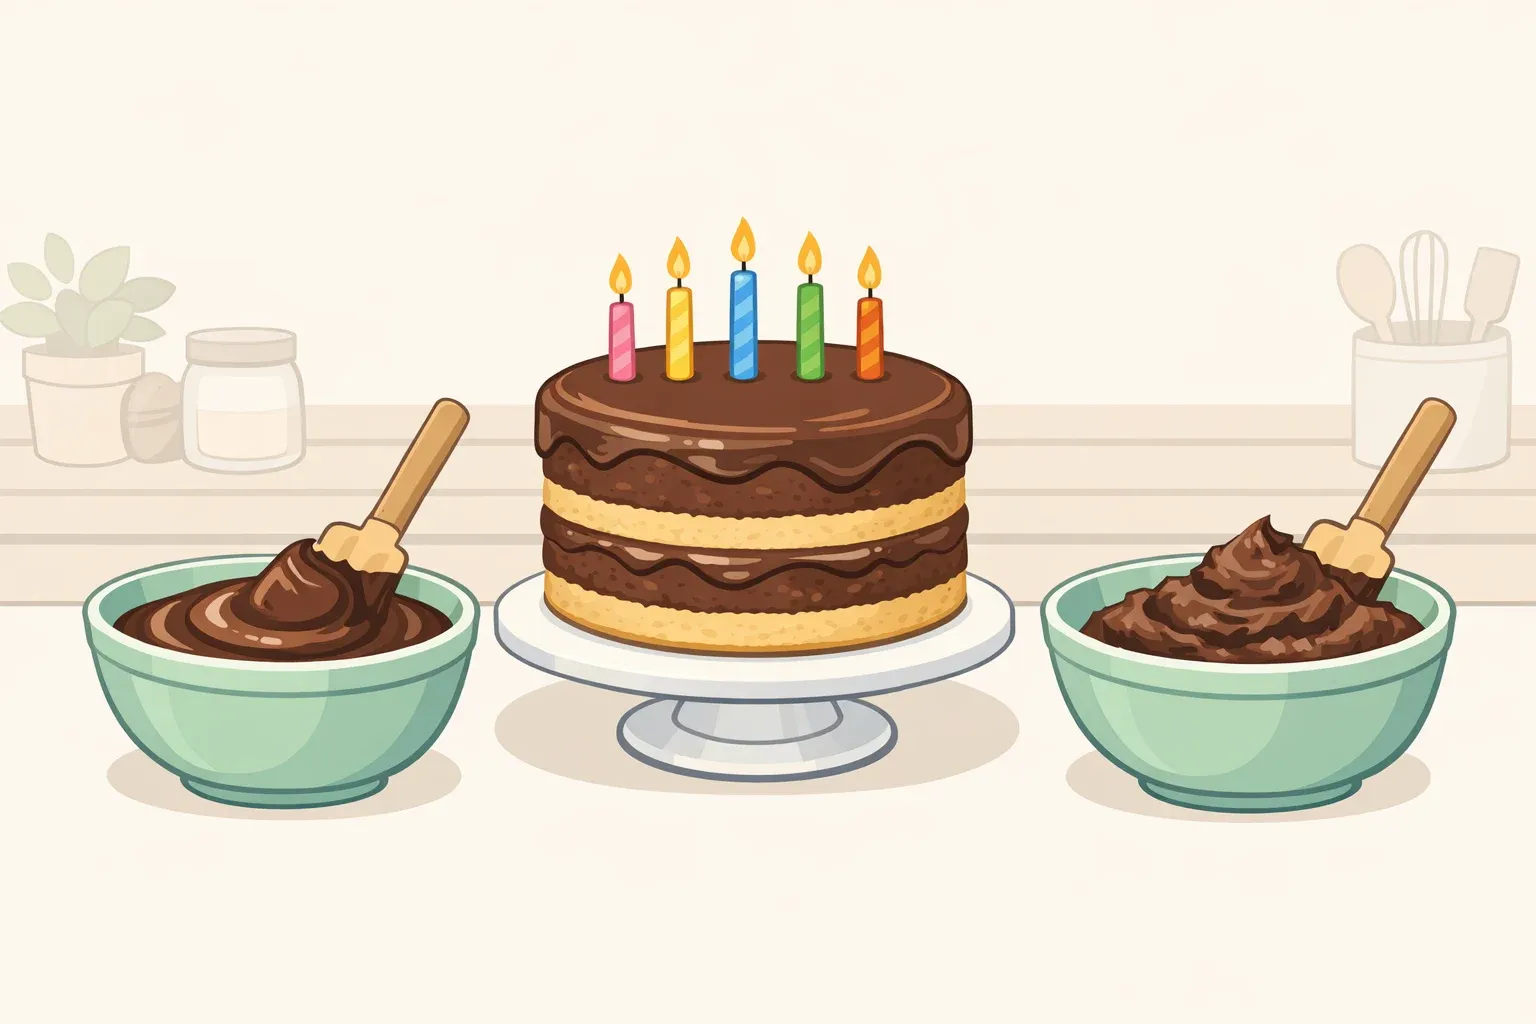
2 Ingredient Fudge Frosting: Which Method to Use for Birthday Cake
This guide covers two distinct approaches to fudge frosting for birthday cake. The first is a 2 ingredient fudge frosting built from chocolate chips and canned frosting, which sets firm and works as a dense inner layer or standalone chocolate component. The second is a 10-minute food-processor method that produces a properly spreadable, pipeable finish for the outside of a cake. By the end, you'll know which one matches your situation, how to execute it without a failed batch, and what the finished product should look, feel, and behave like before it goes on the cake.
Before anything else, establish your use case. The 2 ingredient method sets firm enough to slice into squares, per Bake It With Love. That makes it a legitimate dense filling or last-minute chocolate component not exterior frosting. The food-processor method produces a spreadable, pipeable frosting with a soft-fudge finish and more intense chocolate flavor than standard buttercream, as Tasting Table noted last May. Both are useful. Neither is interchangeable with the other.
What to use when quick reference:
- Use the 2 ingredient method if you need a firm fudge layer from pantry staples (works as a dense inner layer; do not use for piping or as a final coat)
- Use the food-processor method if you need spreadable frosting for the outside of a cake
- Transport-stable cake at room temperature for up to three days: food-processor method, per Sweetapolita
Why fudge frosting beats buttercream in specific situations and when it doesn't
The decision to use fudge frosting over chocolate buttercream is a use-case call, not a universal ranking. Understand the difference once and every subsequent decision follows from it.
Chocolate buttercream uses cocoa powder because the dry powder folds into whipped butter without deflating it, which is exactly the behavior you want when the goal is a light, sweet, airy topping. Fudge frosting typically uses melted chocolate instead. The fat in melted chocolate physically weights the mixture down, producing a denser texture, a glossy surface sheen, and a more concentrated chocolate flavor than cocoa powder delivers, according to Tasting Table. That compression is the mechanism, not a side effect.
Fudge frosting wins when the frosting is the part people notice first on the cake. Think of the classic yellow-birthday-cake-with-dark-chocolate-fudge combination most people recognize from childhood, where the frosting isn't background sweetness but the point. A rich vanilla-buttermilk layer cake built with eggs, extra yolks, and buttermilk makes the natural pairing, and the frosting reads as nostalgic rather than merely chocolatey against that base, as Sweetapolita describes. Buttercream is the right call when you want something lighter and sweeter, or when a soft, fluffy finish is part of the cake's appeal.
One flexibility note: fudge frosting exists on a spectrum. Some recipes whip the butter and sugar first, then add melted chocolate closer to buttercream in texture but richer in flavor. Others add butter and sugar directly to melted chocolate without whipping, producing a thicker, more decidedly fudge-like result, per Tasting Table. The food-processor method covered below lands in the whipped camp: fluffy enough to spread and pipe, fudgy enough to carry the intensity.
Method one: 2 ingredient fudge frosting as a cake layer
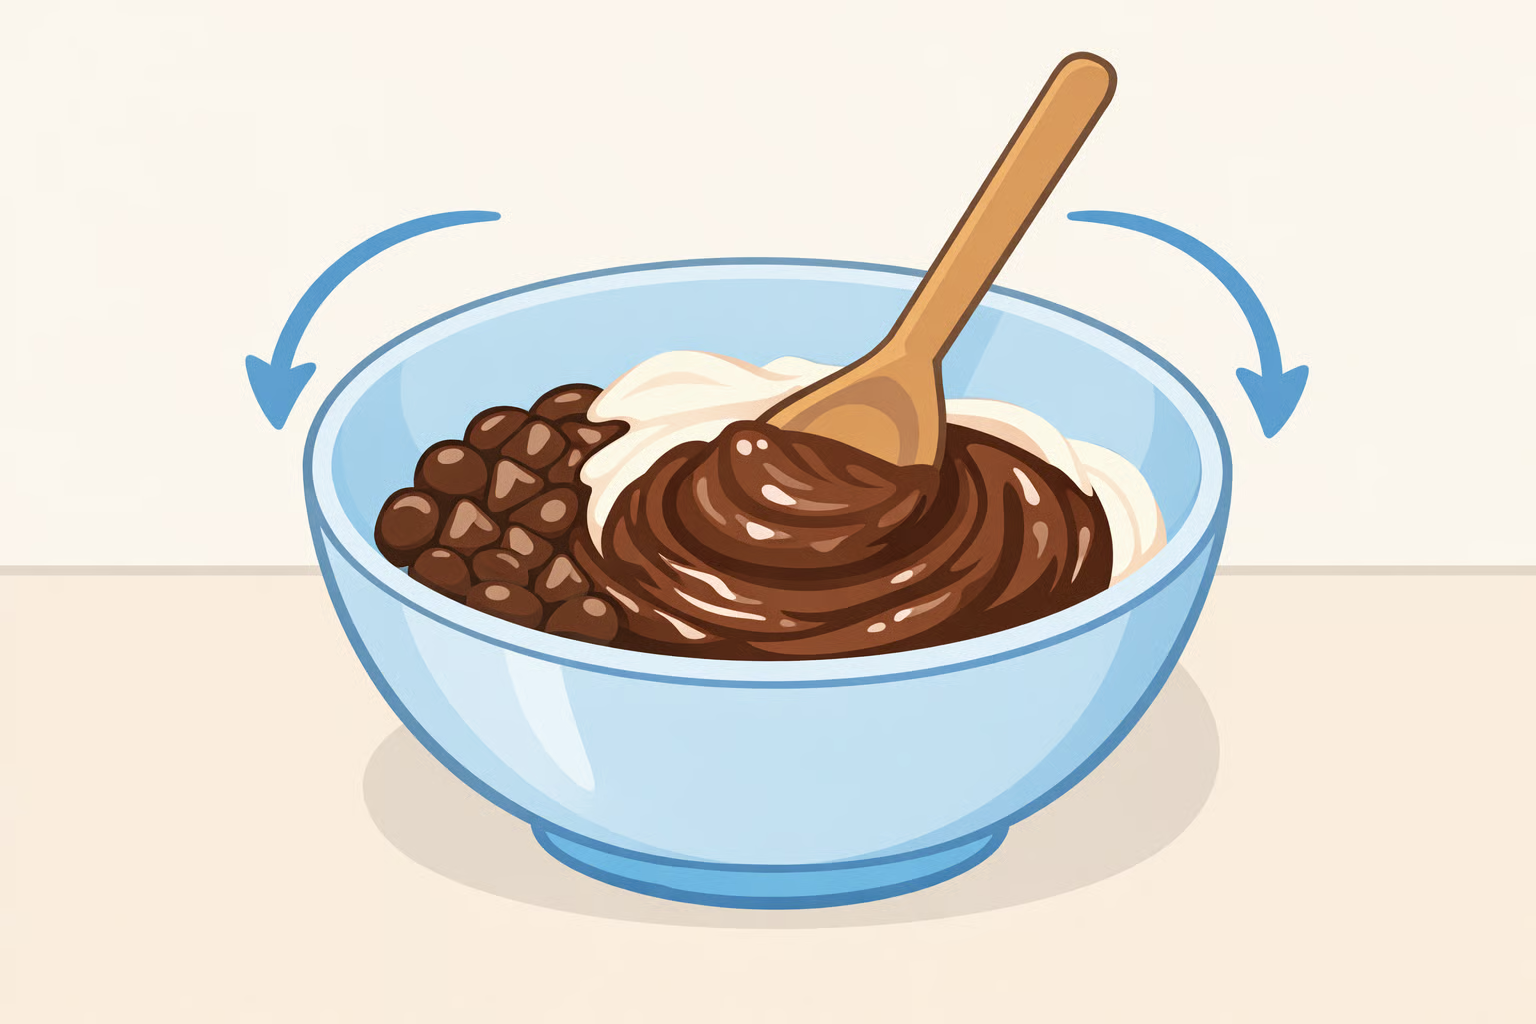
What this makes: Firm, sliceable chocolate fudge. It works best as a dense filling pressed between cake layers, a warm poured layer applied while still fluid, or a standalone chocolate component served alongside a frosted cake. It will not spread cleanly onto an exterior once cooled, and it is not suitable for piping. Decide how you're using it before you start the workable window while warm is short.
What you need: 12 oz semi-sweet chocolate chips, one 16-oz container of prepared chocolate frosting, a microwave-safe bowl, a greased 8x8 pan (for sliceable fudge) or a spatula ready for immediate use as a cake filling, per Bake It With Love.
Step 1: Melt the chocolate chips. Microwave in 30-second intervals, stirring between each pass, until smooth. Stop as soon as it's fully melted; continued heat beyond that point can seize the chocolate and turn the texture grainy. The bowl should feel warm, not hot.
Step 2: Stir in the frosting. Add the full container and stir until the mixture is uniform and glossy, per Bake It With Love. This is your application window. The mixture is warm, fluid, and workable. It will not return to this state once it cools. Don't walk away.
Step 3: Apply or set. For a filling or warm inner layer: spread the warm mixture onto the cake layer immediately, before it stiffens. If using it this way, keep it to a thin, even layer so it doesn't squeeze out under the weight of the tiers above. For sliceable fudge: pour into the greased pan, cover, and refrigerate for 30 minutes to quick-set, per Bake It With Love. Note that refrigeration is only for the initial quick-set when time is short storing finished fudge in the fridge will dry it out.
Checkpoint before moving on: The fudge should feel firm and hold a clean edge when pressed. If it's still tacky after 30 minutes of chilling, give it another 10. If used as a warm inner layer, it should be set enough that the next cake layer doesn't squeeze it out roughly 5 to 10 minutes of cooling after application.
Storage: Keep at room temperature in an airtight container for up to a month, per Bake It With Love. Refrigeration dries it out.
Method two: the 10-minute food-processor frosting
This is the method for a properly frosted birthday cake: spreadable, stable, glossy, and genuinely fudgy in character.
The defining feature is the technique. Every ingredient goes into a food processor at once, you pulse to incorporate, then run it to a smooth finish, per Sweetapolita. No creaming butter and sugar in stages, no careful sequencing. This instant fudge frosting recipe is simpler than it has any right to be, which is exactly what makes it worth covering over generic chocolate frosting advice.
What you need: A food processor. 6 oz quality unsweetened chocolate (melted and fully cooled to room temperature), 4½ cups confectioners' sugar, 1½ cups (3 sticks) unsalted butter at room temperature, 6 tablespoons half-and-half, 1 tablespoon vanilla extract, per Sweetapolita.
Critical prerequisite: butter temperature
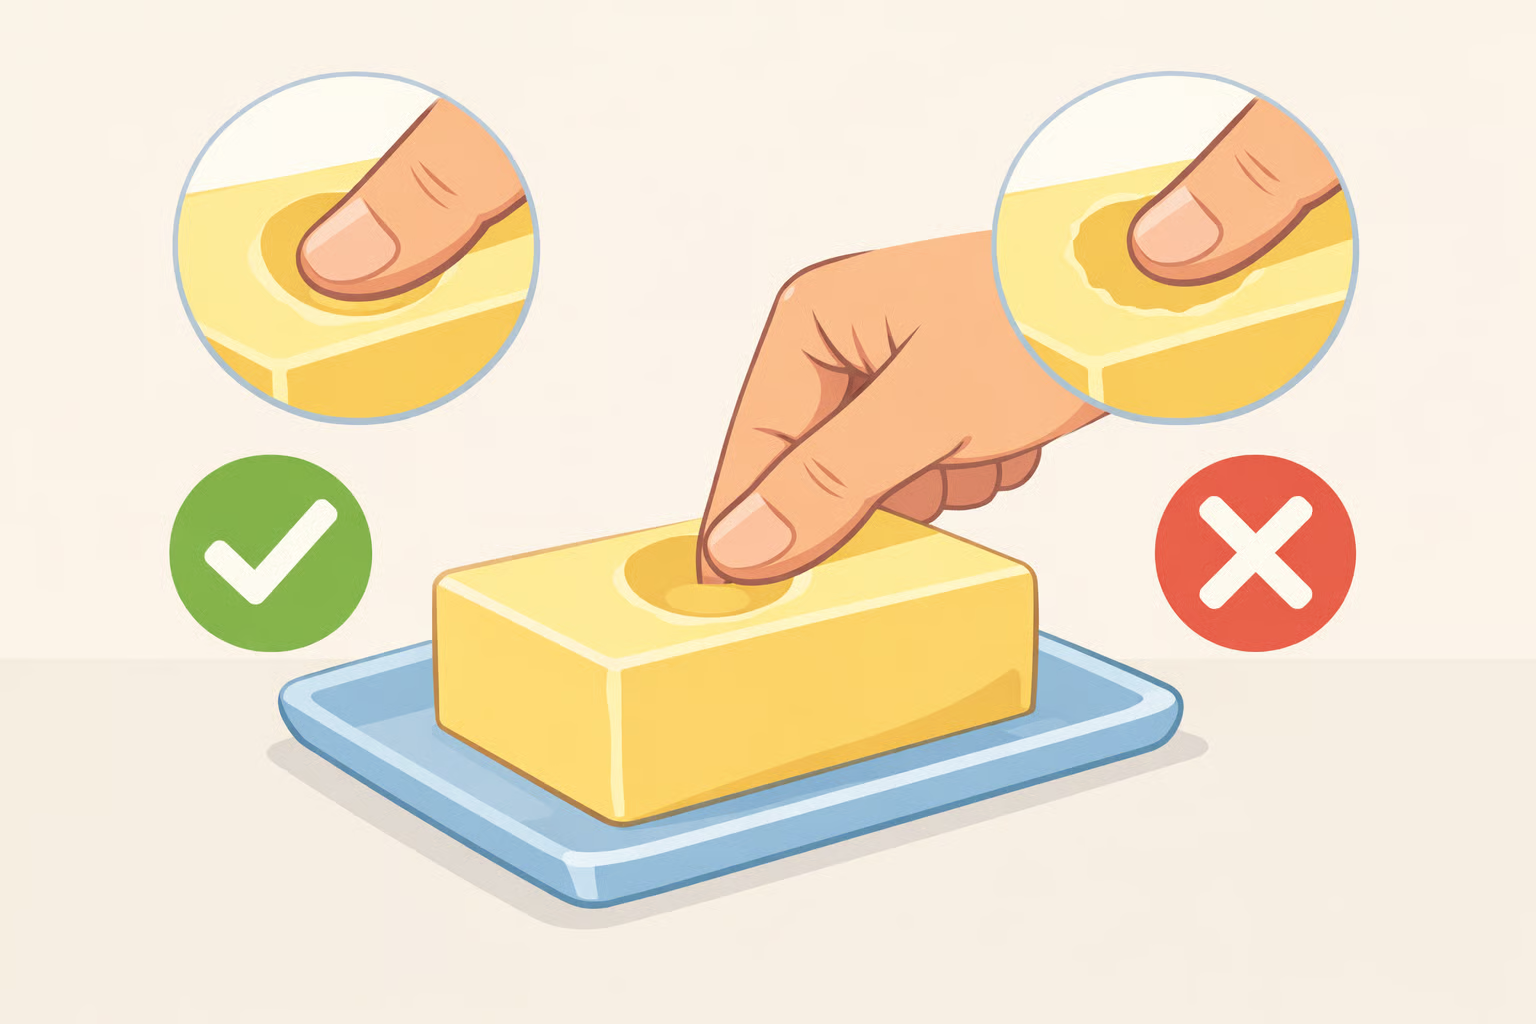
Butter that's too cold splits the mixture into lumps. Butter that's too warm loses the structure that holds the frosting's shape. The target is a stick that holds a thumbprint cleanly without grease transferring to your finger typically 30 minutes on the counter from refrigerator temperature, per Emma's Cake Studio. This is the most common failure point. Getting it right before you start is far easier than trying to recover after the fact.
Step 1: Load and pulse. Add all ingredients to the food processor. Pulse several times to incorporate before running it continuously this keeps confectioners' sugar from billowing out when the machine starts, per Sweetapolita.
Step 2: Process to smooth and glossy. Run the processor until the frosting is fully uniform. The final two to three minutes of sustained processing are what produce the characteristic glossy sheen and soft resistance not just a combined mixture, but a finished frosting, per Emma's Cake Studio. Don't cut this stage short.
Step 3: Adjust consistency. If it's too stiff to spread cleanly, add half-and-half or heavy cream one teaspoon at a time and pulse again. Heavy cream produces a firmer set once on the cake; milk thins it faster but holds shape less reliably after application, per Emma's Cake Studio. Err toward slightly thicker than you think you need.
Step 4: Apply immediately, or chill first for tall cakes. The texture is most workable right after making, per Sweetapolita. For a two-layer or taller build, refrigerate the frosting for 20 minutes before assembling it firms enough to support the upper layers without sliding, per Emma's Cake Studio. On tall cakes, skipping this chill usually leads to sliding layers.
Checkpoint before serving: The finished frosting should be glossy, hold a defined edge when spread or piped, and pull slightly from a spatula rather than dripping. A dull or grainy result usually means the butter was too cold or the final processing stage was cut short. Once frosted, the cake keeps well under a cake dome at room temperature for up to three days, per Sweetapolita.
Make-ahead: Store in an airtight container in the refrigerator for up to five days, per Emma's Cake Studio. Bring fully to room temperature, then re-whip before using. Skipping the re-whip produces a dense, flat spread with none of the gloss the re-whip restores both texture and finish.
Yield: One batch covers a two-layer cake or approximately two dozen cupcakes, per Emma's Cake Studio. For three layers or a generous filling between tiers, make one and a half batches.
What finished fudge frosting should look and behave like
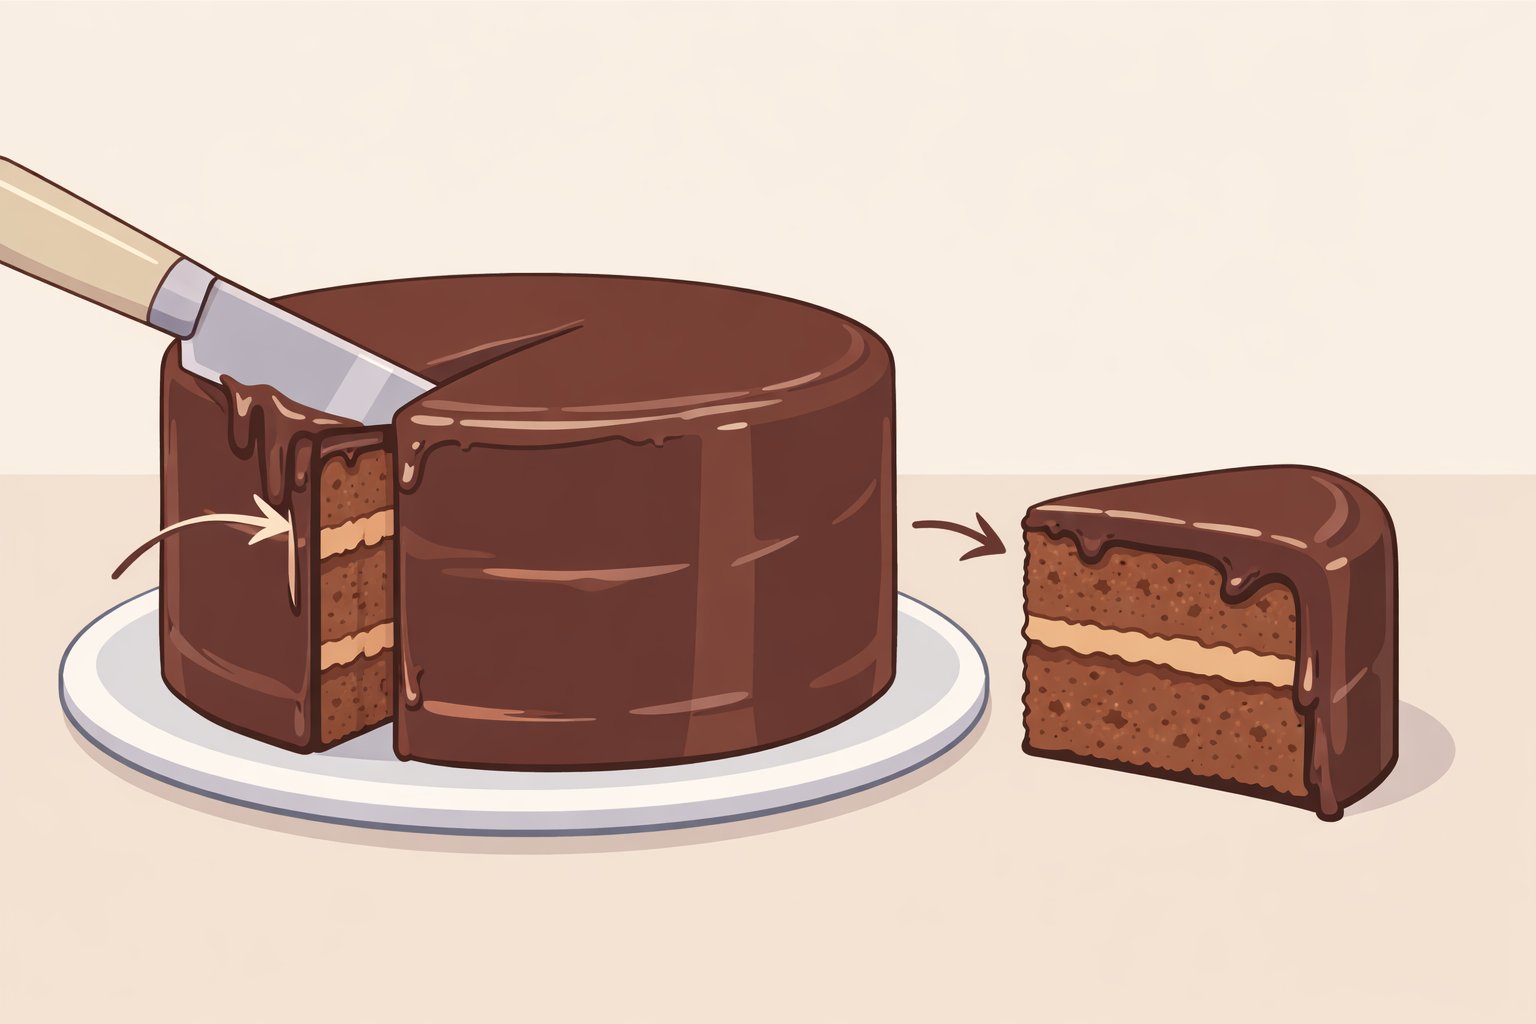
A few details about what to look for once the frosting is on the cake, and what they signal about whether the method worked.
The gloss is structural, not decorative. The sheen comes from fat in the melted chocolate compressing the mixture into a denser, smoother finish than cocoa powder produces on its own, per Tasting Table. A dull or matte surface usually means the chocolate was slightly overheated before incorporation, or the butter was too cold when mixed. If deeper chocolate intensity is the goal, Dutch-process cocoa in a cocoa-based variation delivers noticeably more flavor than natural cocoa, per Emma's Cake Studio though you won't get the same textural payoff as with fully melted chocolate.
Salt is functional, not finishing. A pinch sharpens the chocolate and keeps the finished frosting from reading as merely sweet, per Emma's Cake Studio. Leave it out and the profile flattens. This applies whether you're using the food-processor method or any cocoa-based variation.
On a sliced cake, the frosting should pull slightly from the knife not crumble, not drip, but pull. That soft resistance is what "fudge finish" means in practice. It comes from the fat content and final processing time working together. If the slice is clean with no pull at all, the frosting was likely overchilled before serving.
The best fudge frosting for cake: which method to use
Two methods, two purposes.
The quick chocolate fudge frosting built from just chips and a tub of prepared frosting is a valid last-minute component or dense inner layer compact, reliable, and genuinely useful when you understand what it is. Don't ask it to do something it can't: no piping, no exterior coat, no spreading once it's cooled.
The food-processor version is the answer for a properly frosted birthday cake: spreadable, stable, pipeable, and built to deliver the classic yellow-cake-and-chocolate-fudge pairing that holds at room temperature through a full birthday party.
Understand which one you need, confirm your butter is at the right temperature if you're going the food-processor route, and the hard part is already done.









Comments
Be the first, drop a comment!