



5 grilling mistakes that ruin steak (and how to fix them)
Most steak failures trace back to three causes: mismanaged heat, mismanaged moisture, and rushed timing. Fix those and the cooking becomes almost automatic. The five grilling mistakes that ruin steak below aren't random they're expressions of one underlying problem: treating a steak like something that just needs heat applied to it, rather than a process with physical requirements and a built-in schedule. See the system and each fix makes obvious sense.
Before any of this applies, thickness matters. A steak under ¾ inch cooks through before a proper crust has time to form, per BBQ Report this month. A 1-inch steak is the practical minimum for the two-zone technique described here; anything over 1.5 inches is better handled with a reverse sear, where indirect heat comes first and a brief direct sear finishes the job. Working with a thin ¾-inch strip? Cook fast over direct high heat and pull early. Two-zone cooking won't help you there.
Two pieces of physics underpin nearly everything below. First, the Maillard browning reaction that builds a steak's crust requires surface temperatures above 280°F, but water boils at 212°F meaning any surface moisture blocks browning until it fully evaporates, per The Grilling Science earlier this year and NC State food science research in 2024. Second, color alone cannot confirm doneness. The USDA says color is not a reliable indicator of whether meat has reached a safe internal temperature and recommends a food thermometer instead. Both facts show up in nearly every mistake below.
Common steak grilling mistakes: running one heat zone instead of two
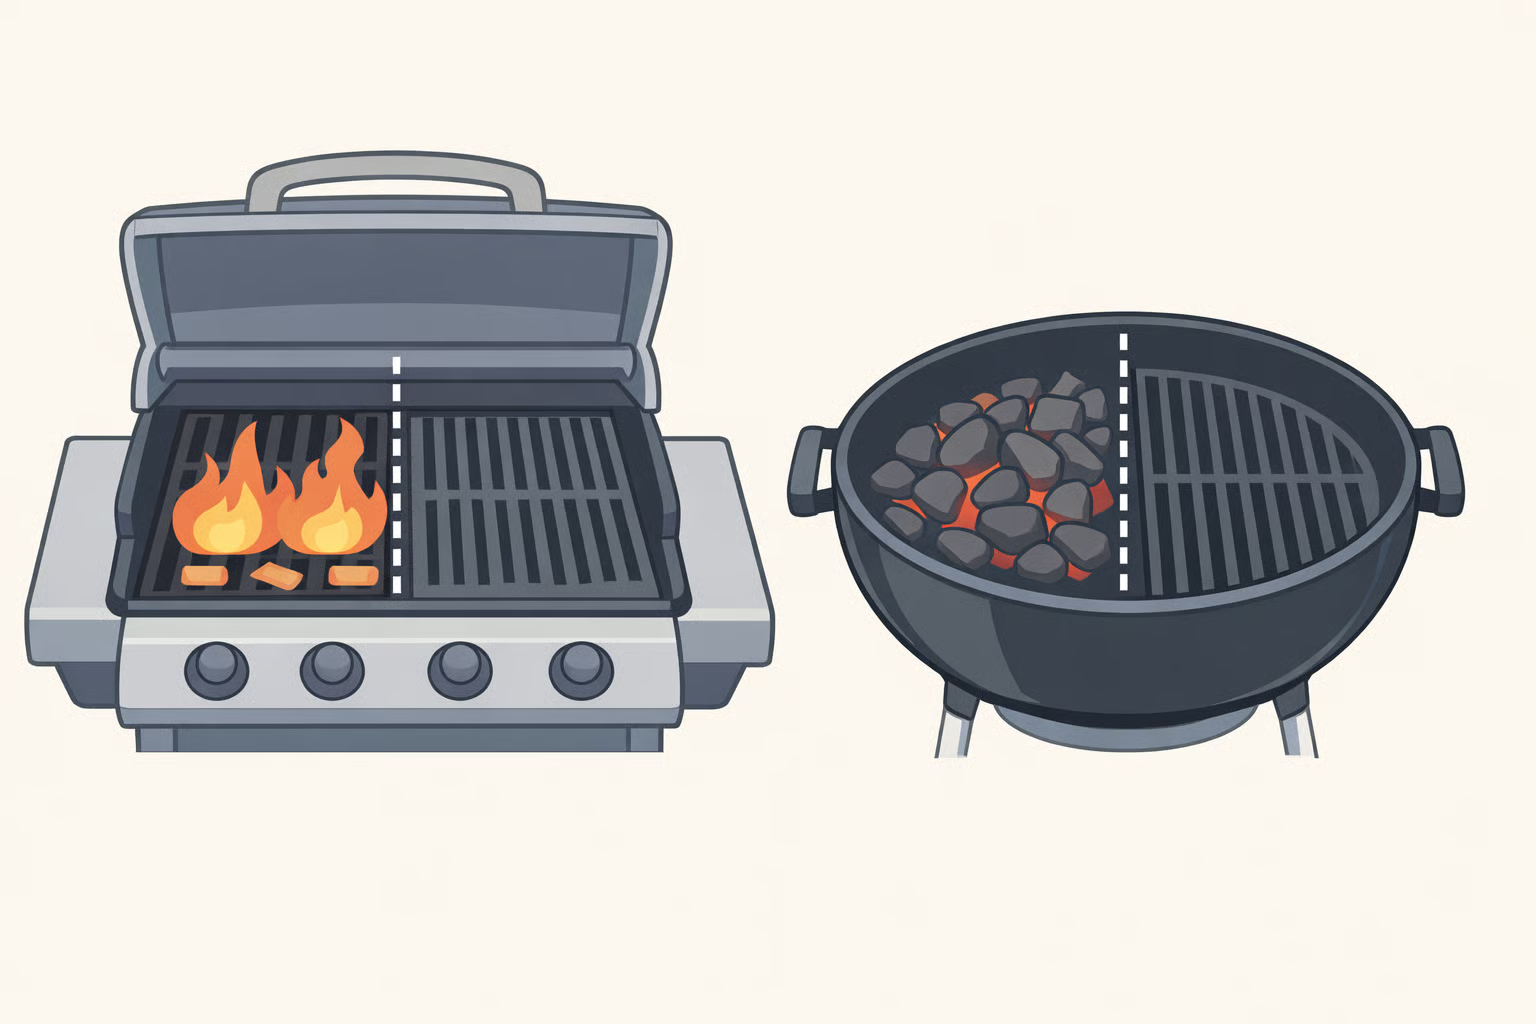
Lighting all burners at the same level, or spreading charcoal evenly across the grate, is the single biggest setup error beginners make, per BBQ Report this month. It forces a trade-off between building crust and controlling internal temperature, and it eliminates options when fat starts rendering.
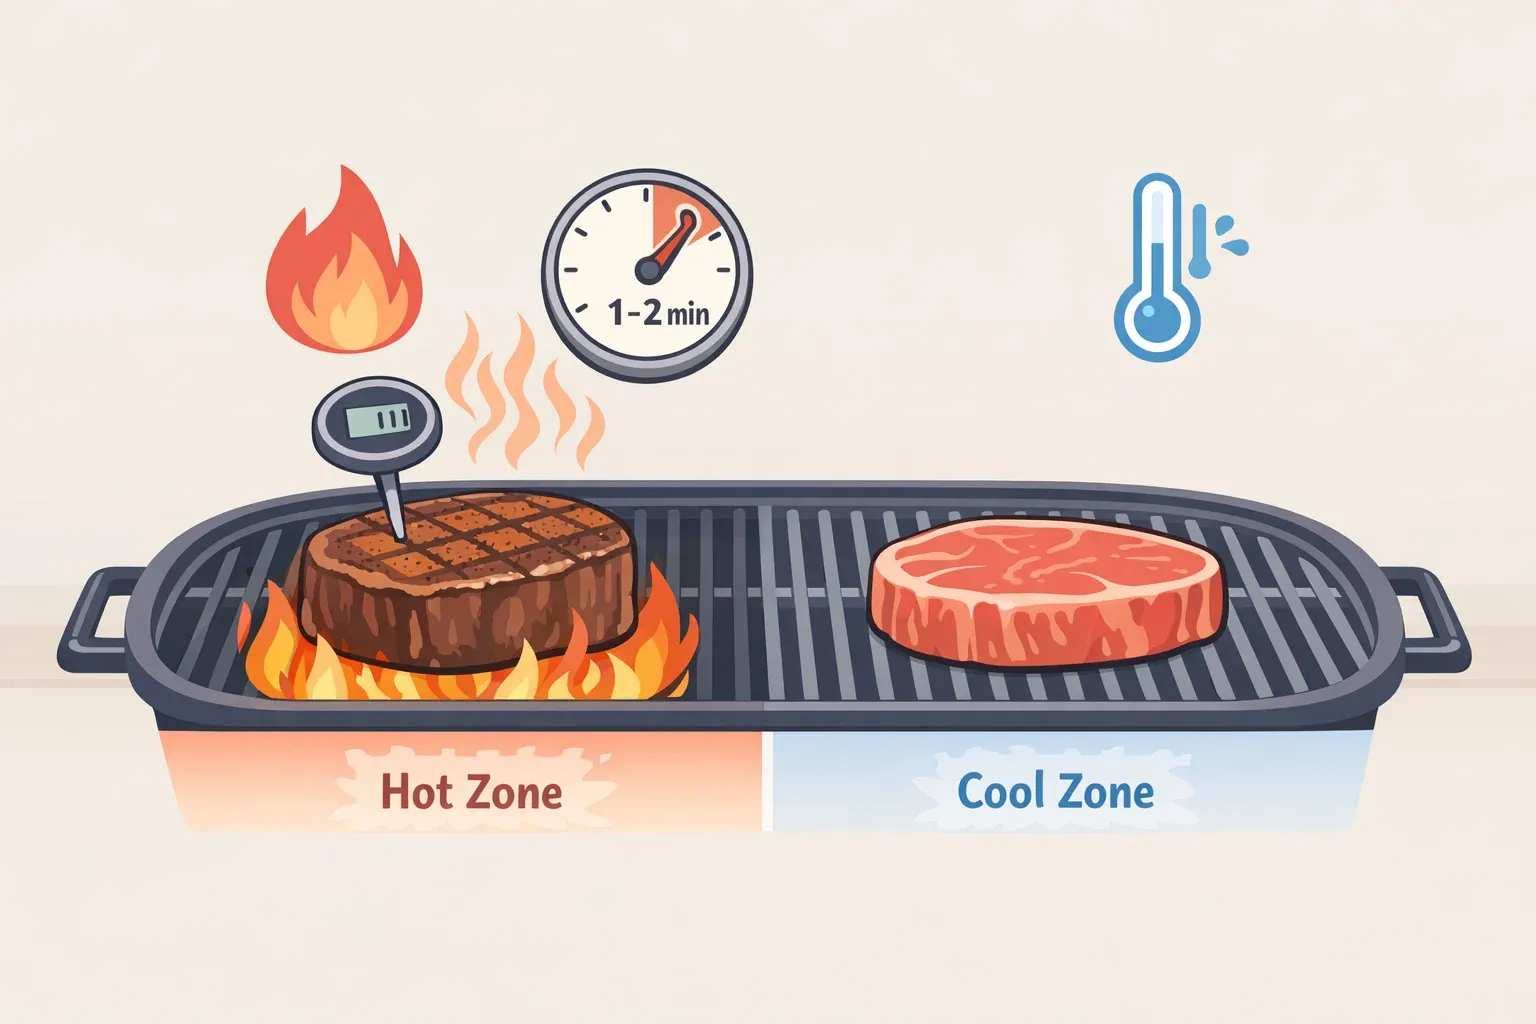
Fatty cuts like ribeye drip rendered fat onto grill surfaces that can reach 500°F or higher, per Price of Meat this month. Without a cool side to move the steak to, flare-ups char the exterior before the interior finishes. Two zones give one side for aggressive searing and one for controlled finishing a setup Price of Meat calls non-negotiable for flare-up safety.
Setup takes two minutes. On a gas grill, light only half the burners and let the hot zone reach 450–500°F before the steak goes on, per BBQ Report this month. On charcoal, push all ashed-over coals to one side; the opposite half then has no direct fire underneath it at all, per Price of Meat this month.
Knowing how to prevent grill flare-ups starts before the steak hits the grate. Trim fat to about ¼ inch on cuts like ribeye, clean the grates by heating and scrubbing, and empty grease traps if the grill hasn't been cleaned recently three steps that address most flare-up conditions before they can start, per Price of Meat this month.
When flames appear anyway:
- Flames 1–3 inches high: close the lid and wait 30 seconds. Cutting oxygen usually settles it, per Price of Meat this month.
- Flames reaching 6 inches or more: move the steak to the cool zone first, then close the lid, per Price of Meat this month.
- Never douse with water.
Sear over direct heat 2–3 minutes per side with the lid open, then move to indirect heat and close the lid to finish, per Price of Meat this month. That sequence is only possible because the cool zone exists.
Mistake 2: Putting a wet steak on the grates
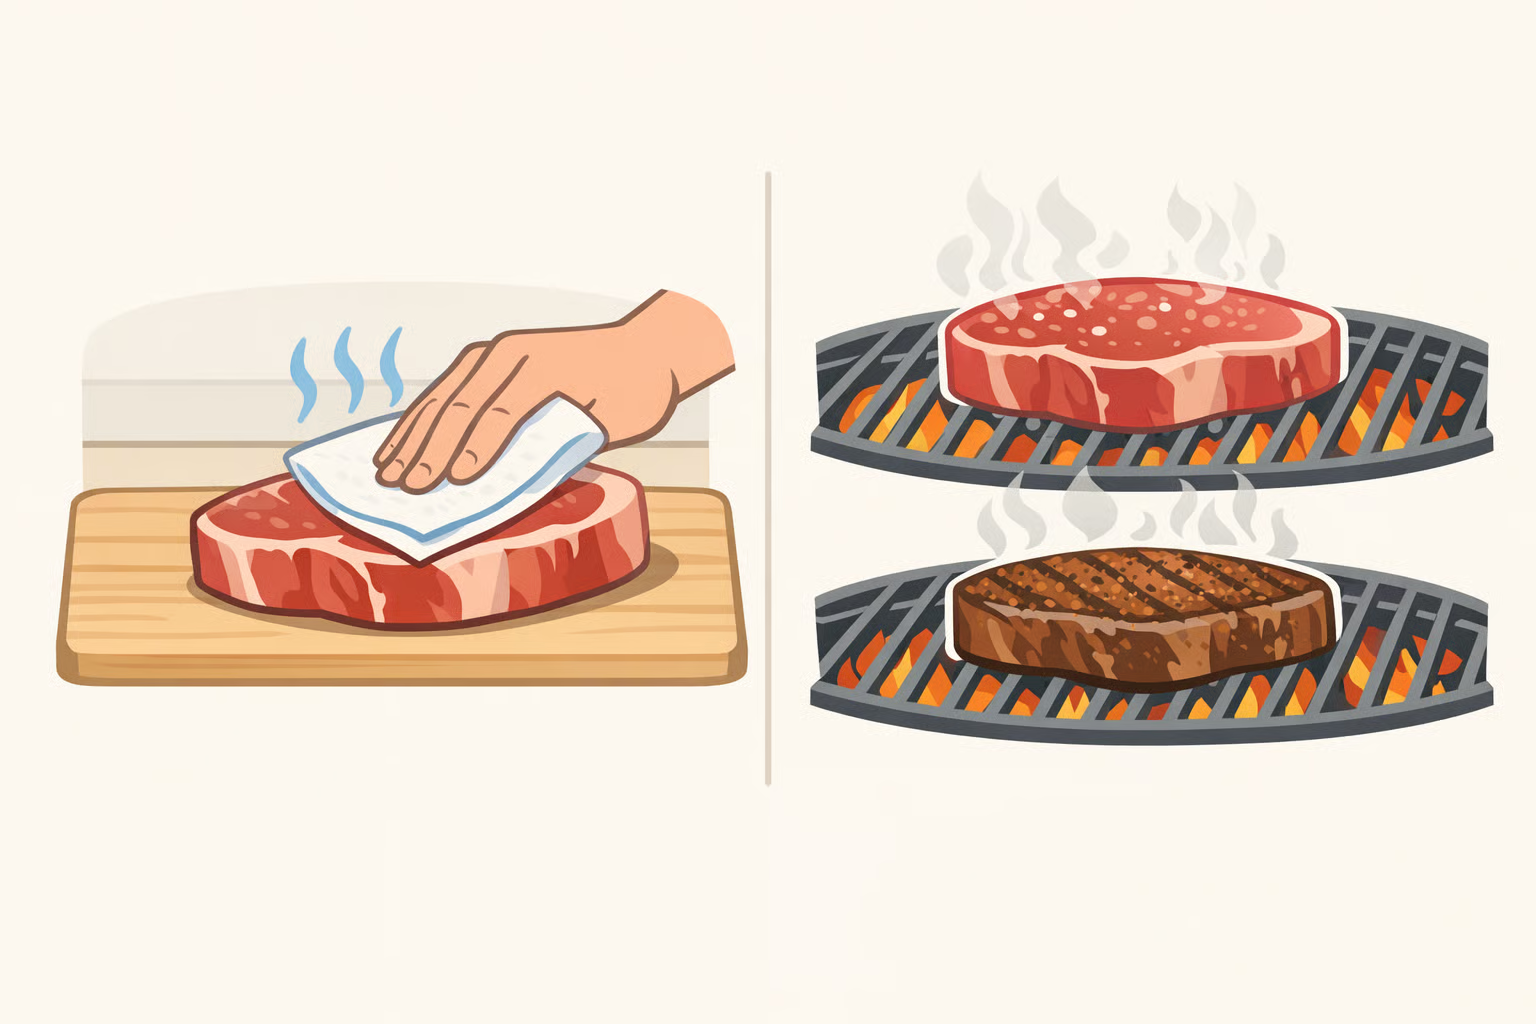
This section covers non-salt moisture: marinade residue, packaging liquid, or simply skipping the pat-dry step. Salting timing gets its own section below.
Surface water holds the steak's exterior at 212°F until it fully evaporates. Maillard browning needs at least 280°F to begin and runs efficiently around 350°F, per NC State food scientist Gabriel Keith Harris in 2024, who describes surface dehydration as "one of the first important steps to getting a Maillard reaction going." Not a prep bonus the physical prerequisite for browning to happen quickly. A wet steak steams rather than sears. The outcome is predictable: dry surfaces brown, wet surfaces turn grey, per BBQ Report this month.
The fix:
- Pat every surface dry with paper towels before applying oil or seasoning, even if the steak looks dry already, per BBQ Report this month.
- If dry-brining (see Mistake 3), rest the steak uncovered on a wire rack in the refrigerator. The surface dries further as the salt reabsorbs, per The Grilling Science earlier this year. Before grilling, it should look slightly tacky, not wet.
- Apply oil to the grates just before the steak goes on, per BBQ Report this month. Use a high-smoke-point oil. Butter burns before a proper crust can form its smoke point is around 350°F, per BBQ Report so save it for after the rest.
One reliable signal worth knowing: if the steak sticks when trying to flip it, the crust is still forming. Wait. A properly seared steak releases cleanly from the grate when the sear is complete, per BBQ Report this month.
Mistake 3: Salting at the worst possible time
There's a 30-minute window that actively makes steak worse, per The Grilling Science earlier this year. Most people salt right in it.
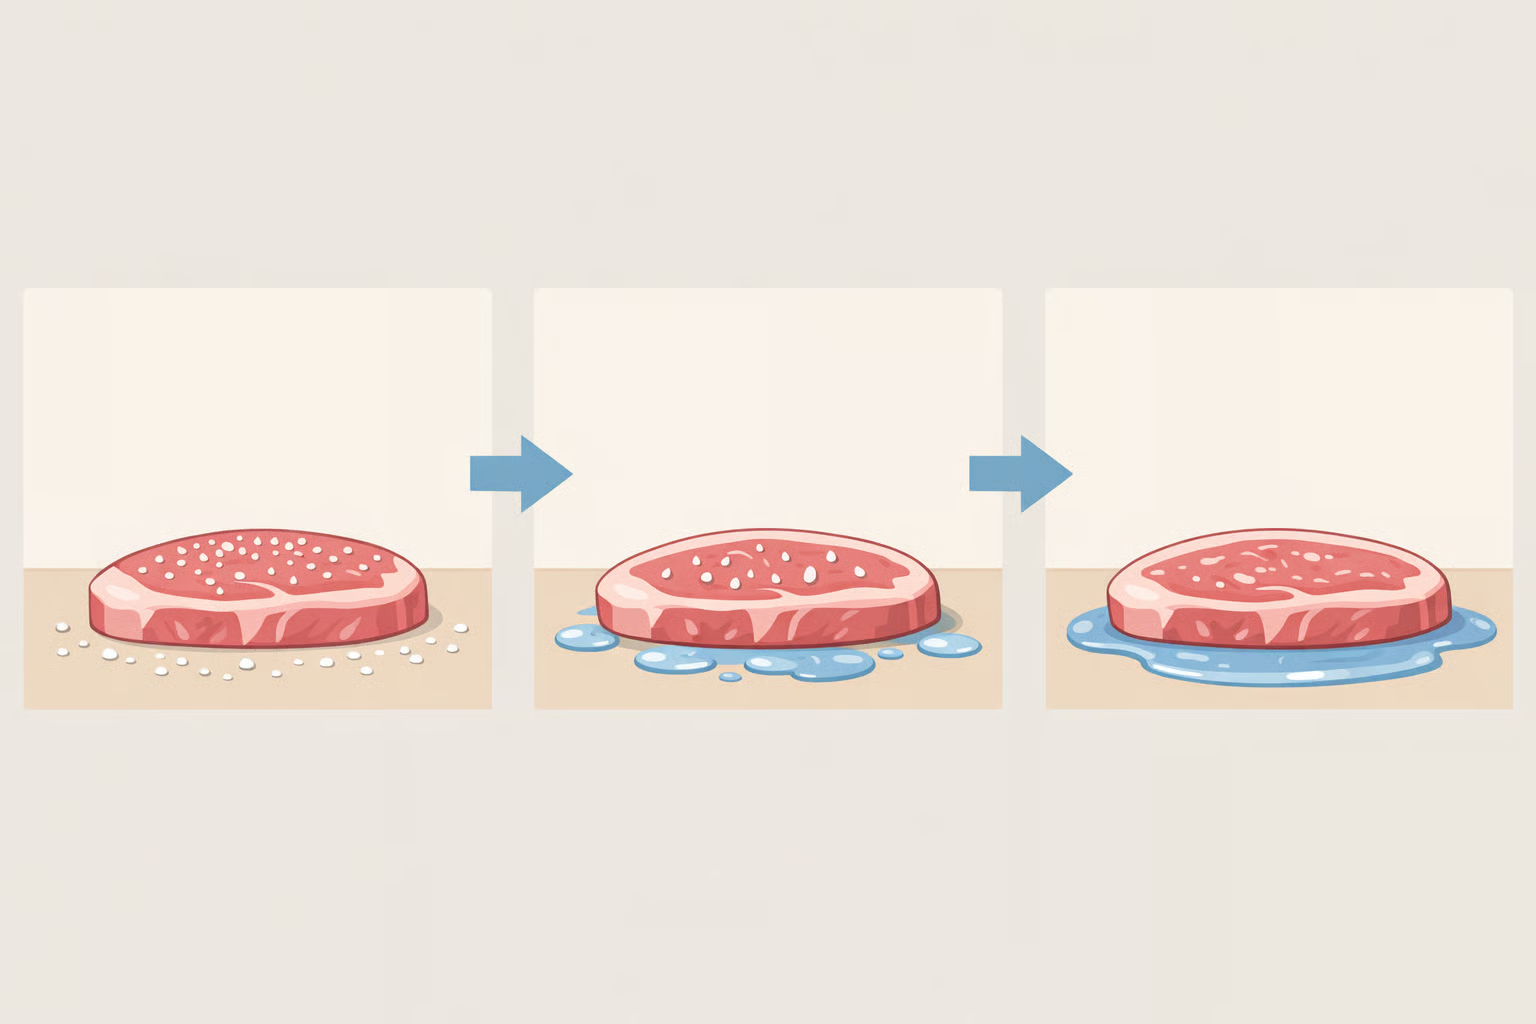
Salting 10–30 minutes before grilling catches the steak mid-process: osmosis has pulled moisture to the surface, but reabsorption hasn't happened yet. The surface is wet and resistant to browning. The interior is drier than it was before salting. Both problems from one timing error.
The three phases make the decision obvious:
- 0–3 minutes after salting: Salt dissolves in surface moisture and sits on the exterior. The surface stays relatively dry. Seasoning is surface-level only, but this is a workable window, per The Grilling Science earlier this year.
- 3–30 minutes: Osmosis draws moisture out of the meat cells. Visible beads of liquid appear on the surface within 5–10 minutes. Cook now and a wet surface resists browning while the interior has lost moisture it hasn't recovered, per The Grilling Science earlier this year.
- 40+ minutes: The drawn-out moisture reabsorbs, carrying dissolved salt back into the meat. The surface dries significantly. Salt begins breaking down muscle proteins through denaturation, which improves moisture retention during cooking, per The Grilling Science earlier this year the superior method by every measurable metric.
Two valid approaches; pick one based on available time. Salt within 3 minutes of grilling if cooking immediately. Salt at least 40 minutes ahead, uncovered on a wire rack in the refrigerator, if there's time. Timing by thickness, per The Grilling Science earlier this year:
- 1-inch steak: 1–2 hours
- 1.5-inch steak: 2–4 hours
- 2 inches and above: 4–8 hours or overnight
Overnight works well. Past 48 hours, the surface can start taking on a cured, ham-like texture The Grilling Science recommends keeping the window under 24 hours as a practical ceiling.
If planning fell through, salt immediately before. Never in the middle.
One practical note on salt type: use kosher salt. Diamond Crystal is the standard reference for recipe volumes. Morton's is about 50% saltier by volume due to denser flake structure, so use roughly one-third less if that's what's on hand, per The Grilling Science earlier this year.
Mistake 4: Guessing doneness instead of measuring it
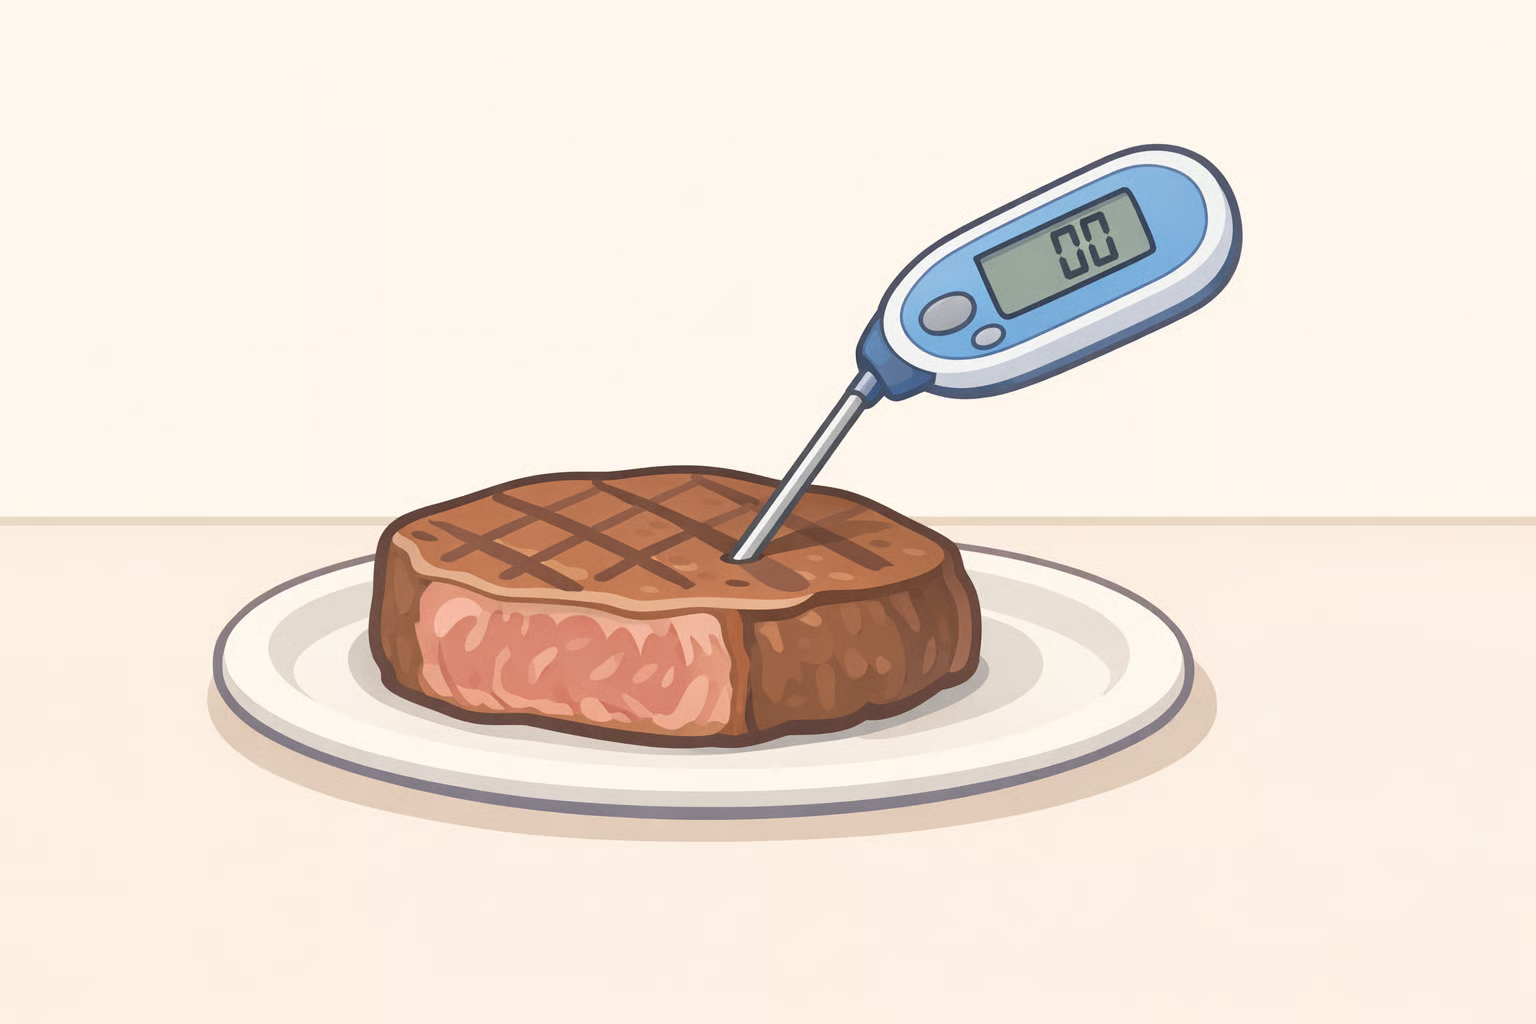
Cooking time, visual color, and the finger-press test all shift based on cut thickness, starting temperature, grill heat, and how often the lid was opened. None of them is a fixed reference point. Internal temperature is the only reliable measurement of doneness, per BBQ Report this month.
Color deserves particular skepticism. The USDA states that color is not a reliable indicator of doneness and recommends using a food thermometer to verify safe internal temperatures. Their safe minimum for whole-muscle beef steaks is 145°F. Many cooks prefer medium-rare, which finishes around 130–135°F well below that threshold. The 145°F number is a food safety floor; 130–135°F is a culinary preference. They serve different purposes and aren't in conflict.
The fix:
- Insert an instant-read thermometer into the thickest part of the steak, away from bone or fat.
- Pull the steak 5°F below the target temperature. Carryover cooking brings it the rest of the way during resting, per BBQ Report this month. A steak pulled at 125°F finishes at roughly 130–135°F after a proper rest.
Pull-temp reference:
- Rare: pull at 120°F
- Medium-rare: pull at 125°F
- Medium: pull at 135°F
- Well-done: pull at 155°F
- Food safety compliance: pull at 140°F, let carryover reach 145°F, per USDA last year
Pulling a ribeye at a confirmed 130°F beats any time estimate, per Price of Meat this month. Clock-watching solves a different problem than the one actually at hand.
Mistake 5: Ruining the rest cutting too soon or tenting with foil
The last mistake happens after the grill is off. Two habits undo everything that came before.
Cutting immediately floods the cutting board with juice instead of keeping it in the meat. Muscle fibers contract under heat and push moisture toward the center; resting lets them relax and reabsorb it, per BBQ Report this month. Covering the steak is beside the point resting handles the juice retention on its own.
Foil is a separate problem. It traps steam, and the crust built through the Maillard process browned proteins, caramelized sugars goes soft and flabby within minutes under a tent, per Serious Eats earlier this year. Steam does the damage. The foil just delivers it.
Rest the steak uncovered on a cutting board or wire rack. A 1-inch steak needs about 5 minutes; a 1.25–1.5-inch steak needs 8–10 minutes, per BBQ Report this month. Leave it alone.
For a hot, crispy crust at serving, Serious Eats describes the "fat flash" earlier this year: just before plating, pour a small amount of hot butter or beef fat over the resting steak, or give it a 30-second blast over direct heat or under a broiler. The crust revives without meaningfully raising the interior temperature. Skip it if the crust temperature at serving doesn't matter it's a finishing move, not a requirement.
Use tongs throughout the entire cook. Every fork puncture while the steak is hot releases juice that doesn't come back, per BBQ Report this month.
The best way to grill steak: a decision tree and one workflow
The five mistakes collapse into a single sequence. Two decisions determine which path to take before the grill even goes on.
First decision: how thick is the steak?
- Under ¾ inch: skip the two-zone workflow. Cook fast over direct high heat and pull early, per BBQ Report this month.
- 1 to 1.5 inches: use the sequence below.
- Over 1.5 inches: reverse sear instead indirect heat first, brief direct sear to finish, per BBQ Report this month.
Second decision: how much time before cooking?
- 40 minutes or more: salt now, rest uncovered on a wire rack in the refrigerator, let the dry brine work. Use the thickness guide from Mistake 3 to calibrate how long.
- Less than 40 minutes: salt immediately before the steak hits the grate. Not 15 minutes before. Not 30. Immediately, per The Grilling Science earlier this year.
For a 1-to-1.5-inch steak, the full sequence:
- Salt and rest, or salt at the last second. Nothing in between, per The Grilling Science earlier this year.
- Pat the surface dry. Build a two-zone fire. Gas: light half the burners, let the hot side reach 450–500°F. Charcoal: bank all coals to one side, per BBQ Report this month.
- Sear over direct heat 2–3 minutes per side, lid open. Move to indirect heat, close the lid, finish to 5°F below the target temperature, per Price of Meat this month.
- Pull at temperature, not time. Verify with an instant-read thermometer. Medium-rare: pull at 125°F. Food safety minimum: pull at 140°F and let carryover finish it, per USDA last year and BBQ Report this month.
- Rest uncovered 5–10 minutes. No foil. Fat flash if the crust needs reviving, per Serious Eats earlier this year.
Once these habits are consistent, the interesting variables open up: cut selection, dry-aging, compound butters, reverse sear for thick cuts. The fundamentals don't just produce better steak they create the baseline from which actual experimentation becomes possible. Without them, every adjustment gets applied on top of a process that's already failing in two or three places at once.

















Comments
Be the first, drop a comment!