



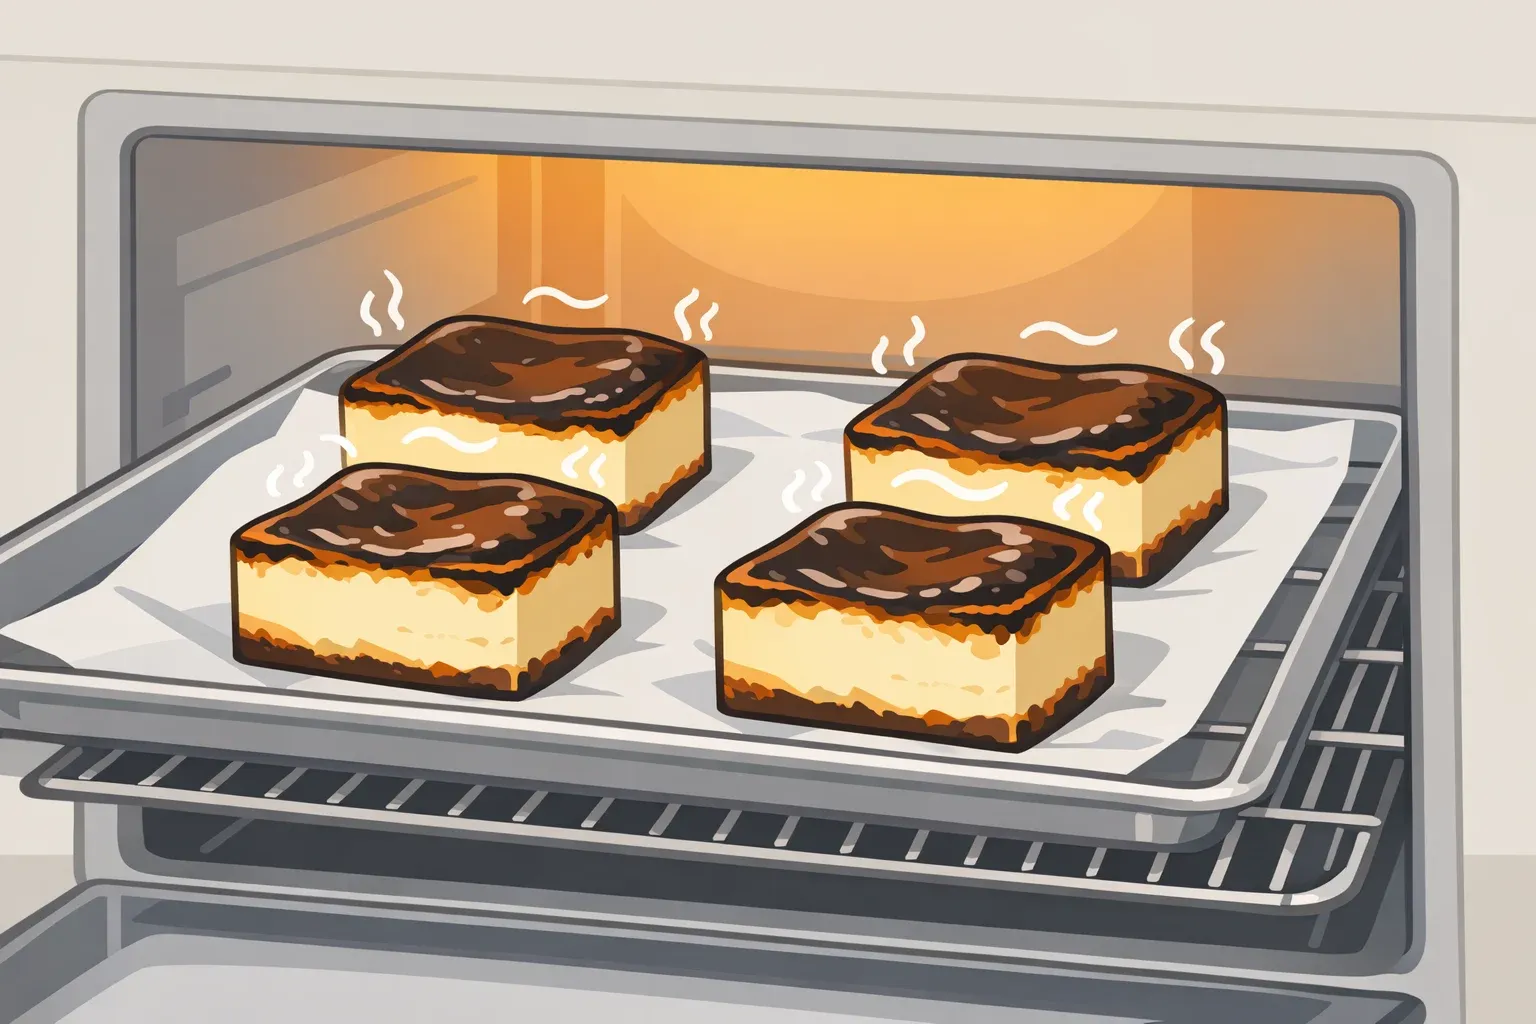
Basque Cheesecake Bars Recipe: Why Sour Cream Matters
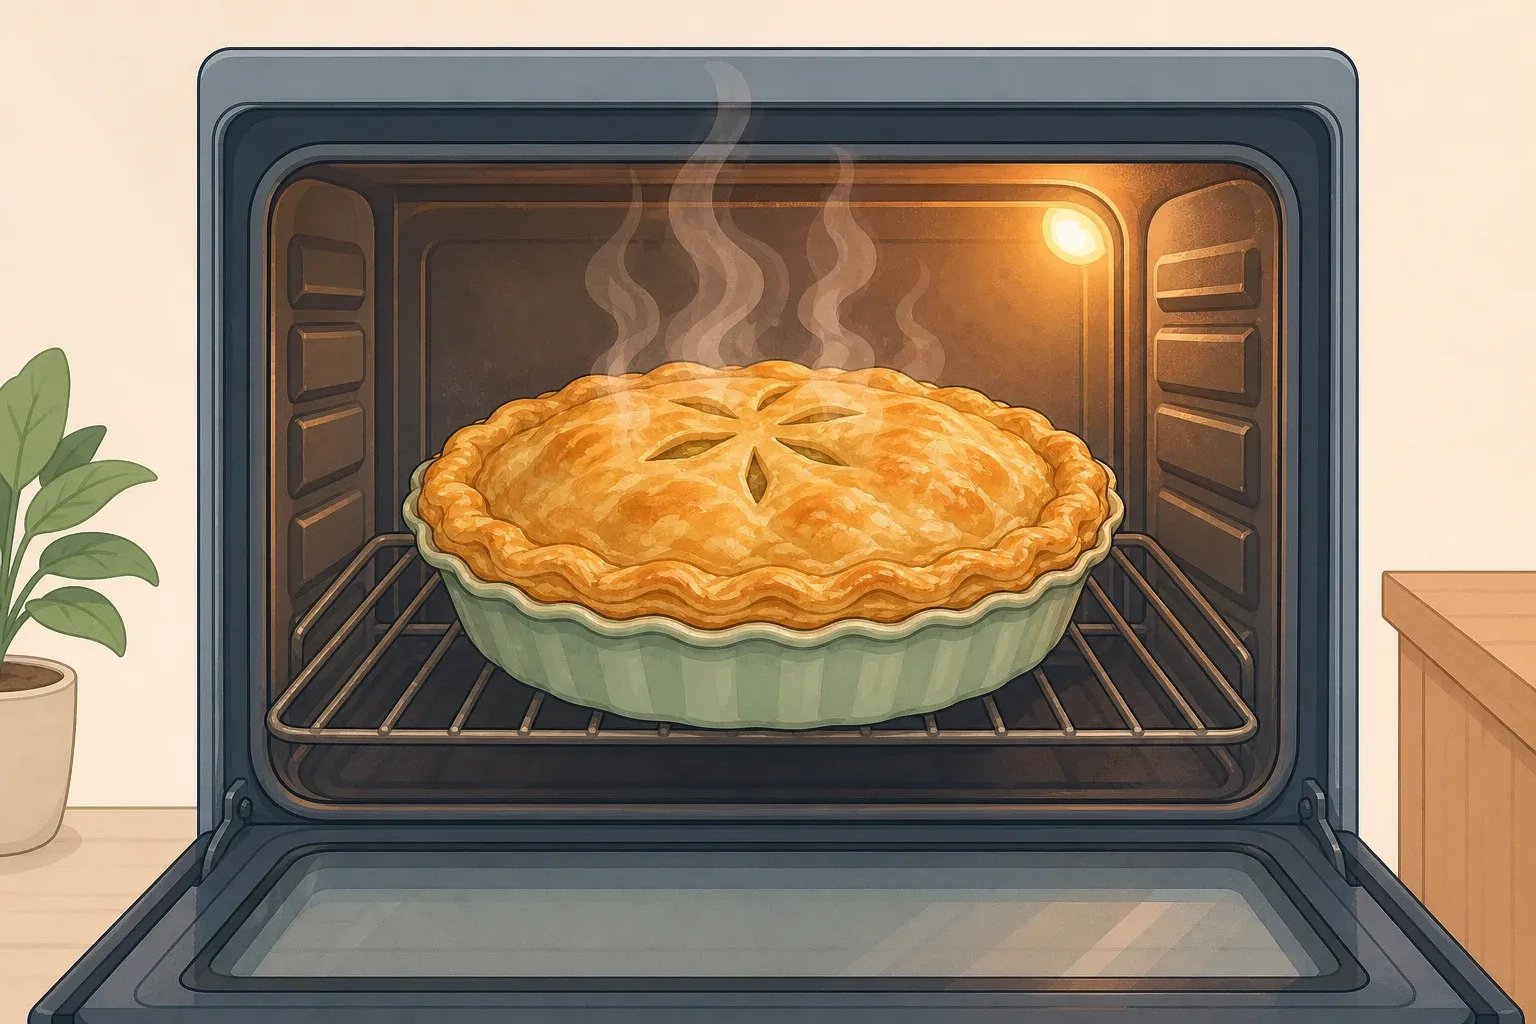
A bar that comes out of a 500-degree oven looking nearly burnt, with a wobbling center, is doing exactly what it's supposed to. Most bakers would panic. This recipe is counting on that reaction being wrong.
This guide is based on the NYT Cooking Basque cheesecake bars recipe. It covers what sour cream does in the filling, how the high-heat method creates the flavor contrast that makes it work, and how to read the cues that tell you the bars are done before you overbake them.
What sour cream does that cream cheese alone cannot
The sourced fact worth leading with: the dark top "imparts the flavor of burnt caramel, which offsets the sweetness of the filling," according to NYT Cooking. Offset, not complement. That word is doing real work. The bitterness is a counterweight, not a garnish.
Sour cream is what makes that counterweight land. A filling built entirely on cream cheese is rich and dense, but the sweetness has nothing to push against once it fades. The result is a one-note finish. Sour cream introduces a tang that gives the caramel bitterness something to play against, which is how a bar with a nearly-burnt top avoids tasting harsh. The two elements need each other.
That's the practical case for not substituting. Change the sour cream and you change the equation the recipe was built around, not just the flavor of the filling.
Each serving contains approximately 30 grams of fat per NYT Cooking, based on Edamam's nutritional estimate for 24 servings. That figure reflects how much the recipe depends on high-fat dairy for richness. Worth knowing before scaling.
How to make Basque cheesecake bars with sour cream: what to have ready
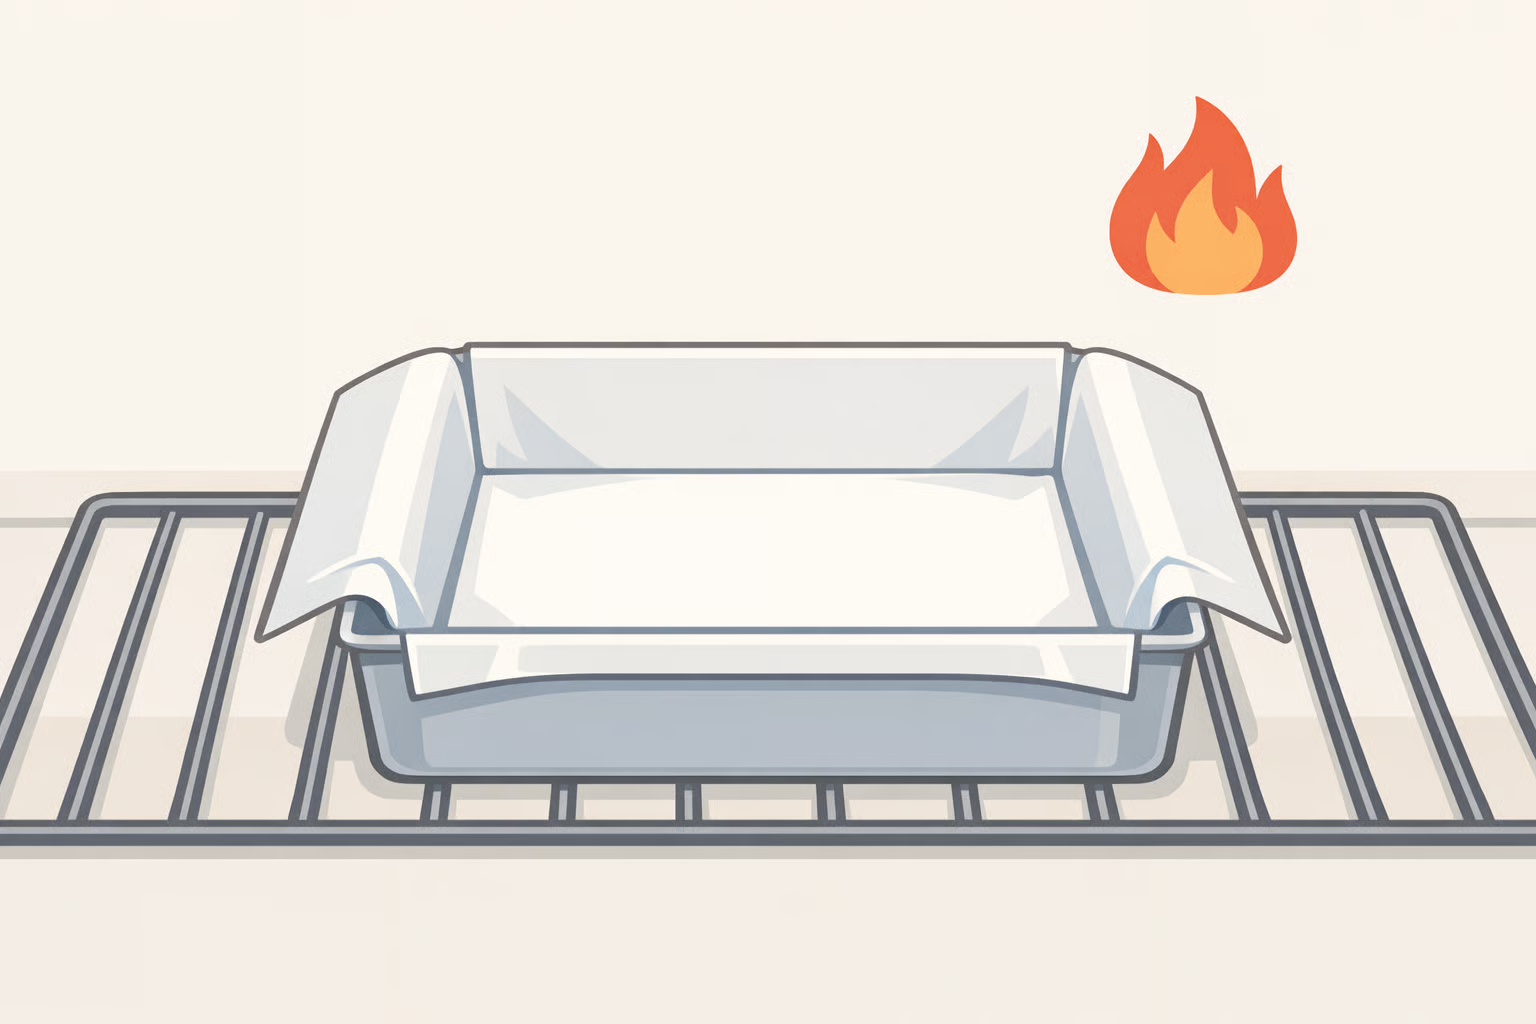
A few setup points that affect the outcome before the pan goes in.
Pan and lining. Line the pan with parchment and leave enough overhang to lift the whole slab cleanly after cooling. At 500 degrees, improvising release on a hot pan is a problem you don't want.
Oven temperature. The bake window is 25 to 28 minutes, per NYT Cooking. That's a short window for a dessert this rich, and an oven that hasn't fully stabilized at temperature will affect both the caramelization and the interior set. Wait past the preheat signal.
Knife prep. Have a sharp, straight-edged knife and damp paper towels ready before cutting. This matters more than it sounds; the cutting section explains why.
Reading the cues: how to tell when burnt Basque cheesecake bars are done
What to watch for
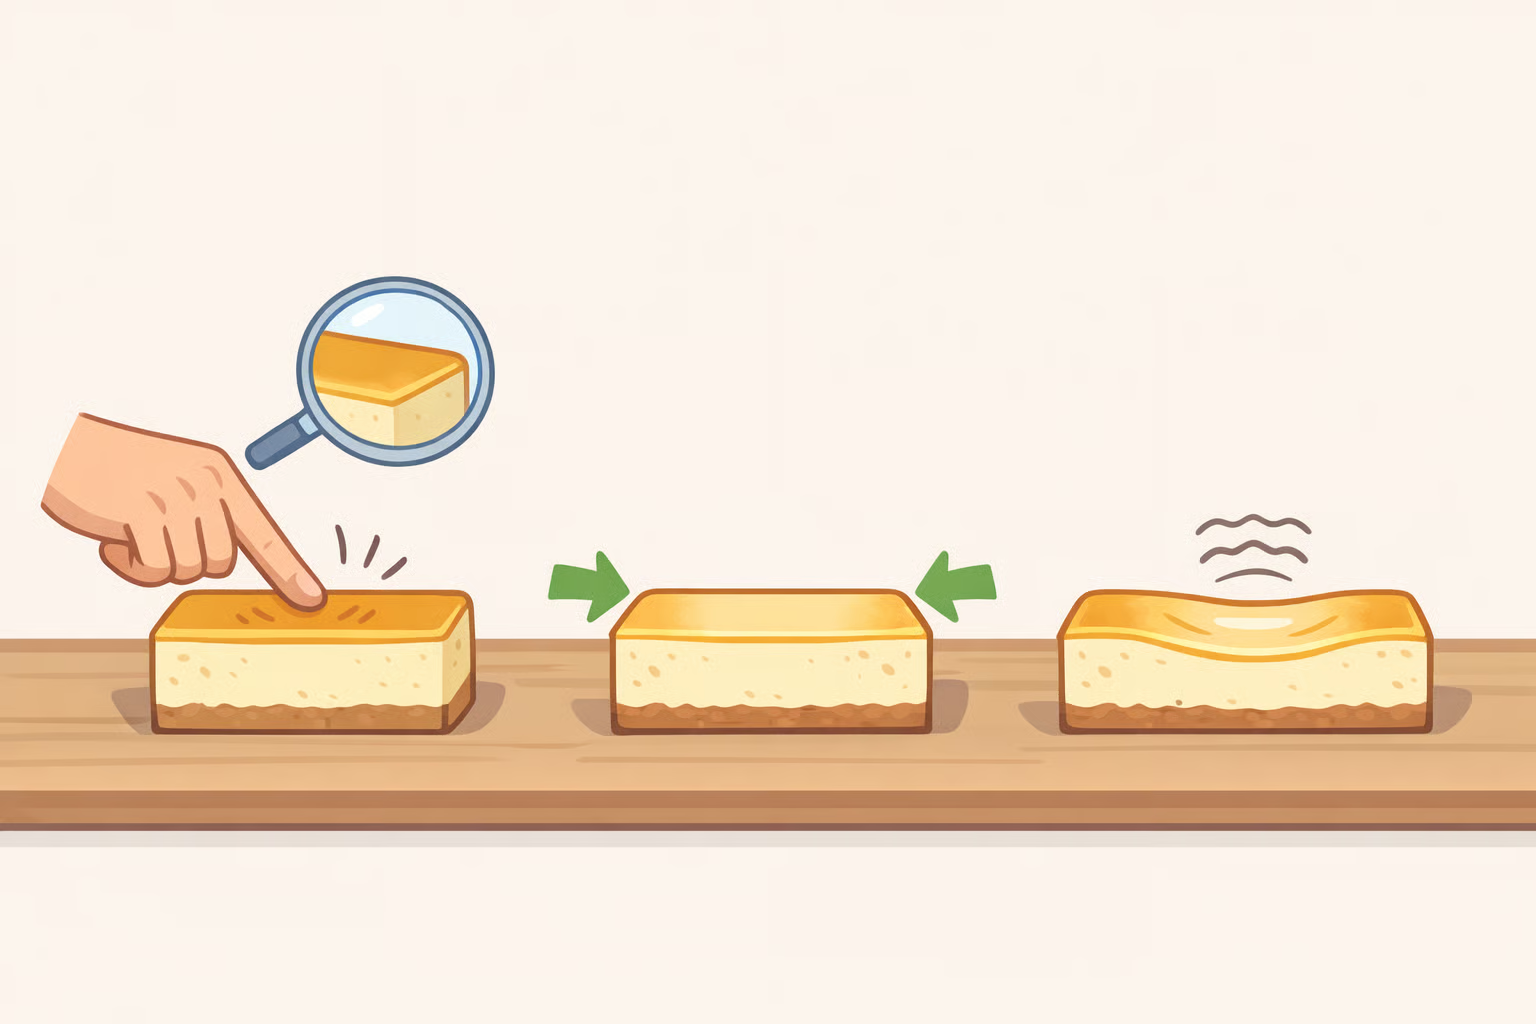
The top darkens fast at 500 degrees. Watch for these three things together, not any one in isolation:
- Color: very dark brown across the entire top surface, not just the edges
- Edges: visibly set, slightly contracted from the sides of the pan
- Center: still wobbling noticeably when you tap the pan
NYT Cooking specifies that the center should jiggle like Jell-O when tapped. That's a slow, unified wave across the whole surface. Not sloshing, which means the center is still liquid. Not still, which means the bars have gone too far. The wave is the target.
Smell is the secondary cue. The recipe calls for a faint smell of burnt caramel, warm and slightly sharp. If it's shifted to something harsher, pull the bars and note the time. Bake time runs 25 to 28 minutes; start checking at 24.
The most common mistake
Pulling the bars early because the color looks wrong, then adding time to compensate. That sequence produces a dense, over-set center. The color is supposed to look alarming. If the center jiggles and the kitchen smells like caramel, the bars are done. Pull them.
Troubleshooting
The top is very dark but the center isn't wobbling yet. Don't pull early. The wobble is the target, not the color alone. Give it the full bake window.
The center is fully still when you check. The bars are overbaked. They'll be denser than intended once cooled, but still edible. Note that your oven runs hot and reduce time by a minute or two on the next batch.
The edges look set but the center is still liquid, not just wobbly. Give it another 2 to 3 minutes and check again. The Jell-O jiggle is a slow, unified wave, not the movement of a surface that's still liquid underneath.
Slices are ragged even with a clean knife. The bars may still be warm. Wait longer, wipe the blade between every cut, and press straight down rather than dragging.
For cleaner slices without waiting, refrigerate the bars before cutting. NYT Cooking lists refrigerating as a valid option before serving. The dark top holds its appearance either way.
Cooling, cutting, and getting clean slices on all 24 bars
Cooling: the step that finishes the texture
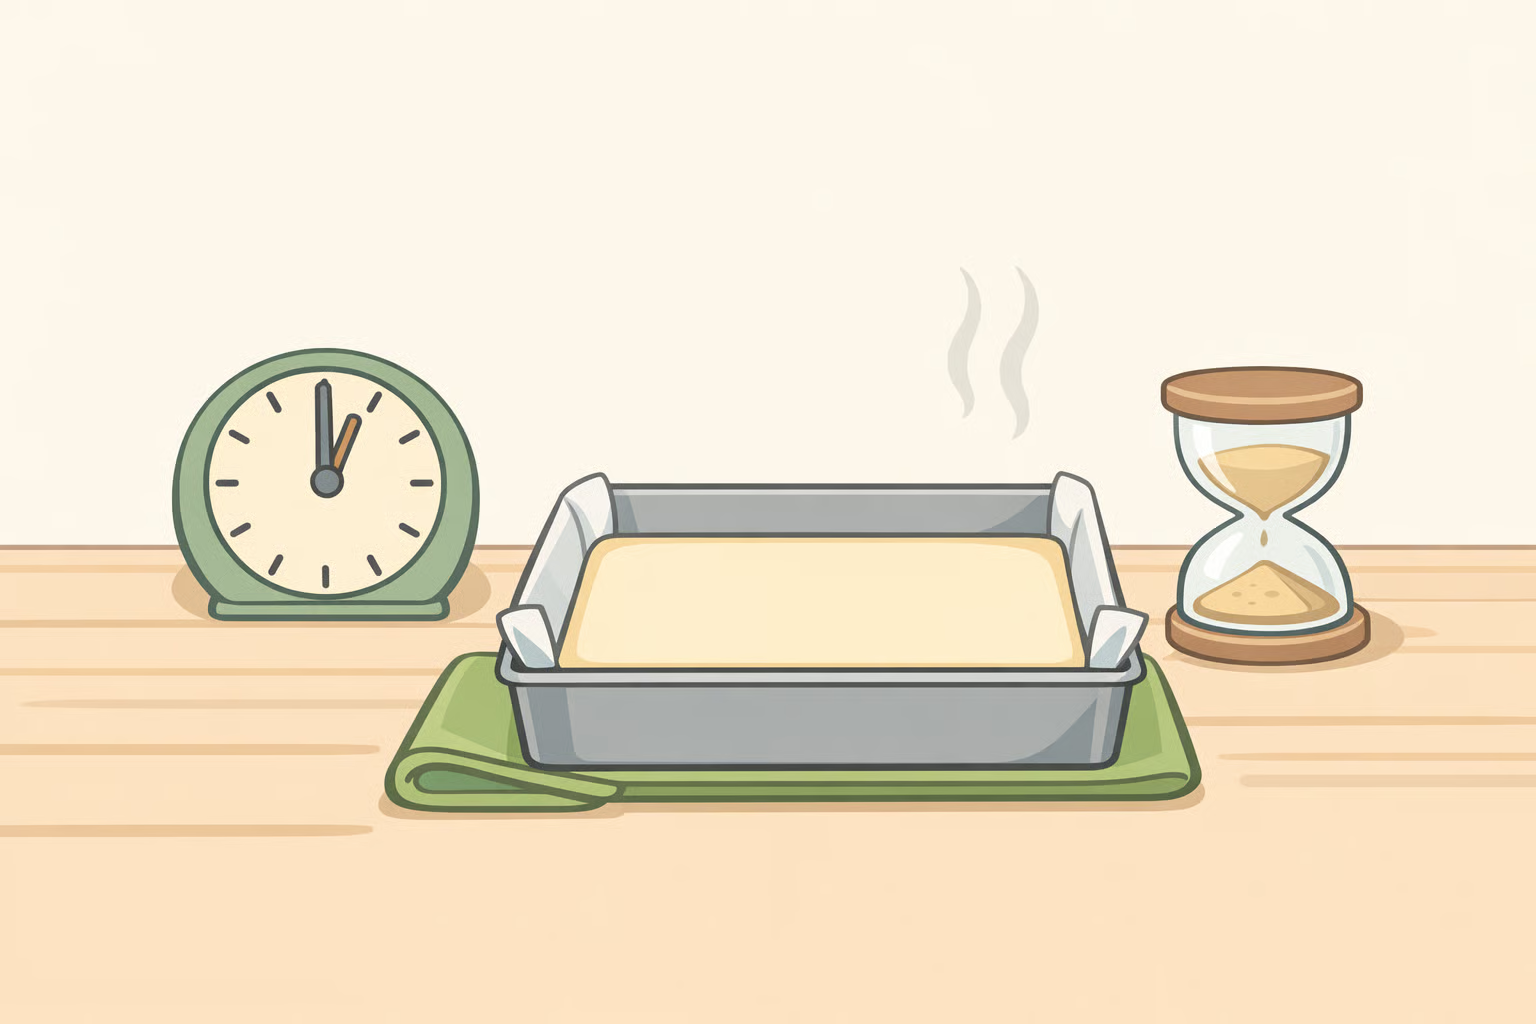
Pull the bars at the wobble and leave them alone. Per NYT Cooking, let them cool in the pan at room temperature for about 2 hours before cutting, or refrigerate if you prefer a cold bar. Two hours is the floor either way. Cutting warm produces ragged edges and a filling that spreads rather than holds its shape.
Cutting: how to get clean edges every time
Use a sharp, straight-edged knife, not serrated. Cut in a 6-by-4 grid to yield 24 squares, and after every single cut, wipe the blade with a damp paper towel, as NYT Cooking specifies. The filling is sticky and will drag on a dirty blade, tearing the edges and undercutting the visual contrast the dark top creates against the pale interior. The wipe takes two seconds. The difference shows.
Twenty-four bars from a single pan is a useful yield for a crowd, and the 6-by-4 grid keeps portions consistent without mental math on the day.
Storage and make-ahead
Bars keep in an airtight container in the refrigerator for up to 5 days, per NYT Cooking. For events, bake the day before, refrigerate overnight, and cut in the morning. Cold bars slice cleanly, the dark top stays visually sharp, and the bars arrive looking more technically demanding than they actually are.
Total time runs about 3 hours, but prep and bake account for under an hour of active work, per NYT Cooking. The rest is cooling. For 24 bars that hold five days in the fridge and travel well, that's a reasonable trade.
Bake a day ahead if you can
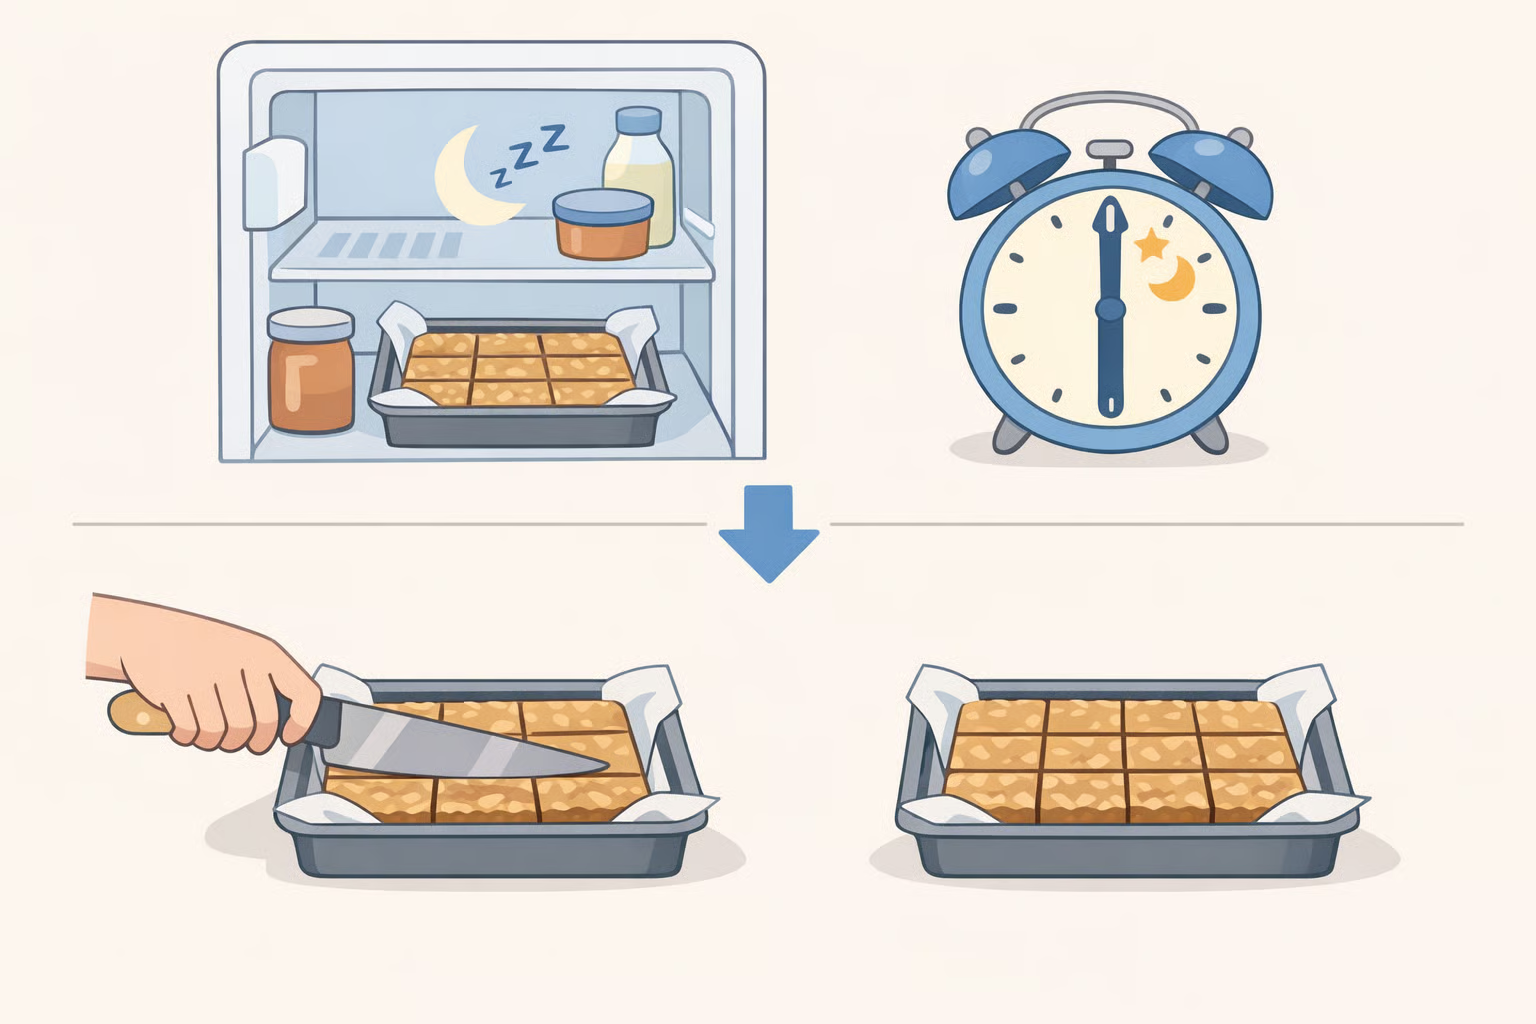
The wobble that looks wrong at the 25-minute mark is the whole point. The dark top that looks like a mistake is the mechanism. Baking a day ahead makes both easier to trust: the slices come out cleaner after an overnight rest, the make-ahead window removes most of the pressure on service day, and what appeared risky in the oven turns out to be exactly what the recipe was built around.















Comments
Be the first, drop a comment!