



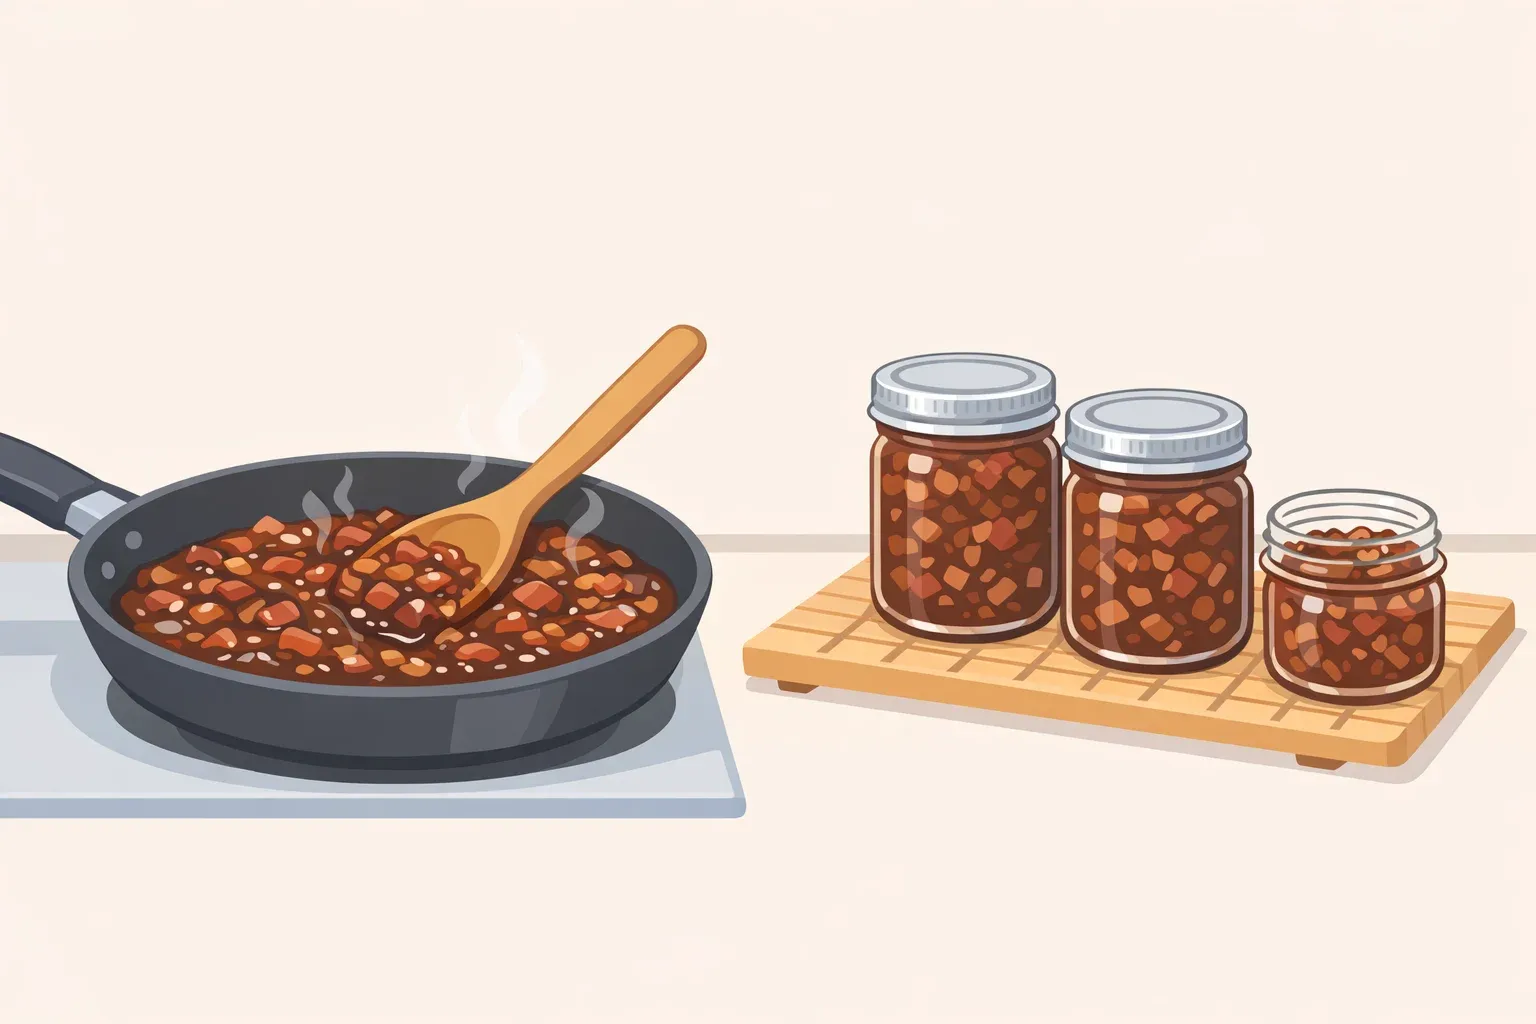
By the end of this guide, you'll have made a batch of homemade bacon jam that holds together, tastes right, and keeps safely in your refrigerator for up to a week. You'll also understand exactly why "store it in a jar on the shelf" isn't an option and why that doesn't matter much when a fresh batch takes under an hour.
Reports reveal that bacon jam showed the biggest sales growth among savory jellies and jams, with tomato jam right behind it. That popularity comes with a recurring misconception: that something called a jam can be canned and stored like one. It can't, and the reason goes to the core of how jam preservation actually works. This guide covers the recipe, what drives the texture, and why this spread belongs in the refrigerator.
What you need before you start: A wide, heavy-bottomed skillet or Dutch oven. Standard store-bought bacon works fine; no home curing required. Plan for 50–65 minutes of active time.
Why bacon jam is a refrigerator condiment, not a canning project
Standard jam recipes require sugar at roughly 65% of the final product's weight, not primarily for sweetness, but because sugar draws free moisture away from microbial activity and forces pectin molecules to bond into a stable gel. Cut the sugar without a tested substitute, and you get a runny, potentially unsafe product. Acid is also non-negotiable: without it, pectin molecules repel each other the way identical magnetic poles do. No acid, no gel, no preservation.
Bacon's preservation system works on entirely different principles. Salt draws moisture out of the meat, lowering water activity below the threshold where pathogens can grow. Sodium nitrite specifically inhibits Clostridium botulinum, the bacterium responsible for botulism. This system is designed for intact cured meat handled at refrigerator temperatures.
Cook that bacon with onions, vinegar, and sugar, and you've changed the game entirely. The individual preservation mechanisms get diluted into a mixed spread. The water activity, pH, and solute balance of the finished product are unknown without laboratory testing. No tested formulation establishes that bacon jam can be safely water-bath canned.
The practical conclusion: treat bacon jam as a fresh refrigerator condiment. The word "jam" implies shelf stability. For this product, it shouldn't.
The bacon jam recipe: ingredients, method, and what to watch for
Yield: Approximately 1½ cups Storage: Refrigerator only, up to 7 days
Ingredients:
1 lb thick-cut bacon, cut into ½-inch pieces
2 medium yellow onions, diced
4 garlic cloves, minced
¼ cup apple cider vinegar
3 tablespoons brown sugar
2 tablespoons pure maple syrup
1 teaspoon smoked paprika
Black pepper to taste
Step 1: Render the bacon
Place bacon pieces in a cold, heavy-bottomed skillet or Dutch oven. Set the heat to medium and cook, stirring occasionally, until the fat has fully rendered and the bacon is cooked through with some browning, about 10–12 minutes. You want soft, cooked bacon, not crisp bits. Remove with a slotted spoon and set aside. Pour off all but 2 tablespoons of fat.
What you should see: Golden-brown bacon, some fond on the pan bottom, and a pool of rendered fat with clean edges.
Step 2: Caramelize the onions, don't rush this
Add the diced onions to the reserved fat over medium-low heat. Cook, stirring every few minutes, for 25–35 minutes. Done correctly, they'll reduce to about a third of their original volume and turn deep amber throughout, not just soft and translucent. Add the minced garlic in the last 5 minutes and stir until fragrant.
Common mistake: Raising the heat to move things along produces softened onions with some color, but not caramelization. Actual caramelization, where the sugars fully break down and deepen, needs patient, low heat. If the onions are browning in under 15 minutes, the heat is too high.
What you should see at the end: A deeply golden, nearly jammy mass with visible color and sweet aroma. This is where most of the flavor depth comes from.
Step 3: Deglaze and combine
Add the apple cider vinegar and scrape up any fond from the pan bottom. Add brown sugar, maple syrup, and smoked paprika. Stir to combine. Return the bacon to the pan.
Step 4: Reduce to a jam consistency
Increase the heat to medium. Cook uncovered, stirring regularly, for 15–20 minutes. The mixture should darken, the liquid should cook off, and the whole thing should pull together into a thick, cohesive mass.
How to know it's ready: Draw a spoon through the center. The gap should hold for a moment before closing. The texture should look like a thick chutney, not a loose sauce. It will firm up further once chilled.
A few common problems and their fixes:
Too loose after cooling: Return the pan to medium heat for another 5–8 minutes to drive off more liquid. This is almost always the culprit.
Too greasy: The bacon fat wasn't drained fully in Step 1, or the heat is too low to cook off the fat during reduction. Tilt the pan slightly and spoon off any fat pooling at the edge.
Too sharp or sweet: The vinegar and sugar are in balance. Add a teaspoon more sugar to soften acidity, or a small splash of vinegar to cut sweetness. Small adjustments only, after tasting.
Step 5: Adjust texture if desired
For a smoother, more spreadable result, transfer to a food processor and pulse 4–6 times. Leave it as-is for a chunkier, more rustic texture. Both are valid; this is a preference call.
Step 6: Cool and refrigerate
Spread onto a plate or pour into a shallow container to cool. Standard food safety practice calls for getting cooked food into the refrigerator within two hours of cooking; don't leave the jam sitting on the counter past that window. Transfer to a clean, airtight jar or container once it reaches room temperature. Don't seal it while still warm.
How to use easy bacon jam
Bacon jam is a condiment that earns its place by contrast. The combination of salt, fat, sweetness, and acid cuts through rich things and lifts mild ones. Spread it on a burger in place of ketchup. Put it on a cheese board next to something sharp and aged, a strong cheddar or a firm manchego. A thin layer on toasted bread with a soft cheese works well for the same reason. It also makes a fast pan sauce: a spoonful stirred into the drippings after cooking chicken thighs, loosened with a splash of stock, is a different condiment entirely.
A few substitutions that won't break the recipe, and one that might. Maple syrup can be swapped for honey in equal measure without changing the texture. Smoked paprika can be left out or replaced with a pinch of cayenne if you want heat instead of smoke. What does affect the final result is the vinegar ratio: cut it significantly and the savory bacon jam will taste flat and one-dimensional, because the acid is doing more than adding brightness. It's balancing the fat and the sweetness. Keep it close to the recipe.
One variation worth trying once you've made the base recipe: add a teaspoon of Dijon mustard with the vinegar in Step 3. It deepens the savory note without reading as mustard in the finished spread.
Storing bacon jam: what the evidence supports
Refrigerator, up to 7 days. Seven days is the outer limit for cooked home-cured bacon under refrigeration. No tested shelf-life data exists specifically for bacon jam as a finished product, so align expectations with the meat, not the word "jam."
For larger batches, freezing works well as a practical kitchen option. Portion the finished jam into small freezer-safe containers before it's fully chilled. Freeze solid, then label with a date. Thaw portions in the refrigerator overnight. The texture may shift slightly after freezing; a brief warm-up in a small saucepan over low heat restores it.
On canning: don't. A sealed lid is not a safe seal. Water-bath canning destroys pathogens through time and temperature under specific conditions of pH and water activity. No tested formulation establishes that bacon jam meets those conditions. Even gelatin-thickened fruit spreads, which contain no meat at all, cannot be canned and must stay refrigerated. Bacon jam is a more complex product with a lower safety margin, not a higher one. Botulism risk is especially a concern for the savory jam category when home canning assumptions are applied without tested formulas.
Make smaller batches and keep them cold. The problem solves itself.
A few things worth knowing before the first bite
Bacon jam tastes different cold than warm. Straight from the refrigerator, the fat firms up, and the flavors are more compact. Give it 15 minutes on the counter before serving, or warm it briefly in a small saucepan over low heat with a splash of water to loosen it. That's also the move when reheating frozen portions, and it works well.
The flavor deepens noticeably after the first 24 hours in the fridge. If it tastes a little sharp right after cooking, give it a day. The vinegar integrates, the sweetness from the onions comes forward, and the whole thing rounds out. Most people find the second-day version noticeably better than fresh.
Make it on a Sunday, and it covers the week.


















Comments
Be the first, drop a comment!