



Dirt Pudding Recipe: Classic No-Bake Oreo Dessert Guide
This guide walks through making a classic dirt pudding recipe from scratch, the kind that anchored every school party and summer cookout in the 1980s. Twenty minutes of active prep, zero oven time, 16 servings, and a dessert that gets meaningfully better after a full afternoon in the fridge.
One technique separates a well-made version from a soggy disappointment: reserve the top cookie layer and add it right before serving. Everything else is straightforward. This guide covers the why and when.
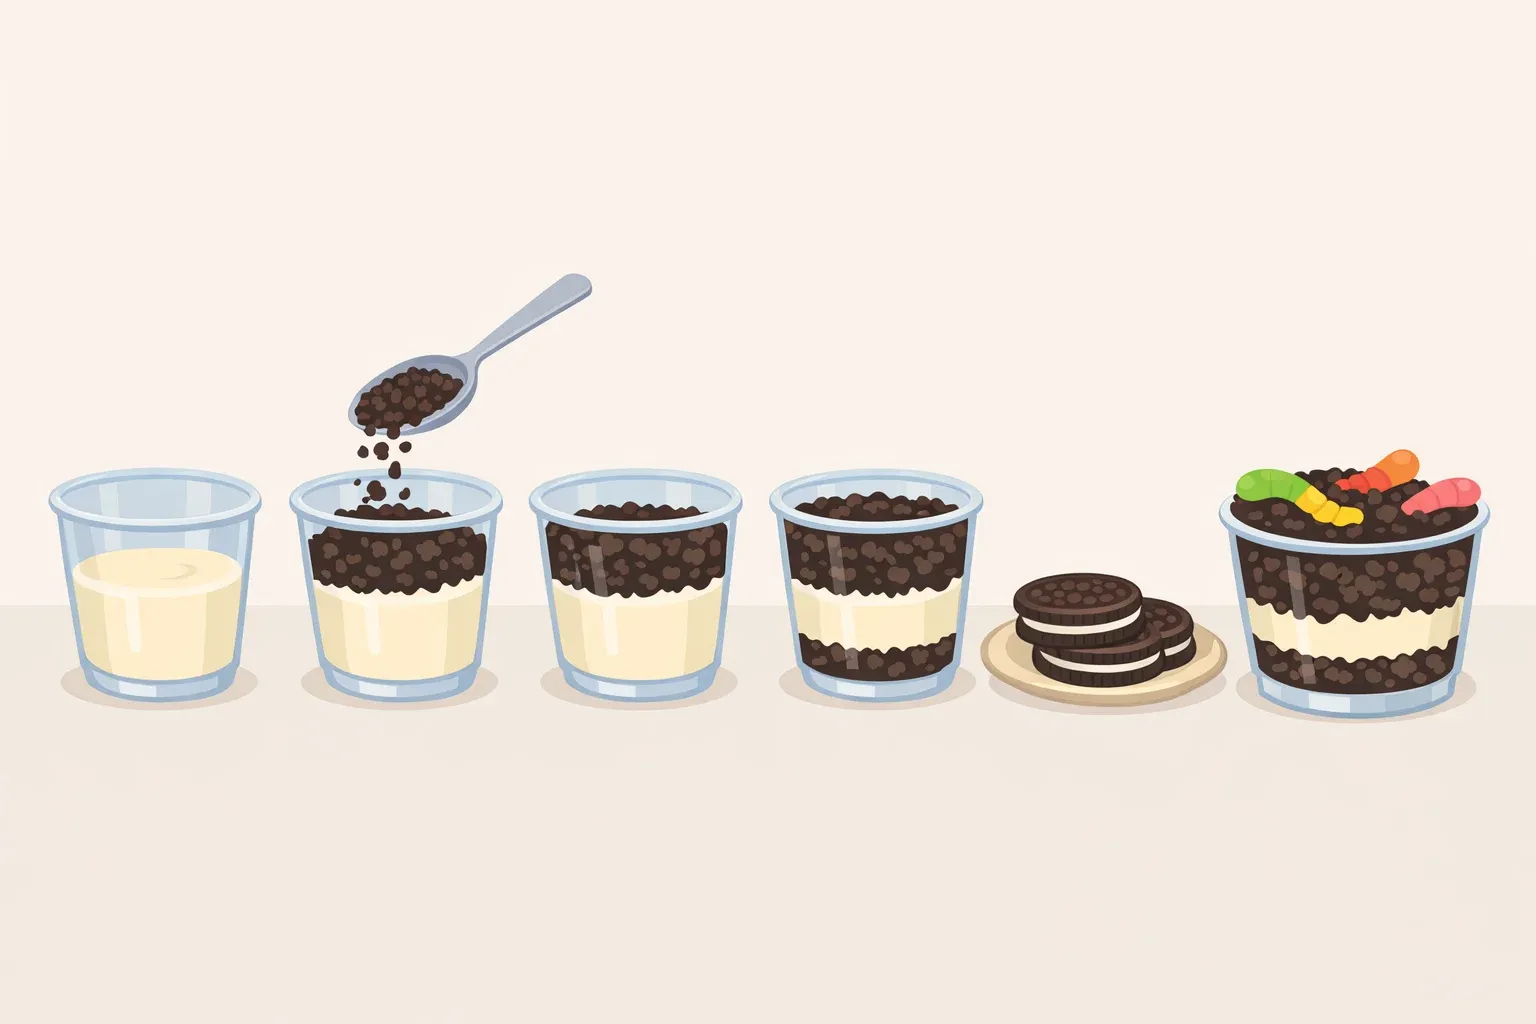
Dirt pudding became popular in the United States during the 1980s as a kid-friendly no-bake treat built to look like garden soil: crushed chocolate sandwich cookies layered over creamy pudding, served in clear cups or terracotta flower pots, topped with gummy worms pressed into the surface (Ask Chef Dennis documented in late 2025). The visual gag was the entire point. It still is. The concept proved durable enough that Oreo licensed it as a limited-edition cookie flavor in 2024, per Wikipedia, which is a reasonable measure of cultural staying power for a dessert that predates the internet.
It earns its place on three practical grounds: portable, make-ahead friendly, and requiring no equipment beyond a mixing bowl and a refrigerator.
Why this classic dirt pudding dessert still works
Dirt pudding isn't just easy. It's easy and structurally considered: cold, silky cream filling layered against a crunchy cookie surface, with a buttered cookie base that gradually softens into something between a crust and a crumble. That texture gradient is what separates it from a bowl of pudding with toppings thrown on top.
The filling combines instant pudding, cream cheese, powdered sugar, and thawed whipped topping a richer, more structured base than pudding alone (Ask Chef Dennis, late 2025). The cream cheese provides body that keeps the filling from loosening and losing its shape when scooped. Without it, the mixture won't be as rich, per Ask Chef Dennis.
The cookie top is not decoration. Crushed Oreos mimic garden soil visually and deliver a sandy crunch against the cold, smooth filling that contrast is what people remember. Across documented versions, Wikipedia confirms the formula holds: cookies on pudding, finished with gummy candy. The variables shift, but that textural opposition stays fixed.
Among no-bake desserts, this one occupies a specific and useful niche. It's appropriate for children, scales to a crowd without adjustment, and genuinely improves when assembled in advance it actually tastes better after chilling for a few hours, per Ask Chef Dennis. That's not a given with everything that skips the oven.
Best serving formats:
- Individual clear cups the classic format, shows layers clearly
- 9x13 casserole dish easiest to scoop for a large group
- Terracotta flower pot the original party presentation
The method is identical across all three. Only the visual effect changes.
What you need before you start
Prerequisites: Cream cheese must reach room temperature before beginning. Cold cream cheese won't beat smooth and leaves visible lumps throughout the finished filling. Thaw the whipped topping in the refrigerator overnight rather than on the counter.
Ingredients (16 servings):
- 25 Oreo cookies, divided (base layer plus reserved top)
- 6 tablespoons salted butter, melted
- Two 3.4-oz boxes instant French vanilla pudding mix
- 3½ cups whole or 2% milk
- 8 oz cream cheese, softened to room temperature
- 1 cup powdered sugar
- 8 oz whipped topping (such as Cool Whip), thawed
- 2 oz gummy worms, optional
On pudding flavor: French vanilla produces a lighter base that contrasts well against the dark cookie layer. Chocolate pudding works and gives a richer, more uniform result the visual contrast is less dramatic, but the flavor is deeper. Make the vanilla version first.
On substitutions: Wikipedia documents vanilla wafers and homemade whipped cream as established alternatives, though both carry trade-offs worth knowing. Vanilla wafers produce a softer, less chocolatey base. Homemade whipped cream deflates faster than commercial topping, which matters if the dessert needs to hold over two or three days. Swap only after making the base recipe and knowing what you're adjusting.
Skipping the cream cheese produces a noticeably thinner filling that won't hold its shape cleanly when scooped (Ask Chef Dennis, late 2025). Include it.
How to make dirt pudding: step-by-step no-bake method
Step 1: Divide and crush the Oreos.
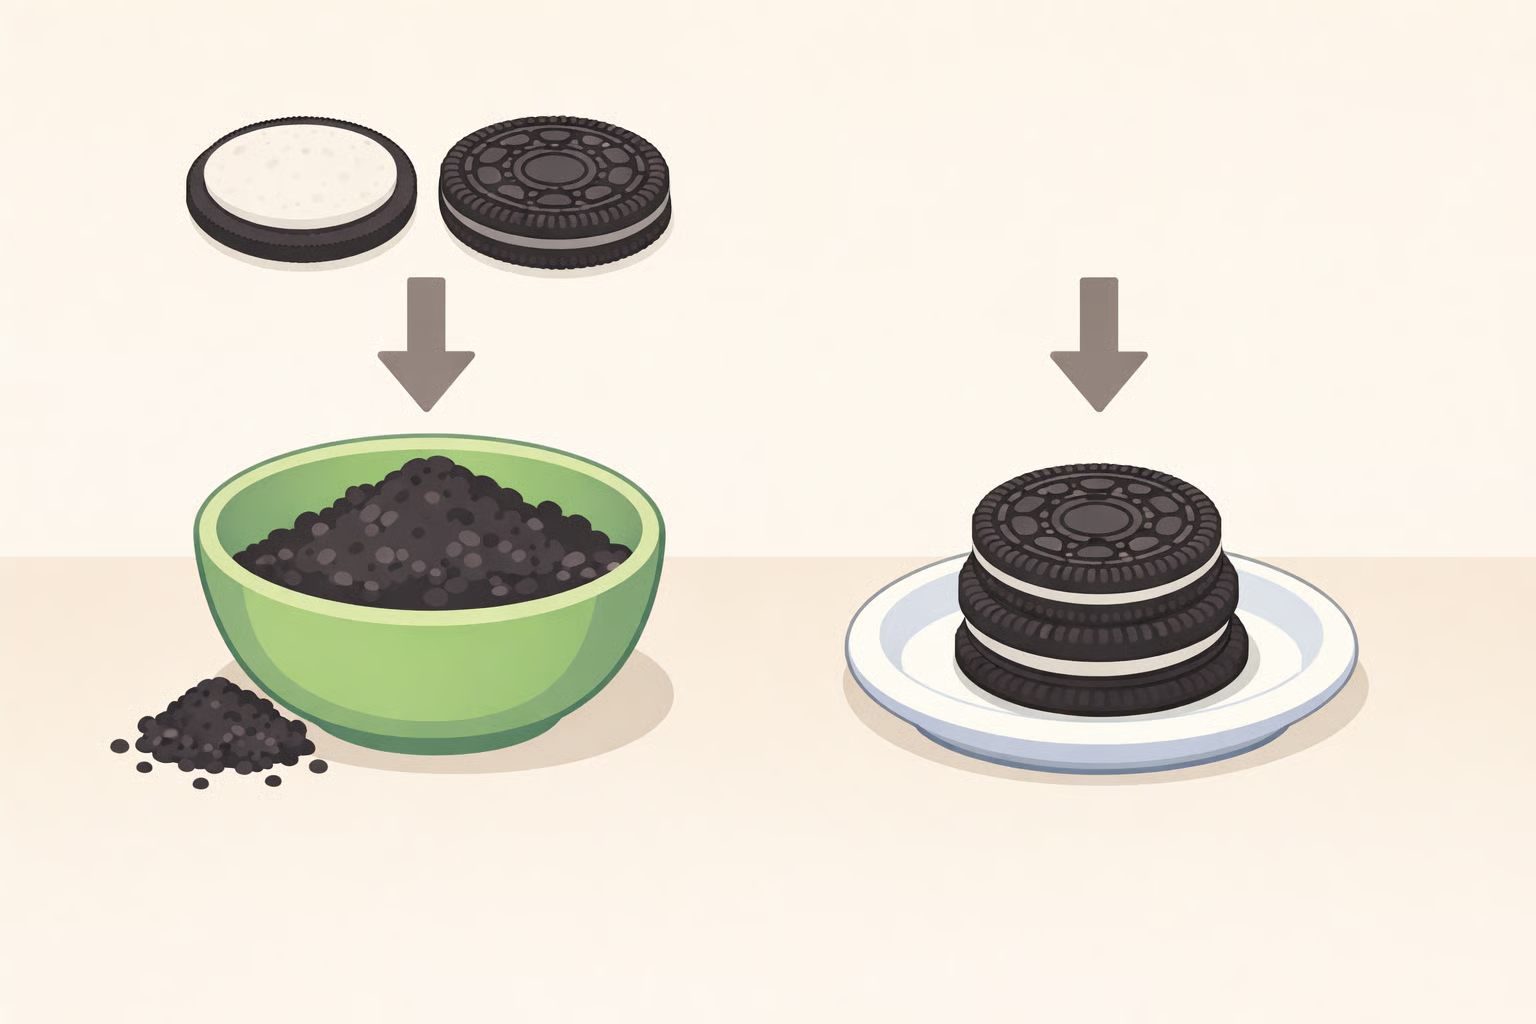
Set aside roughly one-quarter of the cookies about 6 to 7 in a sealed bag. This reserved portion is the top layer and does not go into the base. Crush the remaining cookies into coarse crumbs using a food processor, rolling pin, or zip-lock bag. Aim for sandy crumbs with some variation in size. A fine powder loses all textural character. Set both portions aside.
Step 2: Make the buttered cookie base.
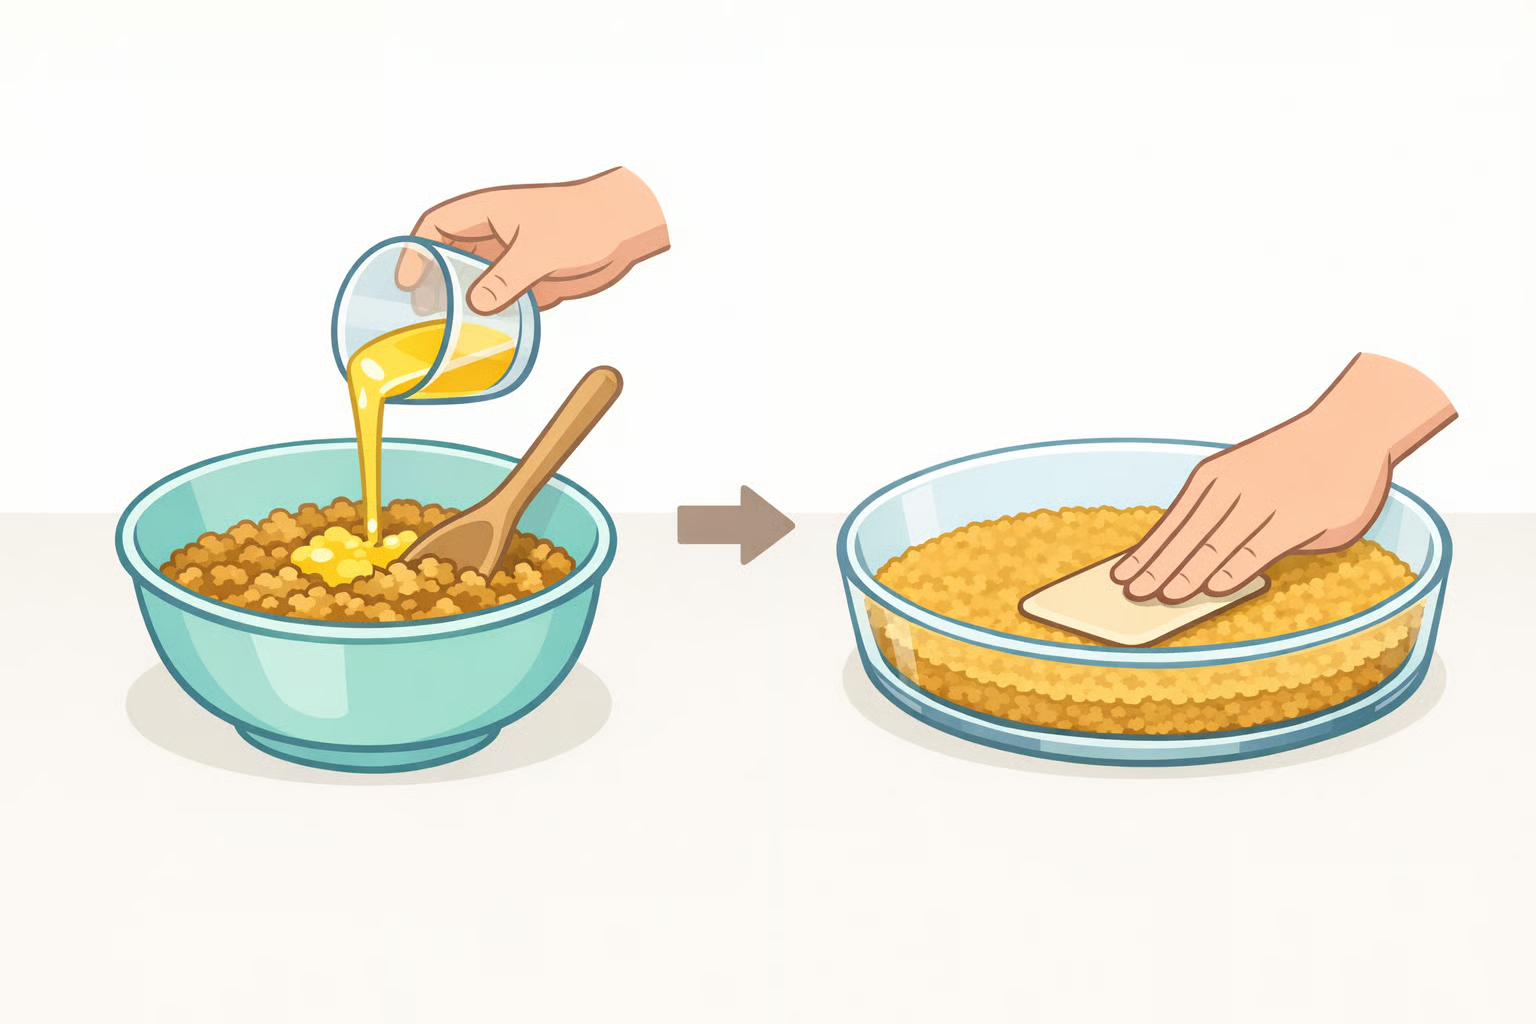
Melt the butter in the microwave in 10-second intervals, stirring between passes until fully liquid (Ask Chef Dennis, late 2025). Combine the larger portion of cookie crumbs with the melted butter and stir until the crumbs are evenly coated. Press the mixture into an even layer at the bottom of your serving vessel. It should look and feel like a packed crumb crust, not loose or dry. This base will slowly absorb moisture from the filling during chilling, which is exactly what you want.
Step 3: Mix the pudding.
Whisk both boxes of pudding mix with 3½ cups of milk in a medium bowl. The mixture begins to thicken noticeably within about 2 minutes (Ask Chef Dennis, late 2025). Stop whisking once it reaches the consistency of loose pudding slightly thicker than milk, but still pourable. Set it aside; it continues to firm as it sits.
Step 4: Beat the cream cheese and powdered sugar.
Using a hand mixer or stand mixer on medium-high, beat the softened cream cheese with the powdered sugar until completely smooth, with no lumps remaining (Ask Chef Dennis, late 2025). Run a spatula around the bowl and check the sides. A single unmixed pocket of cream cheese will streak through the finished filling. Two to three minutes of beating is not excessive.
Step 5: Combine the filling.
Pour the pudding into the cream cheese mixture gradually, mixing on low speed until fully incorporated (Ask Chef Dennis, late 2025). Then switch to a spatula and fold in the thawed whipped topping by hand. Do not use the mixer for this final fold preserving the air in the whipped topping is what gives the filling its light, spoonable texture. The finished mixture should be pale, creamy, and uniform throughout.
Step 6: Layer and chill.
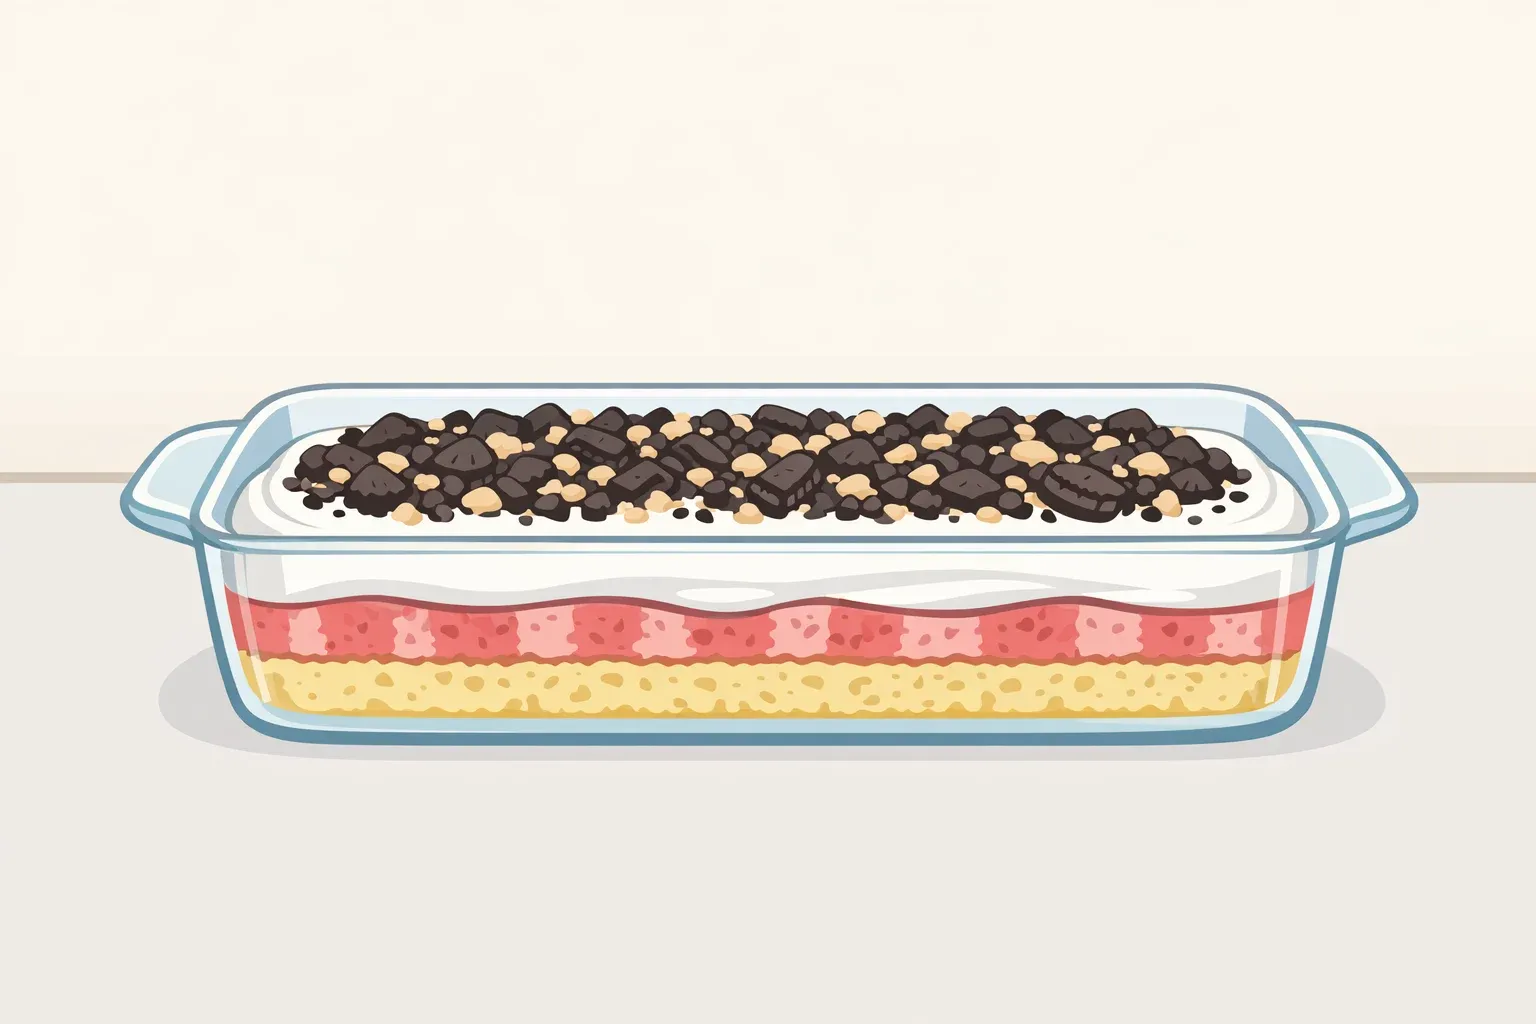
Spoon the filling evenly over the buttered cookie base and smooth the top with a spatula. Cover tightly with plastic wrap, pressing it gently against the surface to prevent a skin from forming. Refrigerate for a minimum of 1 hour, but 4 to 6 hours is the target window (Ask Chef Dennis, late 2025). At the 4-hour mark, the filling is fully set and the base layer has softened just enough to integrate with the filling. Beyond 6 hours, the bottom cookie layer continues absorbing moisture not a problem, but the textural distinction between base and filling becomes less pronounced.
Make-ahead note: Assemble everything through this step up to 24 hours before serving. Keep the reserved cookie crumbs sealed in a bag at room temperature. The dessert is completely ready, and the top layer takes 30 seconds to add at the last minute.
Step 7: Add the top layer just before serving.
Crush the reserved Oreos and scatter them over the surface right before the dish goes to the table. Press gummy worms into the crumbs if using them. Do not add the top cookie layer during chilling it will absorb moisture from the filling and go soft, which defeats the entire purpose of reserving it separately (Ask Chef Dennis, late 2025). The crunch on top is what completes the textural payoff.
What goes wrong most often
A good Oreo dirt pudding is hard to ruin, but a few predictable mistakes account for most of the failures.
Lumpy filling. This is almost always cold cream cheese. If it hasn't come to room temperature, it won't beat smooth regardless of how long the mixer runs the lumps just break into smaller lumps. Give the cream cheese at least an hour on the counter before starting. If the filling still shows streaks after beating, keep going. Two or three more minutes on medium-high will usually resolve it.
Soggy top layer. Adding the crushed cookie topping before the dessert is served. Even 20 minutes sitting on top of the cold filling is enough to pull moisture through and turn the crumbs soft. The fix is in the make-ahead note above: keep the reserved cookies sealed at room temperature and scatter them on at the very last moment.
Filling that won't hold its shape. Two possible causes. First, the cream cheese was skipped or reduced. It provides the structural backbone that keeps the filling from going slack after several hours in the fridge. Second, commercial whipped topping was swapped for homemade whipped cream, which deflates faster and doesn't hold as well over the 2-to-3-day refrigerator window that Ask Chef Dennis recommends. Homemade cream works for same-day serving. For anything you're making ahead, commercial topping is the more reliable choice.
Base that's indistinguishable from the filling. This happens when the dessert chills for significantly longer than 6 hours before being eaten. The butter-coated cookie base continues to absorb moisture over time. It's still edible, but the layered texture that defines the classic dirt pudding dessert gradually disappears. Assemble it the day before, not two days before.
Watery texture after thawing. Frozen and then thawed. Don't freeze it.
Storage, shelf life, and a note on freezing
The assembled dessert keeps refrigerated for 2 to 3 days, tightly covered. Because the filling contains milk, cream cheese, and whipped topping, it goes back into the fridge immediately after serving (Ask Chef Dennis, late 2025).
Do not freeze it. The dairy filling becomes watery and soggy when thawed and cannot be recovered, per Ask Chef Dennis.
The format adapts once you've made it once. Wikipedia documents versions across the U.S. and internationally chocolate pudding swaps, flowerpot presentation, vanilla wafer variations. Make the base recipe first, then decide what to adjust based on who's eating and what occasion you're serving.
This is the dessert for situations where the actual requirement is certainty: feed 16 people, make it ahead, keep the oven off, and still put something genuinely fun on the table.


Comments
Be the first, drop a comment!