



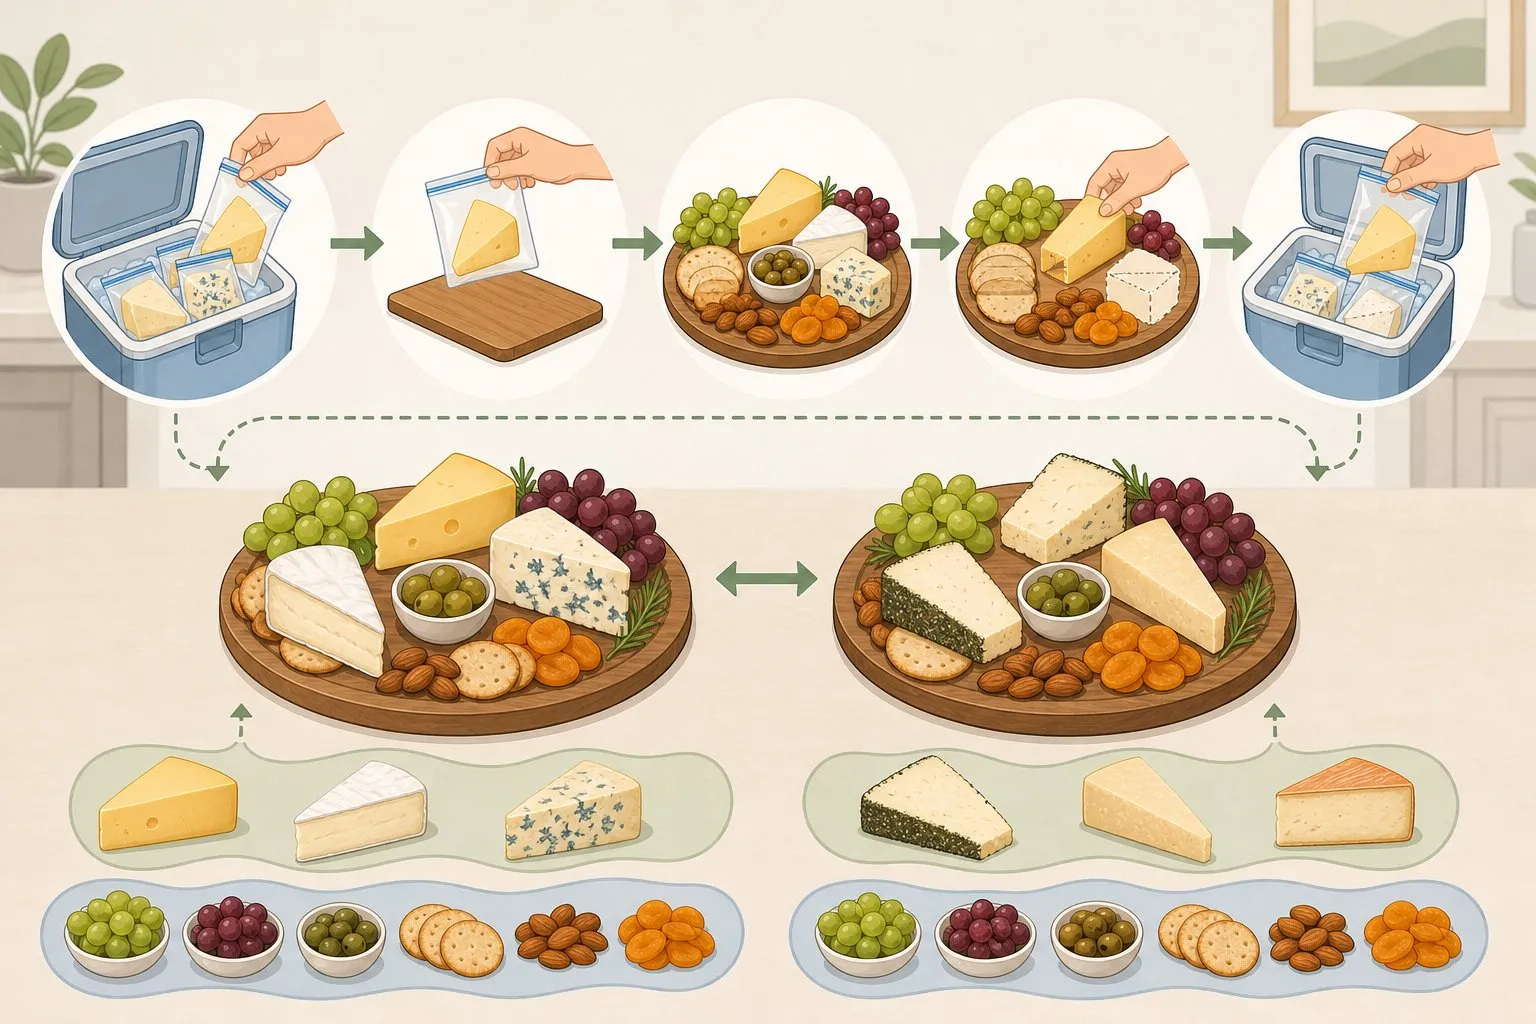
How to Make a Cheese Board: The Build-and-Swap Method
A better cheese board isn't a bigger one. It's one where less food sits out at a time, guests can always reach in and cut cleanly, and you never have to stop mid-party to rescue a melting, overpicked platter. The fix for all three problems is the same: learning how to make a cheese board in pre-sized "waves" instead of one giant spread that sits out for hours.
The sizing for those waves comes from food safety, not styling. Cheese and other perishables shouldn't sit at room temperature longer than two hours, or one hour once it's above 90°F, and the time spent cutting and tempering counts against that window just as much as the time guests spend eating. This guide covers how much cheese to buy, a host timeline from the day before to cleanup, a step-by-step build-and-swap method, and a worked example for eight guests over a four-hour party. It's beginner-friendly: all you need is a cutting board, one knife per cheese, tongs or picks, a second platter, and fridge space for backups.
What to put on a cheese board: portions, selection, and tools
Start with quantity. Plan on 2 to 3 ounces of cheese per person if the board is an appetizer, or 4 to 5 ounces per person if it's standing in for the meal, according to Striped Spatula's portioning guide published this week.
Variety matters more than count. Three cheeses comfortably cover up to eight guests; four or five suit groups of eight to fifteen. Most experienced hosts cap it around seven varieties, since more choices overwhelm guests rather than impress them, per Striped Spatula. KnowTheCheese, in a guide from about eight months ago, makes the same point a different way: variety on a board comes from contrast, not from volume. One soft cheese, one firm or aged cheese, and one bold or blue cheese covers the texture and intensity range most people want, which is why the worked example below sticks to Brie, aged cheddar, and blue.
Keep accompaniments short. One crunchy element, one fresh fruit, one dried fruit or nut, and a single condiment is enough for most home boards; piling on more tends to clutter the board rather than improve it, KnowTheCheese notes.
Before you shop, confirm your soft cheeses are made from pasteurized milk. Raw-milk versions need at least 60 days of aging to reduce bacterial risk, according to Martha Stewart's food-safety guide published this week. That check matters more if any guests are pregnant: soft cheeses and deli meats are among the foods USDA FSIS links to Listeria risk for that group, as Restaurantware's catering guide from about five months ago points out.
For tools, give each cheese its own knife to stop flavor transfer and cross-contamination, add small tongs or picks so guests aren't handling pieces by hand, and set aside a second platter plus fridge space to hold backups wrapped and cold, Martha Stewart advises.
How long can a cheese board sit out
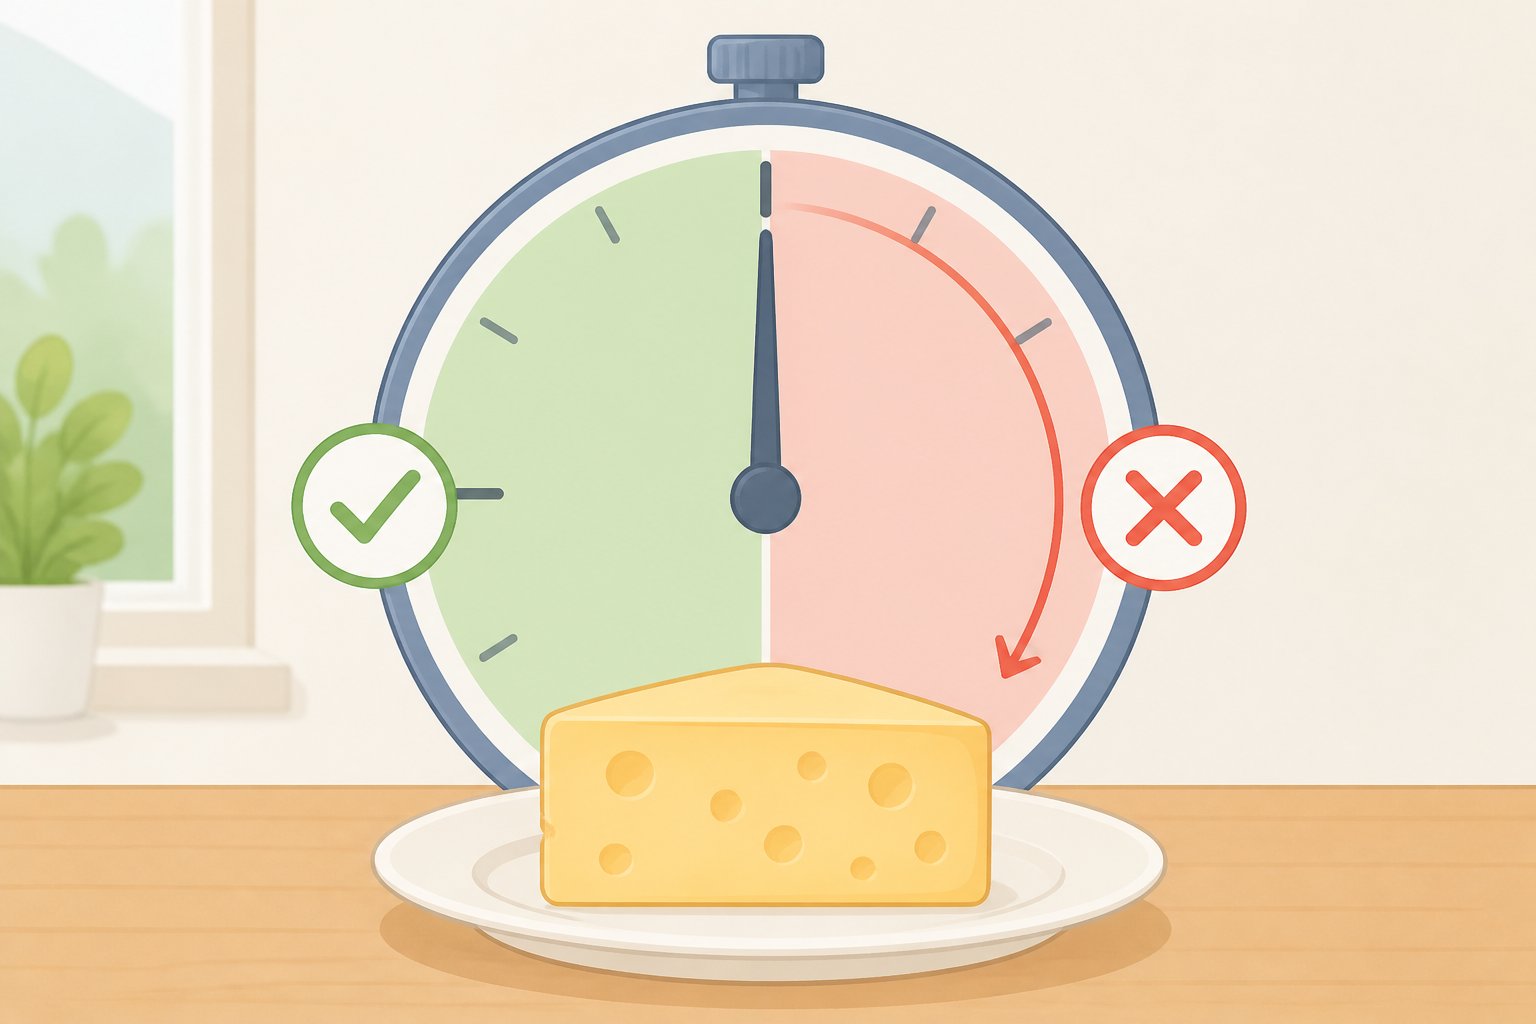
This is the rule the whole wave method is built around: perishable cheese shouldn't sit at room temperature for more than two hours, or one hour once the room or patio climbs above 90°F. The clock starts the moment cheese leaves the fridge to be cut or tempered, not when guests walk in the door, per KnowTheCheese.
Not everything on the board is on that clock. Crackers, nuts, and honey hold up far longer than cheese does, which is why "Martha Stewart's guide, citing Stop Foodborne Illness CEO Sandra Eskin, treats them as shelf-stable enough to set out once and simply top up from a sealed bag. You only need to swap the perishable core, not the whole spread.
A chilled marble or slate board, or a tray set over ice, can help the displayed wave stay firmer and cooler. But unless you're actually confirming the food stays at 40°F or below, the research-backed threshold for extended cold holding cited by KnowTheCheese, treat the ice as a quality touch, not a safety extension. The swap schedule, not the chill, is what keeps the board safe.
Before you start: build your host timeline
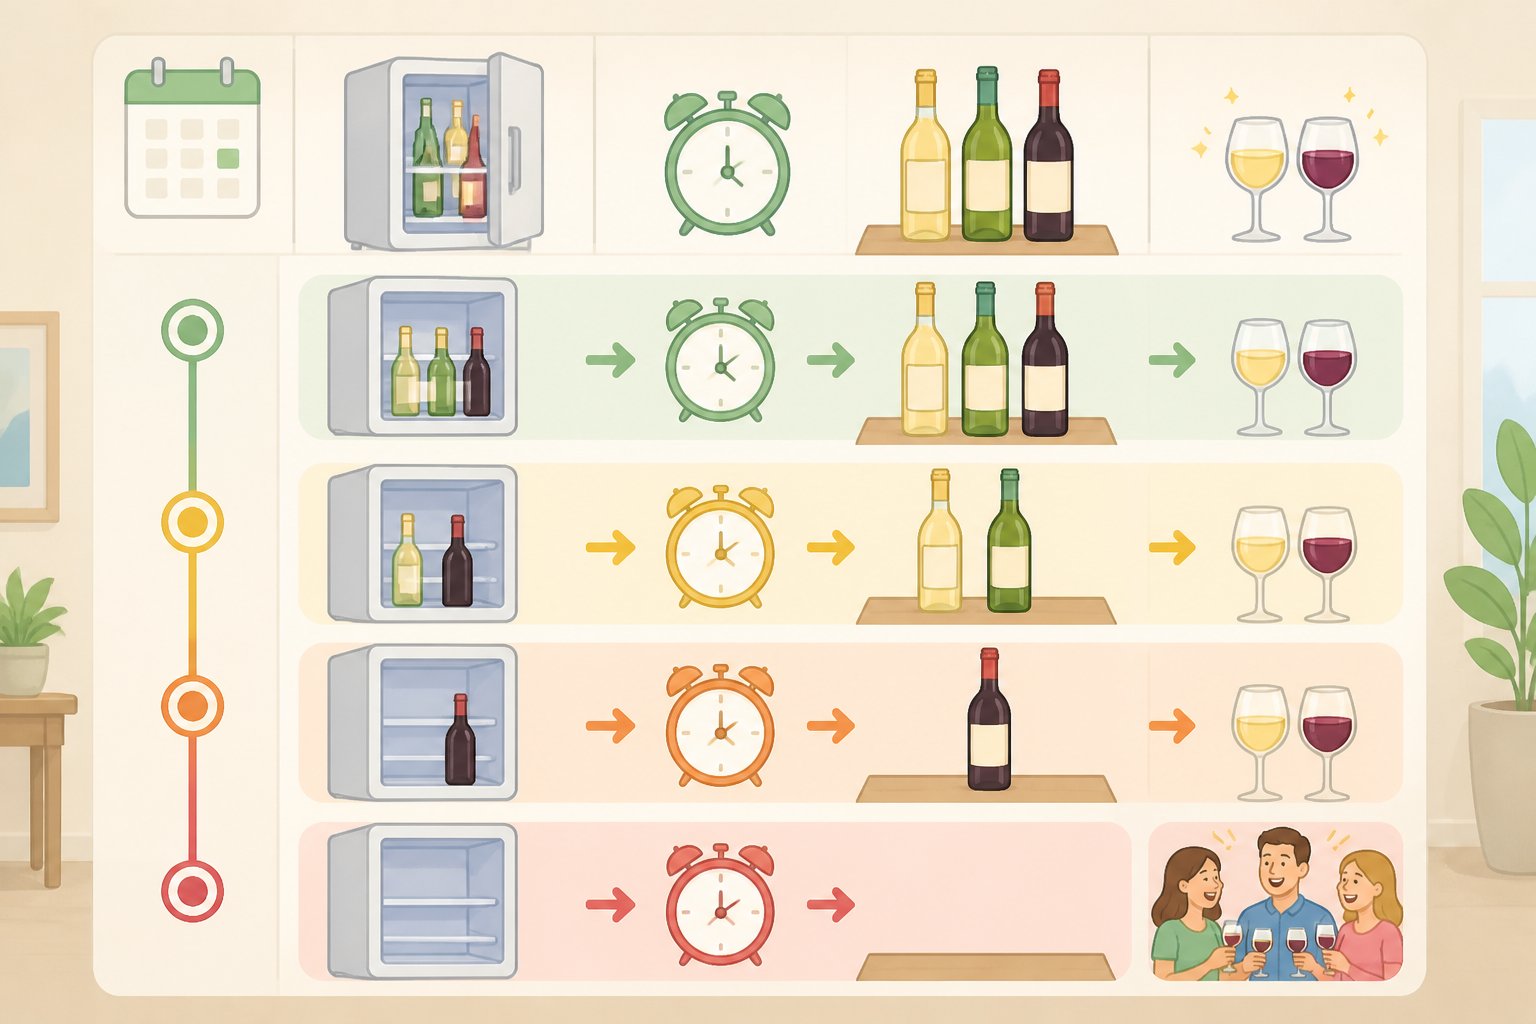
The day before, cut hard cheese into cubes or slices and store it airtight; you can cut hard cheese up to three days ahead if you keep it sealed in the refrigerator, according to Serious Eats, published about 11 months ago. Fold or roll any cured meat and wrap it tightly up to 24 hours ahead.
About 45 minutes before guests arrive, pull only the first wave's cheese from the fridge. Most cheeses taste best 30 to 60 minutes after coming out of the fridge; fresh cheeses need only 20 to 30 minutes, so pull those last, per Striped Spatula.
Set an alarm for each swap tied to when that wave's cheese actually left the fridge, not to the party's start time. That's the detail that keeps a wave plan from quietly running over once the night gets going.
How to assemble a cheese board in build-and-swap waves
-
Divide your total cheese into waves before you prep anything. For 8 guests at 2.5 ounces per person, that's 20 ounces total: about 6.5 ounces of Brie, 6.5 ounces of aged cheddar, and 7 ounces of blue. Split that across three waves of roughly 6.5 to 7 ounces each, so every wave carries about 2 to 2.5 ounces of each cheese. Keep each wave's portions wrapped separately in the fridge, labeled if it helps, until its turn comes up.
-
Temper only the wave about to go out. Pull wave 1 from the fridge 30 to 45 minutes before guests arrive and leave waves 2 and 3 fully refrigerated, staged in the back of the fridge or a cooler if space is tight. Slicing ahead is fine, but pre-sliced cheese dries out and spoils faster than cheese left in larger pieces, so cut each wave's portion close to when it's tempered rather than slicing all three waves at once, Martha Stewart notes. Keep the blue wrapped separately within its wave so the aroma doesn't transfer to the Brie and cheddar sitting next to it, per Striped Spatula.
-
Divide wet accompaniments into the same waves as the cheese. Cut fruit, jam, and other moist items should stay chilled until you're ready to set each wave out, since wet fruit and jam sitting against crackers for hours will make them go soggy. Keep the next wave's portion chilled until it's actually time to set it out. Crackers, nuts, and honey don't need their own wave; set them out once at the start and top up from a sealed backup bag as needed.
-
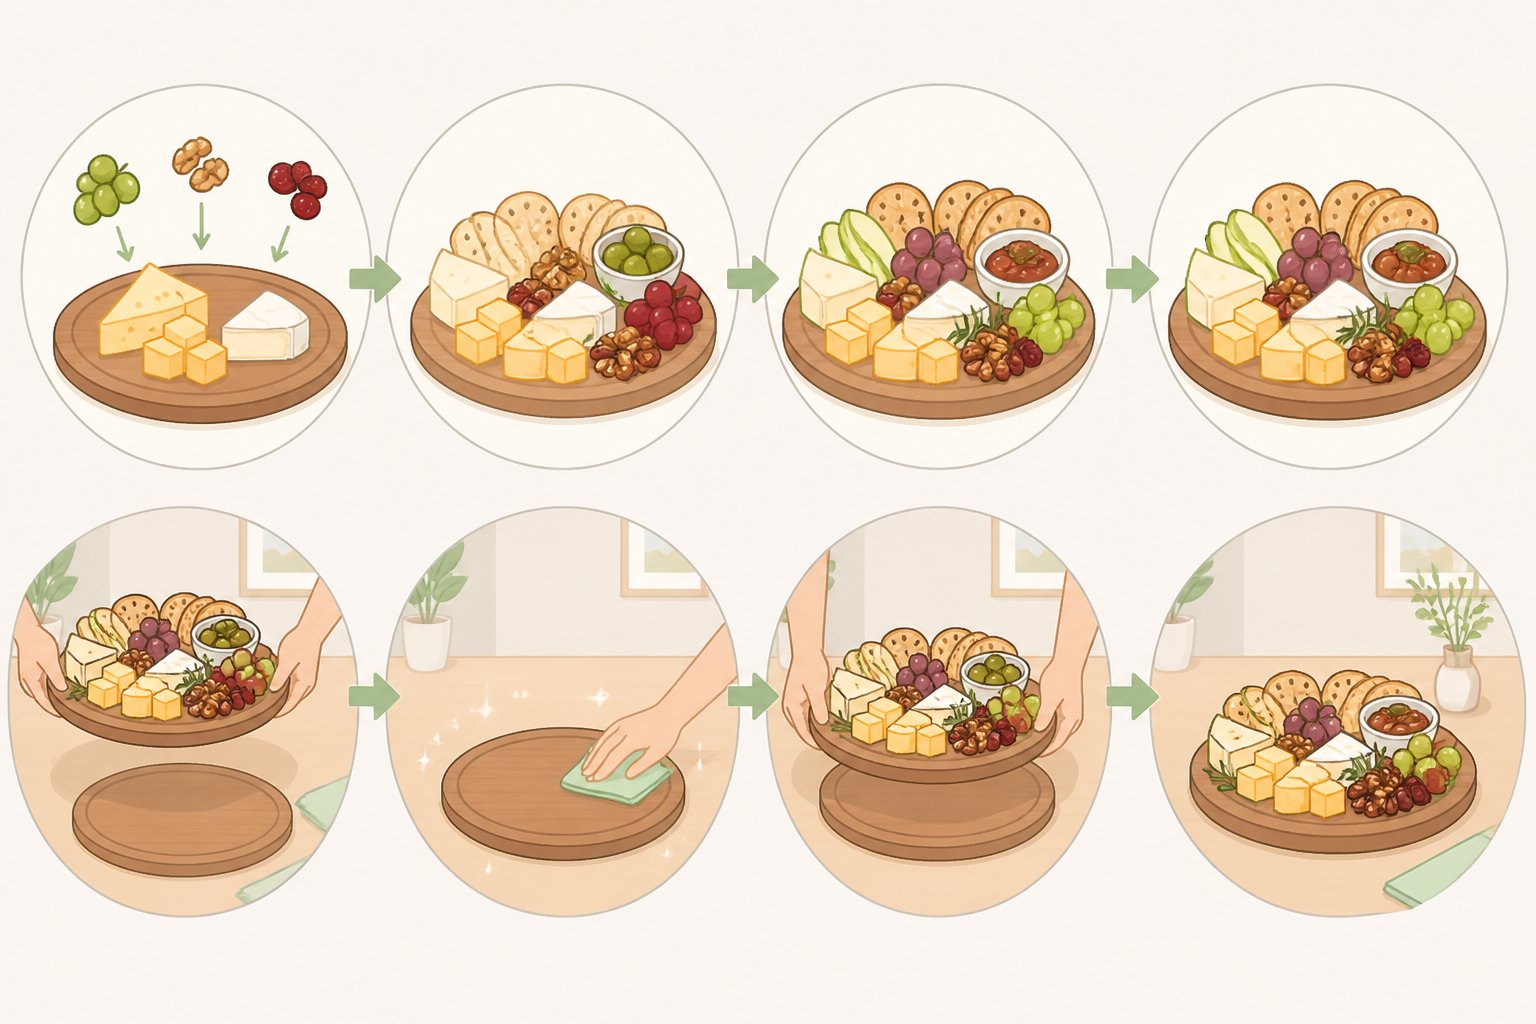
Build each wave for self-serve. Place the cheeses first with a hand's width of open space around each one, cut one opening slice from each so guests know where to start, then add crackers, fruit, and condiments last, keeping wet fruit away from the crackers so neither goes soft, per KnowTheCheese. Set the dedicated knives and tongs or picks out before guests arrive.
-
Swap the whole wave on schedule. For a 7 to 11 p.m. party: wave 1, pulled at 6:30 p.m. and tempered 30 minutes, displays from 7:00 to 8:30 p.m., hitting its two-hour clock at 8:30. Wave 2, pulled at 8:00 p.m., replaces it and runs 8:30 to 10:00 p.m. Wave 3, pulled at 9:30 p.m., runs from 10:00 to 11:00 p.m., well under its own limit when the party ends. At each swap, remove the whole outgoing wave rather than adding fresh cheese on top of what's already out.
-
Sort discard from refrigerate by cheese type, not by appearance. Soft and fresh cheeses, the Brie in this example, get thrown out once their wave's time is up, even if a wedge looks untouched; there's no way to verify its time history once it's been left at room temperature, and Martha Stewart's guide, citing microbiologist Jill Roberts, is blunt about this. Hard or semi-hard cheese, the cheddar here, can go back in the fridge, but only if it stayed within its wave's limit the whole time it was out. Wrap it separately and refrigerate it promptly rather than letting it linger on the counter after cleanup starts.
What success looks like: at any point in the party, the table shows a full, easy-to-cut wave that's been out less than its time limit, while the next wave sits wrapped and cold in the fridge. No scrambling, no guessing about what's still good.
Cheese board ideas for a party: adjusting for heat, crowd size, and crowding
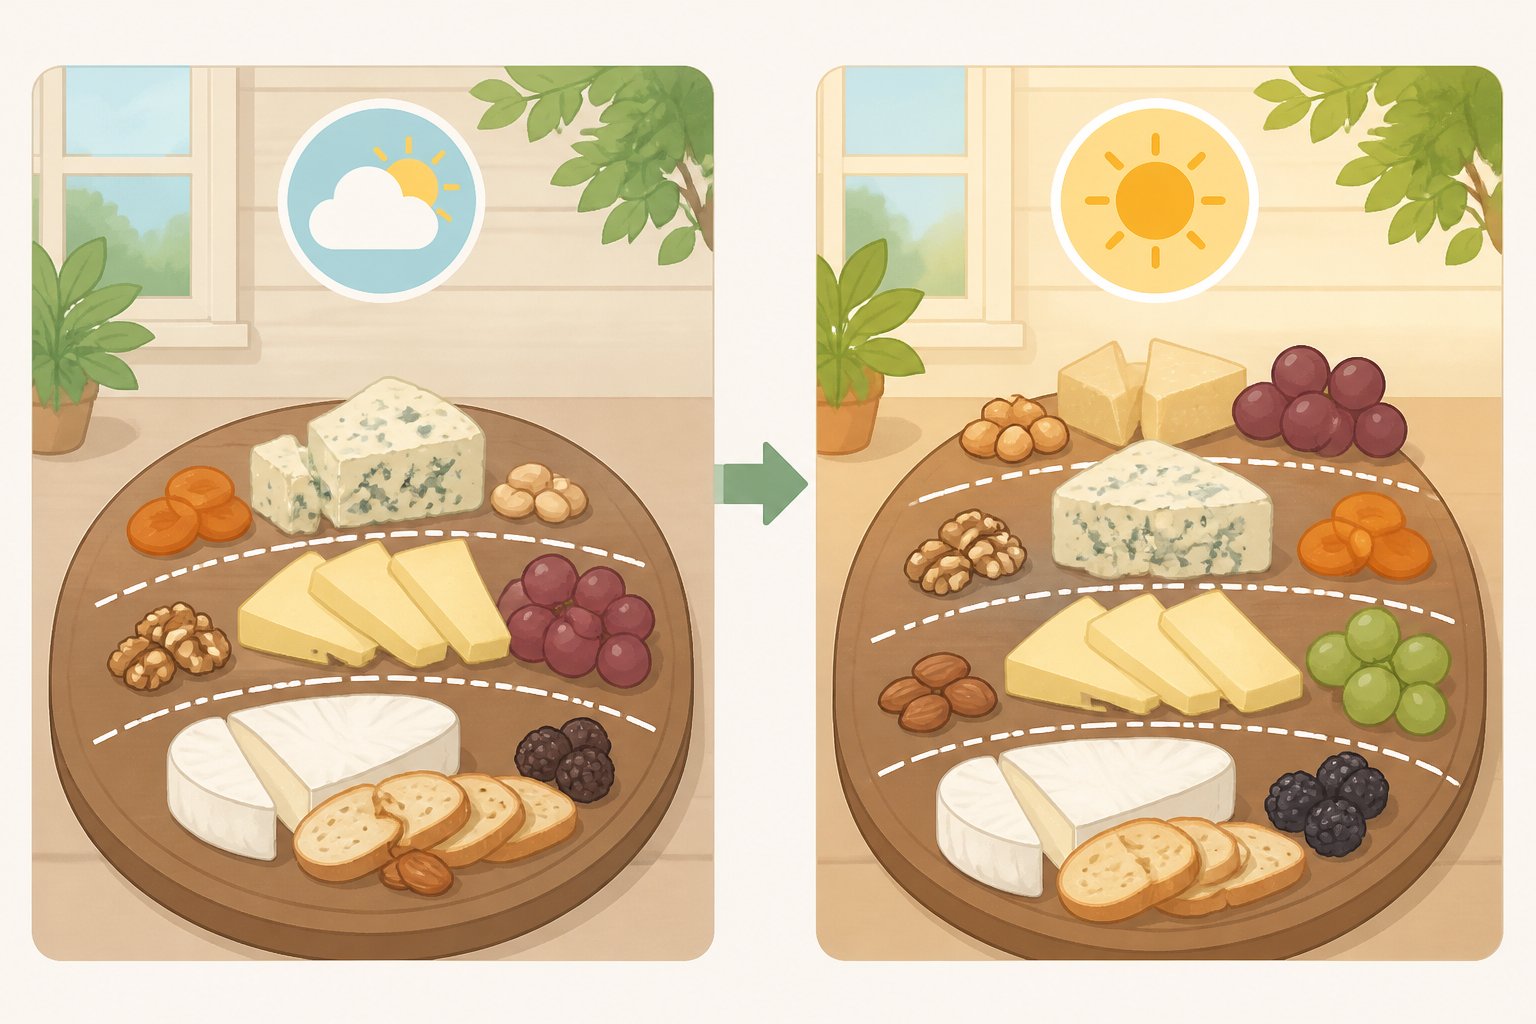
Outdoors or above 90°F, the discard clock drops to one hour. A four-hour outdoor party needs four waves instead of three, and the time spent tempering eats into each wave's one-hour window just as much as serving time does. At that point, individually portioned cups or jars are worth considering, since each guest's portion carries its own one-hour clock with less shared handling, Restaurantware suggests for catered events.
For larger groups of 8 to 12 or more, scale the same wave math up in total ounces, and move to a board at least 18 to 24 inches across, or two or three boards clustered together, rather than crowding more cheese onto one small platter, per Restaurantware. That guide also recommends the same workflow this article uses for events: small batches out, backups cold, swapping full platters rather than topping off.
If guests are struggling to cut cleanly, the fix is more open space around each cheese, not fewer waves or more varieties, KnowTheCheese points out. A crowded board is a spacing problem, not a selection problem.
Finish line: serving, storing, and when to toss leftovers
Any soft, cut, or shredded cheese that exceeded its wave's time limit gets tossed, no matter how it looks. Unintended mold on soft or crumbled cheese is also an automatic discard.
Only hard or semi-hard cheese that stayed within its time limit for the whole wave qualifies as leftovers. Wrap each piece separately in wax or cheese paper and store it in the crisper drawer; firm or aged cheese holds for one to two weeks, per Striped Spatula and Martha Stewart.
Shelf-stable extras, unopened crackers, nuts, dried fruit, don't need the same scrutiny. Set them aside for next time. Three contrasting cheeses, a short accompaniment list, and a reliable wave schedule will stay fresher and serve easier through a long party than a bigger spread left out from start to finish.


Comments
Be the first, drop a comment!