



How to Get Bakery Style Muffin Tops With the 425°F Trick
Getting bakery-style muffin tops at home comes down to four things working together: thick batter, cups filled to the brim, a genuinely preheated oven, and a timed temperature drop. The temperature trick is real. It just doesn't work in isolation.
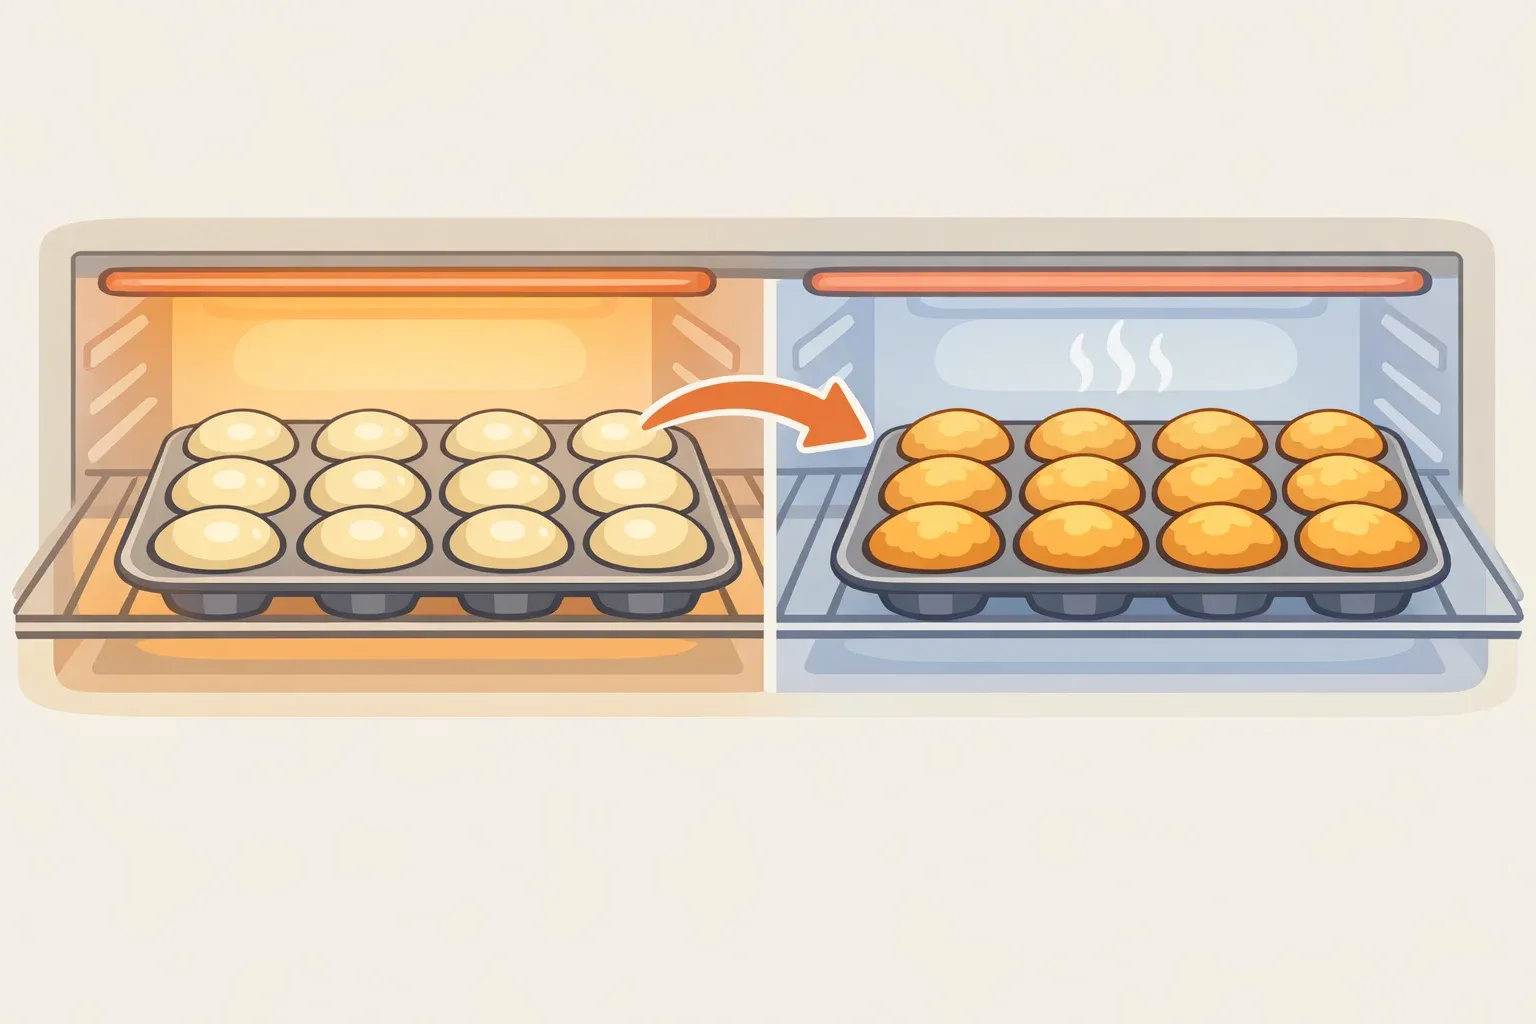
Here's the short version: start at 425°F for five minutes to trigger a rapid rise, then drop to 375°F to let the interior cook through without scorching the top. Multiple tested sources, including Living The Gourmet (March 2026) and Flavor365 (September 2025), confirm this approach produces consistent domes. When a recipe specifies its own finishing temperature, follow it. Otherwise, 375°F is the default. That question won't come up again.
One scope note: this method works with sturdy, standard batters. High-sugar, chocolate, streusel-topped, and cake-style muffins are better candidates for a steady 350°F throughout. Sugar and cocoa scorch faster than standard batters can tolerate at 425°F, per Flavor365 (January 2026). That's covered in detail below.
Why the method works: oven spring explained
When batter hits high heat, three things fire at once: chemical leaveners release carbon dioxide, liquid converts to steam at 212°F, and egg and flour proteins begin setting structure. That simultaneous burst produces a powerful, rapid rise, as Living The Gourmet documents in their March 2026 breakdown.
The dome is a geometry problem. High heat causes the exterior crust to set quickly, before the interior has fully expanded. Rising gases have nowhere to escape except upward through the still-soft center. Start at a low temperature instead, and the crust and interior develop at the same pace; gases bleed off evenly, and there's no dome, per Living The Gourmet.
Batter consistency controls which direction the expansion goes. Thick, scoopable batter resists sideways spread and directs gas upward. Thin batter in a full cup is just as likely to spill outward, per Flavor365 and Sally's Baking Addiction (April 2025).
What "thick enough" looks like: the batter should scoop and hold a mounded shape on the spoon. Not pourable, not glossy-smooth. If it drips off in a ribbon, it's too thin for this method to work reliably.
How to get tall muffin tops: the method, step by step
Before you start
- Pan: A light-colored aluminum muffin tin is the standard most recipes are developed against. Dark nonstick and glass pans absorb and retain heat differently. Both require a 25°F reduction throughout the bake, per Flavor365.
- Room-temperature ingredients: Cold eggs and milk pulled straight from the fridge absorb oven heat before the batter can, blunting the initial rise. Quick fix: eggs in warm water for five minutes, milk in the microwave for 10-15 seconds, per Living The Gourmet and Cookist (December 2025).
- Fresh leaveners: Baking powder and baking soda typically lose potency within 6-12 months of opening, per Living The Gourmet. Test baking powder by dropping a spoonful into hot water. Vigorous fizzing means it's active; weak or no fizz means replace it, per Flavor365.
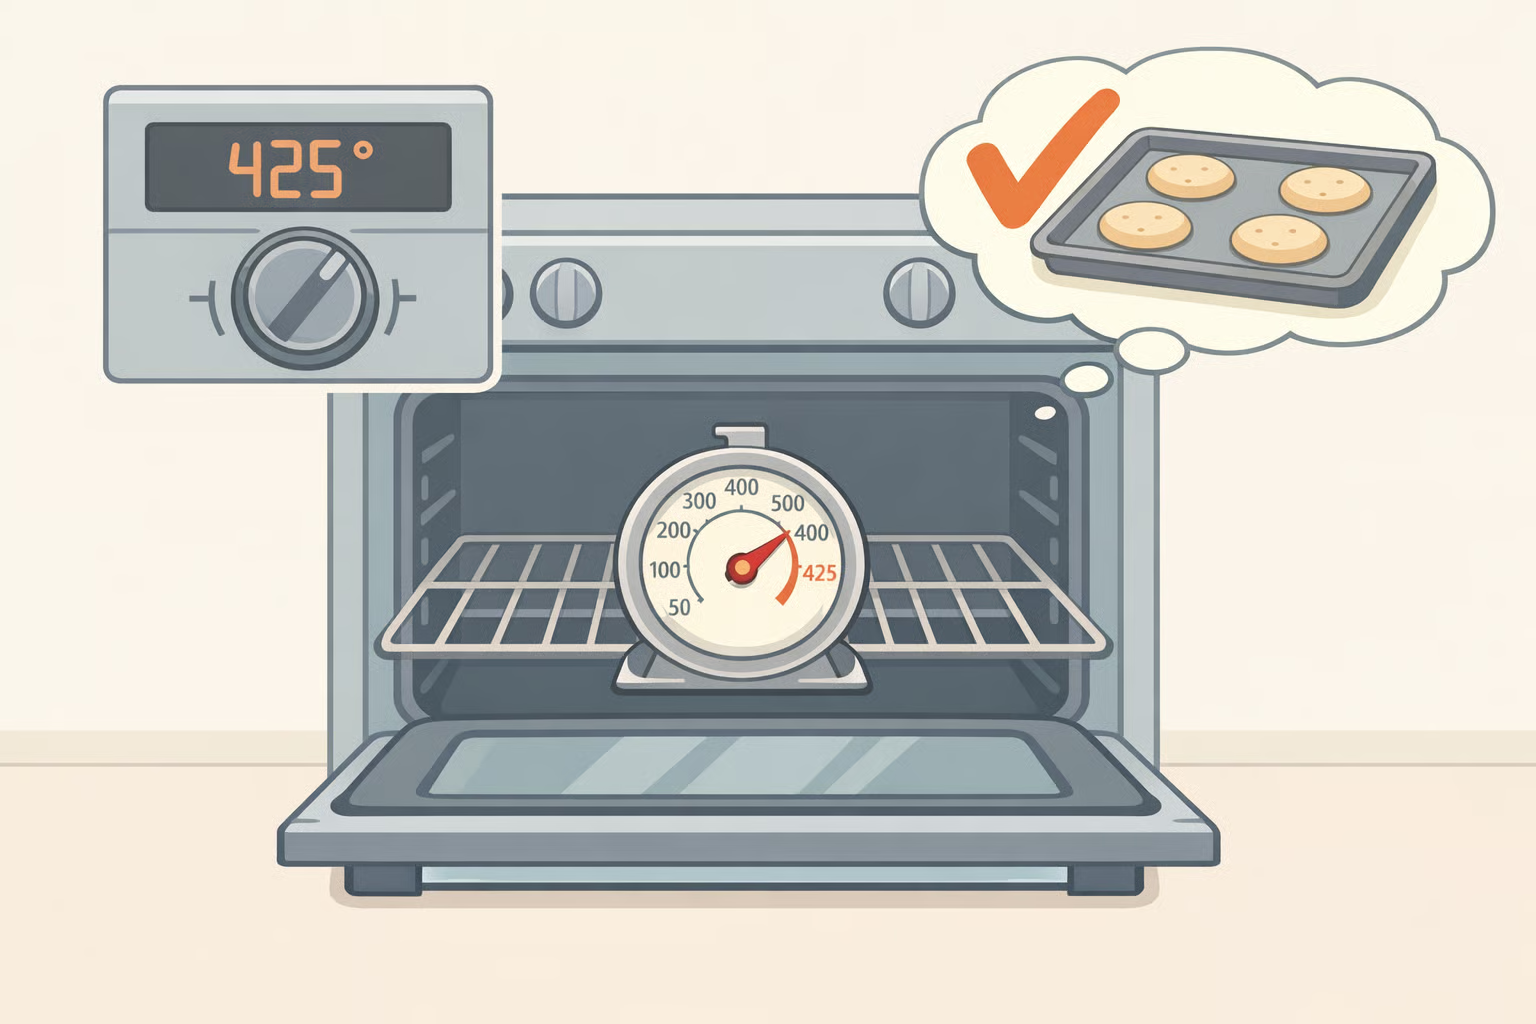
1. Preheat your oven to 425°F, then wait an extra 15 minutes after the preheat signal.
Most ovens signal "ready" before they've actually stabilized. Full stabilization typically takes 15-20 minutes beyond that point, per Flavor365. Many home ovens also run 25°F cooler than the dial indicates, per Living The Gourmet. An oven thermometer fixes both problems with a one-time investment.
An oven that hasn't truly reached 425°F when the muffins go in will produce flat tops. No amount of technique compensates for that.
Convection note: The sources conflict here, so treat convection as a variable to test rather than an advantage. Handle the Heat found the fan setting encouraged upward rise; testing documented by McCormick/Food52 in late 2023 found convection caused outward spread instead. If using convection, reduce the target temperature by 25°F throughout and treat your first batch as a test. Conventional bake mode is the safer default.
2. Mix batter until just combined. Stop when lumps are still visible.
Stir only until the dry ingredients disappear. The batter should look rough and uneven, per Living The Gourmet. Overmixing develops gluten, tightens the batter, and produces tough, dense muffins that resist rising cleanly.
Optional batter rest: Letting the batter sit uncovered at room temperature for 15-30 minutes allows flour to hydrate fully, which thickens it and can improve both rise and crumb texture, per Flavor365 and Cookist. For overnight fridge resting, make sure the recipe uses double-acting baking powder. Aluminum-free single-acting powders exhaust most of their leavening on contact with liquid, leaving little reserve for the oven, per Handle the Heat.
3. Fill cups all the way to the brim. Not two-thirds, not three-quarters.
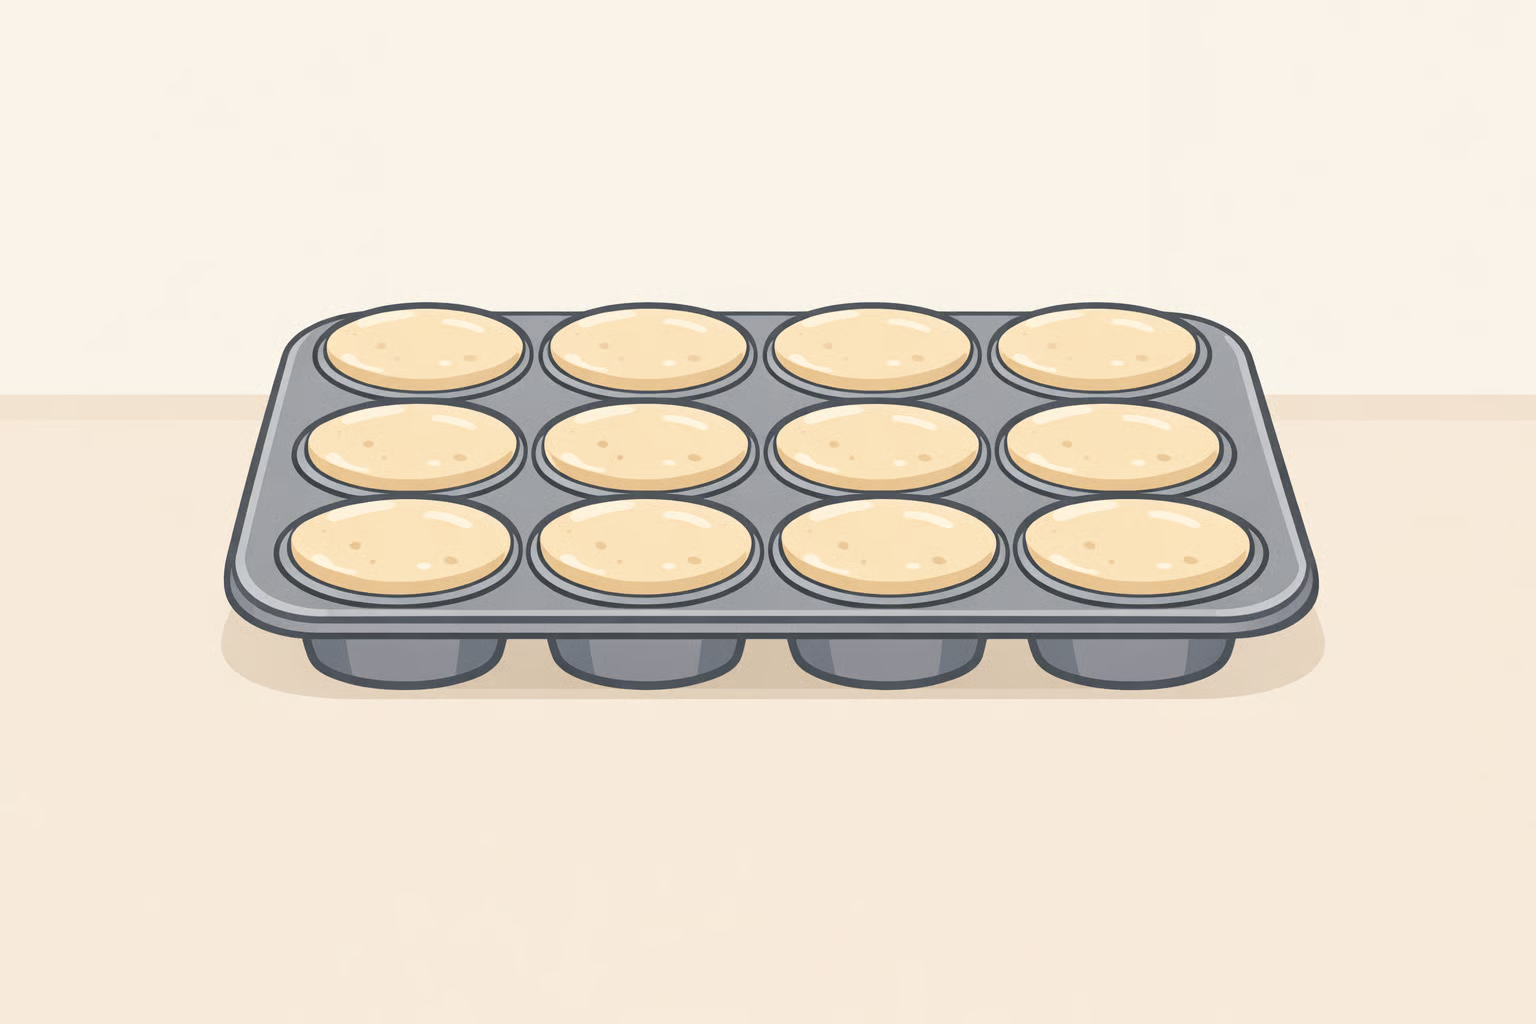
The dome forms because rising batter has nowhere to go but up and over the rim. A half-filled cup doesn't have enough batter to build that structure, per Living The Gourmet and Flavor365.
On yield: If a recipe yields 14-15 muffins, distribute that batter across a 12-cup tin. Commit to full cups with a standard 12-muffin recipe and you may only get 9, per Handle the Heat. Adjust your expectations accordingly. One caveat: if the batter is noticeably thin and pourable, filling to the brim risks overflow. Fill to three-quarters and fix the batter consistency before the next batch.
4. Place the tin in the oven and bake at 425°F for exactly 5 minutes. Set a timer immediately.
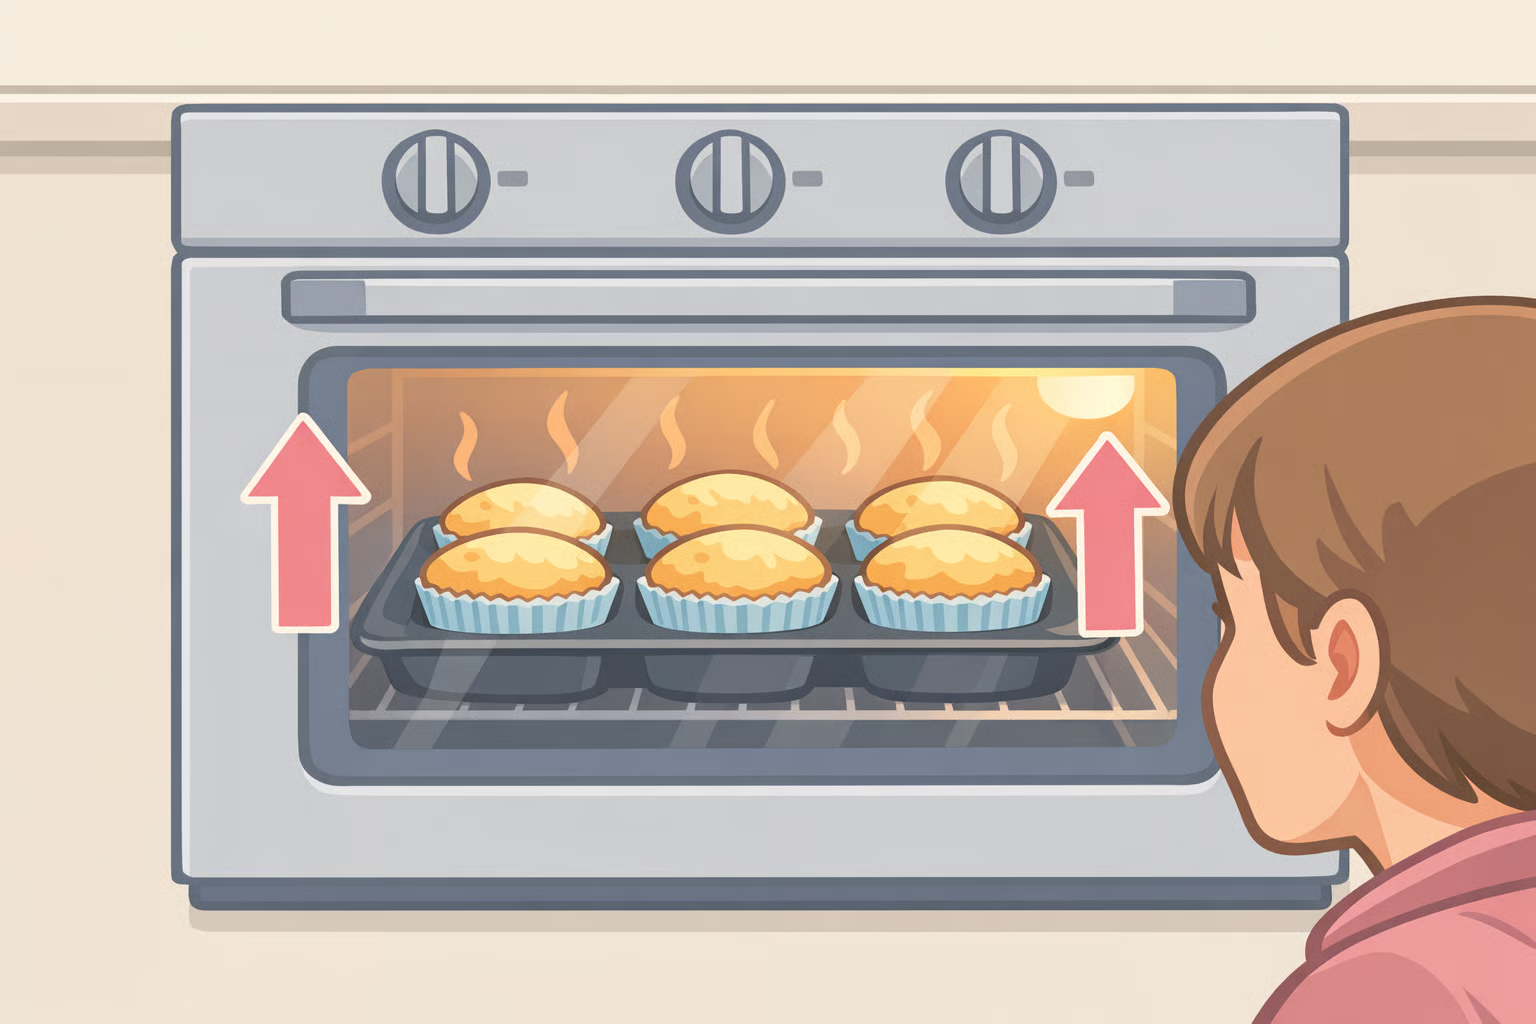
You should see visible rise through the oven window. Do not open the door. Releasing heat and steam at this stage deflates the rise before the dome can set, per Living The Gourmet and Flavor365. For jumbo muffins, extend the high-heat phase to 7 minutes before dropping temperature.
5. Without opening the oven, reduce the temperature to 375°F and continue baking.
For standard-size muffins, expect 13-18 additional minutes. Jumbo muffins run 25-30 minutes total, per Living The Gourmet and Flavor365. If the recipe specifies 350°F for the finish, follow it.
Warning: Keeping the oven at 425°F past the five-minute mark will burn the exterior before the interior is done, per Living The Gourmet. Set a separate timer if needed.
6. Test for doneness.

Insert a toothpick into the center of the tallest muffin. A few moist crumbs attached means done; wet batter means more time. Start checking 2-3 minutes before the low end of the range, especially with dark pans. For precision, a fully cooked muffin reads 200-205°F internally on an instant-read thermometer, per Flavor365.
7. Cool in the pan for 5 minutes, then move to a rack.
Steam trapped under the base during cooling creates soggy bottoms, per Cookist.
When to use a different approach: recipe suitability
The 425 then 375 muffin method suits sturdy, standard batters: blueberry, vanilla, lemon, bran, whole wheat. Dense batters may benefit from an extra minute at 425°F before the drop; lighter, more delicate batters handle the standard five-minute blast fine, per Living The Gourmet.
High-sugar batters, recipes heavy on cocoa powder, streusel-topped muffins, and cake-style muffins are better candidates for a consistent 350°F bake throughout. Sugar and cocoa scorch faster than standard batters can tolerate at 425°F, per Flavor365.
The two-temperature approach also isn't the only path to tall tops. Handle the Heat bakes their preferred muffin recipe at a steady 400°F throughout and relies on overnight batter chilling instead, which thickens the batter, improves moisture, and increases rise without any oven adjustment. The two approaches are compatible. When a well-tested recipe specifies its own temperature profile, follow it. Recipe developers have already accounted for their specific batter composition. Use this method when adapting a recipe that doesn't specify one, or troubleshooting a recipe that consistently comes out flat.
Troubleshooting: a quick diagnostic for common problems
-
Flat or barely domed tops: Oven wasn't at true temperature when muffins went in, cups were underfilled, or batter was too thin. Verify oven temperature with a thermometer, fill to the brim, and check batter consistency. It should scoop, not pour, per Flavor365 and Living The Gourmet.
-
Wide flat overhang ("Saturn ring") instead of a dome: The muffin top spread sideways before the exterior could set. Usually a sign the batter is too thin or the oven wasn't hot enough at the start. Thicken the batter slightly and confirm actual oven temperature, per Flavor365.
-
Burnt tops, raw centers: Temperature stayed too high past the five-minute mark, or the pan is dark nonstick or glass without a temperature adjustment. Drop to 375°F at exactly five minutes; reduce by 25°F throughout for dark or glass pans, per Living The Gourmet and Flavor365.
-
Muffins sank after coming out of the oven: Underbaking. Muffins that haven't fully set collapse as they cool. Add 2-3 minutes and retest with a toothpick; look for a few moist crumbs, not wet batter, per Handle the Heat.
-
Tough, dense crumb: Overmixed batter. Mix only until dry ingredients disappear and the batter still looks lumpy, per Living The Gourmet and Flavor365.
-
No rise despite following all steps: Expired leaveners. Baking powder and baking soda typically lose effectiveness within 6-12 months of opening. Drop a spoonful of baking powder into hot water; vigorous fizz means it's still active, per Living The Gourmet.
If the next batch still comes out flat
Start with oven temperature. A 25°F variance is common in home ovens, and that gap alone can flatten an otherwise well-executed batch, per Living The Gourmet and Flavor365. If the oven checks out, look at batter thickness. Still flat? Check fill level. Still nothing? Verify the timing on the temperature drop.
Change one variable per batch and the problem becomes easy to locate. Once the method is dialed in with a reliable standard recipe, the natural next experiment is batter composition: fat choice, the addition of sour cream or yogurt, overnight resting. Those variables build on the heat method rather than replacing it, per Flavor365 and Sally's Baking Addiction.


















Comments
Be the first, drop a comment!