



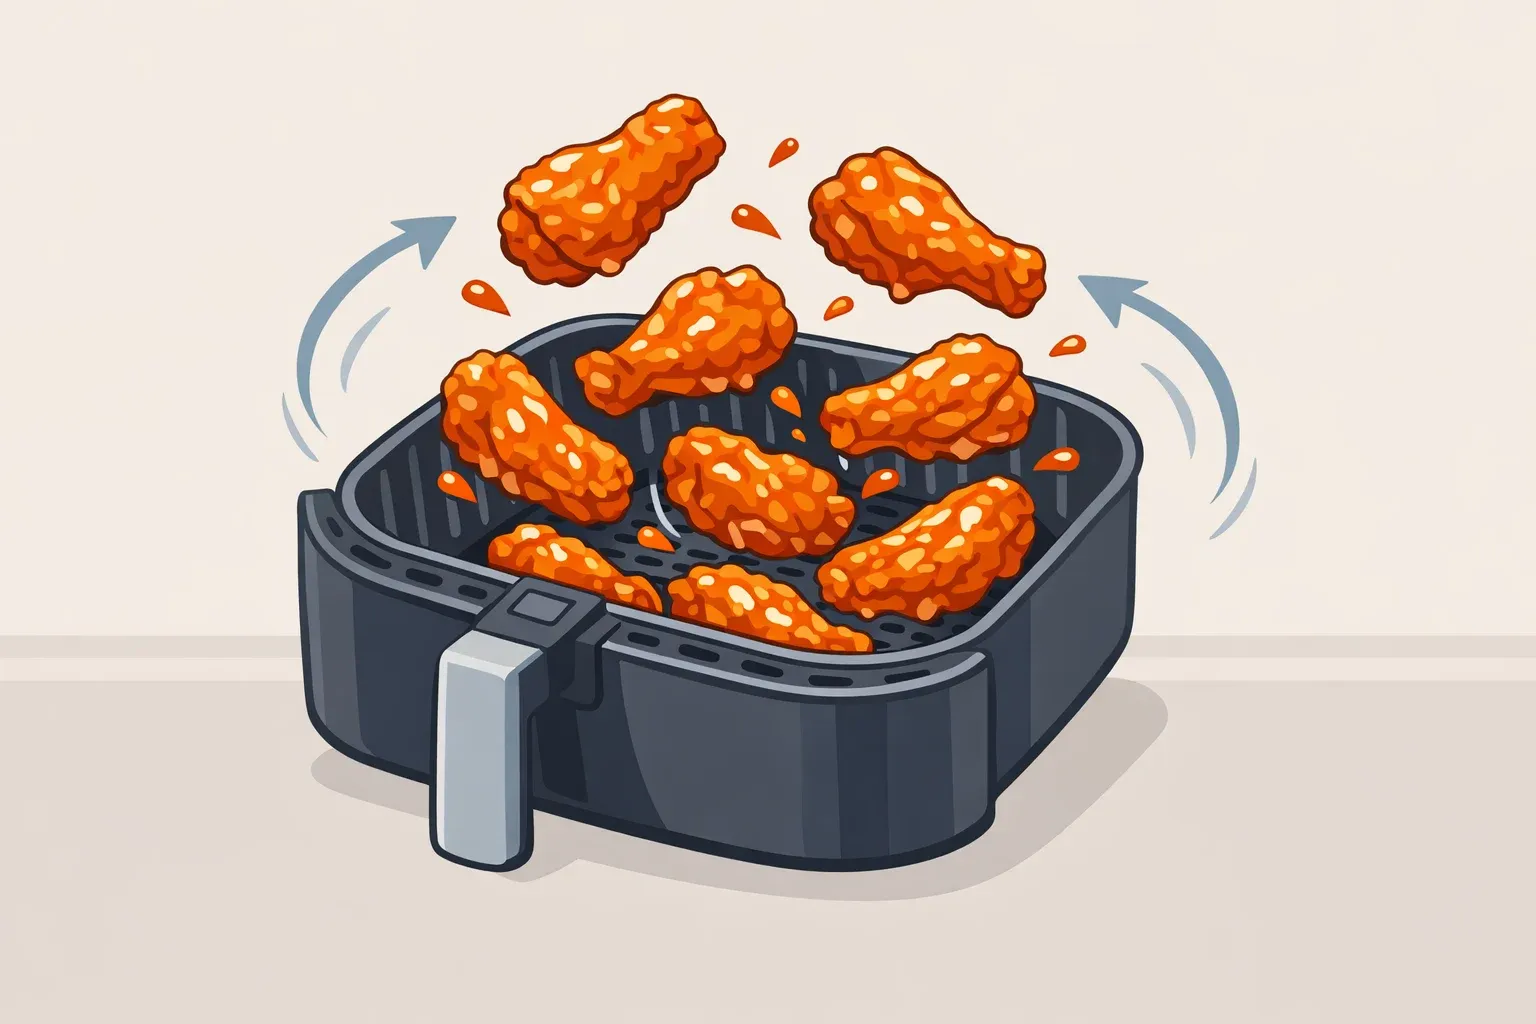
How to make crispy boneless buffalo wings in an air fryer including the ranch
Most boneless buffalo wings fail at the sauce toss. The crust that seemed fine coming out of the basket turns soft and paste-like the moment it hits hot sauce. That's not a sauce problem—it's a coating problem, an oil problem, and a timing problem, and all three are fixable before you start cooking.
This guide walks through a complete, repeatable method: a cornstarch-blended crust that browns properly under dry heat, a butter-emulsified buffalo sauce that clings rather than runs, and a buttermilk ranch that takes about five minutes to mix. The technique decisions are explained up front so you're not troubleshooting mid-cook.
One number matters for doneness: 165°F internal temperature. A meat thermometer is the most reliable way to confirm it. Every other cue in this guide is secondary to that reading.
Why this method works: the three technique pillars
Three decisions determine whether you get a crust that survives saucing or one that dissolves into paste. Understand them here and the steps that follow will feel logical rather than arbitrary.
1. Cornstarch in the coating. A 50/50 blend of all-purpose flour and cornstarch produces noticeably better texture under dry heat than flour alone. Flour provides structure; cornstarch helps the crust set faster and stay firm when it hits sauce. The principle is well-documented in professional fried chicken methodology and transfers directly to air-frying conditions.
2. Oil spray on the coated surface. The spray isn't just to prevent sticking. A thin coat of neutral oil on the outside of the dredged chicken triggers browning—the Maillard reaction—the same proces responsible for the color and flavor of seared meat and toasted bread. Air fryers circulate hot air efficiently, but without surface oil, the coating dries rather than browns. Spray the basket. Spray the chicken tops. Both matter.
3. Sauce the chicken hot, serve immediately. Any crust softens once wet. Tossing in sauce while the chicken is at peak temperature lets the sauce set on a hot surface rather than soak in as things cool. Plate and serve quickly. This dish doesn't hold.
What you need
Ingredients wings
1.5 lbs boneless, skinless chicken (breasts or thighs see note below)
½ cup all-purpose flour
½ cup cornstarch
1 tsp garlic powder, 1 tsp onion powder, 1 tsp smoked paprika, ½ tsp cayenne, salt and black pepper
2 eggs, beaten
½ cup Frank's RedHot (or preferred hot sauce)
3 tbsp unsalted butter
Ingredients ranch
½ cup mayonnaise
¼ cup sour cream
2 tbsp buttermilk (or regular milk with a few drops of white vinegar)
1 tsp dried dill, ½ tsp garlic powder, ½ tsp onion powder
Salt, pepper, fresh chives or parsley if available
Equipment
Basket-style air fryer (oven-style models work but tend to need extra cooking time)
Instant-read meat thermometer non-negotiable
Two shallow bowls for dredging
Wire rack or plate for resting dredged chicken
Small saucepan or microwave-safe bowl for the buffalo sauce
Neutral cooking oil in a spray can (avocado or canola)
Breast vs. thigh. Thighs are more forgiving—they stay juicy at higher heat and tolerate a longer cook without going dry. Breasts work fine but have a narrower window between done and overdone, especially once cut into small pieces. If you're new to this method, start with thighs. With breasts, pull each piece individually the moment it hits 165°F rather than waiting to clear the whole basket at once.
Batch planning. Air fryers require single-layer cooking; crowding traps steam and kills the crust before browning can start. A standard basket-style fryer fits roughly two generous servings at a time. For four or more people, plan on two full batches and build that into your schedule before you start.
Steps 1–5: prep the chicken and build the coating
Step 1: Cut the chicken into uniform 2-inch chunks. Consistency matters more than the exact size. Uneven pieces mean some overcook by the time others finish.
Step 2: Pat everything completely dry with paper towels. Surface moisture prevents the coating from setting. Thirty seconds of effort, measurable difference in texture.
Step 3: Set up the dredging station.
Bowl 1: Combine flour, cornstarch, and all dry spices. Whisk until evenly distributed.
Bowl 2: Beat the two eggs until smooth.
Step 4: Dredge each piece. Flour mixture first, shake off the excess, egg wash, then flour mixture again. The double coat builds the thick, craggy crust that survives the sauce toss.
Gotcha: Don't skip shaking off excess after the first flour coat. Loose flour trapped between layers steams rather than crisps, creating a pasty interior layer that no amount of circulating hot air will fix.
Step 5: Rest the dredged pieces on a wire rack or plate for 5–10 minutes before cooking. The coating hydrates slightly and adheres more firmly, which reduces blowouts in the basket. This resting technique is standard practice in professional fried chicken methodology and the principle carries over directly to air-frying.
Steps 6–10: cook the wings
Step 6: Preheat the air fryer to 400°F for 3–5 minutes. Starting cold means the coating begins cooking before full heat is established, softening the exterior from the start.
Step 7: Spray the basket with neutral oil, then spray the tops of the dredged chicken pieces. Surface oil is doing real work here this is what makes browning happen.
Step 8: Arrange in a single layer. No stacking, no crowding. Two batches done right will beat one overcrowded basket every time.
Step 9: Cook at 400°F for 12 minutes, flipping each piece at the 6-minute mark. Air fryers vary smaller baskets can run hotter than their displays suggest, and oven-style models may need a couple of extra minutes. The thermometer is the authority here, not the timer.
Step 10: Check doneness. Insert the thermometer into the center of a piece. Target is 165°F that's the safe internal temperature for chicken. Not there yet, add 2-minute increments and check again. Most 2-inch pieces hit temperature at 12–14 minutes in a properly preheated basket fryer.
What to look for before pulling the basket: The coating should be deep golden-tan, darker at the edges and craggy bits. Pale beige at temperature usually means texture hasn't fully developed give it 2 more minutes. Uneven browning almost always traces back to uneven cutting in Step 1.
Step 11: make the buffalo sauce and toss
Start the sauce while the chicken is in its final minutes.
Combine in a small saucepan over low heat:
½ cup Frank's RedHot
3 tbsp unsalted butter
Whisk constantly until the butter is fully emulsified into the hot sauce, then pull it off heat. Don't let it boil a broken emulsion produces a separated, greasy sauce rather than the smooth one that clings. The butter rounds out the vinegar sharpness and gives the sauce enough body to coat rather than run.
Transfer the cooked chicken immediately to a large mixing bowl. Pour the sauce over and toss gently but thoroughly. Softening starts the moment the crust cools, so work fast.
Sauce quantity note: This ratio produces well-sauced pieces, not dripping ones. For the heavily sauced restaurant version, double the sauce recipe. For drier wings, hold half the sauce back and serve it alongside.
Step 12: mix the ranch
In a bowl, combine:
½ cup mayonnaise
¼ cup sour cream
2 tbsp buttermilk
Whisk in 1 tsp dried dill, ½ tsp garlic powder, ½ tsp onion powder, salt and pepper to taste. Too thick, add another splash of buttermilk. Needs brightness, a few drops of white wine vinegar or lemon juice will sharpen it. Fresh chives or parsley on top if you have them.
The buttermilk is the functional ingredient its mild acidity thins the mayo-sour cream base while adding the tang that separates ranch from plain herb dip. The dried herbs keep hydrating as it sits, so it's actually better after a few hours in the refrigerator than it is fresh. Keeps for up to a week.
Troubleshooting: what went wrong and how to fix it
Coating slid off during cooking. The chicken wasn't dry before dredging, or the dredged pieces went straight into the basket without resting. Pat drier, rest longer next time.
Crust came out pale and soft. Most likely cause: no oil spray on the chicken surface, or the air fryer wasn't preheated. Surface oil and established heat are both required for browning to start if either is missing, you get a dried coating rather than a browned one.
Chicken cooked unevenly. Pieces weren't uniform in size, or the basket was crowded. Cut more carefully and cook in smaller batches.
Breast meat went dry. Breasts have a narrower doneness window than thighs. Pull each piece the moment it hits 165°F rather than clearing the whole basket at once.
Crust went limp after saucing. This happens when the chicken cools before saucing, or when it's slightly undercooked and still steaming from inside. Sauce immediately after pulling from the basket and serve promptly. Once the crust has gone soggy, there's no recovering it the only fix is not letting it happen.
Variations and leftovers
The method holds across different flavor profiles without any adjustment to technique. Smoked chipotle in place of cayenne shifts the heat profile and adds depth. A spoonful of honey stirred into the buffalo sauce while it's still warm produces a sweet-heat balance that works especially well with thigh meat. The cornstarch coating, the oil spray, the resting step, the sauce-while-hot rule none of that changes regardless of where you take the flavor.
Leftovers reheat best back in the air fryer at 375°F for 4–5 minutes rather than the microwave. Not as good as fresh, but close enough to be worth the extra few minutes.


















Comments
Be the first, drop a comment!