



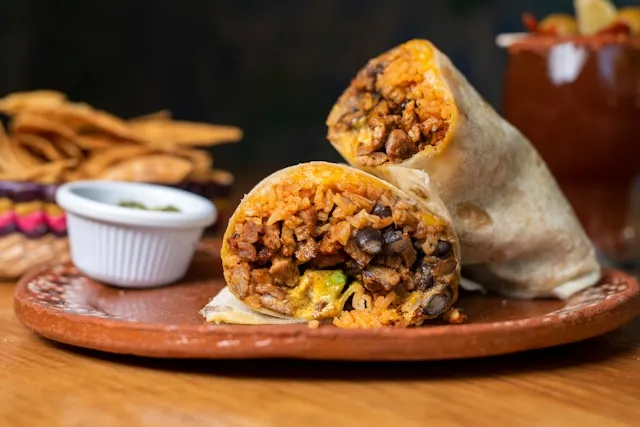
For freezer breakfast burritos that actually reheat well, the method comes down to four things: cook every filling component dry, pull the eggs while they're still a little soft, cool everything completely before wrapping, and reheat gently before crisping. Skip any one of those steps and the burrito comes out of the microwave with a blown-out center, a tortilla that's falling apart, or eggs with the texture of a pencil eraser.
Even professional test kitchens run into this. America's Test Kitchen built its own freezer burrito recipe specifically to survive what it calls the "extreme temperature variations" a burrito goes through between the freezer and the microwave. Colorado State University's Kendall Reagan Nutrition Center treats cooling hot fillings before wrapping as standard prep, not an optional step, and warns that overcooked eggs "will only become more rubbery once reheated." A recipe developer at Kylee Cooks says testing enough batches taught her exactly where things go wrong: dry eggs, soggy tortillas, mushy potatoes.
This guide walks through a full 12-burrito batch: building the filling, cooking and assembling everything in the right order, wrapping and freezing correctly, and reheating with a method that matches whatever time is available that morning. It's beginner-friendly stovetop cooking. No special equipment is needed beyond a skillet, a sheet pan, and freezer-safe bags.
What you'll need for a 12-burrito batch
This is beginner-friendly cooking with a straightforward yield: 12 full-size burritos, about 1 hour 10 minutes total including cooling time.
Tools:
Large skillet
Sheet pan or tray for cooling the filling
Foil or plastic wrap
Freezer-safe bags
Damp paper towel or dish towel for warming tortillas
Instant-read thermometer, for checking the reheated center later
Ingredients for the base batch:
12 large 10-inch flour tortillas
12 large eggs
1 to 1¼ pounds breakfast sausage, turkey sausage, lean ground turkey, or chicken sausage
3 cups cooked diced potatoes, thawed hash browns, or cooked sweet potatoes
2 medium bell peppers, diced
1 medium onion, diced
1 can black beans, drained well and patted dry (optional)
1 to 1½ cups shredded cheddar, Monterey Jack, pepper jack, or Mexican-style cheese
2 tablespoons oil, divided as needed
2 to 3 teaspoons taco seasoning or chili powder blend
1 to 1½ teaspoons salt, or to taste
½ teaspoon black pepper
Ten-inch tortillas show up across tested recipes for a specific reason: the extra surface area leaves enough room to fold the sides in and get a secure seal before rolling, which matters once the burrito has to survive a stint in the freezer.
This is a swap framework, not a free-for-all. The list above is the standard sausage version. A vegetarian version substitutes tofu scramble, tempeh, seitan, or an egg substitute like Just Egg, and a higher-protein version adds cottage cheese to the eggs and swaps in lean ground turkey. Whatever protein swap gets used, the amounts above and the cook-it-dry rule below still apply.
Leftover vegetables are fair game, but only after they lose their moisture. Zucchini, spinach, or stewed tomatoes can go into the mix, but they need to be cooked down until they're no longer wet or saucy first, the same treatment given to any other filling component. A splash of liquid left in the pan is exactly what turns into a soggy tortilla three weeks later in the freezer.
Cost varies by region and by what's on sale that week, but an 8-burrito batch has been priced at around $1.41 per burrito.
How to freeze breakfast burritos: cook, cool, assemble
This is the part that decides whether the burritos come out of the freezer tasting like breakfast or like a soggy compromise. Follow the order below; skipping the cooling step is the single most common way this goes wrong.
Roast or sauté the potatoes and vegetables until they're dry, not steamed. Roasting at 425°F for 20 to 25 minutes helps reduce excess moisture compared with frying. If beans are part of the mix, drain them well and pat them dry before adding them in.
Cook the sausage or turkey separately in the skillet and drain off any excess grease before combining it with the rest of the filling.
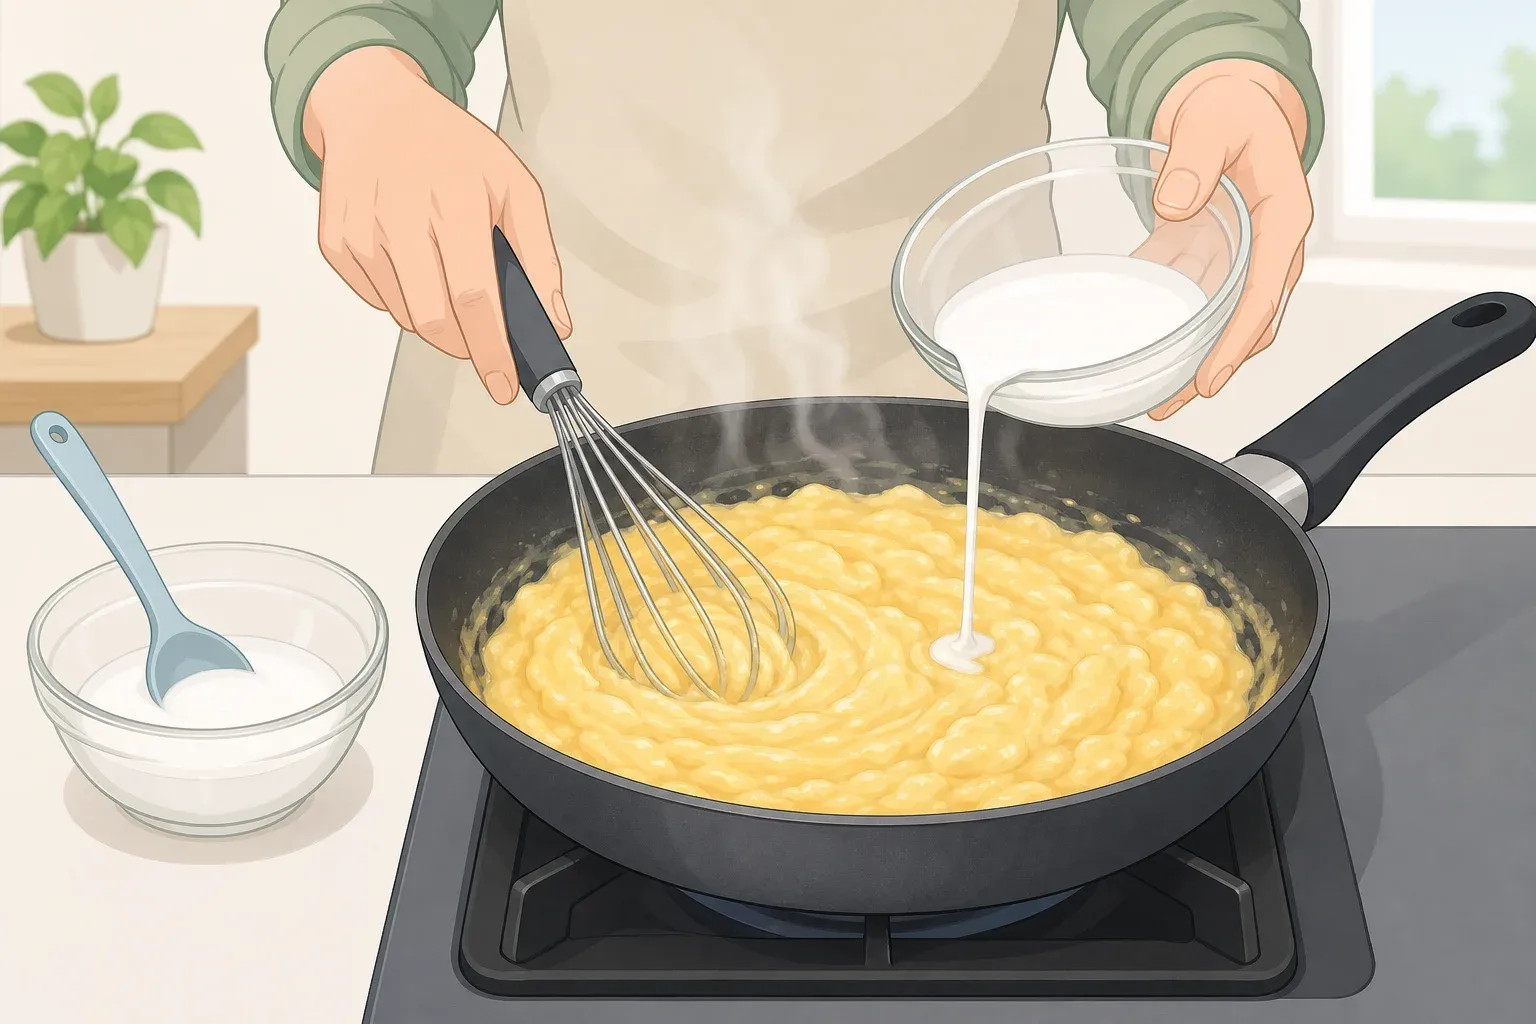
Scramble the eggs low and slow, then fold in the small stuff. Start with eggs in a cold pan, turn the heat to medium-low, and stir periodically as they firm up. This gentle approach is what prevents the rubbery texture that shows up after reheating. Pull the eggs while they're still soft and slightly glossy, not fully set. Stir spinach, beans, or other small fillings directly into the eggs instead of layering them on top of the finished scramble. The slightly wet eggs firm up around those ingredients as everything cools, which locks them in place and prevents the uneven bites and spillage that come from stacking fillings separately.
Cool everything before it touches a tortilla. Spread the cooked filling across a tray or sheet pan, so heat escapes faster; a large batch usually needs 15 to 20 minutes before it's no longer hot or steaming. If it's still warm after 20 minutes, spread it thinner on a bigger pan rather than waiting indefinitely. It needs to go into the wrap and into the freezer within two hours of cooking for food safety.
Warm the tortillas for 10 to 20 seconds so they bend without cracking. If a tortilla still cracks while rolling, it needs more warmth, not more filling. Rewarm it another 10 seconds and try again.
Fill and roll tightly. Cap the filling at roughly ¾ to 1 cup per burrito; overfilling makes rolling harder and leads to uneven reheating later. Fold the sides in first, then roll from the bottom, tucking tightly as you go.
Wrap, press out the air, label, and freeze flat. Wrap each burrito tightly in foil, lightly greased first for easier unwrapping later, or in plastic wrap, then press out as much air as possible. Label with the flavor and date, freeze the burritos flat, and stack them once they're solid.
Leave salsa, pico de gallo, avocado, sour cream, and raw tomato out of the wrap entirely, and add them after reheating instead. Salsa, pico de gallo, and raw tomato are the real problem here; they turn watery in the freezer and soak straight into the tortilla. Avocado and sour cream aren't as risky, but they just taste better added fresh anyway.
How to reheat frozen breakfast burritos: pick the method that fits your morning
There isn't one correct reheating method here. There's a fastest one, a best-texture one, and a batch one. Pick based on how much time is available that morning.
Fastest method, weekday default: Remove the foil, wrap the burrito in a damp paper towel, and microwave for 2 to 4 minutes. If reheating straight from frozen and the center still comes out cold, run the microwave at 50 percent power for 3 to 5 minutes first, then finish on high for 60 to 90 seconds. Starting at full power tends to cook the edges before the center ever catches up.
Best texture, a few extra minutes: After microwaving, finish the burrito in ½ teaspoon of oil per burrito in a skillet over medium-high heat, 1 to 2 minutes per side, until golden and crisp.
Batch method for multiple burritos: A single foil-wrapped burrito reheats in the oven at 350°F in 10 to 15 minutes. For several burritos baked together and loosely uncovered partway through, plan closer to 375°F for 30 to 40 minutes. The longer time reflects a full tray, not a conflicting rule.
Air fryer option: Foil-wrapped burritos reheat and crisp in about 15 minutes at 400°F. Check the manufacturer's instructions for the specific air fryer first, since foil use and airflow vary by model.
Whichever method gets used, the center needs to reach 165°F/74°C, and the tortilla should end up supple or crisp, never tough or chewy. Add fresh toppings like salsa, avocado, or sour cream only after reheating. When there's time to plan ahead, moving a burrito to the fridge the night before makes for faster, more even heating and a tortilla that crisps instead of chews.
Troubleshooting a batch that didn't turn out right
Tortilla tears while rolling: Warm it longer before filling, then use less filling next time.
Center stays cold after reheating: Use lower microwave power first, and confirm with a thermometer instead of guessing by touch.
Burrito leaks or splits open: Use less filling per tortilla and make sure it's fully cooled before wrapping.
Tortilla comes out soggy: Finish it in a skillet with a little oil after microwaving to crisp the outside back up.
These rules work for most egg-and-protein or vegetarian fillings, as long as every component goes in cooked, dry, and cooled. Store the finished burritos in the fridge for 3 to 4 days if they're getting eaten soon, or in the freezer for 2 to 3 months for the best texture.
Don't chase an exact reheating time off a recipe card. Appliance wattage, burrito size, and starting temperature all shift the numbers, so trust the thermometer reading over the clock. If a batch turns out soggy next time, check the two most common culprits first: whether the filling was fully cooled before wrapping, and whether a wet topping snuck into the wrap before it went into the freezer.
















Comments
Be the first, drop a comment!