



How to Pick Fresh Sweet Corn: 3 Checks That Work
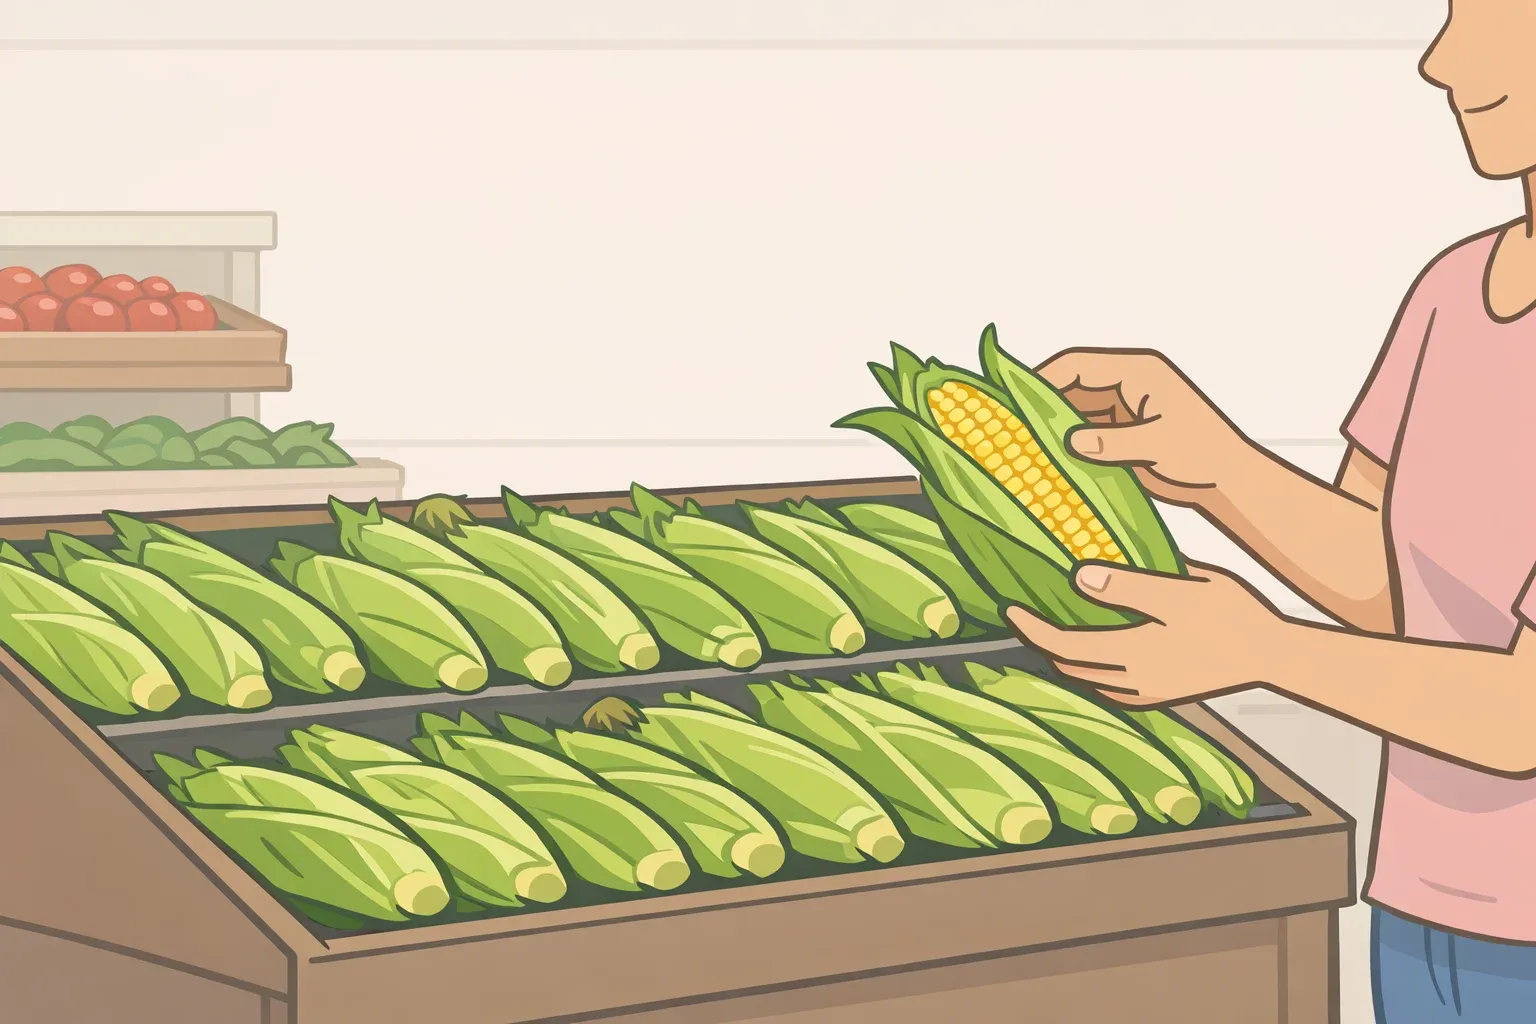
Somewhere in the produce aisle this summer, a shopper is pulling back the husk on an ear of corn to check the kernels. It's one of the most common things people do at the corn bin, and it's the single fastest way to guarantee that corn tastes worse by dinner.
Sweet corn starts losing its sweetness the moment it's picked. The sugars in each kernel begin converting to starch immediately after harvest, and warmth speeds that process considerably. Within just a few hours at room temperature, measurable flavor loss has already occurred, according to Colorado State University Extension. University of Arkansas Extension puts it plainly: corn eaten right after picking tastes best, and every hour of warmth costs sweetness.
This guide explains how to pick fresh sweet corn without touching the husk, covers what the husk is actually doing for the ear, and walks through the storage steps that protect the sweetness you've selected. Sweet corn season runs mid-July through mid-October. The window for great corn is short, and the mistakes that ruin it happen before you ever get home.
Why the husk is doing real work (and why peeling defeats the purpose)
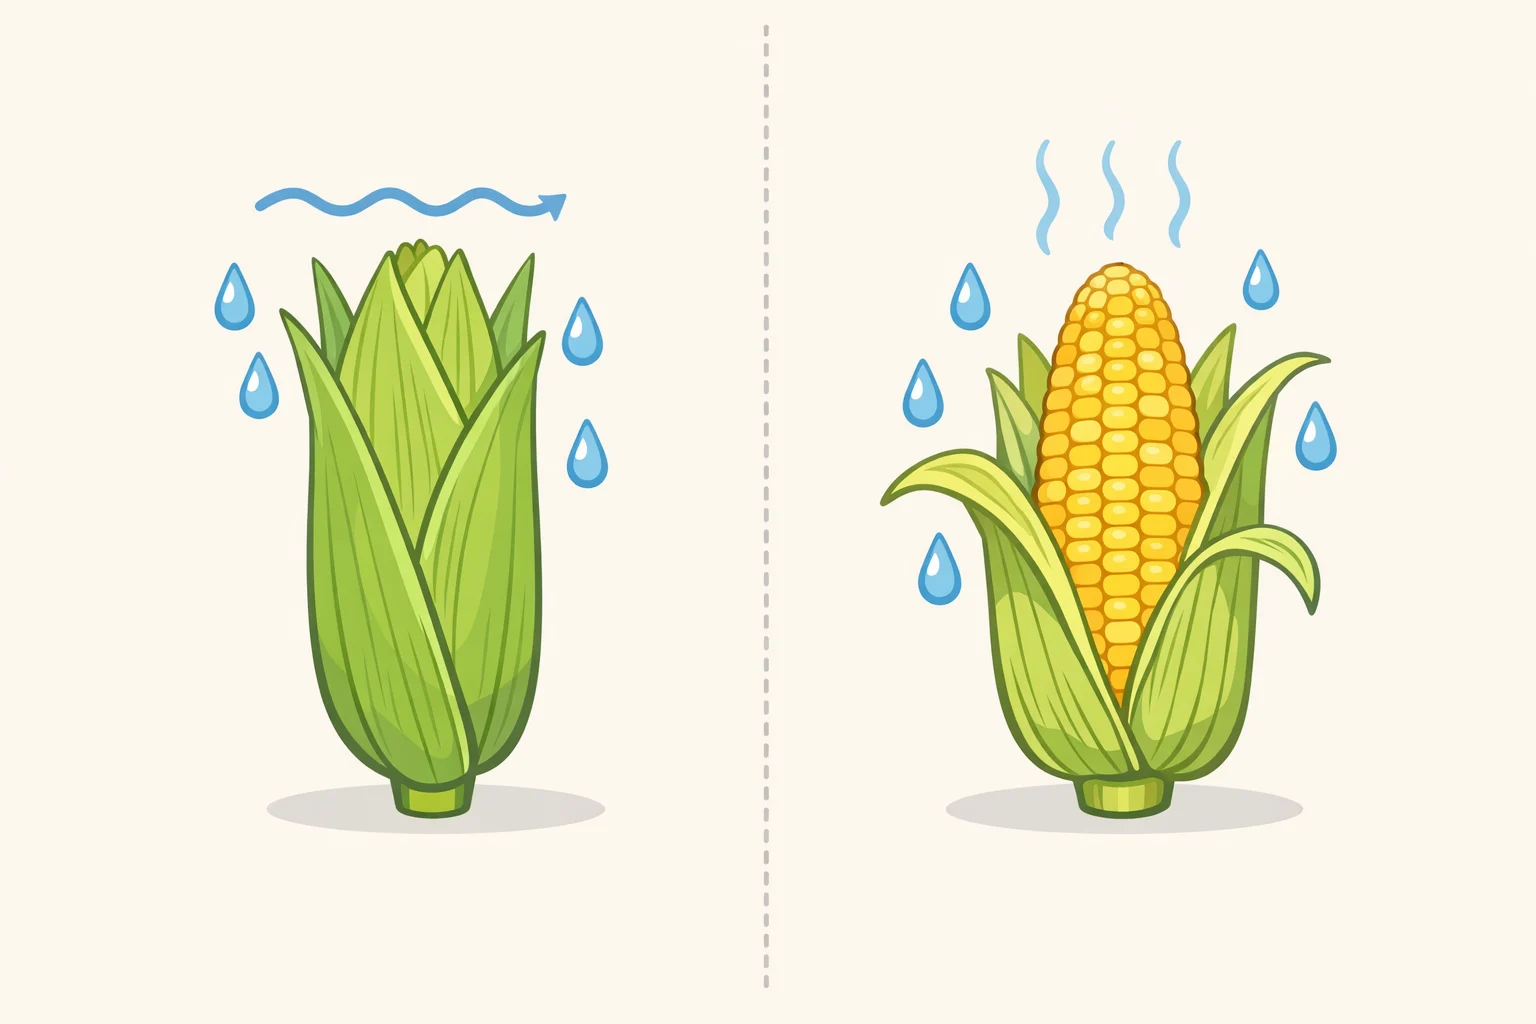
The husk isn't packaging to be removed at the bin. It's the ear's primary moisture barrier, and pulling it back strips away the protection that slows deterioration.
A 2022 postharvest study found that ears stored with full husks and perforated packaging at refrigerator temperature preserved quality better than ears stored without husks across every measure tested: respiration intensity, weight loss, kernel hardening, and color stability. Removing the husk eliminated that protection entirely.
Pulling back the husk in the store exposes the kernels to warm ambient air at exactly the wrong moment: right as the ear begins a long journey through checkout, a parking lot, a car, and possibly a kitchen counter before it reaches the refrigerator. Colorado State University Extension advises against husking before cooking, and that guidance applies just as well at the bin as it does at home.
Many stores also sell corn in pre-shucked plastic trays. That's a reasonable convenience option if cooking the same day, but those ears arrive without any husk protection. If the plan is to cook tonight, pre-shucked corn is fine. If it's sitting until tomorrow, choose intact ears instead.
One more thing worth knowing about the bin: other shoppers peel back husks and put ears back, leaving partially exposed corn in the display. When that happens, treat partially peeled ears the way you'd treat pre-shucked trays. Fine for today, lower priority if you need them to hold.
How to pick fresh sweet corn: three things to check without peeling
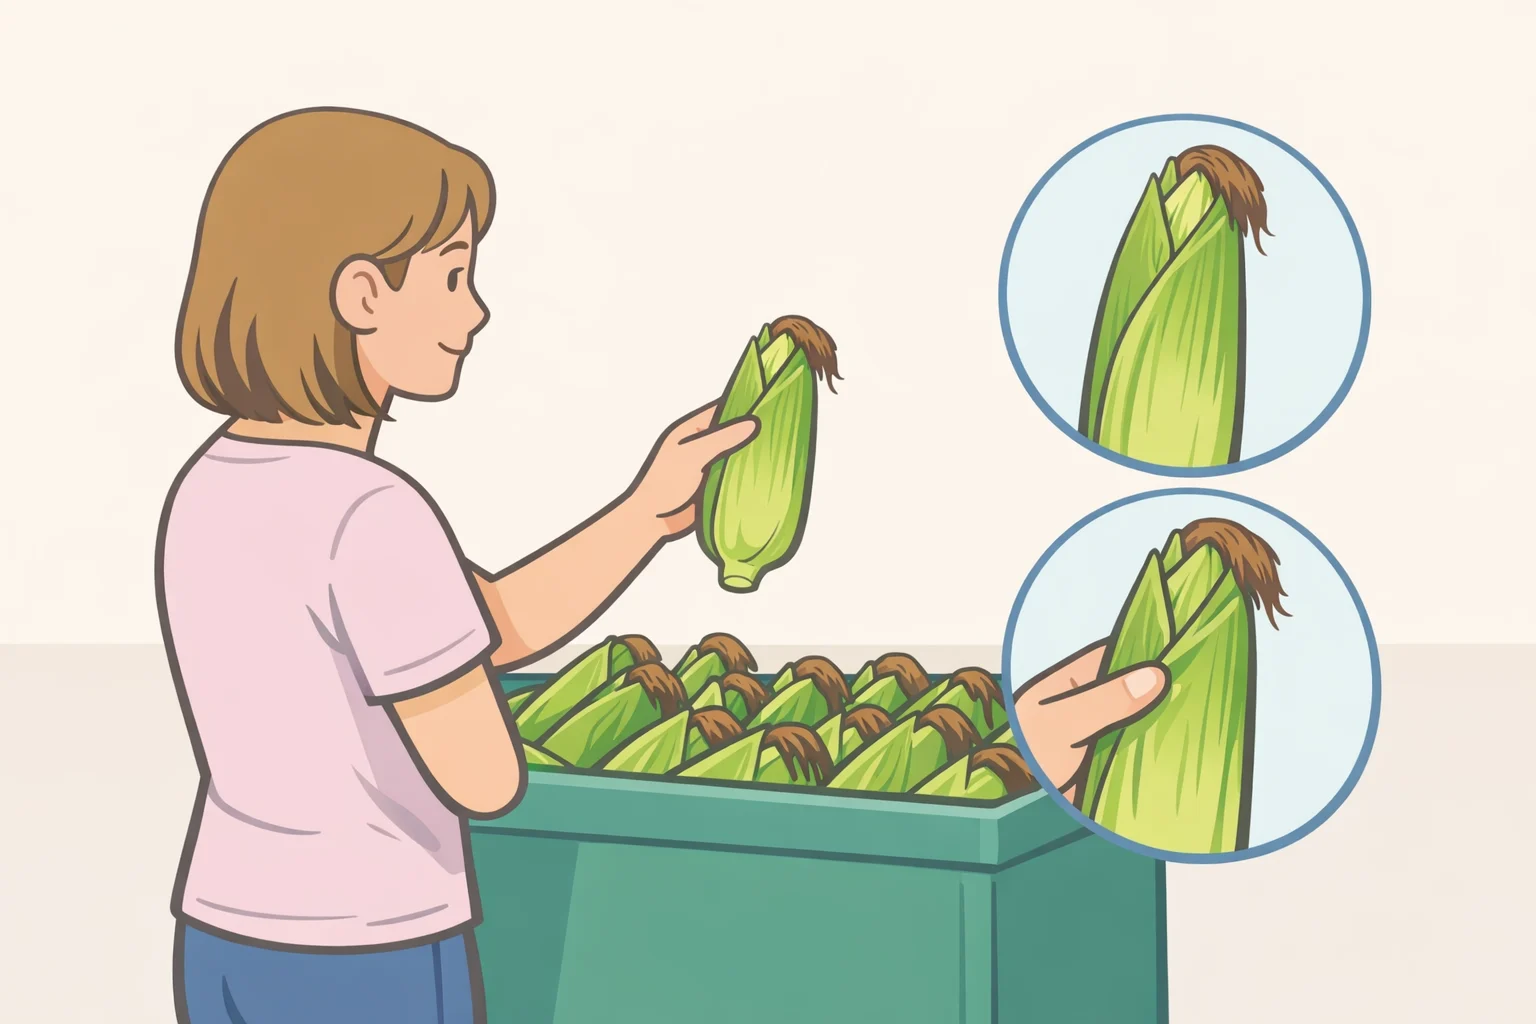
All three checks work from the outside. No leaves need to move.
Step 1: Read the husk.
Look for husks that are bright green and pulled snugly around the ear. Loose, yellowing, or papery husks signal age the ear has been sitting long enough that moisture is already escaping. Both Colorado State University Extension and University of Arkansas Extension identify a tight, vivid green husk as the primary freshness indicator. You can read it from across the display before you touch anything.
Step 2: Check the silk.
The tassel at the top should be dark, slightly sticky, and moist. University of Arkansas Extension identifies dark, moist silk ends as a marker of recent harvest. Some darkening is normal. What to avoid is fully desiccated, papery tassels that's the ear that has been sitting too long.
Note that silk condition tells you about freshness, not ripeness. These are different things. A fresh ear isn't guaranteed to be at peak ripeness, but freshness is the variable you can actually influence at the store. Ripeness, once set at harvest, isn't going to improve.
Step 3: Feel the rows through the husk.
Run a hand along the ear without pulling back any leaves. Colorado State University Extension recommends assessing kernel fullness through the husk rather than exposing the kernels. What you're feeling for: even, plump rows with no gaps, flat spots, or soft sections near the tip. Compact and full from base to tip is what you want. A gap-y or soft tip usually means underdeveloped kernels, and you'll feel it clearly enough.
One thing to ignore: kernel color.
Yellow, white, and bicolor corn are all equally capable of being sweet. Color is a variety characteristic, not a freshness or quality signal. Colorado State University Extension states this directly. Don't reach past a good-looking white ear to get to a yellow one.
The kernel press test: useful at a farm stand, risky at a grocery bin
Some extension sources do recommend pressing a thumbnail into a kernel to check ripeness. University of Arkansas Extension describes the test this way: press into a kernel about one-third of the way down the cob. Milky liquid means the corn is ripe. No liquid suggests it's old; clear liquid suggests it's immature and won't taste as good.
That's a legitimate ripeness test. The problem is the context. At a farm stand where you're buying directly from the grower, pressing one kernel on an ear you're about to purchase causes minimal harm. At a grocery bin where dozens of shoppers are handling the same ears, it means partially peeled corn with punctured kernels sitting in a warm display for hours, then going home with whoever buys it last.
The husk and silk checks cover what you need to know in a store environment. Save the press test for the farm stand.
Once you buy it: how not to lose the sweetness on the way home
Getting the selection right in the store only holds if you don't undo it on the drive back.
Step 1: Go straight home.
Colorado State University Extension notes that just a few hours at room temperature causes measurable sweetness loss. Don't run errands with corn in the trunk. Treat it like dairy.
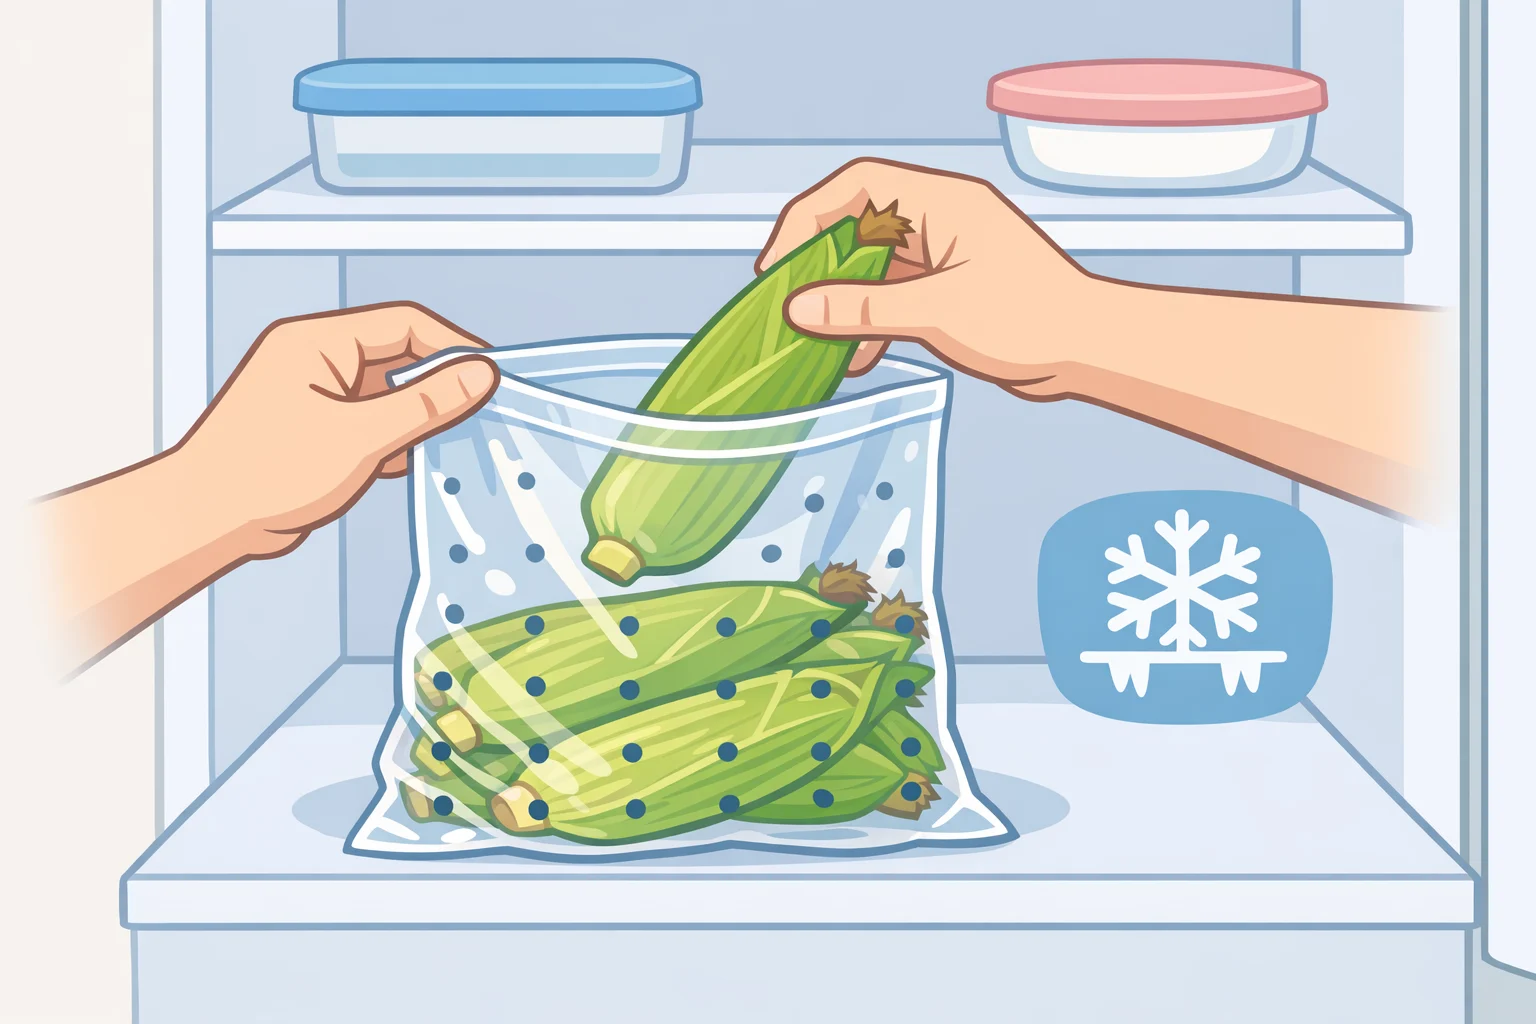
Step 2: Refrigerate immediately, husk on and unwashed.
Get the ears into the refrigerator as soon as possible. Keep the husks on. Michigan State University Extension specifically advises storing corn in the husk without washing it first. Any moisture introduced before refrigeration can accelerate spoilage.
Step 3: Use a perforated plastic bag.
Place the unhusked ears in a perforated plastic bag in the refrigerator. Colorado State University Extension recommends cold storage with breathable packaging. The 2022 postharvest study found this specific combination husk intact, perforated polyethylene, refrigerator temperature outperformed every other treatment, slowing respiration, limiting weight loss, and preserving color and firmness for up to 21 days.
Step 4: Cook within one to two days.
Colorado State University Extension recommends using refrigerated corn within one to two days. University of Arkansas Extension gives a wider window of two to four days. Cook it sooner. Every day in the refrigerator beats a day on the counter, but neither beats cooking it tonight.
Step 5: Pull the husk off only when you're ready to cook.
CSU Extension is direct: don't husk until just before cooking. Not the night before. Not an hour ahead to let it sit in a bowl. The husk keeps doing useful work right up until the moment it goes in the pot.
The short version
Leave the husk on. Don't peel it in the store, don't pull it back at home before you're ready to cook, and don't buy pre-shucked corn unless the plan is to cook it the same day.
From there, the buying rules are simple: look at the husk, check the silk, and feel the rows through the leaves. Get the corn cold fast, keep it in a perforated bag in the fridge, and cook it within a day or two. The husk you were tempted to peel back in the produce aisle is the thing standing between the sweetness corn had when it was picked and the starchy version that ends up on most dinner tables.
One habit change at the bin does more to protect summer corn than anything that happens after you get home.














Comments
Be the first, drop a comment!