



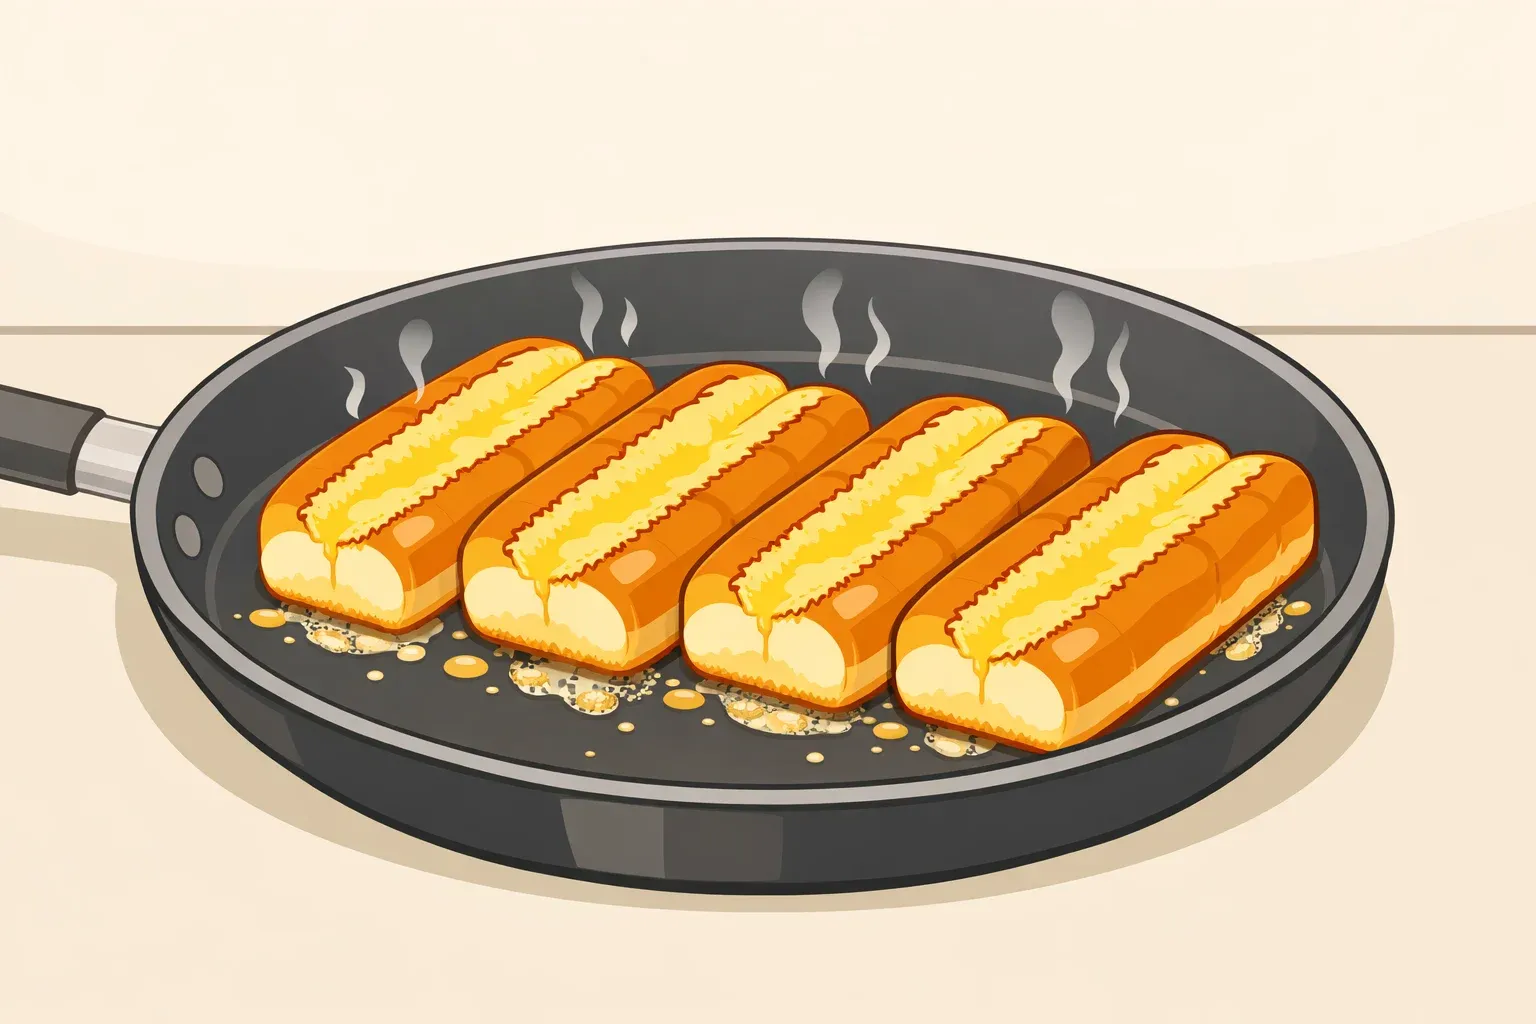
How to Toast Hot Dog Buns: Get a Golden, Crispy Crust
If you want to know how to toast hot dog buns so they hold up under a juicy sausage and a stripe of mustard, the method is straightforward: butter the cut faces and set them in a skillet over medium heat. The bun that comes out bears almost no resemblance to the soft, collapsing thing that came straight from the bag.
Most cookout effort goes into the dog itself. Brand selection, grill time, char level. The bun is an afterthought. Serious Eats put it plainly last week: untoasted buns are "the culinary equivalent of an air mattress" soft, structurally useless, and there mainly out of habit. That's the problem this guide solves.
Butter caramelizes against the hot pan surface, building a nutty richness and a light crisp interior that holds up to wet toppings through the last bite. Serious Eats traces the technique to New England lobster roll prep, where butter-toasted split-top buns are standard practice, not an upgrade. The sizzle time runs about a minute or two.
What you'll need before you start:
- Butter, softened to room temperature (not cold, not melted)
- A skillet, cast iron griddle, or flat grill surface
- Split-top hot dog buns (strongly preferred; explained below)
Choose the right bun first: split-top vs. side-loader
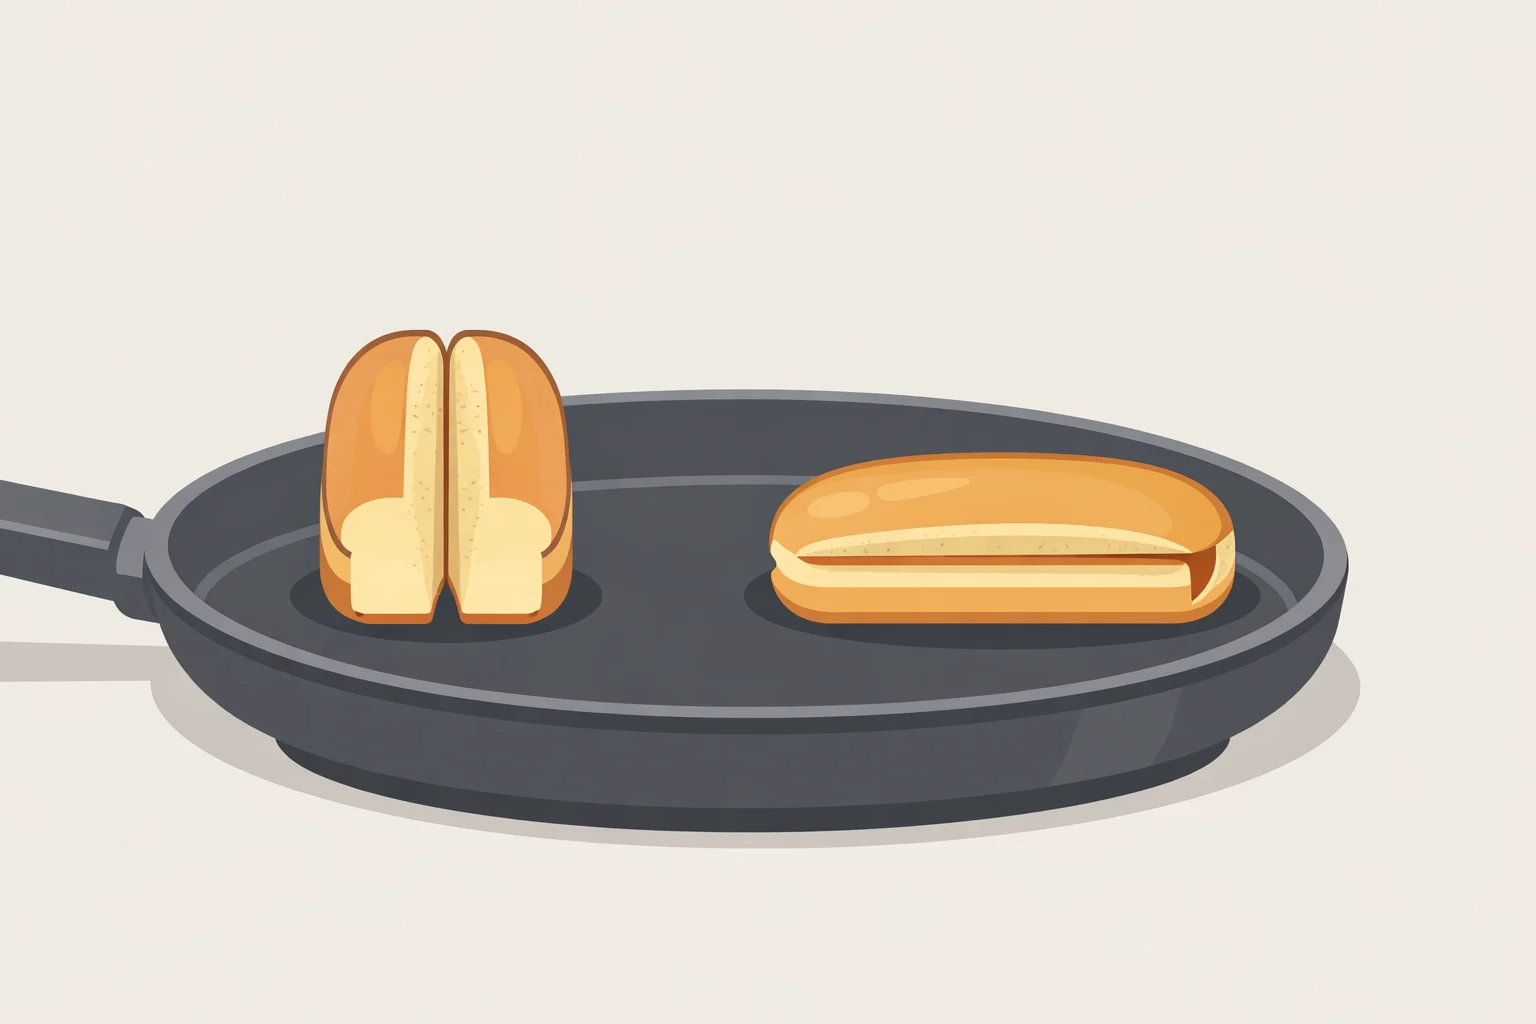
Bun choice is the one decision that shapes every step that follows, so make it before you start cooking.
Split-top buns open at the top with two flat cut faces that sit flush against a pan surface. That geometry matters: both interior faces brown in the same minute-or-two window, with consistent contact across the full surface. Serious Eats recommends split-tops specifically for butter-toasting, drawing on the same method used for New England lobster rolls.
Side-loaders, the more common style, have a curved bottom and a slot that doesn't open flat. They'll work on a flat skillet with attentive rotation, but the contact is uneven. Expect patchy browning rather than a consistent golden crust. On a grill grate, they're harder still to manage.
One rule regardless of style: use fresh buns. Stale bread has already shed most of its interior moisture before you even start. Under heat, it doesn't crisp the surface dries all the way through and hardens. Buy fresh, or freeze buns and thaw them the same day you plan to cook.
How to butter and toast hot dog buns on a skillet: step by step
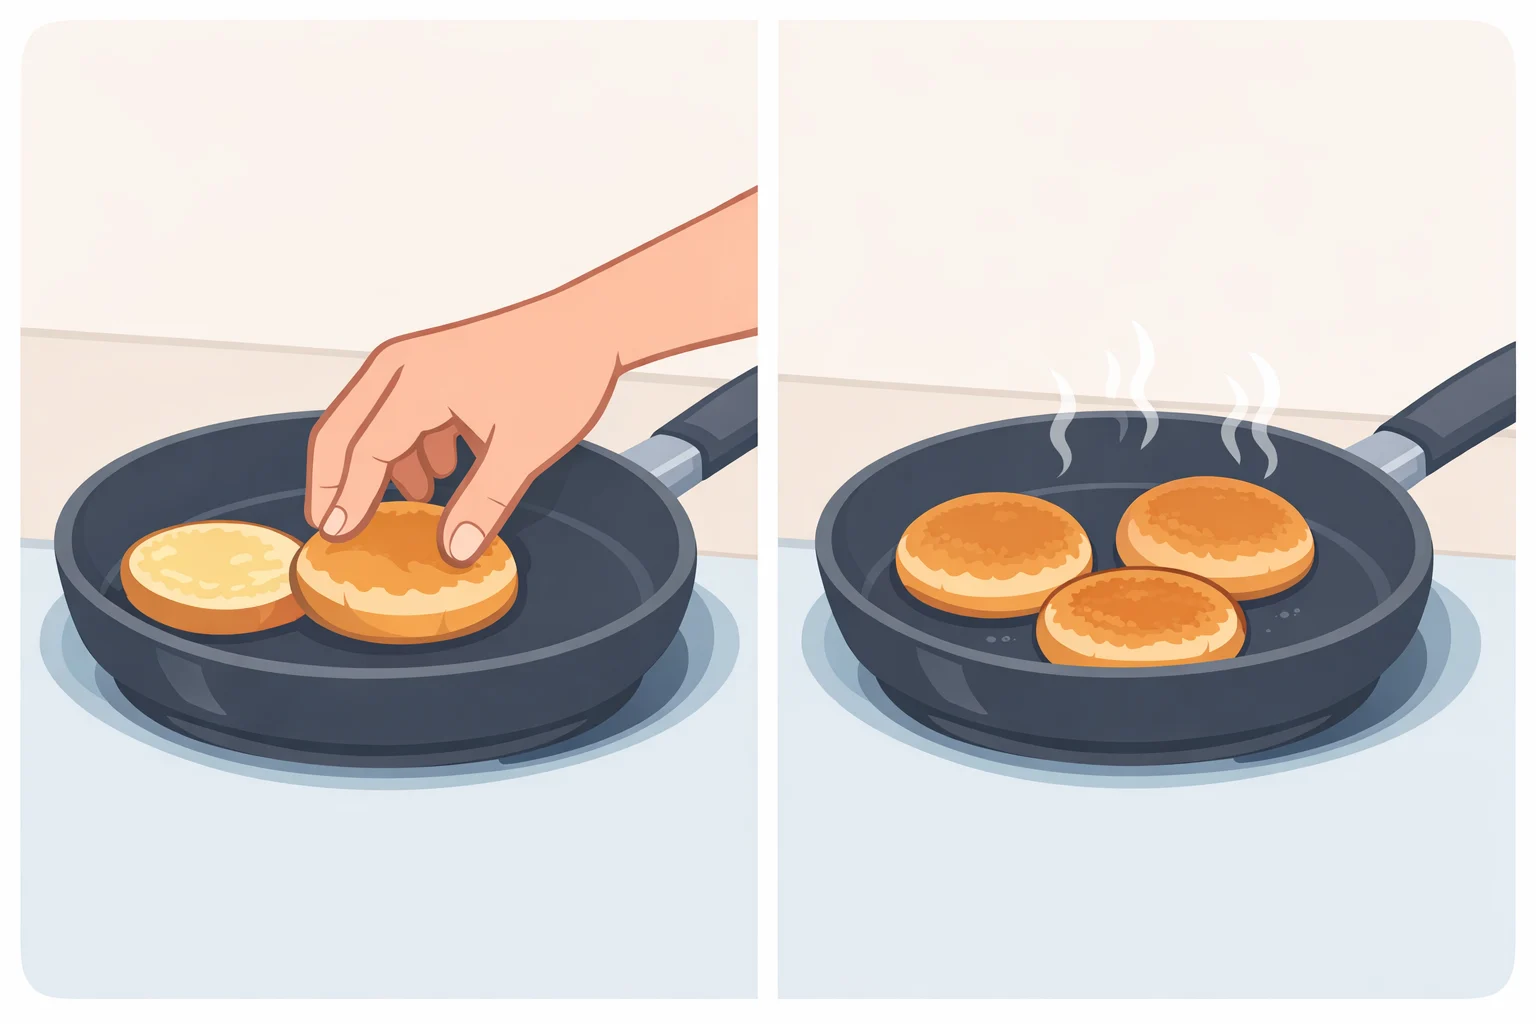
Start with a skillet. It delivers even contact and predictable browning, and works equally well on an indoor burner or the side burner of an outdoor grill. Grill grate notes follow at the end of this section.
Step 1: Soften the butter. Pull it from the fridge with enough lead time to reach room temperature before you start cooking. Softened butter spreads in a single clean pass without tearing the bread. Cold butter drags and leaves uneven thick patches that scorch before the thin spots brown. Melted butter pools in the pan and saturates the bread instead of coating the surface the opposite of what you want.
Step 2: Preheat the skillet over medium heat. Give the pan a couple of minutes to heat evenly before anything goes in. Too low and the butter soaks in before browning can develop; too high and it scorches. This preheating is part of the process, not time to kill.
Step 3: Spread a thin, even layer of butter on the cut interior faces. Think of it like buttering a piece of toast: one light, even pass. Uniform coverage matters more than quantity. Excess butter pools in the pan, smokes, and burns before the bread surface has time to develop any color the most common mistake in this whole process.
Step 4: Place the bun cut-side down and leave it alone. No pressing. Pressing compresses the interior crumb and destroys the soft texture you're trying to preserve beneath that crust. Set it flat and step back.
Step 5: Toast for about a minute or two, watching the cut edge. The edge is your visual signal. A pale gold edge with a faint sheen on the cut surface means you're around the one-minute mark; a deeper amber with slight firmness means you're closer to two. Serious Eats describes the target as "golden" not browned, not dark. Pull it before it tips further.
A lighter toast gives delicate crispness with a still-pillowy interior. Longer gives more pronounced crunch and a stronger nutty flavor from the caramelized butter. A loaded chili dog benefits from the sturdier shell; a simple mustard-and-relish dog works fine at the lighter end.
Step 6: Remove and assemble immediately. Toast buns as the final step, after the hot dogs are done and ready to plate. The crisp interior is at its best right off the heat, and it softens faster than you'd expect once the bun sits open on the counter. Toast last, serve fast.
Food safety note: The USDA advises heating hot dogs until steaming hot. For thin items like hot dogs, insert a thermometer through the side until it reaches the center of the food rather than pressing in from the top.
What a properly toasted bun looks and feels like
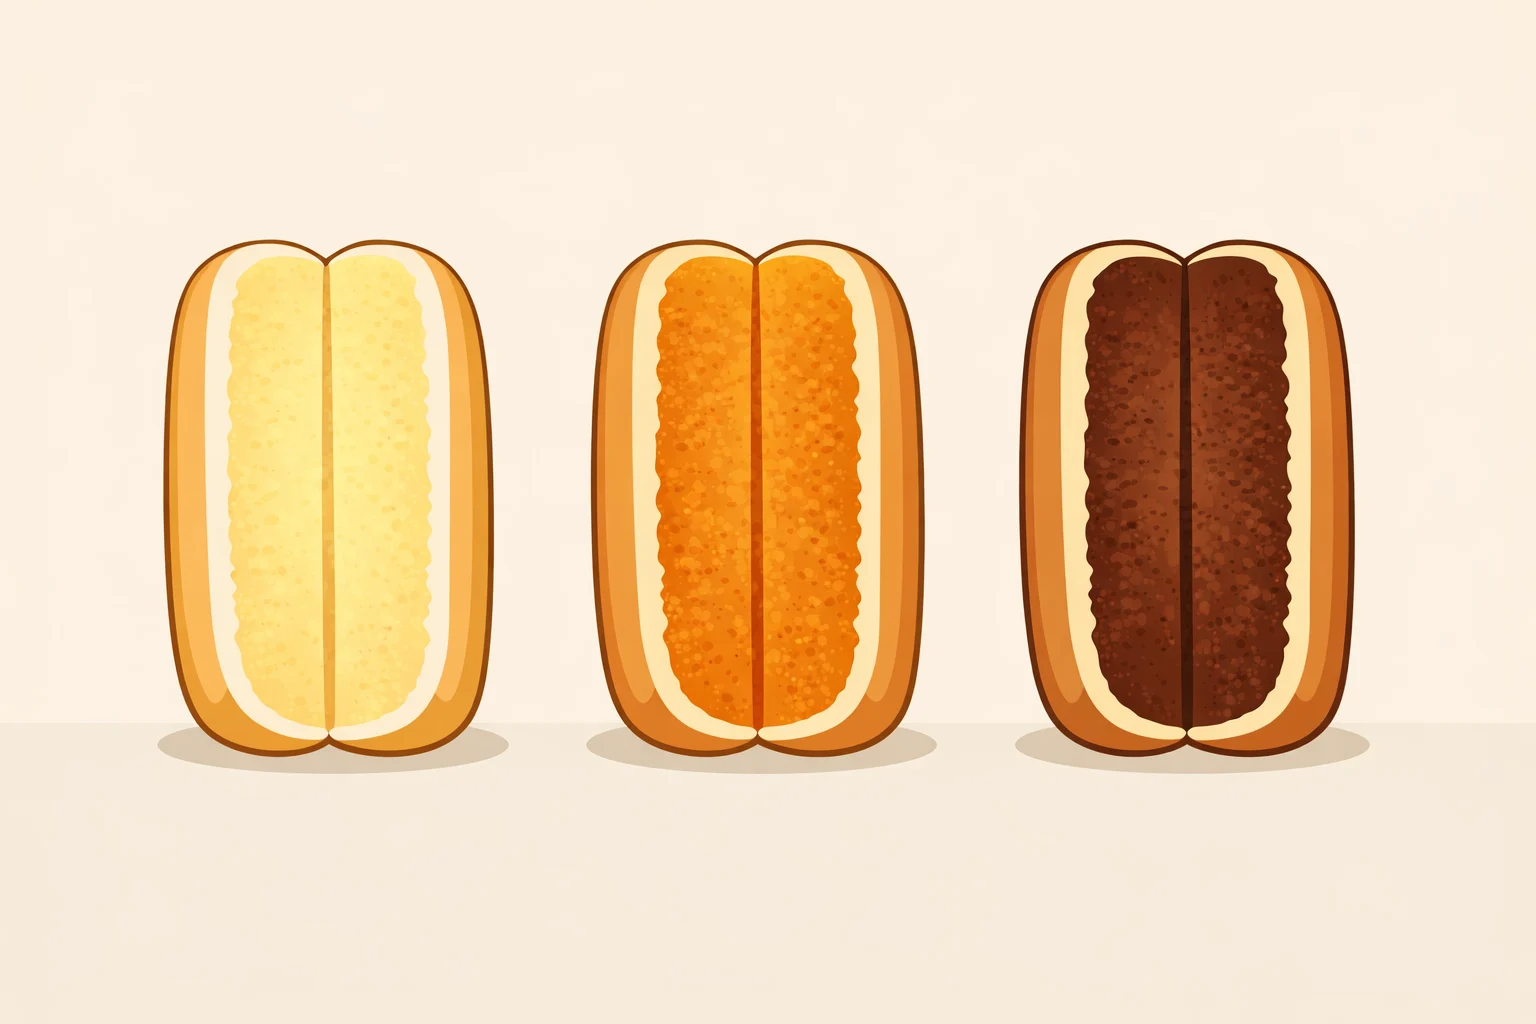
Knowing the target helps you pull the bun at the right moment rather than guessing.
Pale gold: The interior face has taken on an even, light golden color with a slight sheen. The surface feels lightly firm to the touch, but the exterior of the bun is still soft. This is the minimum viable result the bun will hold together under toppings without immediately sogging through.
Amber: Deeper color, more pronounced crunch when you press the cut face lightly. The nutty smell from the caramelized butter is more distinct. This is what Serious Eats calls "golden" the sweet spot for most applications.
Dark brown: The butter has gone past caramelization. The surface will taste bitter rather than nutty. If you're here, the heat was too high or the bun sat too long. Use it anyway it's still structurally sound, just less pleasant to eat.
One thing that shouldn't change: the exterior of the bun should remain soft throughout. Only the cut interior face makes contact with the pan. If the outside feels dry or tough when you pull it, the bread was stale before it hit the skillet. Heat didn't cause that.
Skillet, cast iron griddle, or grill grate: which surface to reach for
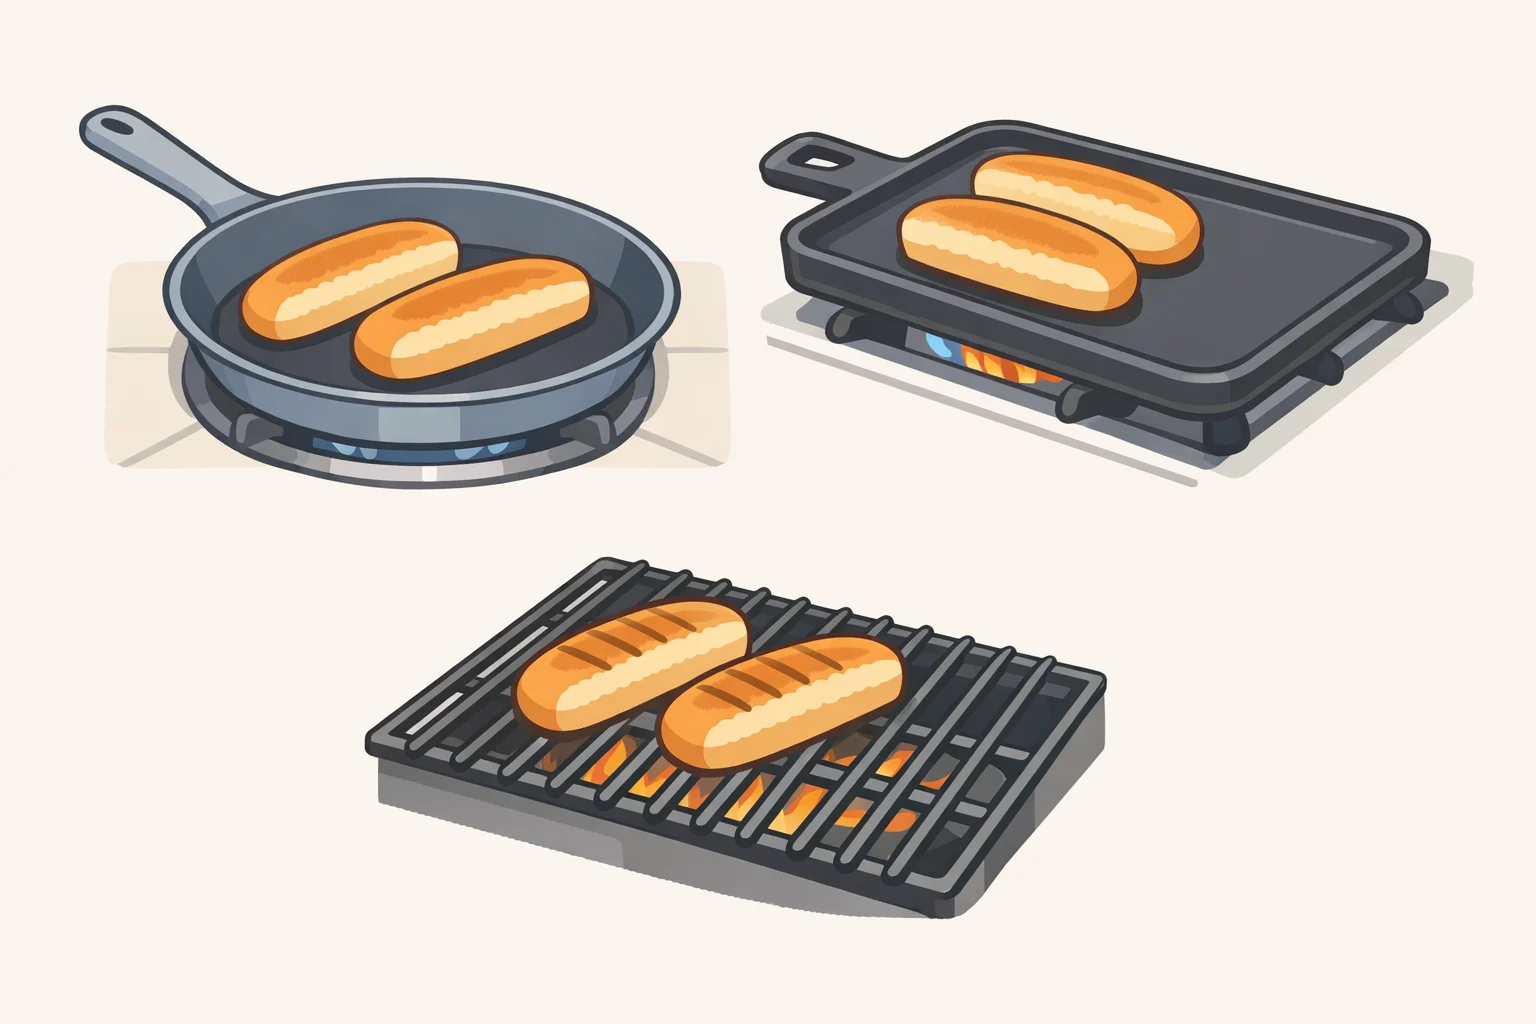
The surface you cook on changes how closely you need to watch, not whether the technique works.
Skillet: The default. Heat is consistent, the flat surface gives full contact across the cut face, and timing is easy to repeat. For cooking indoors or on a side burner, this is the right call. It gives you the most control with the least attention.
Cast iron griddle over a grill grate: Functionally a skillet-sized surface that sits over the flame. It brings the same heat consistency to an outdoor setup and handles more buns at once without the uneven hot spots that open grates introduce. If you're working through a large batch at a cookout, this is worth setting up timing is more forgiving and you can manage several buns at once without constantly repositioning.
Open grill grate: Workable, but variable. Grate temperatures shift more than a flat pan surface, and thin buns can move from golden to charred quickly on a hot grate. Keep the lid open, don't walk away, and rotate the bun 90 degrees if one side of the cut face is browning faster than the other. If the skillet is inside and the grate is already hot and clean, use what you have just watch the edges more closely than you would on a controlled surface.
The butter prep is identical across all three. Softened butter, medium heat, cut-side down, golden edge, last step before assembly.
Three things that go wrong, and why
Most failures trace back to one of three causes. Each has a different fix.
1. The bun is dry and dense, not crisp. Stale bread. Heat draws out what little moisture remains in old buns rather than forming a crust. This can't be corrected mid-cook the problem is upstream. Buy fresh, or freeze buns and thaw the same day.
2. The butter burned before the bun browned. Either the heat was too high or the butter layer was too thick. Both produce the same outcome: the butter reaches its smoke point before the bread surface has time to develop color. Fix is straightforward: medium heat, thin coating.
3. The bun was golden in the pan but soft at the table. Toasted too early. The crispness fades faster than most people expect. Toast last, assemble immediately.
When this method earns its keep most
The butter-toast step matters most when the filling is wet. A loose chili dog, a heavily sauced Italian sausage, a loaded brat with grilled onions and sport peppers these are situations where an untoasted bun fails fast. The crisp interior layer acts as a barrier, buying time between assembly and the last bite.
For a dry dog with mustard and a pickle, toasting still improves things, but the structural benefit is less urgent. The flavor payoff that caramelized, nutty richness is there regardless of what's inside.
Scale matters too. Toasting one or two buns is effortless on a skillet. Working through twenty or thirty at a cookout is where surface choice and timing discipline actually matter. A cast iron griddle over the grate handles volume better than open grates or repeated skillet batches. The technique stays the same; the logistics just require a bit more planning.
Serious Eats puts the active cook time at about a minute or two. That's the full ask. The same logic applies to any sandwich where the bread is losing the battle against a wet filling: softened butter, medium heat, golden edge, last step before serving.


















Comments
Be the first, drop a comment!