



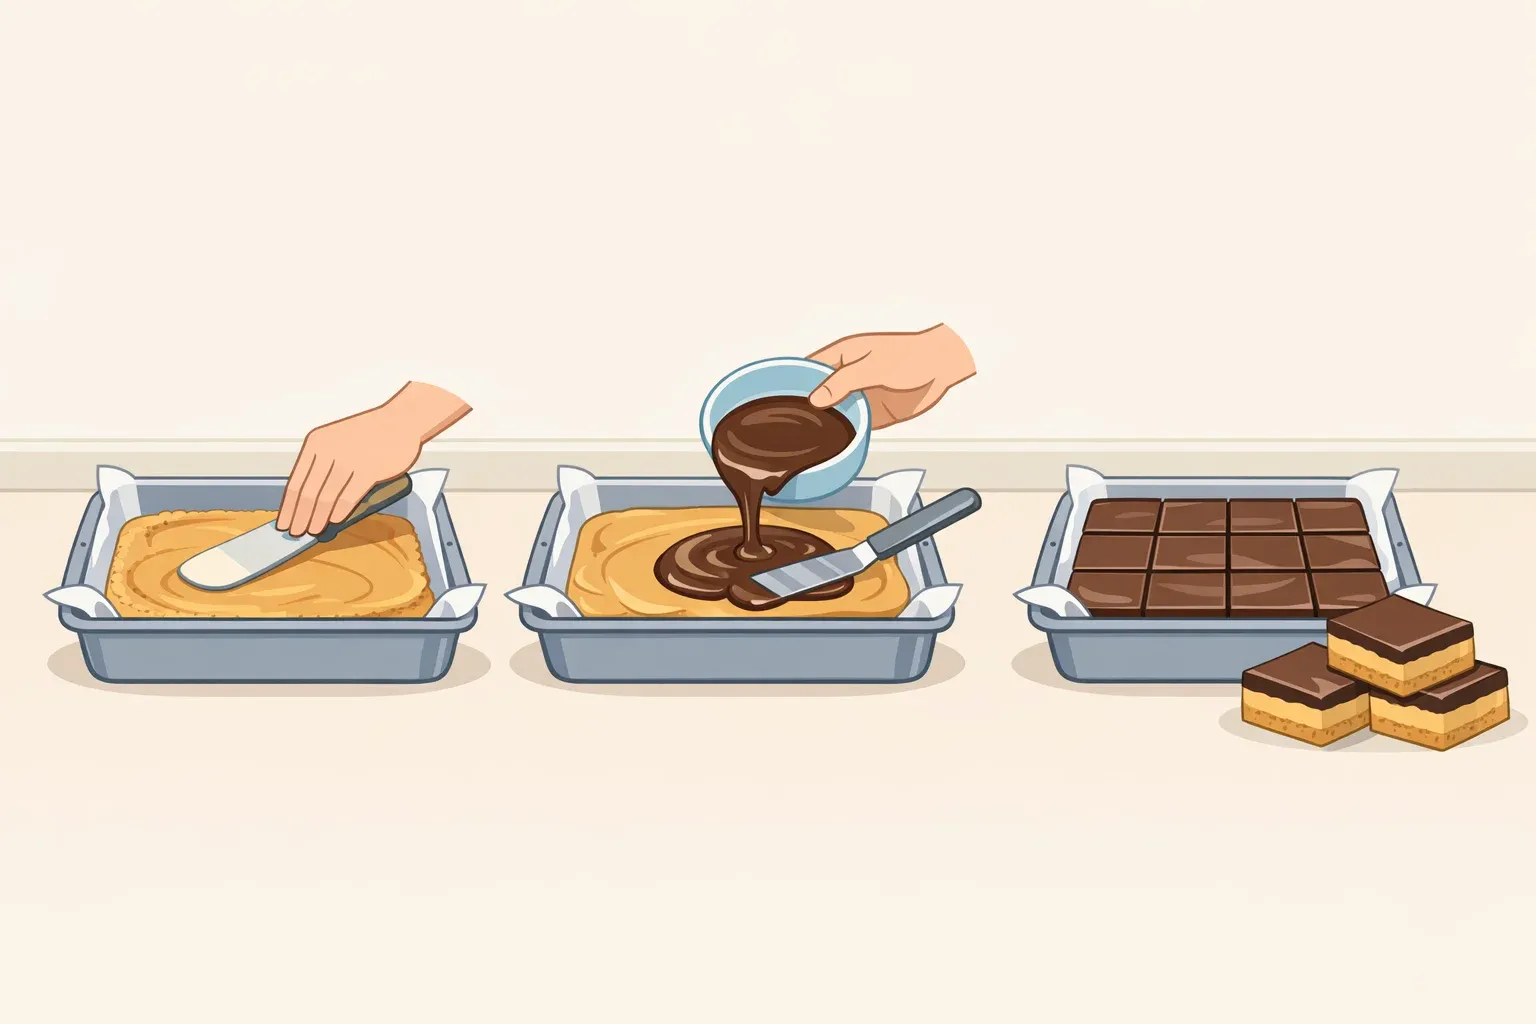
No Bake Peanut Butter Bars: Classic and 4-Ingredient Versions
This guide walks through two proven versions of homemade no bake peanut butter bars: a classic graham cracker base and a four-ingredient almond flour version. By the end, you'll know which one to make, exactly how to make it, and what to do when something goes sideways.
The active work comes together quickly RachLmansfield clocks the four-ingredient version at 5 minutes of prep. Most of the total time is fridge time. Plan for 1 to 2 hours of hands-off chilling before you cut.
What you need: An 8×8-inch baking pan, parchment paper, a microwave, and a sharp knife.
Which version should you make?
Two structurally different recipes produce the same basic result: a pressed peanut butter base, a chocolate-peanut butter topping, set firm and sliced into bars. The ingredient list is where they diverge.
Classic (graham cracker base)
- Peanut butter, graham cracker crumbs, powdered sugar, melted butter, vanilla
- Sweeter, denser, yields 16 bars
- Best if you want the most familiar result or you're feeding a crowd
- Make it gluten-free by swapping in gluten-free graham cracker crumbs (Blog Dolce Vita notes the chocolate topping is technically optional, too)
- Source: Blog Dolce Vita
Four-ingredient (almond flour base)
- Peanut butter, almond flour, maple syrup, chocolate
- Naturally vegan and gluten-free, yields 9 larger bars
- Maple syrup can be swapped for honey if you prefer (RachLmansfield)
- Can be doubled for larger groups or to keep a batch in the freezer (RachLmansfield)
- Source: RachLmansfield
Recommendation: First batch? Make the classic. The powdered sugar gives the base more structure, and the result is what most people picture when they hear "homemade Reese's bars." If you find that kind of sweetness heavy, or need to accommodate dietary restrictions, the four-ingredient version is a cleaner build.
How these no bake peanut butter bars work
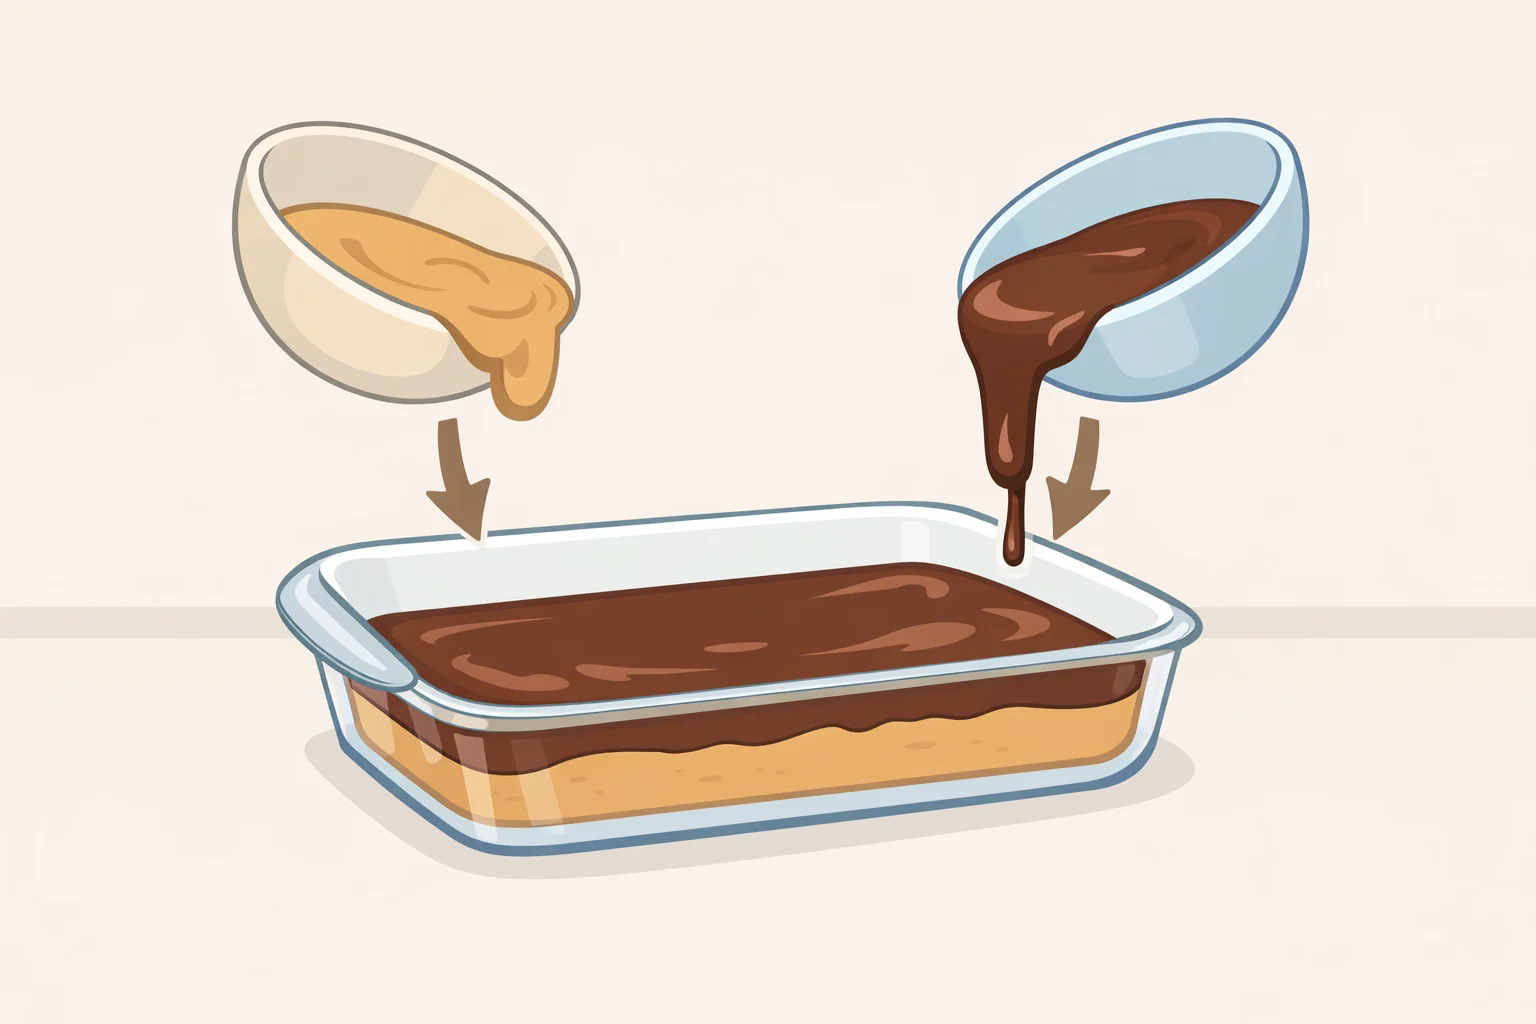
The peanut butter bars recipe is the same process regardless of which base you use: press, top, chill, cut. That structural consistency across two different ingredient sets is a good sign the method is sturdy.
Both versions rely on the same layering logic: a dense sweet-salty peanut butter base underneath a thin chocolate-peanut butter coating, set firm enough to hold a clean slice. No oven required. The chocolate layer stays fluid long enough to spread evenly, then sets solid in the fridge.
One honest note upfront: these aren't a replica of the candy. The base is thicker and the chocolate layer won't have the same characteristics as a tempered shell. They're homemade bars, and they're good on their own terms. Both Blog Dolce Vita and RachLmansfield describe the flavor as rich and sweet-salty, which is the part that holds up.
Ingredients and substitutions
Classic base ingredients (Blog Dolce Vita):
- 1 cup creamy peanut butter
- 1 cup graham cracker crumbs (use gluten-free crumbs to make the classic version GF)
- 1 cup powdered sugar
- ½ cup unsalted butter, melted
- 1 teaspoon vanilla extract
Classic chocolate topping (Blog Dolce Vita):
- 1 cup semi-sweet chocolate chips
- 2 tablespoons creamy peanut butter
Four-ingredient base (RachLmansfield):
- 1 cup creamy peanut butter
- 1 cup almond flour (or substitute ¾ cup gluten-free flour, but note it's not a 1:1 swap since almond flour absorbs more liquid)
- ¼ cup maple syrup (or honey)
Four-ingredient chocolate topping (RachLmansfield):
- 1 cup dark chocolate chips (milk chocolate works too)
- ½ cup creamy peanut butter
On peanut butter: Both sources are consistent here. Use creamy peanut butter, ideally just peanuts and salt, with no significant oil separation. Chunky peanut butter affects the base texture. If you're using a natural variety, make sure it's been thoroughly stirred before measuring an oily or separated jar can interfere with how the base sets (Blog Dolce Vita; RachLmansfield).
On chocolate: The four-ingredient version calls for dark chocolate chips but milk chocolate works fine if that's your preference (RachLmansfield). The classic uses semi-sweet. Either way, you're adding peanut butter to the melt, which is what makes the topping taste like a chocolate peanut butter bar rather than plain chocolate.
No bake peanut butter bars: step-by-step method
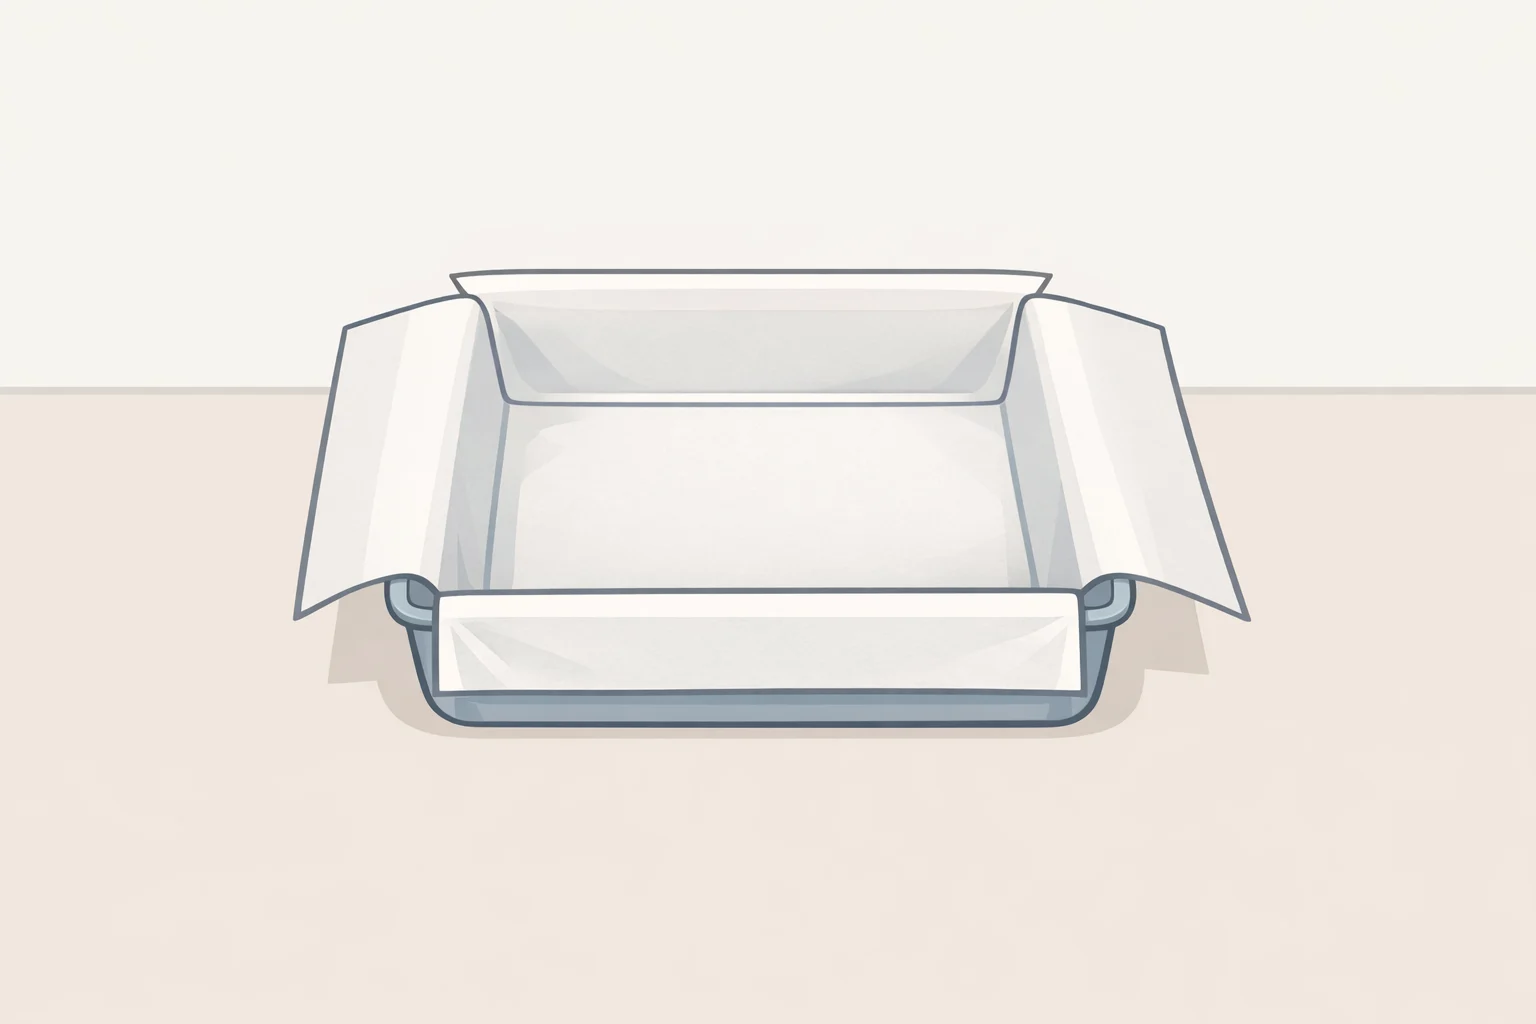
Step 1: Line the pan with parchment paper, leaving overhang on two sides.
Cut parchment long enough that a couple inches hang over opposite edges. Those overhangs become your handles for lifting the finished slab out of the pan cleanly. Without parchment, the bars stick to the dish and come apart when you try to remove them both Blog Dolce Vita and RachLmansfield flag skipping this step as the reason bars end up stuck.
Step 2: Mix the peanut butter base.
Classic: Combine 1 cup creamy peanut butter, 1 cup graham cracker crumbs, 1 cup powdered sugar, ½ cup melted unsalted butter, and 1 teaspoon vanilla extract. Stir until the mixture looks like thick, slightly grainy dough not wet, not crumbly.
Four-ingredient: Mix 1 cup creamy peanut butter, 1 cup almond flour, and ¼ cup maple syrup until smooth. This comes together faster and resembles soft cookie dough.
Use creamy peanut butter. Chunky disrupts the base texture, and an oily or poorly stirred jar can prevent it from setting firm (Blog Dolce Vita; RachLmansfield). A jar with just peanuts and salt is fine as long as it's been stirred well before measuring.
Step 3: Press the base into the pan harder than feels necessary.
Transfer the mixture to the lined pan. Use the flat bottom of a measuring cup or your palm to press down into a compact, even layer. Get into the corners. A firmly pressed base holds together when sliced; a loosely pressed one doesn't (Blog Dolce Vita). When you're done, the surface should feel dense when tapped and look smooth across the full pan.
Step 4: Melt the chocolate topping in short microwave bursts.
Combine chocolate chips with peanut butter in a microwave-safe bowl. Microwave in 20 to 30 second intervals, stirring between each, until fully melted and glossy. One long uninterrupted burst will scorch the chocolate. Keep the intervals short (Blog Dolce Vita; RachLmansfield).
Step 5: Pour and spread the chocolate layer over the base.
Start from the center and work outward. Cover the entire surface completely. You're not trying to build thickness thin and complete is the goal. No gaps, no bare edges.
Step 6: Refrigerate for 1 to 2 hours. Test before cutting.
Place the pan in the fridge. RachLmansfield recommends 1 to 2 hours; Blog Dolce Vita says at least 1 hour. Test by pressing the chocolate surface lightly with a fingertip if it leaves an impression, give it more time. Don't rush this. Both sources list rushing the chill time as a mistake to avoid.
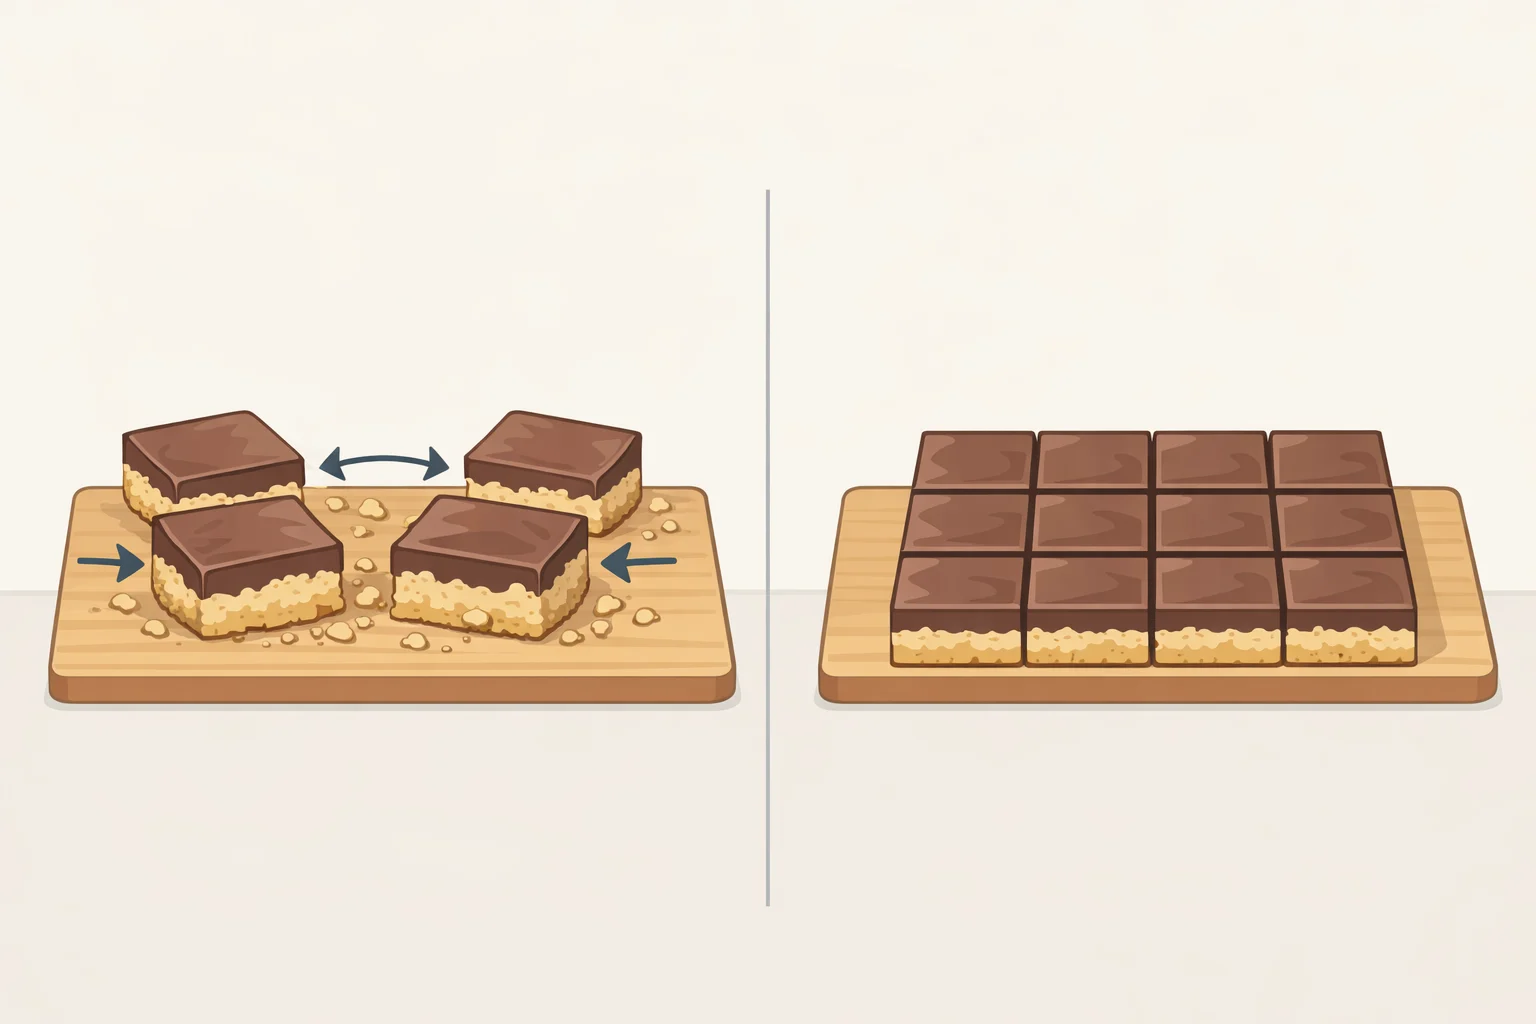
Once firm, grip the parchment overhangs and lift the slab onto a cutting board. Use a sharp knife and cut in single, deliberate downward presses. No dragging. Slice while the bars are cold; the edges hold cleanest straight from the fridge.
Troubleshooting
Bars stuck to the pan. Parchment was skipped. There's no fix after the fact line the pan next time (RachLmansfield).
Base is greasy or won't firm up. The peanut butter was likely oily or inadequately stirred before measuring. Use a fully combined, non-separated jar (Blog Dolce Vita).
Crumbly base that won't hold together when pressed. The base wasn't pressed firmly enough. Go back in and press harder, or add the chocolate layer and give it more chill time firm pressure and adequate cold are what bind these bars (Blog Dolce Vita).
Chocolate layer peels or slides when cut. The bars weren't cold enough before slicing. Return them to the fridge until the chocolate surface is completely firm, then cut again with a clean, sharp knife.
Chocolate scorched during melting. Microwave intervals were too long. Pull at 20 to 30 seconds, stir, repeat. The peanut butter mixed into the chocolate helps keep it fluid and workable (Blog Dolce Vita; RachLmansfield).
Storage and make-ahead notes
Airtight container in the fridge: up to 7 days. Freezer: up to 2 months. Both sources agree on those windows (Blog Dolce Vita; RachLmansfield). If you're stacking bars, put a small square of parchment between layers the chocolate surface can stick to itself.
RachLmansfield notes the four-ingredient recipe doubles well, which is worth knowing if you're making these for a group or want a freezer stash. Make them the night before and there's nothing to do day-of except pull them out and cut.
RachLmansfield also notes they work frozen, from the fridge, or at room temperature personal preference is the only variable.
Common questions
Can you freeze no bake peanut butter bars? Yes. Both sources confirm up to 2 months in the freezer (Blog Dolce Vita; RachLmansfield). Store in an airtight container with parchment between layers.
Can you use natural peanut butter? A natural peanut butter with just peanuts and salt is fine, as long as it's been thoroughly stirred. The issue isn't the ingredient list it's oil separation. A separated jar produces a greasy base that resists setting (RachLmansfield).
How long do no bake peanut butter bars need to chill? At least 1 hour; up to 2 hours is safer. Test the chocolate surface with a fingertip before cutting if it gives at all, keep waiting (Blog Dolce Vita; RachLmansfield).
Can the classic version be made gluten-free? Yes. Swap in gluten-free graham cracker crumbs and the rest of the recipe stays the same (Blog Dolce Vita).
Is the chocolate topping required? No. Blog Dolce Vita notes you can skip it entirely for a plain peanut butter bar. You lose the chocolate peanut butter bar quality that makes these resemble Reese's, but the base holds up on its own.
Start with the classic if this is your first batch. Chill fully, cut cold, and make the four-ingredient version next time if you want something less sweet. That's the full loop.


















Comments
Be the first, drop a comment!