



Salt Brined Baked Potatoes: Method, Science, and Troubleshooting
This guide explains what the brine does to the skin of salt brined baked potatoes, what the oven does to the interior, and which steps actually drive each result. By the end, you'll understand the method well enough to run it confidently and troubleshoot when something goes wrong.
Before you start, gather these: a digital instant-read thermometer (doneness by time alone is unreliable), a wire rack set over a rimmed baking sheet, and Russet potatoes. Everything else is pantry-standard.
The real baked potato problem is the skin
Most baked potato disappointment lives at the surface, not the center. The primary culprit is foil wrapping. Foil traps steam against the skin for the entire bake, softening precisely what should be the crispest part of the potato, as My Recipe Critic noted earlier this month. Dry salting improves flavor but does nothing about that trapped moisture.
A concentrated saltwater solution brushed directly onto the skin addresses both problems at once. When salt dissolves in water before application, it penetrates the microscopic nooks of the potato skin far more evenly than dry salt crystals can, per My Recipe Critic (earlier this month). That same coating begins drawing surface moisture out early, creating the conditions for crispness rather than working against them.
One distinction worth keeping straight: brine improves the skin through seasoning and moisture management. The fluffy interior comes from something else entirely reaching the right internal temperature. Both matter, and they work through different mechanisms.
What brining does to the skin and what it doesn't do to the interior
The chemistry involves diffusion and osmosis. Salt moves from high concentration toward low concentration across cell membranes, while water moves in the opposite direction, as Serious Eats explained earlier this year. That testing involved cut potatoes submerged in brine for 30 minutes to four hours a different situation from this method. Because the brine here is brushed onto a whole, uncut potato rather than penetrating from all sides, the effect concentrates at the skin surface, where crispness matters most. The skin acts as a barrier; the interior stays largely unaffected.
America's Test Kitchen describes a saltwater coating doing three things at once: seasoning the exterior, drawing out surface moisture, and preventing the skin from toughening into a leathery texture during the long bake, per ATK's baked potato method (earlier this year). All three are moisture outcomes, not just flavor outcomes.
The interior is a separate story. At 450°F, starch granules inside a Russet swell and eventually burst open, producing a loose, cloud-like texture. At lower temperatures, the starch stays dense and gummy regardless of how the skin was treated, per My Recipe Critic (earlier this month). Interior texture is almost entirely a function of heat and the final temperature reached.
Russets are the right potato here. Their relatively dry, mealy flesh converts to a genuinely fluffy interior at high heat. Serious Eats puts potato water content at 79%, lower than most vegetables tested, and the University of Kentucky Extension confirms Russets as the standard baking potato specifically because of that lean, starchy structure (last year).
Skip the foil. It traps steam against the skin through the entire bake and works against everything the brine is accomplishing, per My Recipe Critic (earlier this month). There is no workaround.
Salt brined baked potatoes: the full method
What you need: 4 large Russet potatoes (10–12 oz each, matched in size so they finish at the same time, per ATK), 1 tablespoon kosher salt dissolved in 2 tablespoons warm water, 1 tablespoon neutral oil such as canola or vegetable (chosen for its high smoke point, per My Recipe Critic), flaky sea salt and unsalted butter for serving.
Step 1: Scrub and dry the potatoes completely. Rinse each potato under cold water and pat dry with a towel. Any residual surface moisture dilutes the brine's concentration and delays the early moisture-drawing effect. Potatoes can be scrubbed and dried up to 24 hours in advance and held in the refrigerator, per My Recipe Critic (earlier this month).
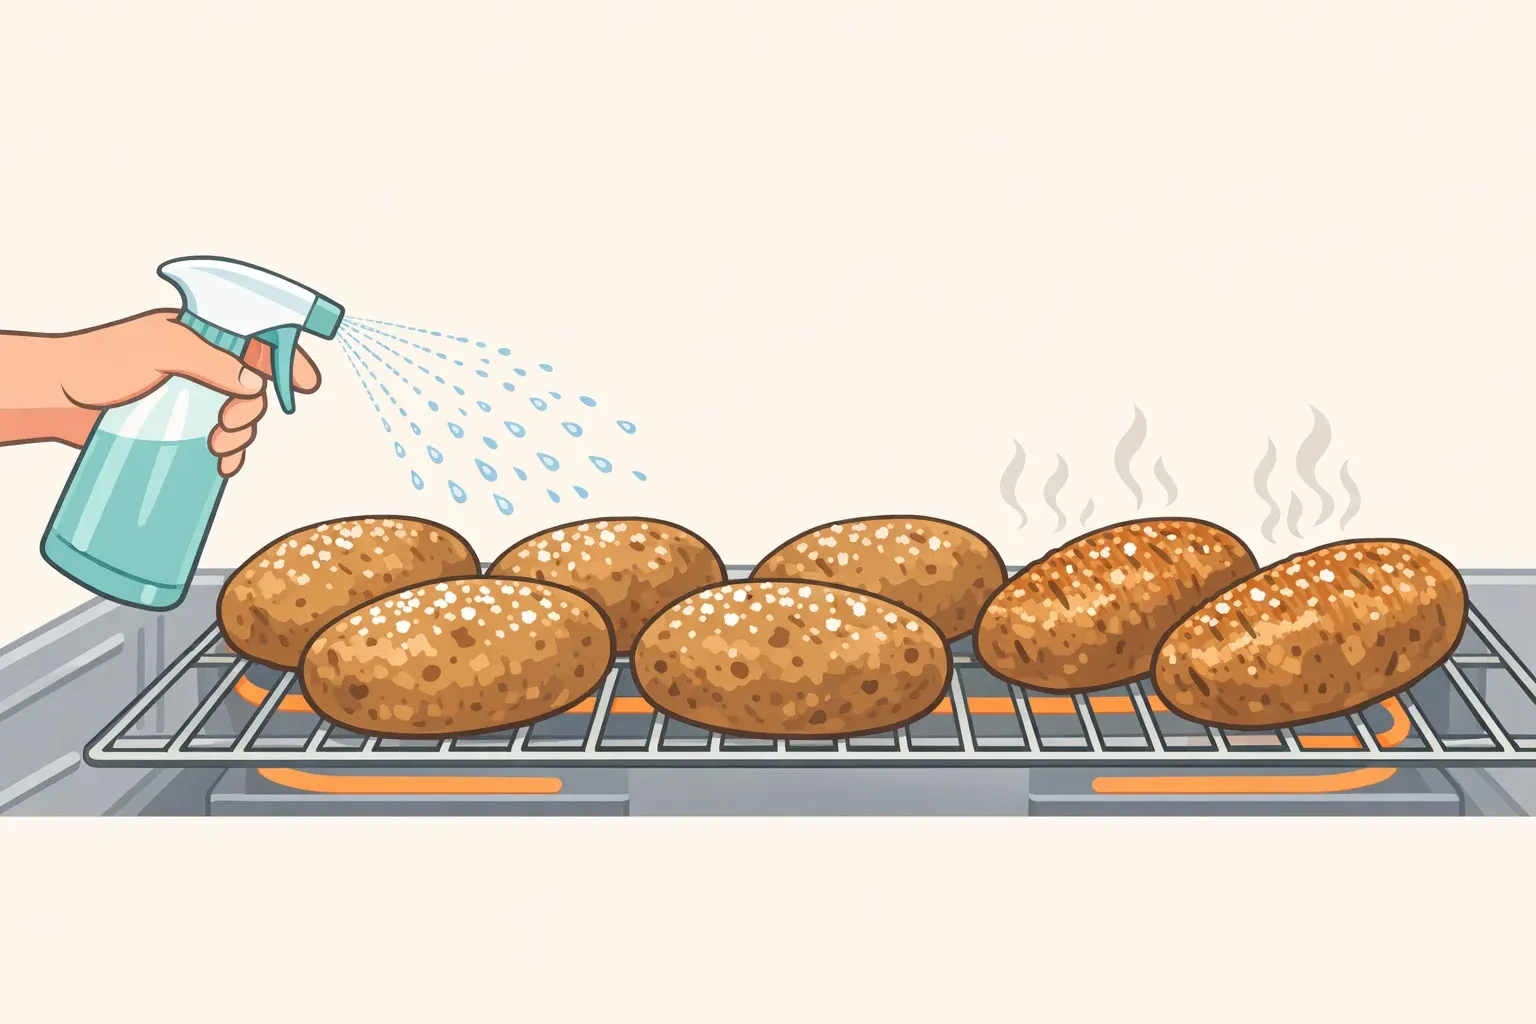
Step 2: Apply the brine and set up for even airflow. Dissolve 1 tablespoon kosher salt in 2 tablespoons warm water. Place the potatoes on a wire rack set over a rimmed baking sheet. Using a pastry brush, coat every surface of each potato until well-saturated. The rack ensures hot air circulates underneath the potato as well as around it, preventing a steamed, flat bottom, per My Recipe Critic (earlier this month).
Step 3: Roast at 450°F until the internal temperature reaches 205°F. Preheat the oven fully before the potatoes go in. Most Russets in the 8–10 oz range take 45 to 60 minutes; large potatoes over 12 oz may need an extra 10 minutes, per My Recipe Critic (earlier this month). Both My Recipe Critic and America's Test Kitchen independently identify 205°F as the target.
Use a thermometer. At 190°F, the potato is edible, but the texture hasn't fully turned fluffy. At 205°F, enough moisture has evaporated to leave the starch genuinely dry and cloud-like, per My Recipe Critic (earlier this month). The visual cues by size: small potatoes (6–8 oz) show slightly wrinkled skin; medium ones (8–10 oz) turn deep mahogany; large ones (10–12 oz) develop brittle skin that cracks easily.
Step 4: Brush with neutral oil and return to the oven for 5–10 minutes. Once the potatoes hit 205°F, pull them out and coat each skin with a thin, even layer of canola or vegetable oil. Return for a final 5 to 10 minutes until the skin is mahogany-colored and brittle, per My Recipe Critic (earlier this month). This is what converts seasoned, dried skin into something that shatters. Butter is not a substitute—it burns at 450°F and introduces bitterness rather than crispness, per My Recipe Critic.
Step 5: Cut open immediately. The moment the potatoes come out of the oven, slice them down the center. This releases the built-up steam inside. Leave them sealed and that steam recondenses into the flesh, undoing the fluffy texture you waited an hour to achieve, per My Recipe Critic (earlier this month). Finish with cold unsalted butter and flaky sea salt.
Troubleshooting: when the method doesn't work
Soggy skin is almost always a trapped-moisture problem. The three most common causes are skipping the wire rack, not drying the potato before brining, or using foil, per My Recipe Critic (earlier this month). Fix the setup before adjusting the brine.
Dense or gummy interior means the potato didn't reach 205°F. Pulling at 190°F leaves the starch undergelatinized regardless of everything else done correctly, per My Recipe Critic (earlier this month). Use a thermometer and wait.
Dry skin that still won't crisp usually means the oil finishing step was skipped or the final oven return was too short. Brine manages moisture and seasons the surface; oil creates the brittle layer. They work in sequence; neither step substitutes for the other.
A note on sodium: the deep surface seasoning this method produces carries real sodium. My Recipe Critic puts it at roughly 1,120 mg per serving as prepared, against the American Heart Association's recommended ceiling of 2,300 mg per day. For a lower-sodium version, reducing the kosher salt in the brine to half a teaspoon cuts sodium by around 35%, to approximately 728 mg per serving, per My Recipe Critic. The skin won't season as deeply, but it will still crisp.
Each step earns its place
None of these steps is redundant, which is the part most recipes gloss over. Remove the brine and the skin seasons unevenly. Skip the rack and the bottom steams. Pull at 190°F and the interior stays dense. Skip the oil and the skin dries without going brittle. Where most baked potatoes fall short is that one or two steps go missing, and the whole thing collapses, per My Recipe Critic (earlier this month) and America's Test Kitchen (earlier this year).
The method works because each element solves a specific problem. The brine handles the skin. The rack handles airflow. The thermometer tells you when the starch has done what you need it to do. Run all five steps and you get a genuinely different potato not marginally better, but in a different category from what most home ovens produce.



















Comments
Be the first, drop a comment!