

Hummus seems like it should be easy to make, but creating that ideal creamy consistency can be pretty difficult. Often it comes out too chunky, which means your hummus won't be good for dipping into. Luckily, there is one trick that will help you create the creamiest consistency and make you never want to go near store-bought hummus again: add baking soda.
Why Baking Soda Works Wonders
To understand the magical transition from dried chickpeas to velvet-smooth paste, we need to start at the beginning of the hummus-making process.
Chickpeas—also known as garbanzo beans—have a hard shell that needs to be completely broken down to achieve the creamy end result that hummus dreams are made of. A common issue is that when the beans are soaked in water the environment is too acidic for their cellulose-based cells. Baking soda, a leavener, swoops in to save the day by raising the pH levels of the water, making the chickpeas more soluble and thus able to cook more quickly.
Voilà—your chickpeas are ready for their hummus debut!
Preparing Your Chickpeas
Before you actually start creating your hummus, your chickpeas need a good soaking. Place them in a pot or bowl, in water that covers them by at least two inches. Add 1 tsp. of baking soda and then let the garbanzo beans soak at room temperature for at least 8-10 hours (overnight is even better).
With this step complete, your star ingredient is ready to roll.
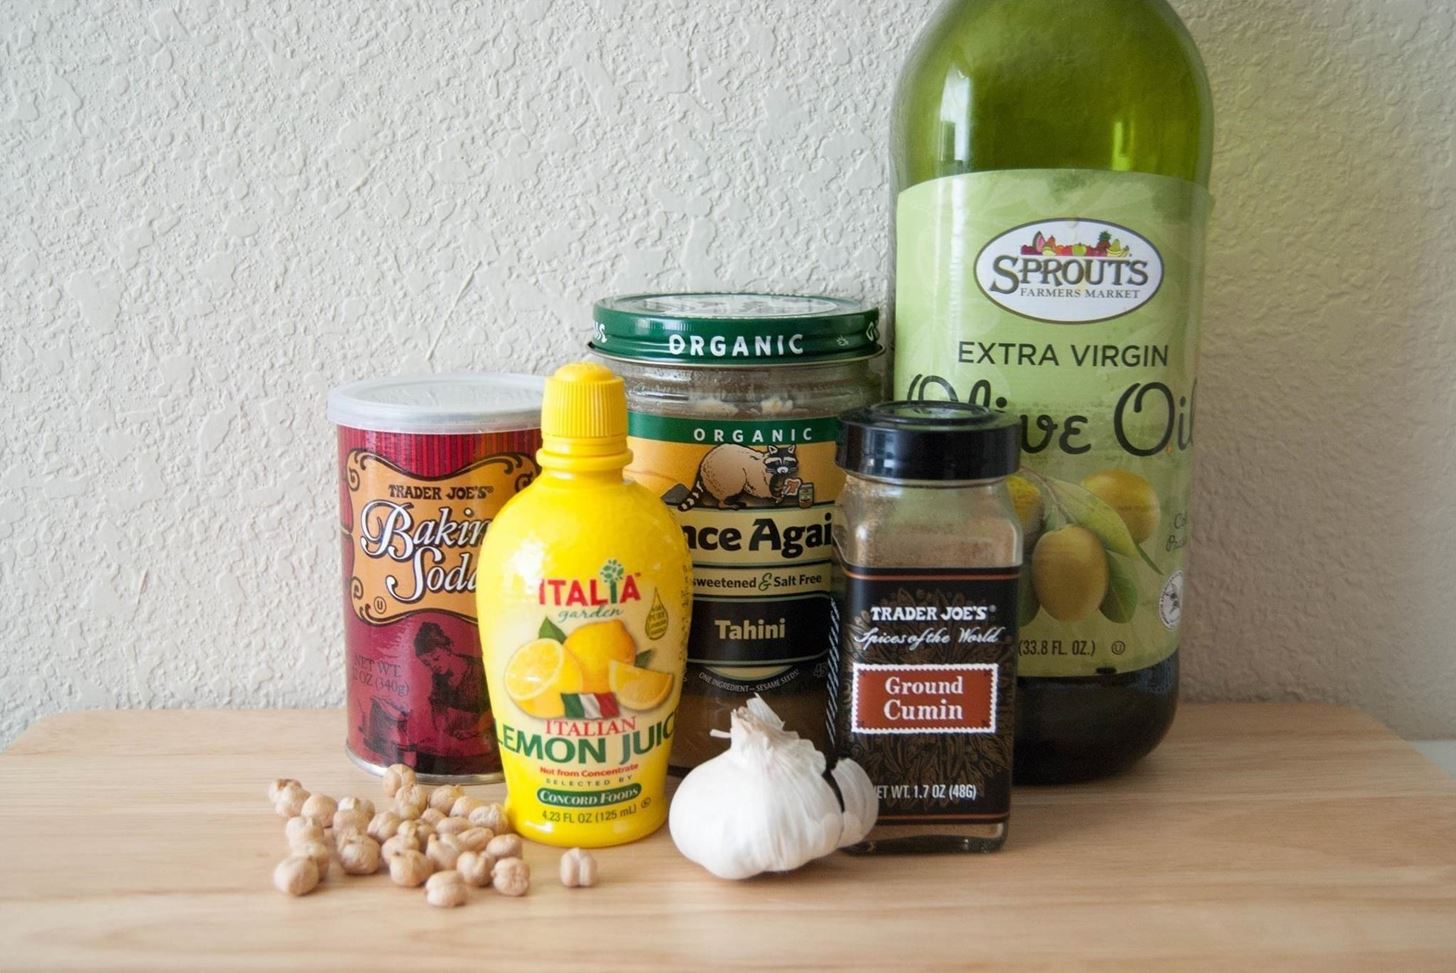
Ingredients
- 1 c. presoaked chickpeas
- 1 tsp. baking soda
- 4 garlic cloves (peeled)
- 1 tsp. kosher salt
- 1/3 c. lemon juice
- 2/3 c. tahini
- ¼ c. ice water (or more as desired)
- ¼ tsp. ground cumin
- dash of olive oil
Directions
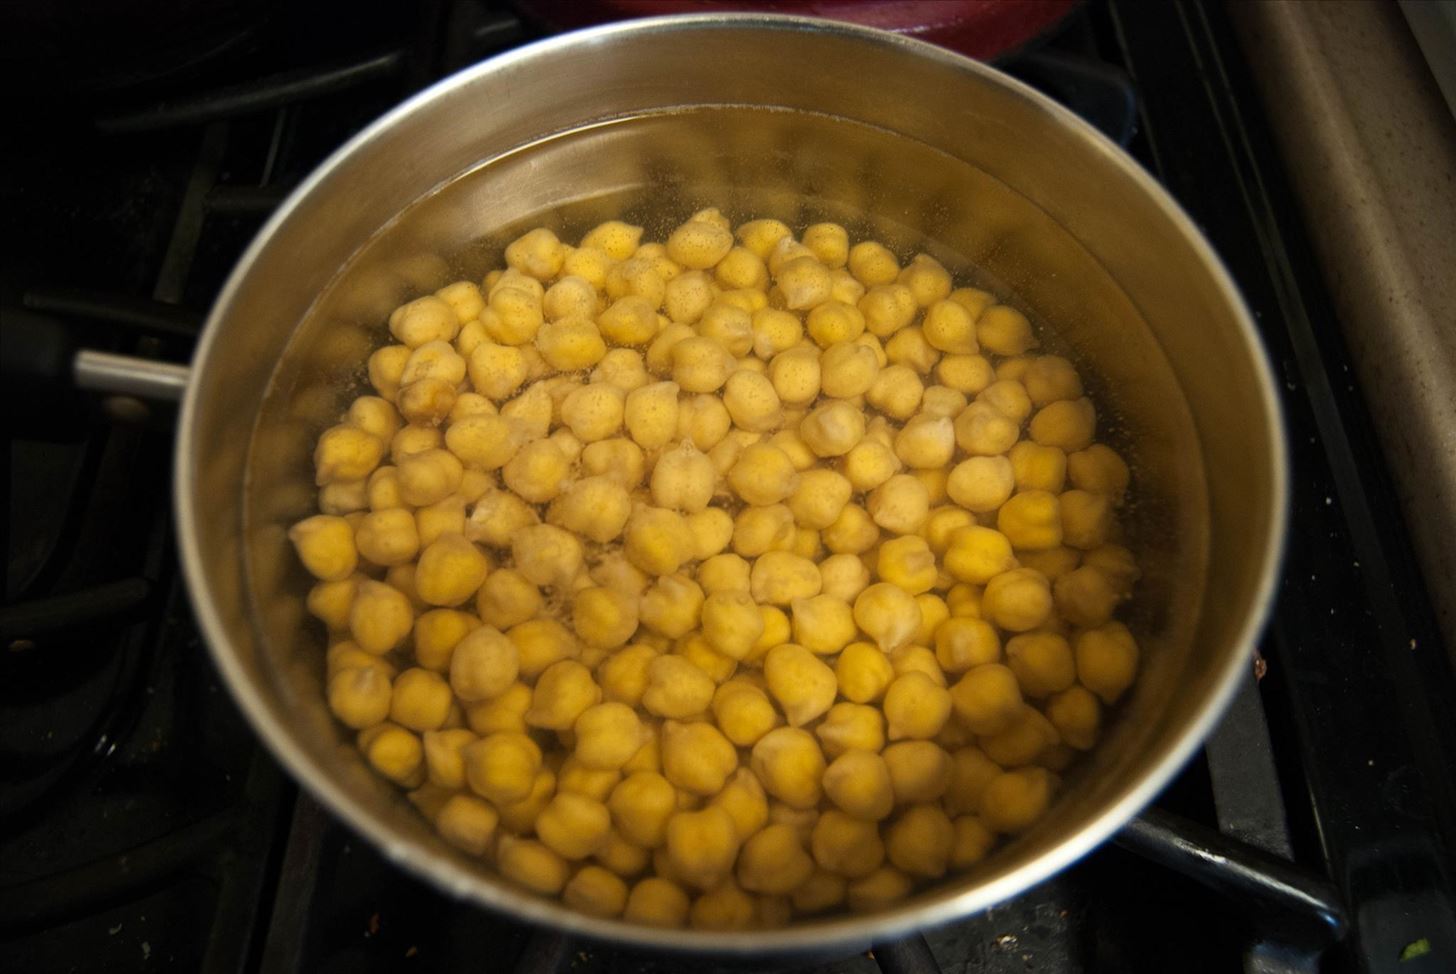
- In a large pot, combine both the presoaked chickpeas and baking soda.
- Cover with water to 2 inches above the beans.
- Bring to a boil, making sure to stir occasionally; do not be concerned when the baking soda starts to create a foam at the top of the pot.
- Turn the heat down to low and cover the pot partially.
- Simmer for about 1 hour.
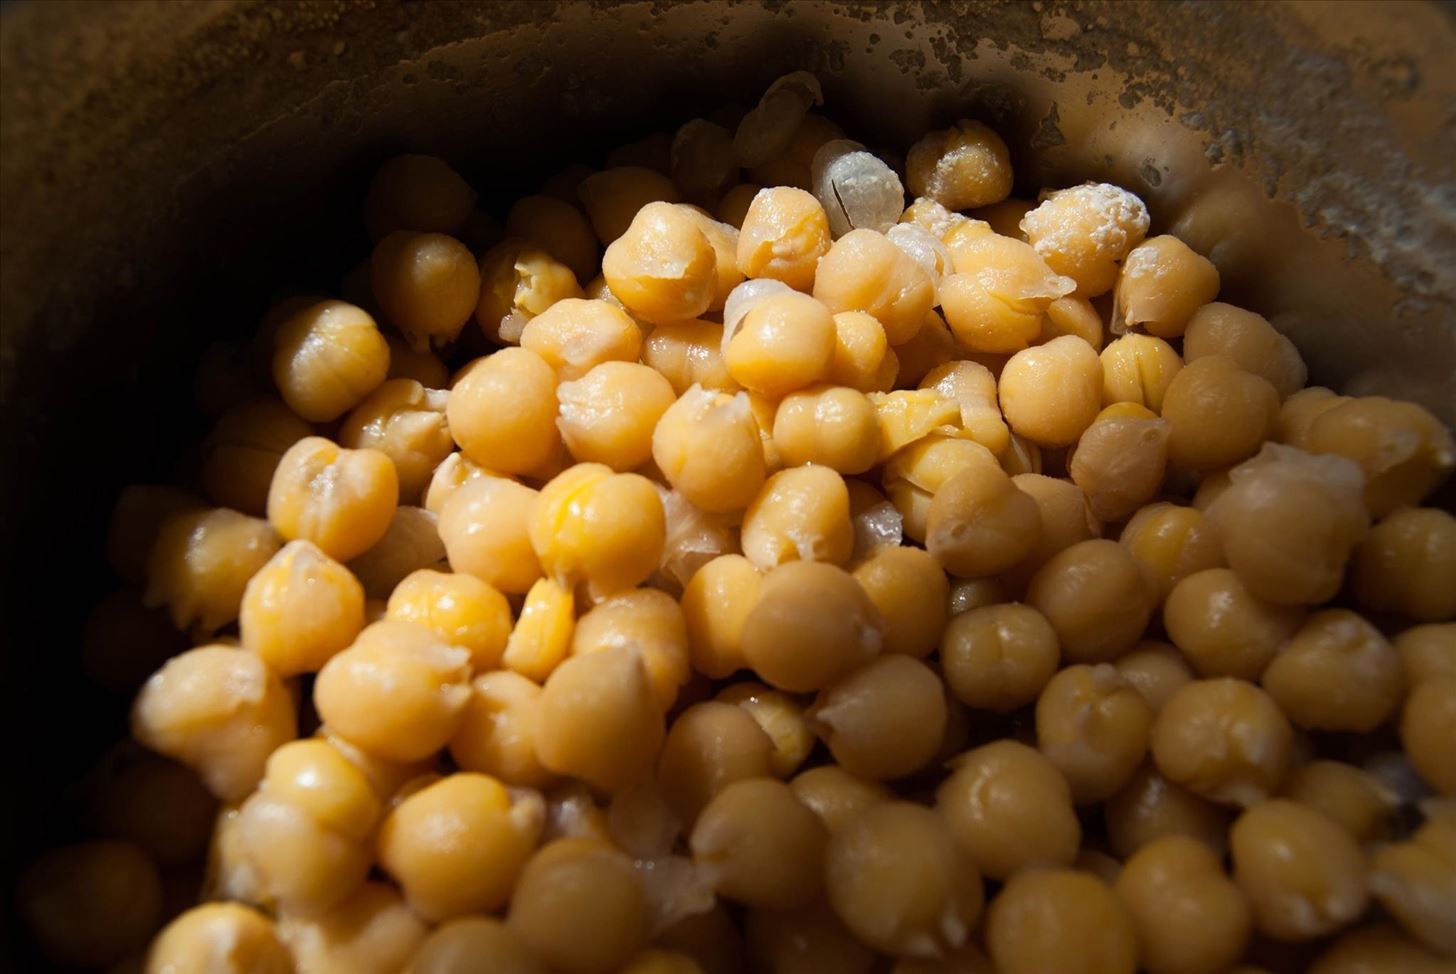
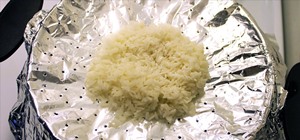
The chickpeas should be extremely tender and falling apart by the end of 1 hour. This is when you know they're ready for their transformation. Meanwhile, you can work on the rest of the hummus ingredients.
- While the chickpeas are simmering, combine the garlic, salt, and lemon juice in the food processor and process the mixture until it becomes puréed.
- Set aside the puréed mixture for 10 minutes to enable the garlic to fully mellow.
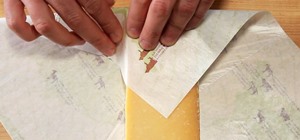
- Take the puréed mixture and strain it through a fine-mesh sieve to squeeze all the liquid out. Make sure to get every last drop out by pressing on any solid particles in the mixture. You do not want to waste an ounce of this precious liquid!
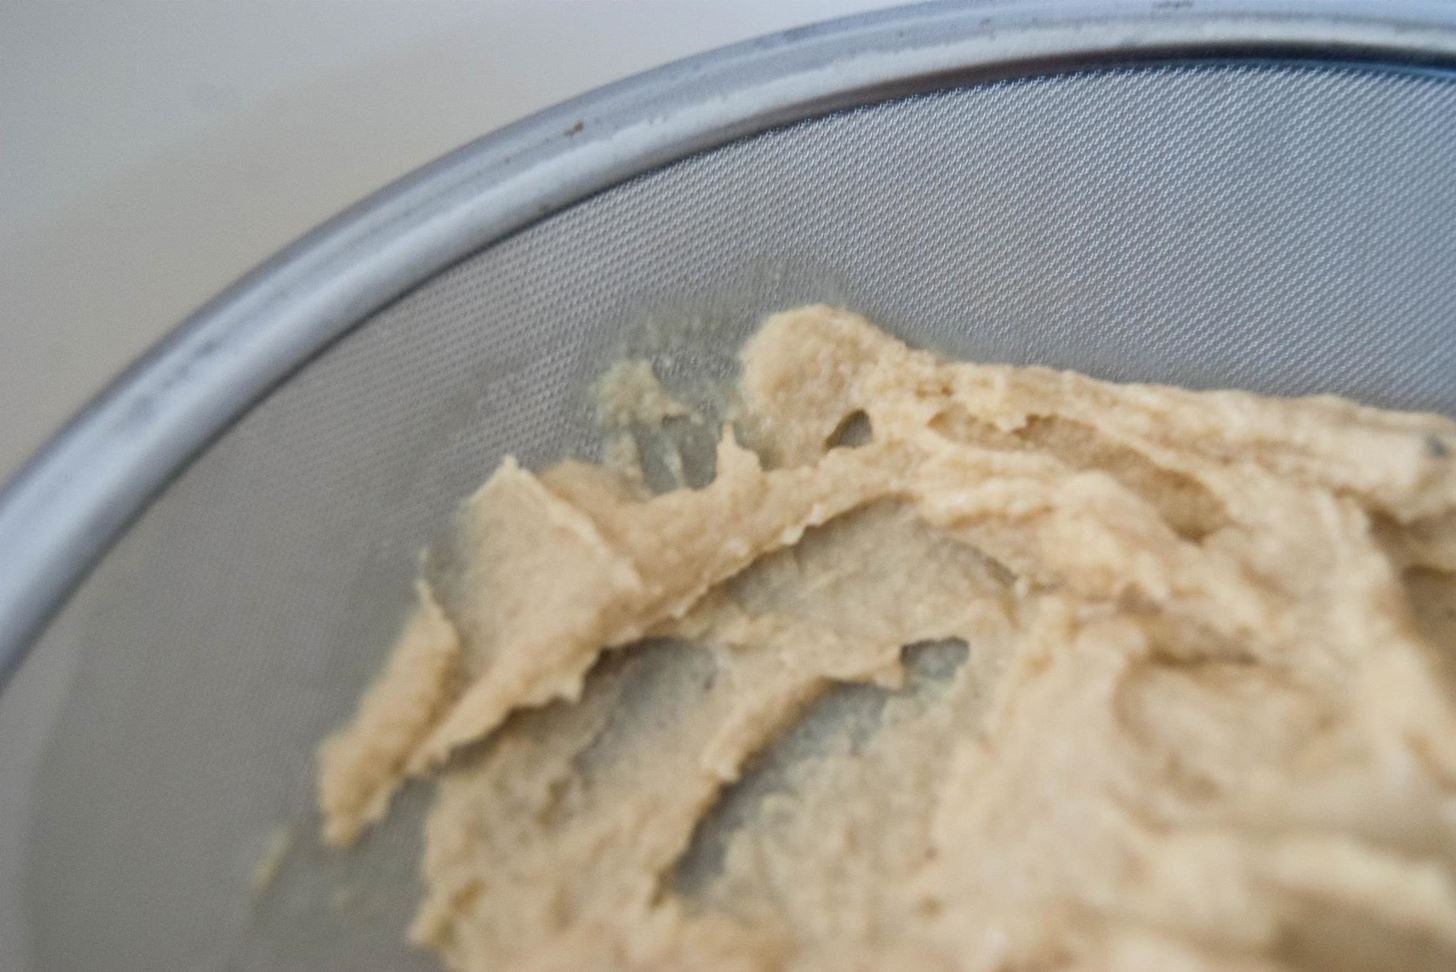
- Discard the solids, put the liquid in the food processor along with the tahini, then pulse together.
- With the motor still on, add the ice water to the mixture to make it thick, smooth, and lighter in hue. It may harden a bit, but continue mixing it until it becomes the desired consistency.
- Add the cooked chickpeas and cumin, then process until it achieves a very smooth texture; this should take around four minutes. Add more water if you want a thinner consistency.
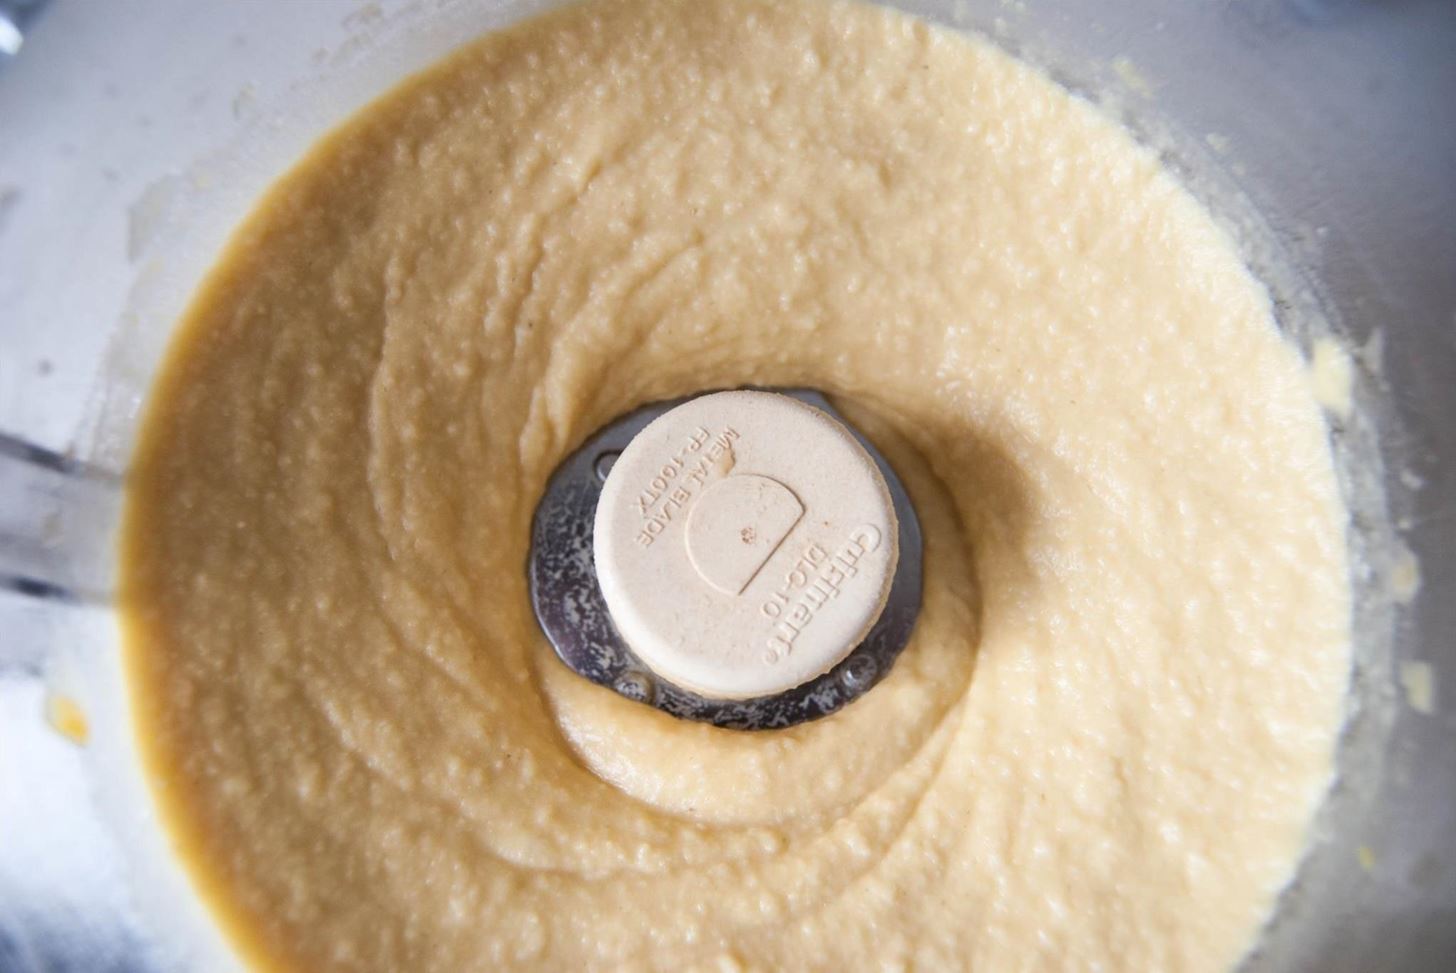
For a bolder flavor, add more cumin, lemon juice, and salt.
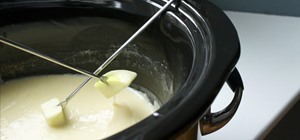
To dress up your hummus even further, add toppings like fried chickpeas, breakfast radishes, fried garlic, and/or parsley to spice things up and turn your dip into a colorful centerpiece.

Now go on and try your hand at this dreamy, creamy homemade hummus yourself, then tell us how your hummus turned out in the comments section below.
More Divine Dips:
Just updated your iPhone? You'll find new emoji, enhanced security, podcast transcripts, Apple Cash virtual numbers, and other useful features. There are even new additions hidden within Safari. Find out what's new and changed on your iPhone with the iOS 17.4 update.


3 Comments
question: you say to add baking soda to the soaking process, and the the recipe says to add baking soda to the cooking process. WHICH IS IT?
Only in the soaking process. Also, you can skip the ice water and use plain yogurt instead...makes for a fluffy creamy consistency.
So is step 1 (and step 3) in the cooking instructions wrong? If so, then maybe you could update it ? :)
Share Your Thoughts